
Planning Guides, Style Guide
Wedding Guest Spreadsheet: Excel Tracking Template
Jul
Setting Up Your Wedding Guest Spreadsheet the Right Way
Okay so the absolute first thing you need to do is open Excel or Google Sheets and don’t even think about using some fancy app that promises to do everything because I tried that in spring 2023 with a client and we lost half the dietary restrictions when the app updated. Just use Excel. Seriously.
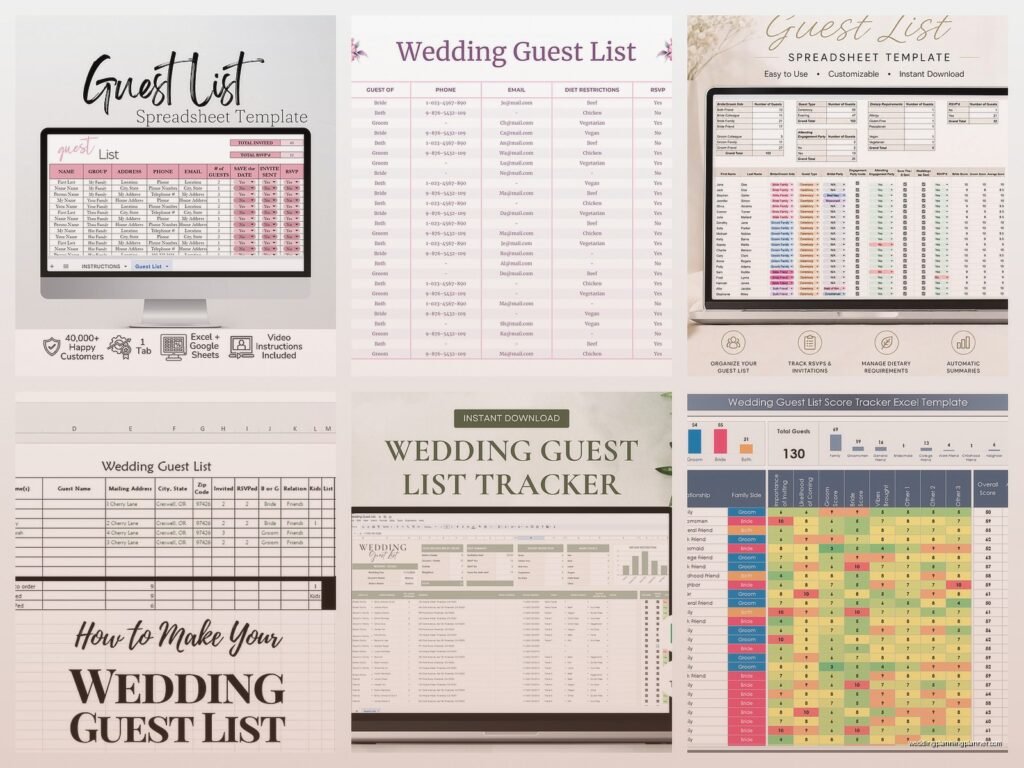
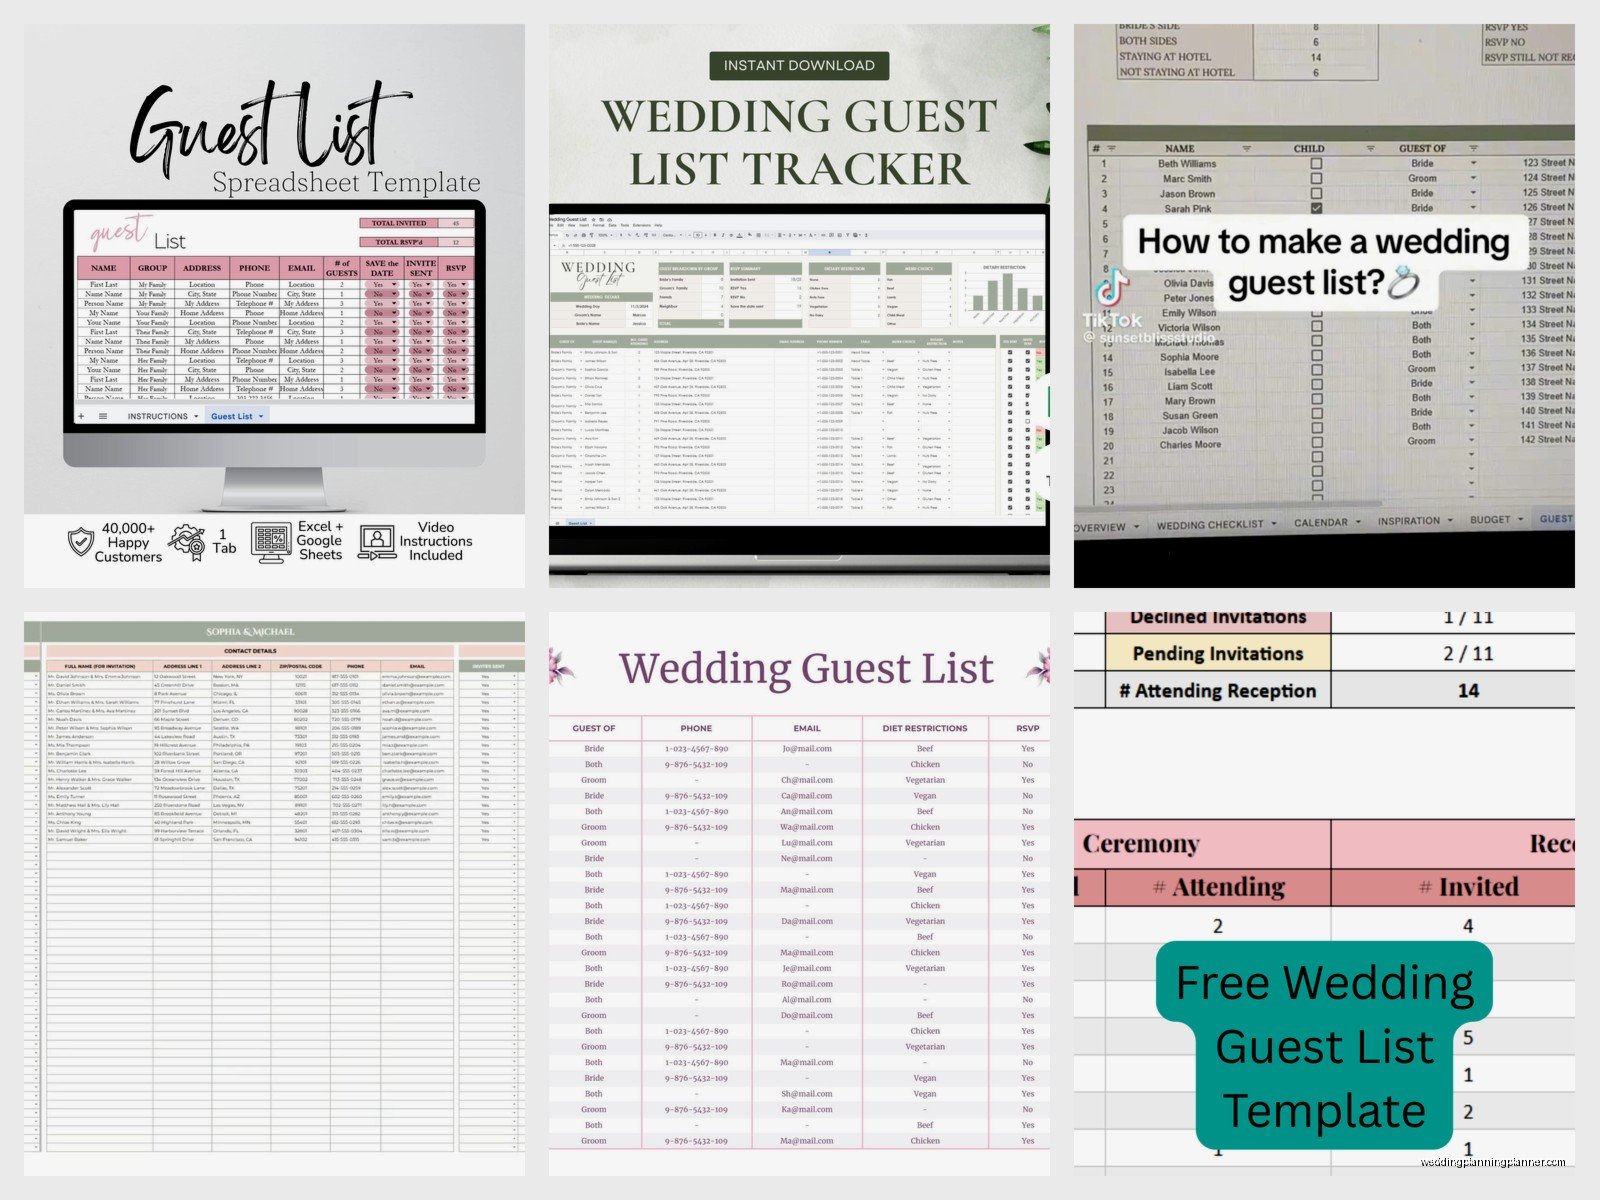
Start with these columns across the top: Guest Name, Plus One Name, Address, Phone, Email, Invited to Rehearsal Dinner, RSVP Status, Number Attending, Meal Choice, Dietary Restrictions, Gift Received, Thank You Sent, Table Assignment, and Notes. That’s your baseline. You can add more later but if you start with less you’re gonna regret it.
The Guest Name Column and Why It’s Trickier Than You Think
I always tell people to put one row per household unit, not per person, except when… actually no, scratch that. Put ONE row per invited guest. So if you’re inviting the Smith family and they have two kids, that’s four rows. Trust me on this. I learned this the hard way when I was tracking 280 guests for a client and we had the Johnsons listed once but couldn’t figure out if we meant John and Mary Johnson or John Johnson Senior or like, which John we were even talking about.
Use full legal names in one column, then add a “Nickname/Goes By” column if you want. Your calligrapher will thank you for having the formal names separate.
The Plus One Situation That Drives Me Nuts
Here’s what annoys me SO much about wedding guest tracking – people don’t decide their plus one policy early enough and then the spreadsheet becomes this chaotic mess of “maybe plus one?” and “TBD” and nobody knows what’s happening. Decide NOW whether someone gets a plus one. If they do, you can leave the Plus One Name column blank until they tell you who it is, but mark clearly in another column “Plus One Allowed: YES/NO” so you’re not guessing later.
I had this couple once who kept changing their minds about plus ones and we ended up with three different versions of the spreadsheet and the groom’s mom was working off the wrong one and invited extra people and it was a whole thing.
Address Formatting Because the Post Office Cares
Split your address into multiple columns: Street Address, Apartment/Unit, City, State, ZIP. Don’t just dump everything into one cell. When you’re ready to print labels or do mail merge for invitations, you’ll need these separated. Also keep an “Address Confirmed” column with a date because people move and you don’t wanna send a $8 invitation suite to their old apartment.
I usually text people to confirm addresses now instead of assuming, which feels kinda invasive but whatever, better than returned mail.
RSVP Tracking Without Losing Your Mind
Your RSVP Status column needs a dropdown menu. Right-click, data validation, list. Your options should be: Not Yet Invited, Invited, Accepted, Declined, No Response. That’s it. Don’t get creative with “Maybe” or “Probably Coming” because that’s not helpful when you’re giving final counts to your caterer.
Add a “Date Invited” column and a “Date RSVP Received” column. This helps you track who’s being slow. Set up conditional formatting so anyone who hasn’t responded within 3 weeks of your RSVP deadline turns red. In Excel you go to Home > Conditional Formatting > New Rule > Use a formula. The formula would be something like =AND(B2=”Invited”, TODAY()-C2>21) if your Date Invited is in column C.
My cat just knocked over my coffee which is perfect timing because tracking RSVPs makes me want to knock things over too.
Meal Choices and Dietary Restrictions
Keep these in separate columns. Meal Choice gets a dropdown: Chicken, Beef, Fish, Vegetarian, Kids Meal, whatever your caterer offers. Then Dietary Restrictions is a free text field where you write “gluten-free” or “allergic to shellfish” or “vegan but will eat butter if they don’t know about it” – yes that was a real note I had to track once.
The number of people who write “no red meat” and then pick the beef option is wild. Just document everything exactly as they tell you. Your caterer needs exact numbers usually 2 weeks before, so add a column called “Final Count Given to Caterer” with a date.
Gift and Thank You Tracking
I cannot stress this enough – track gifts the DAY you receive them. Gift Received column should have the date and what it was. “8/15/23 – KitchenAid mixer, red” is perfect. Then your Thank You Sent column gets the date you mailed it.
Some people use a separate spreadsheet for gifts but nah, keep it all in one place. You’re gonna be exhausted after the wedding and the last thing you wanna do is cross-reference two different files to figure out if you thanked Aunt Marie.
Add a “Bridal Shower Gift” column and “Other Events” column too if you’re having multiple celebrations. People give gifts at different times and you gotta track all of it.
Advanced Columns That’ll Save Your Life
Relationship Categories
Add a column for “Relationship to Couple” with options like: Bride’s Family, Groom’s Family, Bride’s Friends, Groom’s Friends, Coworkers, Family Friends, etc. This helps when you’re doing table assignments and also when one side of the family is like “you invited more people than we did” which, yeah, people actually argue about this.
You can sort by this column to see your breakdown. Most weddings end up being like 40% family, 35% friends, 25% plus ones and random people your parents insisted on, but it varies.
Contact Preferences
I started adding this column in 2021 summer when half my clients were trying to figure out digital invitations and nobody knew who had email addresses. Mark if someone is “Email OK,” “Text OK,” “Mail Only,” or “Call Only” – yes some older relatives are call only and you just have to deal with that.
Kids and Seating Nightmares
If you’re inviting children, add a column for “Ages of Kids” because a 2-year-old and a 15-year-old need completely different considerations. High chairs, kids meals, table assignments near exits for quick escapes… or wait, maybe that’s more for the parents to escape. Anyway, track the ages.
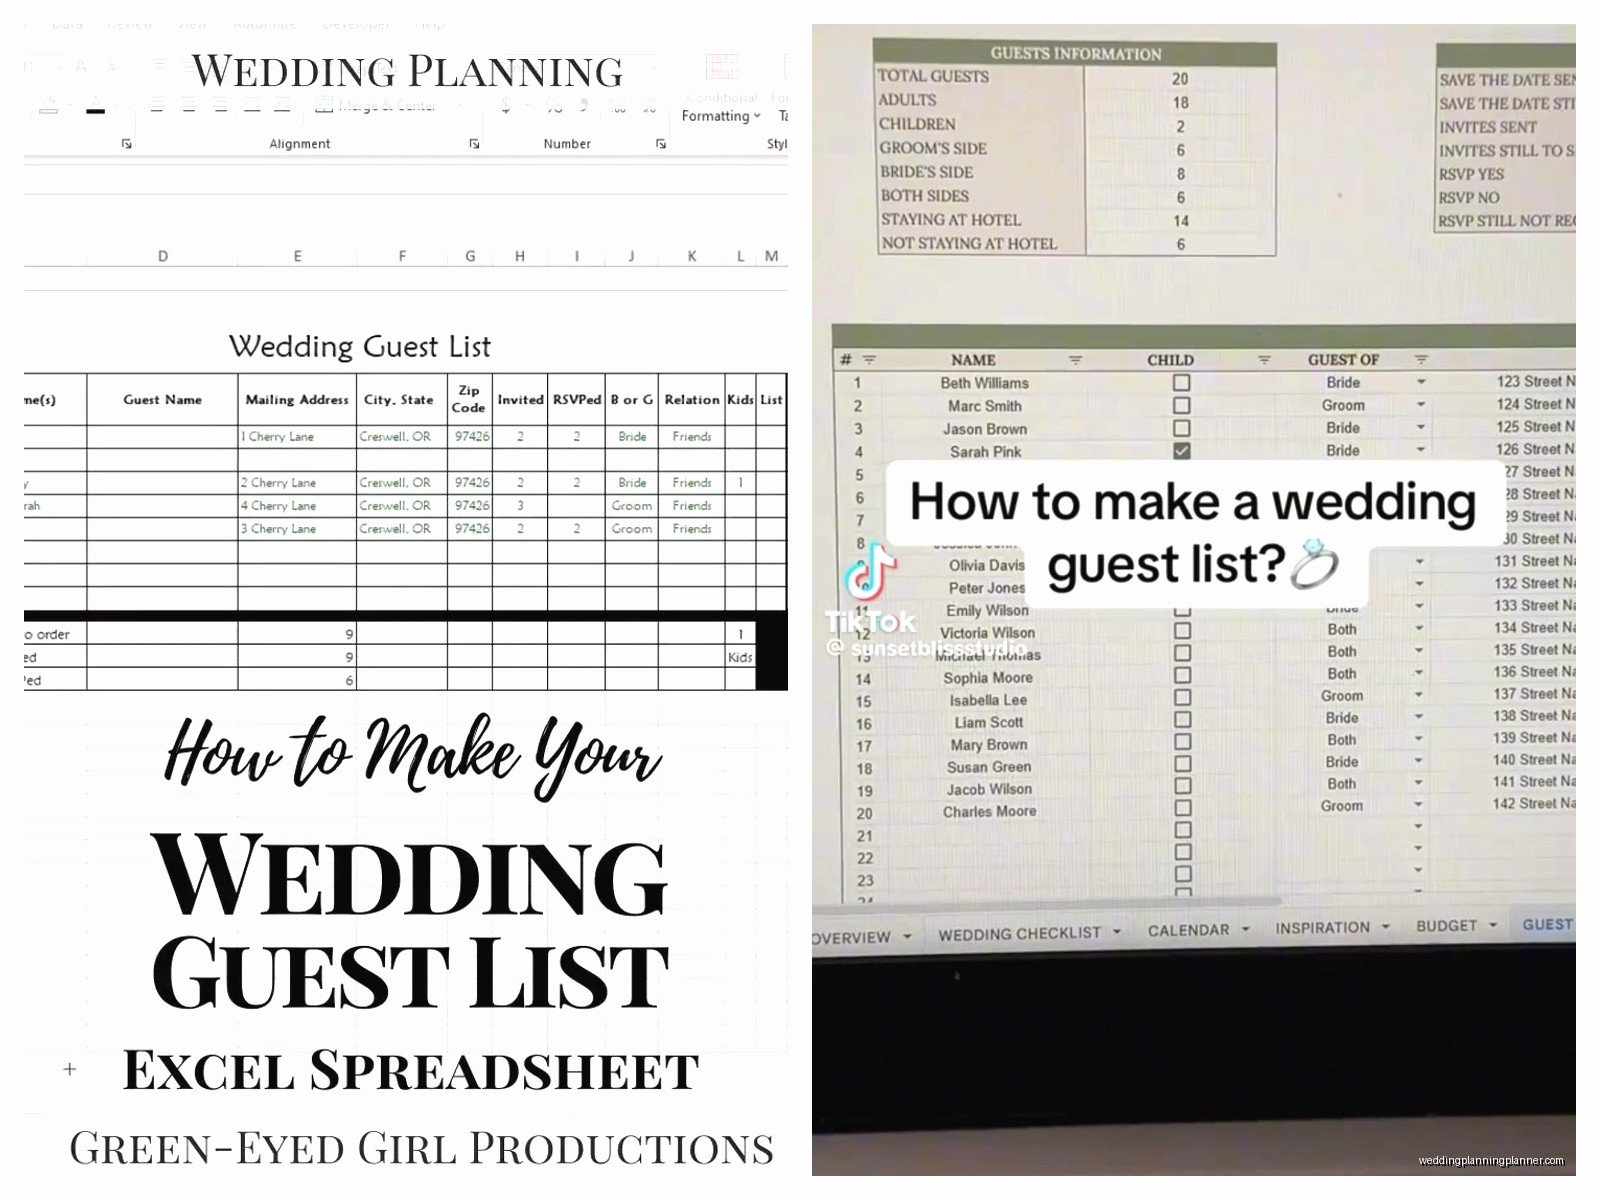
Table Assignments Deserve Their Own Section
Don’t assign tables until like 2 weeks before when you have final numbers. Keep a separate “Tentative Table” column if you wanna plan ahead, but your actual “Table Assignment” column stays empty for a while. Trust me.
I use numbers for tables (Table 1, Table 2) but some people use names (Table Roses, Table Peonies) and honestly the names thing just complicates your spreadsheet sorting so maybe don’t. But if you do, add another column for “Table Number” so you can still sort numerically.
Note which tables are 8-person vs 10-person vs whatever your venue has. Add a column for “Special Seating Needs” like “needs accessible seating” or “hard of hearing, needs quiet area” or “do not seat near the Hendersons” – yes that happens.
Formulas That Actually Help
At the top of your spreadsheet or in a separate summary area, use these formulas:
=COUNTIF(H:H,”Accepted”) to count how many people said yes, where H is your RSVP Status column
=COUNTIF(H:H,”Declined”) for declines
=SUMIF(H:H,”Accepted”,I:I) to sum the total number of people actually attending if your Number Attending column is I
For meal counts: =COUNTIF(J:J,”Chicken”) where J is your Meal Choice column
This gives you live numbers as you update RSVPs. Put these summary formulas at the very top rows or on a separate “Dashboard” sheet so you can see your counts without scrolling through 200 names.
Percentage Tracking
I like to know what percentage of people have responded so I add this formula: =COUNTIF(H:H,”Accepted”)+COUNTIF(H:H,”Declined”)/COUNTA(H:H)-1 and format it as a percentage. The -1 is to exclude your header row.
When you hit 80% response rate, start following up with the stragglers.
Organizing By Events
If you’re having a rehearsal dinner, day-after brunch, whatever, add columns for each event. “Invited to Rehearsal: YES/NO” and “Rehearsal RSVP: Accepted/Declined” keeps it separate from your main wedding tracking.
Some planners create separate sheets within the same Excel file for each event, but I find that makes it harder to see the full picture of who’s coming to what. Keeping everything on one sheet with different columns is cleaner even though it gets kinda wide.
Budget Tracking Per Guest
Okay this is gonna sound intense but if you’re really tracking costs, add a “Cost Per Guest” column where you calculate your per-person catering cost. If you’re paying $150 per person for dinner, put that in. Then you can use =I2*150 (if I is your Number Attending column) to see how much each party costs you. Multiply that across everyone attending and you’ve got your catering total.
Some people find this depressing but I think it’s helpful when you’re deciding whether to invite your mom’s coworker you met once.
The Notes Column Is Your Best Friend
Never underestimate a good Notes column. This is where you put “hates dancing, seat near exit” or “bringing service dog” or “proposed at our engagement party, will cry during vows” or whatever random information you need to remember.
I had a bride who tracked which guests knew about the surprise flash mob (it was 2021, don’t judge) in her notes column so she knew who to keep the secret from. The flash mob was… well it happened and that’s all I’ll say about that.
Updating and Maintaining This Monster
Set a recurring calendar reminder to update your spreadsheet. Every Sunday evening or whatever works. Go through texts, emails, voicemails, and update everything at once. If you update sporadically you WILL forget people and then your counts are wrong and your caterer is confused.
Save versions with dates in the filename. “Wedding Guest List 2024-03-15” so if you accidentally delete something, you can go back. Google Sheets does this automatically with version history but Excel doesn’t unless you manually save copies.
Share the spreadsheet with your partner and maybe your wedding planner or day-of coordinator, but limit who has editing access. View-only for most people. I’ve seen too many spreadsheets get destroyed by someone’s well-meaning mom who “was just trying to help” and sorted one column without selecting all the data so now everyone’s meal choices are assigned to the wrong people.
Color Coding If You’re Into That
Some people color code rows – green for accepted, red for declined, yellow for no response yet. I think this is overkill when you have an RSVP Status column but if it makes you happy, go for it. Just don’t do it instead of using the status column, do it in addition to.
Conditional formatting can do this automatically which is better than manually highlighting because you’ll forget to update the colors.
Common Mistakes I See All The Time
Not tracking B-list separately. If you have a backup list of people you’ll invite if others decline, keep them on the same spreadsheet but mark them clearly as “B-List” in a column. When someone declines, you can quickly see who to invite next.
Forgetting to track your own immediate family. Yeah, you know your parents are coming, but put them in the spreadsheet anyway. You need accurate counts and table assignments for literally everyone.
Not backing up the file. Save it to cloud storage. Email yourself a copy. Put it on a USB drive. Whatever. Just don’t keep it only on your laptop that could die at any moment.
Getting too fancy with formulas and then not understanding your own spreadsheet three months later. Keep it simple enough that you can figure out what you did.
When to Start and When to Stop
Start your spreadsheet the moment you get engaged and start thinking about your guest list. Even before you have addresses, just get names down. It helps you visualize numbers and budget.
You’ll stop actively updating it about a week after your wedding once you’ve verified all gifts received and started sending thank you notes… actually no, you’ll keep updating it until all thank yous are sent which might be 2-3 months after. Then you can finally close the file and never look at it again or frame it or whatever people do with spreadsheets that consumed their lives for 18 months.
