
Planning Guides, Style Guide
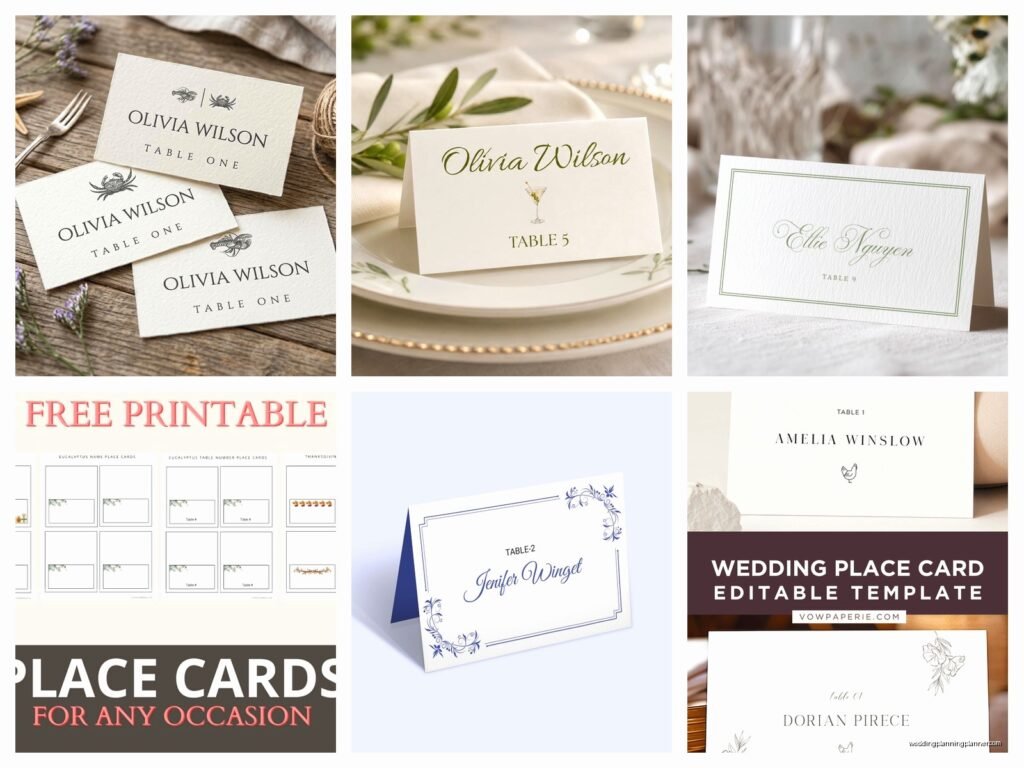
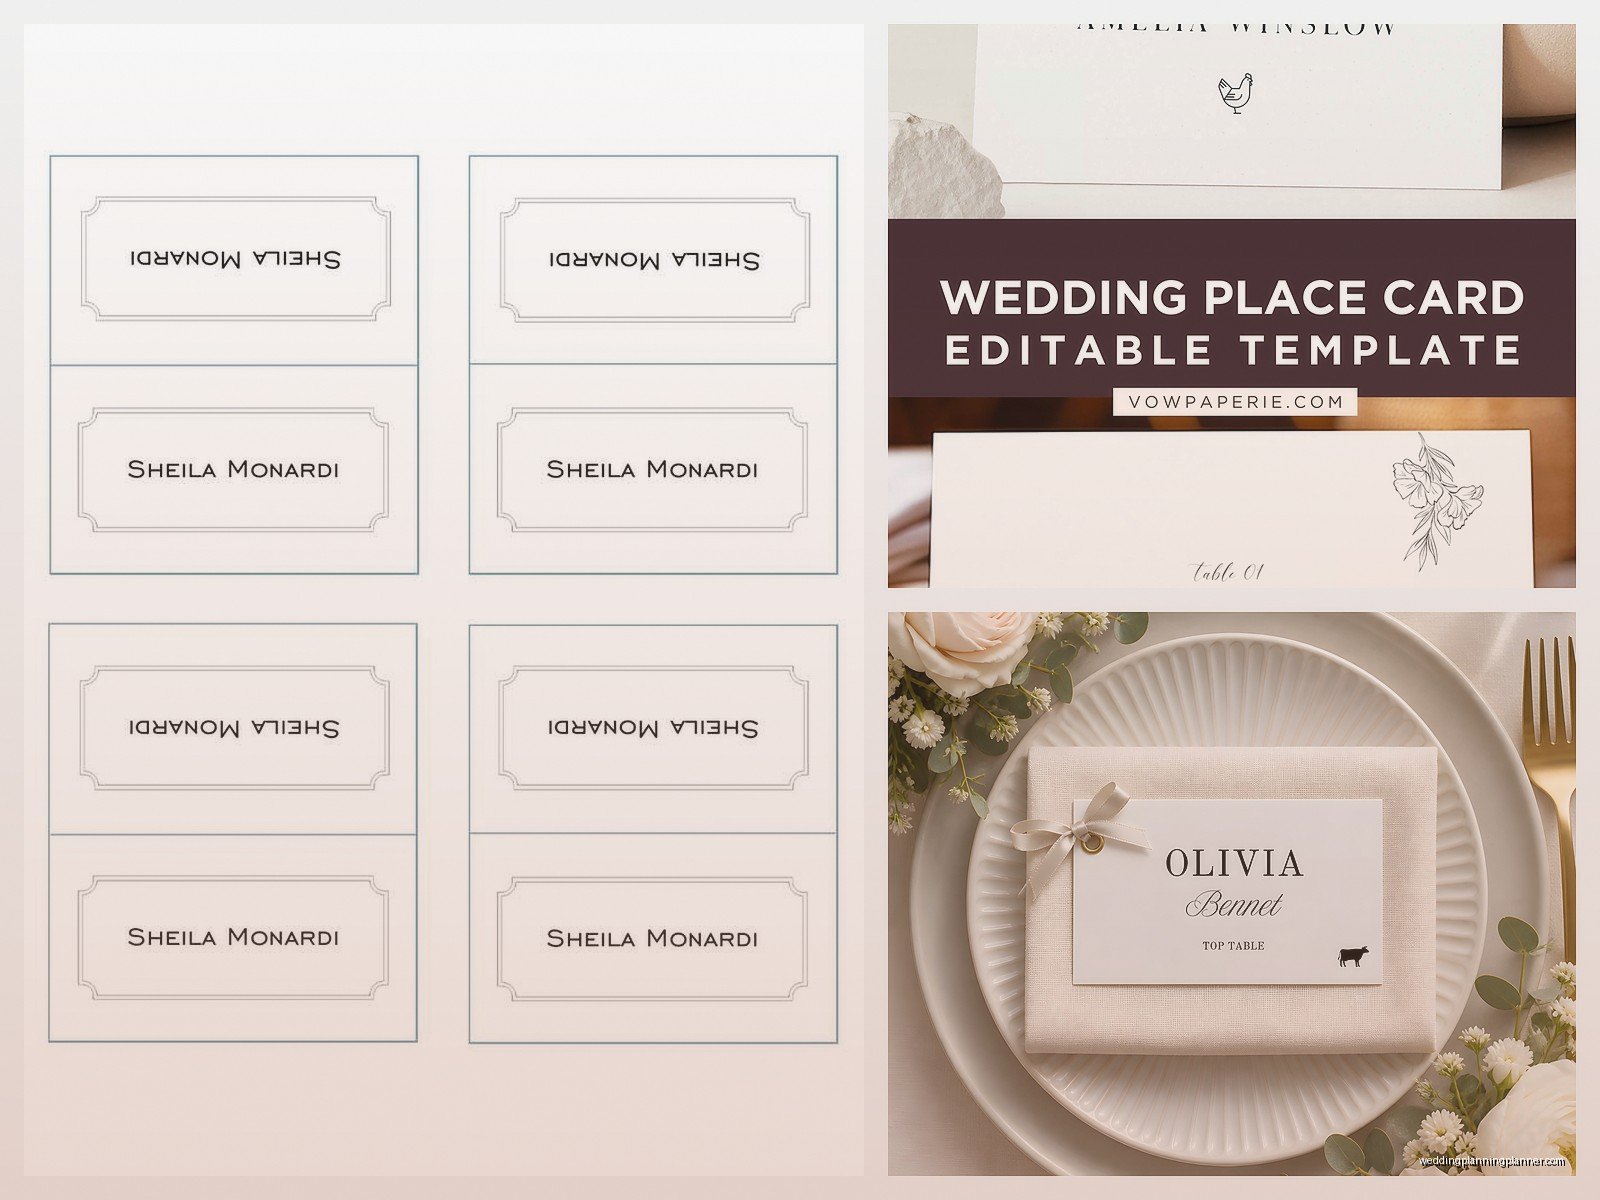
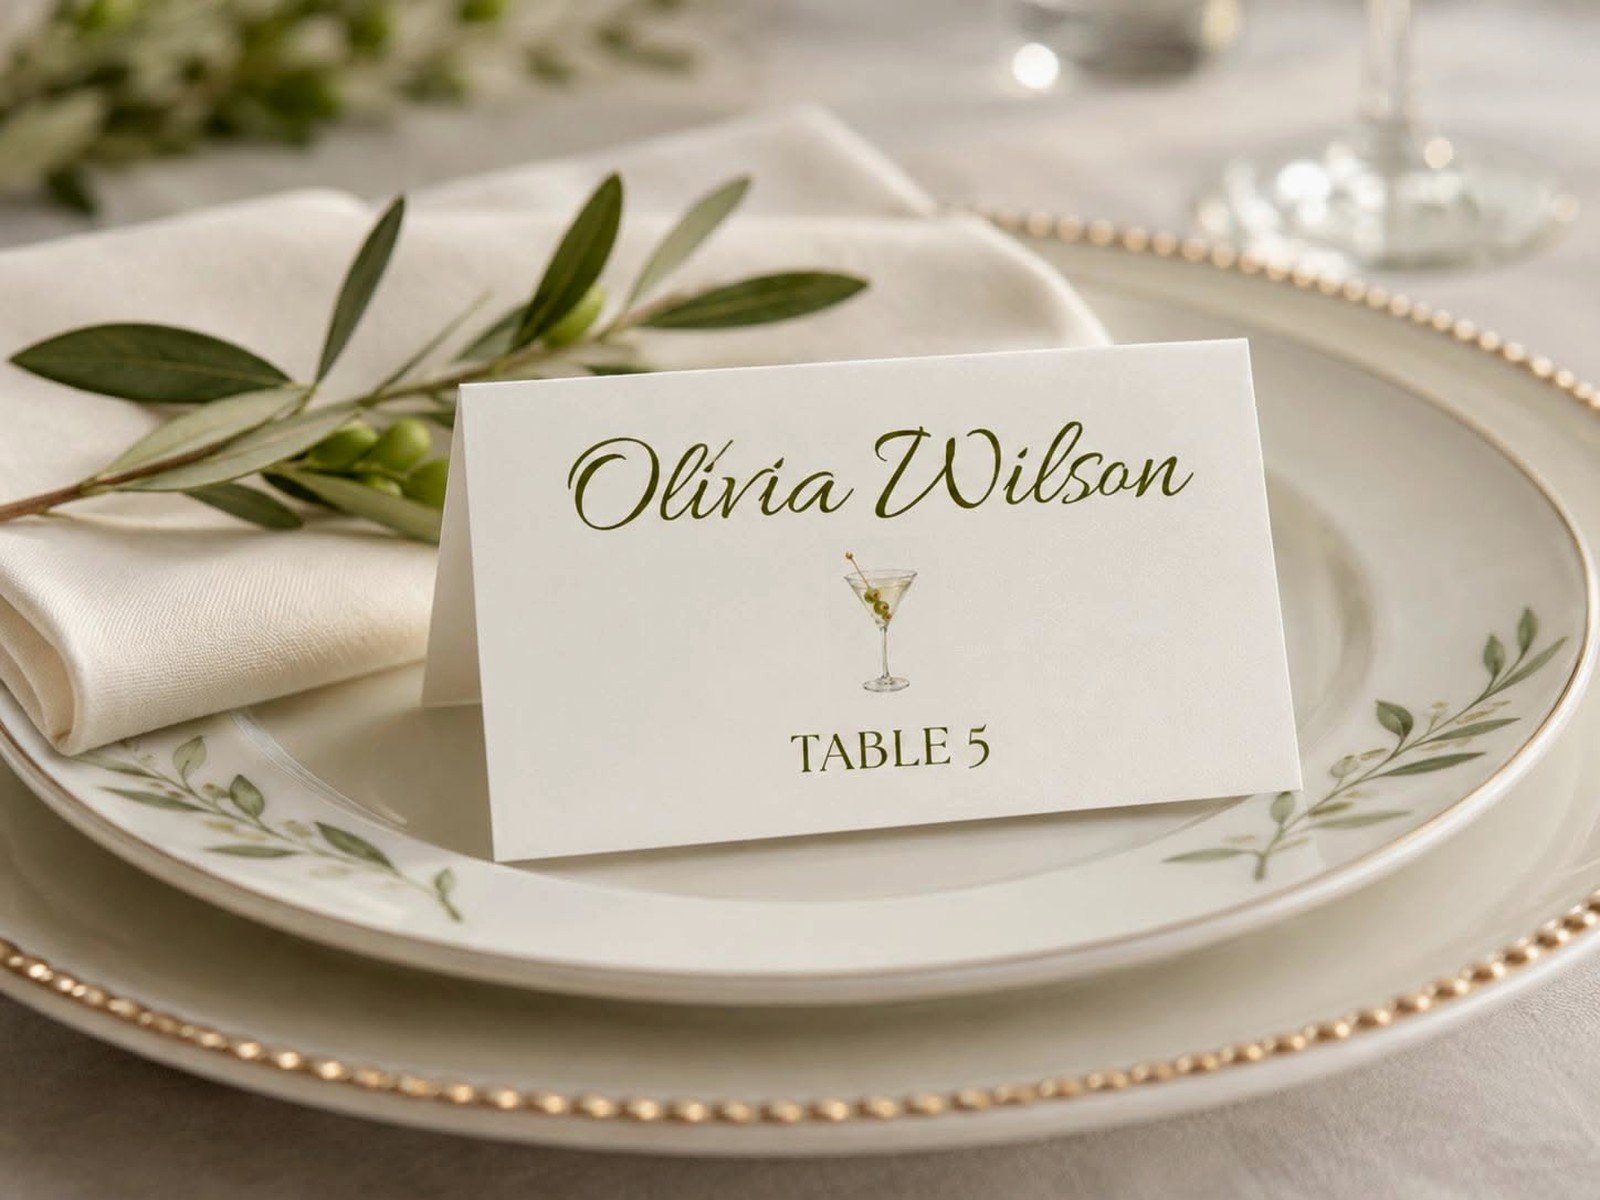
Wedding Place Card Template: Table Name Downloads
Jul
Getting Started With Table Name Card Downloads
So you’re looking for wedding place card templates with table names and honestly this is one of those things that seems super simple until you’re actually downloading files at 11pm and realizing half of them don’t even open in the program you have. I’ve been there so many times with clients who send me panic texts like “I downloaded this template but it’s asking for fonts I don’t have??”
First thing you gotta know is that table name cards and escort cards are technically different things but most template sites lump them together. Table name cards sit ON the actual table and tell people “hey you’re at the Tuscany table” or whatever. Escort cards are the little cards at the entrance that say “Sarah Johnson – Table 3” and direct guests to their assigned table. You probably want both but we’re focusing on the table name ones here.
Where To Actually Download Templates That Work
Alright so the main places I send people are Etsy, Creative Market, and Canva. Each one has its weird quirks that’ll either work for you or drive you nuts.
Etsy is gonna give you the most variety but quality is all over the place. You’ll find templates for like $5 to $25 usually. The thing that annoyed me SO MUCH last spring was downloading a template that claimed to be “fully editable” but it was actually a flattened PDF that you couldn’t change at all. Total waste of money. Now I always check the reviews specifically for comments about editing before I buy anything. Look for sellers who offer at least 3-4 different file formats like PDF, PowerPoint, Word, and maybe Canva links.
Creative Market tends to have more professional designers and the quality is more consistent but you’re paying $12-40 per template set usually. The advantage is most of these come with way more extras – like matching menus, programs, welcome signs. If you’re doing a whole cohesive stationery suite this makes more sense than buying everything separately.
Canva is honestly where I direct most of my DIY brides now because it’s just so much easier. You don’t download anything initially – you edit right in your browser. They have free templates and paid ones (usually $1-15). The paid ones from Canva creators are actually really good quality. My cat literally walked across my keyboard while I was editing Canva templates for a client in summer 2021 and somehow managed to change all the fonts to Comic Sans… took me 20 minutes to figure out how to undo it because apparently I don’t know the keyboard shortcuts as well as I thought.
File Formats And What They Actually Mean
This is where people get confused and I get it because nobody explains this stuff clearly.
PDF templates – These are the most common. If it says “editable PDF” that means you can open it in Adobe Acrobat (not just the free Reader, you need the paid version) or a program like PDF Expert and change the text. Some PDFs are editable in free programs too but don’t count on it. If someone just sends you a regular PDF with no editing capability, you’re gonna need to use a workaround or you’re stuck.
Microsoft Word/PowerPoint – These are actually the easiest for most people because you probably already have these programs or can use the free online versions. The downside is they’re not as pretty usually? Like the design limitations mean you’re not getting super fancy calligraphy effects or complex layouts. But for simple classic designs they work great.
Adobe Illustrator/InDesign – Professional designer files. Unless you already know how to use these programs, nah, skip these templates. The learning curve is not worth it for wedding place cards trust me.
Canva links – The seller gives you a link and you click it and boom the template opens in your Canva account. You need a free Canva account but that takes like 30 seconds to set up. This is genuinely the easiest option for most people.
What To Look For In A Good Template
When you’re scrolling through hundreds of options you need to know what actually matters. Here’s what I check:
- Does it come in the right size? Standard table name cards are usually 5×7 inches but I’ve seen 4×6, A6, and even square 5×5. Check what size you actually want before buying.
- How many table names do you need? Some templates give you 1-20, others give you 1-10, some give you 1-30. Count your tables first.
- Can you print at home or do you need a print shop? Templates with bleeds (that’s the extra space around the edges) are meant for professional printing. Templates without bleeds are usually designed for home printing.
- What’s the vibe? Rustic, modern, elegant, whimsical… you want something that matches your other wedding stuff obviously.
- Are fonts included or do you need to download them separately? This is HUGE. Some sellers include font files, most don’t. If they don’t include fonts they should at least tell you what fonts are used so you can download them yourself.
How To Actually Edit These Things
Okay so you downloaded a template now what. Let me walk through the actual editing process because this is where people get stuck.
For Canva templates: Click the link, it opens in Canva, you literally just click on the text and type your new table name. Change colors by clicking on any element and choosing a new color from the palette. You can swap out graphics by going to Elements in the left sidebar. When you’re done you click Download and choose PDF Print for the highest quality. Done.
For Word/PowerPoint: Open the file, click on the text boxes, type your new names. You might need to adjust font sizes if your table names are longer than the example. To change colors, highlight the text and use the font color picker. For background colors click on the shape/box and use the fill color option. Print directly from the program or save as PDF first.
For editable PDFs: Open in Adobe Acrobat or whatever PDF editor you have. Look for the “Edit Text” or “Fill & Sign” option depending on how the template was created. Click on the text fields and type your changes. This can be kinda finicky – sometimes the text boxes are sized weird and your text gets cut off, then you gotta resize the box which can mess up the layout…
The Font Problem Nobody Warns You About
This is the thing that has caused me the most stress with DIY clients honestly. You download a gorgeous template and open it and all the text shows up in Arial or Times New Roman because you don’t have the fancy fonts installed on your computer. It looks terrible and you panic.
Here’s what you do: Check the template description or any included readme file for font names. Google those font names plus “free download” – many are free for personal use. Download the font files (usually .ttf or .otf files), then install them on your computer. On Windows you right-click and choose Install. On Mac you double-click and click Install Font. Then close and reopen your template file and the fonts should show up correctly.
Some fonts cost money though. If the template uses a premium font like Proxima Nova or Gotham and you don’t wanna pay for it, you’ll need to substitute a similar free font. Google Fonts is your friend here – it’s completely free and has tons of options.
Printing Your Cards Without Losing Your Mind
You’ve edited everything, it looks perfect on screen, now you gotta print them and this is where things can go sideways real quick.
Home printing: Get decent cardstock from Amazon or Michaels – I usually recommend 80lb or 100lb weight. The cheap stuff from the office supply store is gonna look flimsy. Print a test page on regular paper first to make sure everything’s positioned right. Check your printer settings – you want highest quality, no scaling, no “fit to page” nonsense that’ll shrink everything.
In summer 2021 I had a bride who printed 30 table cards at home the night before her wedding and halfway through her printer ran out of ink and the backup cartridge she bought was defective. We ended up frantically driving to three different stores at 9pm to find the right ink. It was a nightmare. Always print at least a few days early and have backup ink.
Professional printing: Places like FedEx Office, Staples, or local print shops can do this pretty cheap. Upload your PDF, choose cardstock weight and finish (matte or glossy), and pick them up in a day or two. This is honestly worth it if you’re doing more than like 15 cards because the quality is just better and you don’t have to worry about your home printer jamming.
Online printing services like Vistaprint or Minted are also options but you’re paying more and waiting for shipping. Only worth it if you’re ordering other printed stuff from them too probably.
Creative Table Naming Ideas While We’re Here
Most people do numbers which is fine but kinda boring? Here are options I’ve seen work really well:
- Places you’ve traveled together
- Favorite movies or books
- Streets where you’ve lived
- National parks or hiking trails
- Meaningful dates or years
- Favorite restaurants
- Types of flowers or trees
- Constellations or celestial objects
Just make sure your table names are clear and easy to read from a distance. I had one couple who used obscure literary references and half their guests couldn’t figure out which table was theirs because the names were too similar sounding. Keep it simple enough that your 85-year-old grandmother and your college roommate can both navigate it.
Display Ideas For The Actual Tables
You’ve got these beautiful printed cards now they need to stand up somehow. The template itself won’t solve this problem for you.
Easels: You can get mini easels from Michaels or Amazon for like $1-2 each. They come in wood, acrylic, or metal. Just set your card on the easel, done. This works for 4×6 or 5×7 cards mostly.
Frames: Buy cheap frames from IKEA or Dollar Tree, remove the backing stand, and you’ve got a frame for each table. Looks more polished but costs more and takes up more space.
Holders: Those wire photo holders or acrylic sign holders work great. You can find them in bulk online.
Get creative: Clip them to bottles, attach them to centerpiece elements, lean them against lanterns… depends on your wedding style obviously.
How Many Copies Do You Actually Need
One per table seems obvious but think about this – if you’re doing long banquet tables you might want one at each end so people can see from both sides. For round tables one is usually enough unless the table is huge. I always tell people to print 2-3 extras just in case one gets knocked over and lands in someone’s water glass or whatever. Murphy’s law applies to weddings big time.
Matching Your Other Stationery
If you’re doing DIY templates for table cards you probably want everything to match right? Your invitations, menus, programs, welcome sign, seating chart… it’s gonna be a whole thing.
The easiest way is to buy a template bundle from one seller that includes everything. Costs more upfront but saves you time trying to match fonts and colors across different templates from different designers. I learned this the hard way in spring 2023 when a client bought templates from four different Etsy shops and nothing matched quite right even though she thought they were all “rustic greenery” themed. We spent hours trying to make them cohesive.
If you’re mixing templates from different sources, at least stick to the same 2-3 fonts throughout and use the exact same color codes. Write down your hex codes (those are the number/letter combos that define specific colors) and use them consistently.
Troubleshooting Common Problems
Because something will definitely go wrong, here’s quick fixes:
Template won’t open: Check what program you need. Download a free trial if necessary. Some sellers offer to convert files for you if you message them.
Colors look different printed vs on screen: Screens show RGB colors, printers use CMYK. Colors will always shift slightly. Print a test page to see the real colors before printing everything.
Text is blurry: Your template is probably low resolution. Look for templates that are at least 300 DPI (dots per inch). Anything less will look pixelated when printed.
Cards are cutting off at the edges: Check your printer margins. Most home printers can’t print to the very edge of the paper. Either adjust your template to have wider margins or use a print shop that can do borderless printing.
Font substitution isn’t working: The template might have the fonts embedded or locked. You might need to contact the seller for help or just pick a completely different template honestly.
Time Management Reality Check
Don’t underestimate how long this takes. Even with a template, you’re gonna spend time downloading, installing fonts, editing, test printing, fixing problems, printing for real, cutting if needed, assembling with easels or frames… budget at least 3-4 hours for the whole process if you’re doing like 15-20 tables. More if you’re new to this stuff or if anything goes wrong which it probably will because weddings.
Start at least two weeks before your wedding. Do not wait until the week of. You need buffer time for mistakes and reprints and random problems. I cannot stress this enough – every single client who’s waited until the last minute has regretted it.
