
Planning Guides, Style Guide
Wedding Guest List Google Sheets Template: Cloud Spreadsheet
Jul
Setting Up Your Google Sheets Wedding Guest List
Okay so Google Sheets is honestly the best thing that ever happened to wedding planning and I’m gonna show you exactly how to set one up because I’ve done this like a hundred times. First thing you need to do is open Google Sheets—just go to sheets.google.com and click the blank spreadsheet option. Don’t use one of those fancy templates they offer because honestly they’re either too complicated or missing half the stuff you actually need.
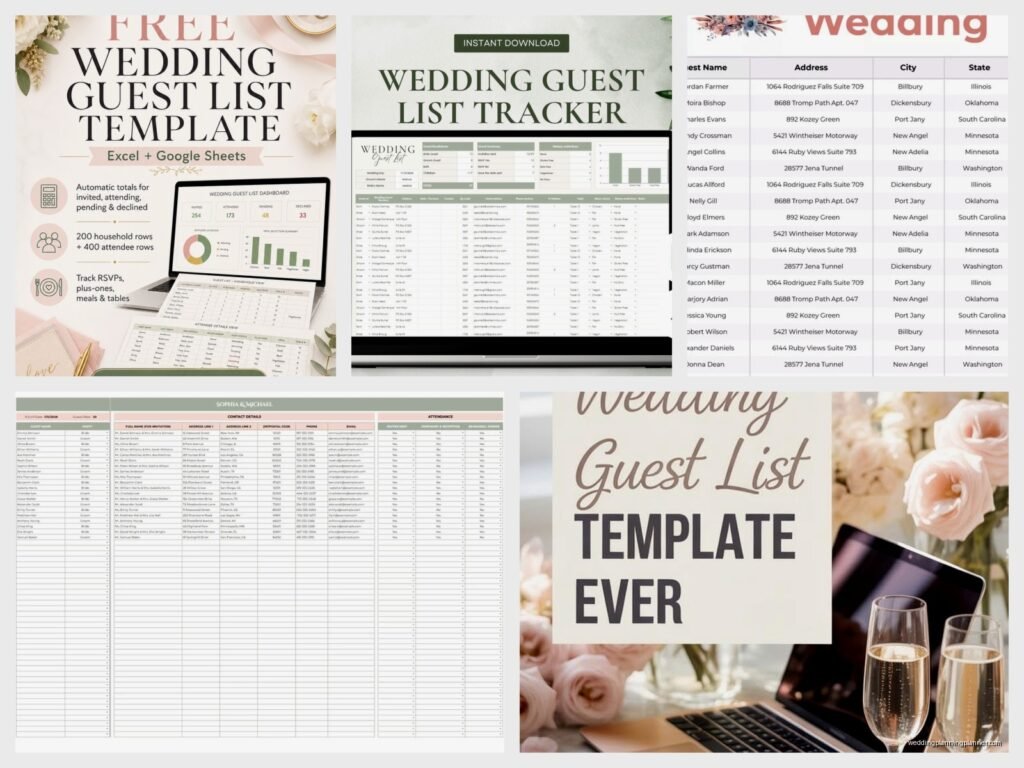
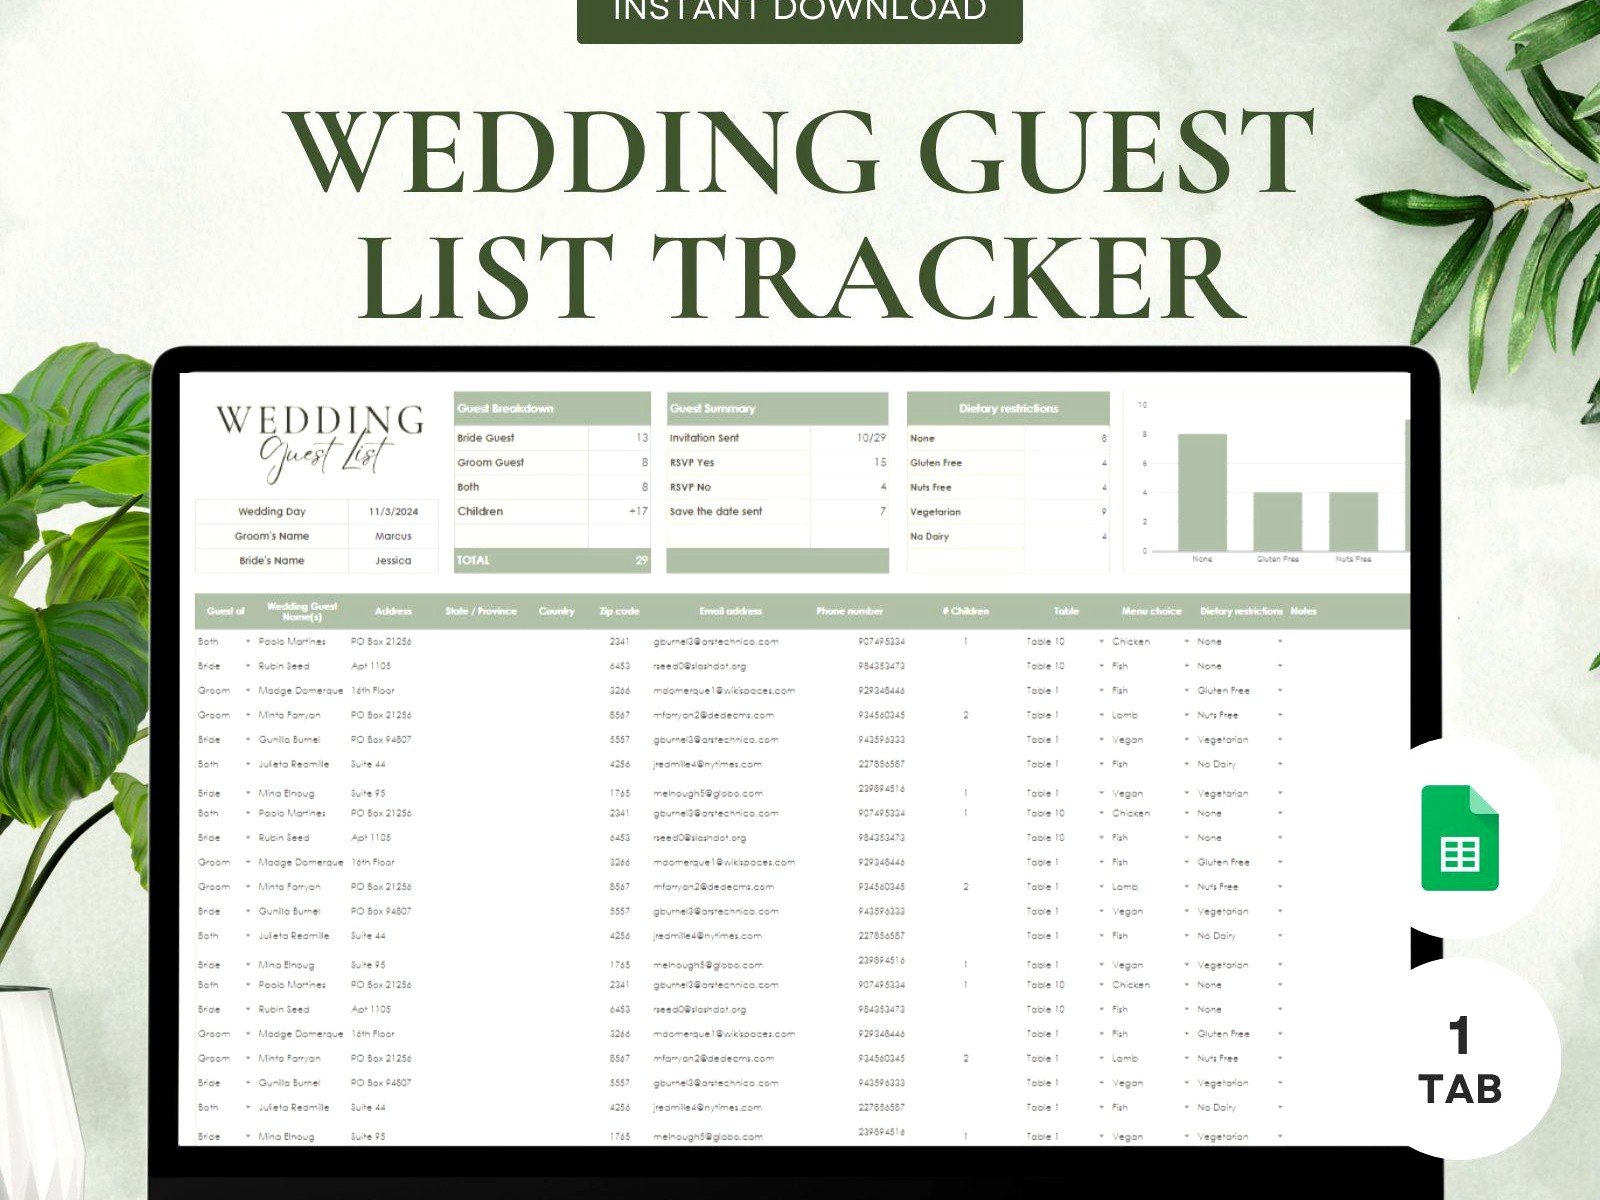
Start with your column headers in row 1. Here’s what I always include: Guest Name, Plus One Name, Address, City, State, Zip Code, Email, Phone Number, Invited To (ceremony/reception/both), RSVP Status, Meal Choice, Dietary Restrictions, Table Assignment, Gift Received, and Thank You Sent. That sounds like a lot but trust me you’ll want all of this.
Why Cloud Spreadsheets Beat Everything Else
The thing that annoyed me SO much back in like 2019 was when I had a bride who kept her guest list in Excel on her laptop and her fiancé had a different version on his laptop and they kept emailing versions back and forth and nobody knew which one was current. It was a nightmare. Three different guest counts, people invited twice, some people not invited at all even though they thought they were on the list… just chaos.
With Google Sheets, you both access the same exact document at the same time. You can literally watch your partner add names in real-time. It saves automatically every few seconds so you’re never gonna lose your work even if your internet cuts out or whatever.
Organizing Your Guest Categories
Add a column called “Category” right after Guest Name. This is where you’ll put things like: Bride’s Family, Groom’s Family, Bride’s Friends, Groom’s Friends, Coworkers, Parents’ Friends, etc. You can color-code these later which makes everything so much easier to visualize.
To color-code, select the cells you want, click the fill color icon (looks like a paint bucket), and pick your colors. I usually do light blue for bride’s side, light green for groom’s side, yellow for mutual friends. My cat walked across my keyboard once while I was setting one of these up and somehow managed to turn an entire column purple, which actually looked kinda nice so we kept it.
Setting Up Data Validation for RSVP Status
This is where Google Sheets gets really powerful. Click on the column letter for RSVP Status to select the whole column. Go to Data > Data Validation. Under “Criteria,” choose “List of items” and type: Not Yet Sent, Invited – Awaiting Response, Accepted, Declined, Maybe. Click Save.
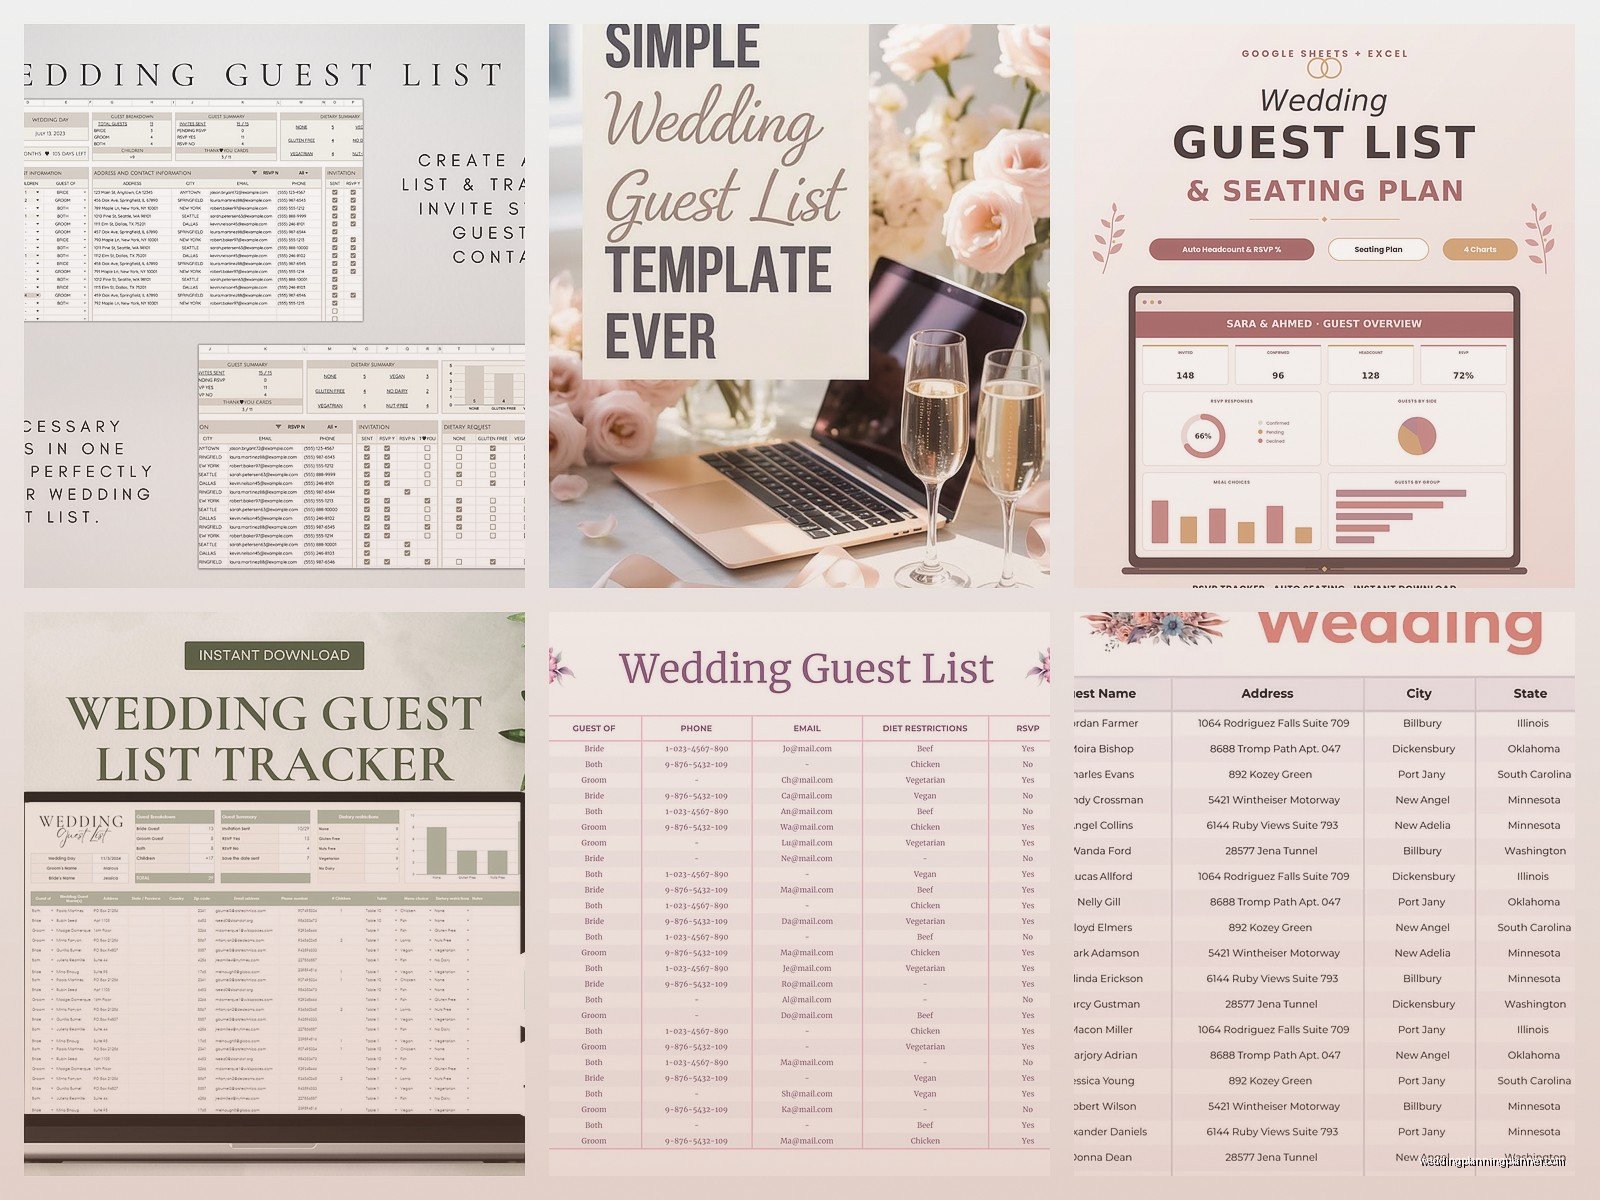
Now instead of typing the status every time, you get a dropdown menu. This keeps everything consistent and you won’t end up with some cells saying “yes” and others saying “attending” and others saying “accepted” which makes it impossible to count properly.
Do the same thing for Meal Choice if you’re having plated dinner options. List of items: Chicken, Beef, Fish, Vegetarian, Vegan, Kids Meal, or whatever your actual options are.
Formulas That Actually Help
At the bottom of your guest list, leave a few blank rows and then create a summary section. This is where you’ll track your numbers without manually counting every single time someone RSVPs.
In one cell, type “Total Invited:” and in the cell next to it, use this formula: =COUNTA(A2:A500) – this counts how many names you have in column A (adjust the range based on how many rows you think you’ll need). For “Total Accepted,” use: =COUNTIF(J2:J500,”Accepted”) where J is your RSVP Status column.
You can do the same for Declined, for each meal choice, for plus ones… summer 2021 I had a couple who were obsessed with their numbers and checked the spreadsheet like seventeen times a day watching those formulas update as RSVPs came in. It was actually really sweet how excited they got every time the “Accepted” count went up.
The Plus One Situation
Here’s something that trips people up—how to handle plus ones in your sheet. I do it two ways depending on whether you know the plus one’s name or not. If you know their name, they get their own row with all their info. If you don’t know their name yet, put “Plus One” or “Guest of [Name]” in the Plus One Name column on the primary guest’s row.
Add a column called “Plus One Allowed” with Yes/No options (use data validation for this too). This way you can track who’s allowed to bring someone versus who actually is bringing someone, because those are different things and you need to know both.
Address Management and Mail Merge
Keeping addresses organized in your Google Sheet means you can use it for mail merge later when you send invitations and thank you cards. There are add-ons for Google Sheets that connect to Gmail or Google Docs and auto-populate addresses onto envelope templates or labels.
Make sure you have separate columns for each part of the address—don’t just have one “Address” column with everything smashed together. Street address, city, state, and zip should all be separate. This makes sorting and filtering so much easier, and also most mail merge tools need it formatted this way.
Pro tip: add a column for “Invitation Sent Date” so you know when you mailed everything. Also add “Save the Date Sent” if you’re doing those. You’ll forget who you sent stuff to otherwise, I promise.
Sharing and Permissions
Click the Share button in the top right corner. You can add your partner’s email, your wedding planner’s email (hi, that’s me), your mom’s email if she’s helping, whoever needs access. You can choose whether they can edit or just view.
I usually recommend giving your partner full edit access obviously, but maybe your parents or in-laws only get view access unless they’re actually managing part of the list. Too many editors can get messy when people start deleting things or… actually spring 2023 I had a situation where a mother-in-law had edit access and decided to invite her entire book club without telling anyone and we didn’t notice until the caterer asked why the count jumped by 12 people overnight. So yeah, be careful with permissions.
Filters and Sorting
Click on any cell in your header row, then click Data > Create a Filter. Little dropdown arrows appear in each column header. Now you can filter to see only people who haven’t RSVP’d yet, or only people from a specific category, or only people who need vegetarian meals.
This is incredibly useful when you’re working with your caterer and they need meal counts, or when you’re assigning tables and want to see all the bride’s college friends together. You can sort alphabetically, by RSVP status, by whatever you need in that moment.
Conditional Formatting for Visual Cues
This feature is kinda magical. Select your RSVP Status column, go to Format > Conditional Formatting. Set up rules like: if cell contains “Accepted,” make it light green. If it contains “Declined,” make it light red. If it contains “Invited – Awaiting Response,” make it yellow.
Now you can literally see at a glance where things stand. The sea of yellow cells shrinks as people respond, and you can quickly spot who you might need to follow up with. I also use conditional formatting on the Thank You Sent column—green if yes, red if no—so you never lose track of who you still owe notes to.
Table Assignments and Seating
Once you get closer to the wedding and need to assign tables, your Google Sheet becomes even more valuable. Add columns for Table Number and potentially Seat Number if you’re doing assigned seating within tables.
I like to create a second sheet within the same document (click the plus sign at the bottom) specifically for table planning. List each table number and then list the guests assigned to that table. You can reference the main guest list using formulas or just type names manually—whatever works for your brain.
You can also add columns for notes like “sits in wheelchair – needs accessible table” or “don’t seat near the Johnsons” or whatever specific considerations you have. These little notes save you so much trouble later when you’re actually finalizing everything with your venue.
Gift Tracking Integration
The Gift Received and Thank You Sent columns are gonna save your life after the wedding. When gifts start arriving, immediately log them. I put the date received and what the gift was in one column, then mark yes/no in Thank You Sent.
Some people create a separate sheet tab for gifts with more detail—date received, gift description, where it was purchased (for returns if needed), date thank you sent. Link it to your main guest list by name so everything stays connected. Honestly this is the part that people skip and then six months after the wedding they’re like “did we thank Aunt Carol?” and nobody remembers.
Mobile Access and Real-Time Updates
Download the Google Sheets app on your phone because you’ll want to update this thing from everywhere. At your bridal shower when someone asks if they’re invited? Check your sheet. When your mom calls asking for a count? You’ve got it right there. When an RSVP card arrives in the mail while you’re watching TV? Update it immediately before you lose the card or forget.
The mobile app works almost exactly like the desktop version. You can edit cells, use filters, check your formulas, everything. The only thing that’s slightly annoying on mobile is complex formatting, but for basic updates it’s perfect.
Backup and Version History
Google Sheets saves everything automatically, but you can also see version history by going to File > Version History > See Version History. This shows you every change made, when it was made, and who made it. If someone accidentally deletes a bunch of rows or messes something up, you can restore a previous version.
I still recommend making occasional backups though. Go to File > Download > Microsoft Excel or PDF, and save a copy to your computer or Google Drive folder every few weeks. Just in case something weird happens with your Google account or… I don’t know, technology is unpredictable sometimes.
Collaboration Features You’ll Actually Use
You can leave comments on specific cells by right-clicking and selecting “Comment.” This is great for when you and your partner disagree about whether to invite someone or need to remember to get someone’s address. The comments stay attached to that cell and you can resolve them once the issue is handled.
There’s also a chat feature in Google Sheets if multiple people are viewing it at the same time, but honestly I’ve never seen anyone actually use that. Email or text is easier.
One thing I love is highlighting cells in different colors temporarily while you’re working on something. Like if you’re going through and updating meal choices, you can highlight each row as you process it so you don’t lose your place. Or if certain guests need special attention—maybe they’re VIPs or have complicated situations—give them a color so they stand out.
Common Mistakes to Avoid
Don’t put multiple people in one cell unless they’re a couple sharing an invitation. Each person should generally get their own row so you can track their individual meal choice, whether they attended, their specific dietary needs, etc. Even kids should get their own rows.
Don’t forget to freeze your header row so it stays visible when you scroll down. Click on row 2, then go to View > Freeze > 1 Row. Now you can scroll through hundreds of guests and still see what each column represents.
Don’t make your categories too specific or you’ll have like 47 different categories and it becomes useless. Stick to broad groupings that actually help you make decisions about who to invite or where to seat people.
And please, please keep one master sheet. Don’t create multiple versions for different purposes or you’ll end up in the same mess as that 2019 couple I mentioned. Use filters and separate tabs within the same document instead.
