
Planning Guides, Style Guide
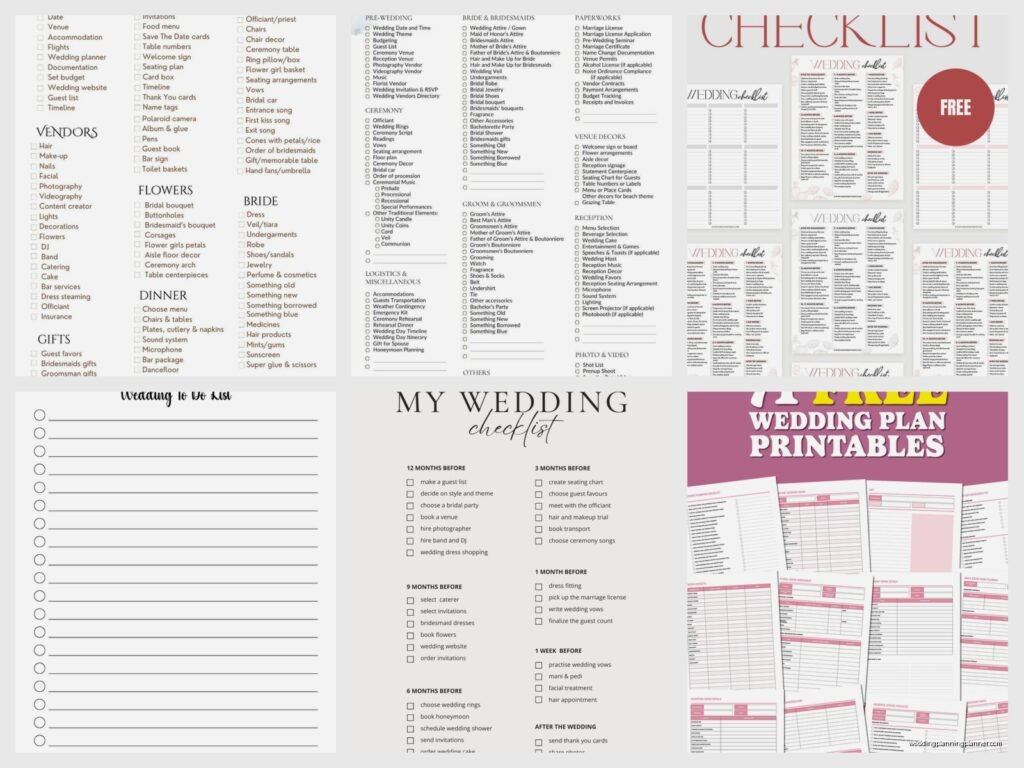
Wedding To Do List Printable: Task Checklist Downloads
Jul
Why You Actually Need a Wedding To Do List Printable
So here’s the thing about wedding planning – I had this bride in spring 2023 who showed up to our consultation with literally seventeen different notebooks, a binder that was falling apart, sticky notes everywhere, and she couldn’t find the vendor quote she’d gotten two weeks earlier. She was almost in tears because she knew she was forgetting stuff but couldn’t figure out what. That’s when I realized not everyone gets how important having ONE central checklist system actually is.
Wedding to do list printables aren’t just pretty downloads you pin on Pinterest and never use. They’re gonna save your sanity if you actually commit to using them. The key is finding one that works for YOUR brain, not just the one that looks cutest in blush pink with fancy script fonts.
What Makes a Good Wedding Checklist Download
You want something that breaks tasks down by timeline – like 12 months out, 9 months out, 6 months, 3 months, final month, final week, day-of. I’ve seen so many brides download a checklist that just lists everything in random order and then they’re overwhelmed because they’re looking at “order wedding cake” when they haven’t even booked a venue yet.
The best printables I recommend to clients have these elements:
- Checkboxes that are actually big enough to check off with a pen
- Space to write in deadlines or notes
- Categories separated clearly – venue stuff, attire, vendors, stationery, etc
- Some flexibility to add your own tasks because every wedding is different
- A format that actually fits in a binder or folder you’ll carry around
What really annoys me is when these printables are designed by people who’ve clearly never planned a wedding and they put things in the wrong order. Like “book honeymoon” at 12 months out but “apply for passports if needed” at 3 months. Nah, that’s backwards! Passports can take months sometimes.
The Master Checklist vs. Mini Checklists
I always tell couples to download both a comprehensive master checklist AND smaller focused ones. The master list is your overview – everything from engagement to honeymoon. But then you want specific downloads for things like:
- Wedding day timeline checklist
- Vendor contact sheet (technically a checklist of who you need to hire)
- Wedding week tasks
- Honeymoon packing list
- Guest list tracker
- Budget breakdown checklist
The master list keeps you on track for the big picture, but when you’re in the thick of addressing invitations or packing for your honeymoon, you don’t wanna flip through 15 pages to find that one section. Smaller focused printables are way more practical in those moments.
Where to Actually Find Good Printables
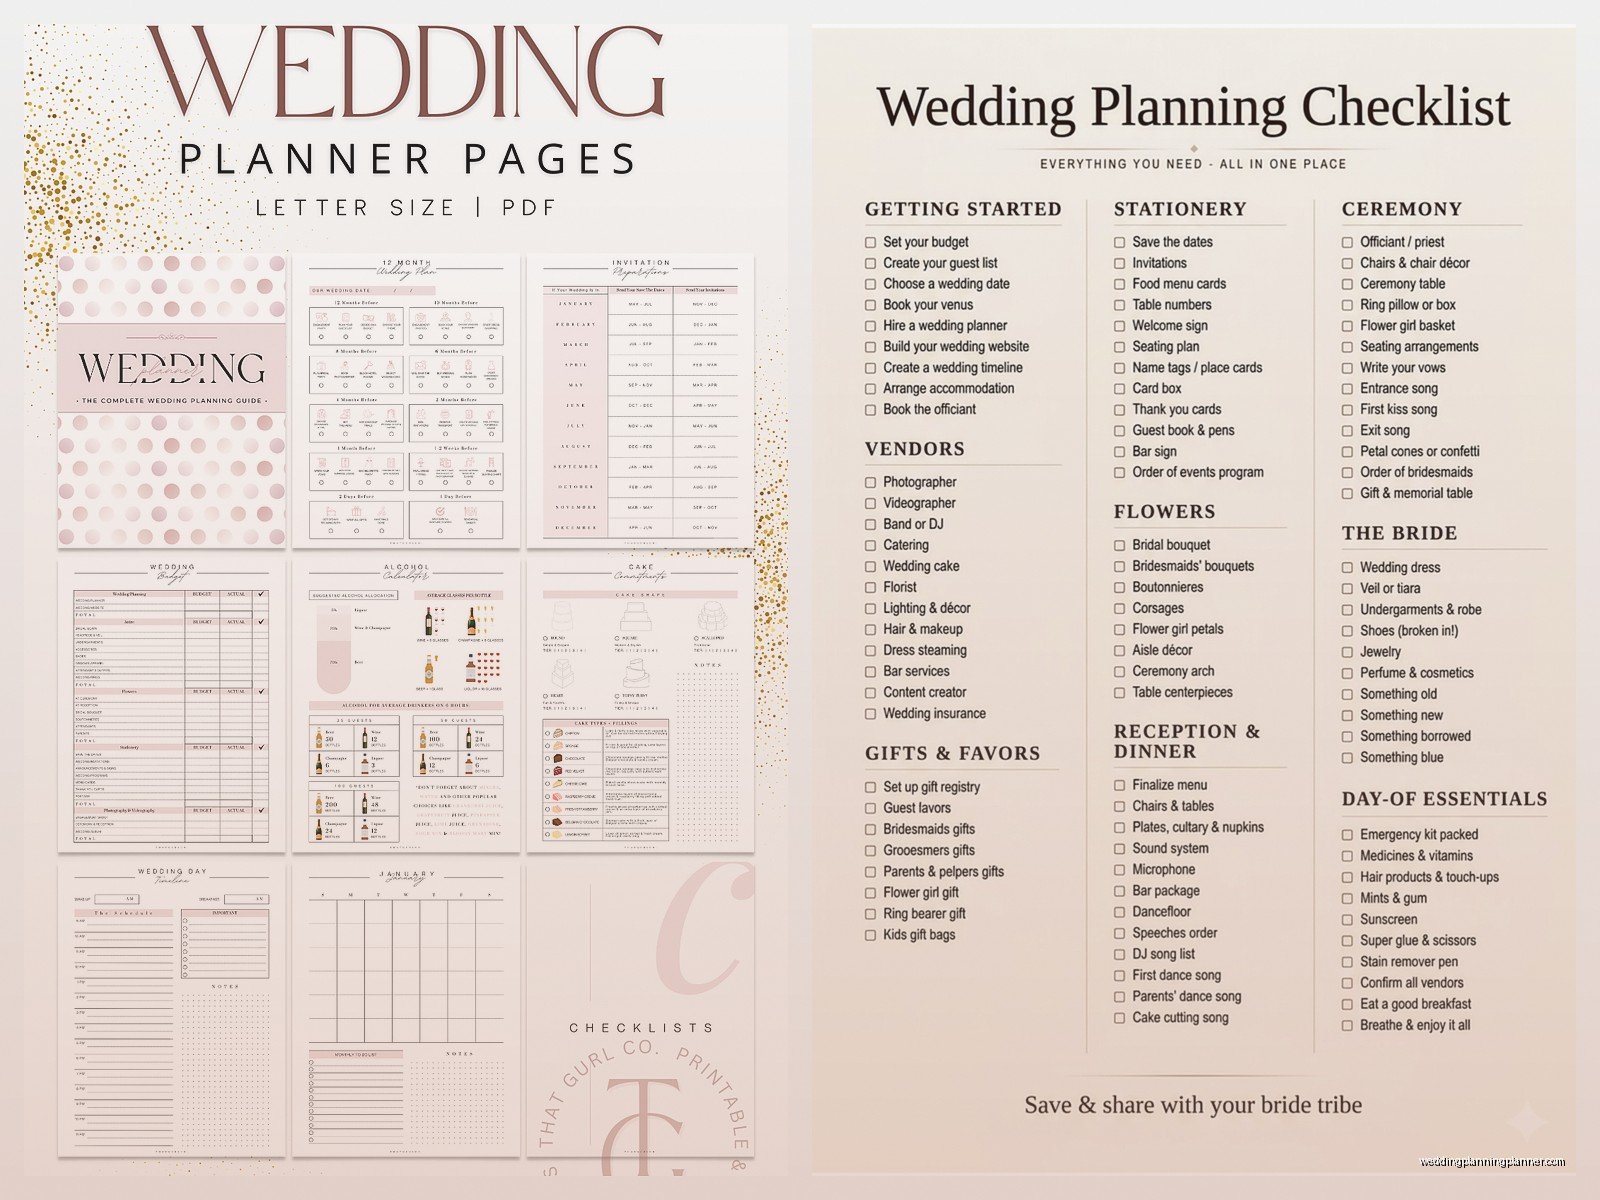
Okay so everyone knows about Etsy and Pinterest but let me give you the real breakdown. Etsy has tons of options – you can find ones that match your wedding aesthetic which is kinda fun if you’re keeping everything in a wedding binder. I usually recommend spending like $5-15 on a good comprehensive set rather than piecing together free ones that don’t quite work together.
Free printables are great if you’re on a tight budget, and honestly some of them are really well done. The Knot and WeddingWire both have free downloadable checklists. Some wedding planners (including me, not gonna lie) offer free printables on their websites as a way to attract clients. The quality varies though – sometimes the free ones are missing important tasks or the timeline is off.
What I do with my own clients is I give them my custom checklist that I’ve refined over like… I don’t even know how many weddings at this point. But that’s part of my planning package. If you’re DIY-ing everything, you gotta do your research and maybe download a couple different versions to compare.
Digital vs. Physical Printables
This is totally personal preference but I’ve noticed patterns. If you’re the type who lives on your phone and uses apps for everything, you might think you want a digital checklist. But here’s what I’ve observed – there’s something about physically checking off a box with a pen that feels more satisfying and helps it stick in your brain.
That said, digital versions have advantages:
- You can access them anywhere on your phone or tablet
- Easy to share with your partner or family members
- Can set reminders and notifications
- No risk of losing the paper or your cat knocking your binder off the table (yes this happened to me with my own wedding binder, my cat Felix is a menace)
Physical printables though:
- You can see everything at a glance without scrolling
- Satisfying to check things off
- Can keep everything together in a binder with vendor contracts and inspiration photos
- No battery needed
- Easier to look at during vendor meetings without seeming distracted by your phone
Honestly I use both for my own events. I keep the master checklist printed in my planner, but I also have a digital copy in Google Sheets that I can update from anywhere.
How to Actually Use Your Checklist Without Getting Overwhelmed
So you downloaded this beautiful comprehensive checklist with like 200 tasks on it. Now what? Don’t try to read through the whole thing in one sitting – that’s how you end up panicking about centerpieces when you just got engaged yesterday.
Start with your timeline. If you’re 10 months out from your wedding, focus ONLY on the 12-month and 9-month sections first. I usually tell couples to sit down once a week, maybe Sunday evenings or whatever works, and look at what needs to happen in the next week or two.
Block off time in your calendar for wedding tasks. And I mean actually schedule it like an appointment. “Tuesday 7pm: research photographers” or “Saturday morning: address invitations.” Otherwise wedding planning just becomes this constant background stress and you never actually make progress on your checklist.
Customizing Your Printable
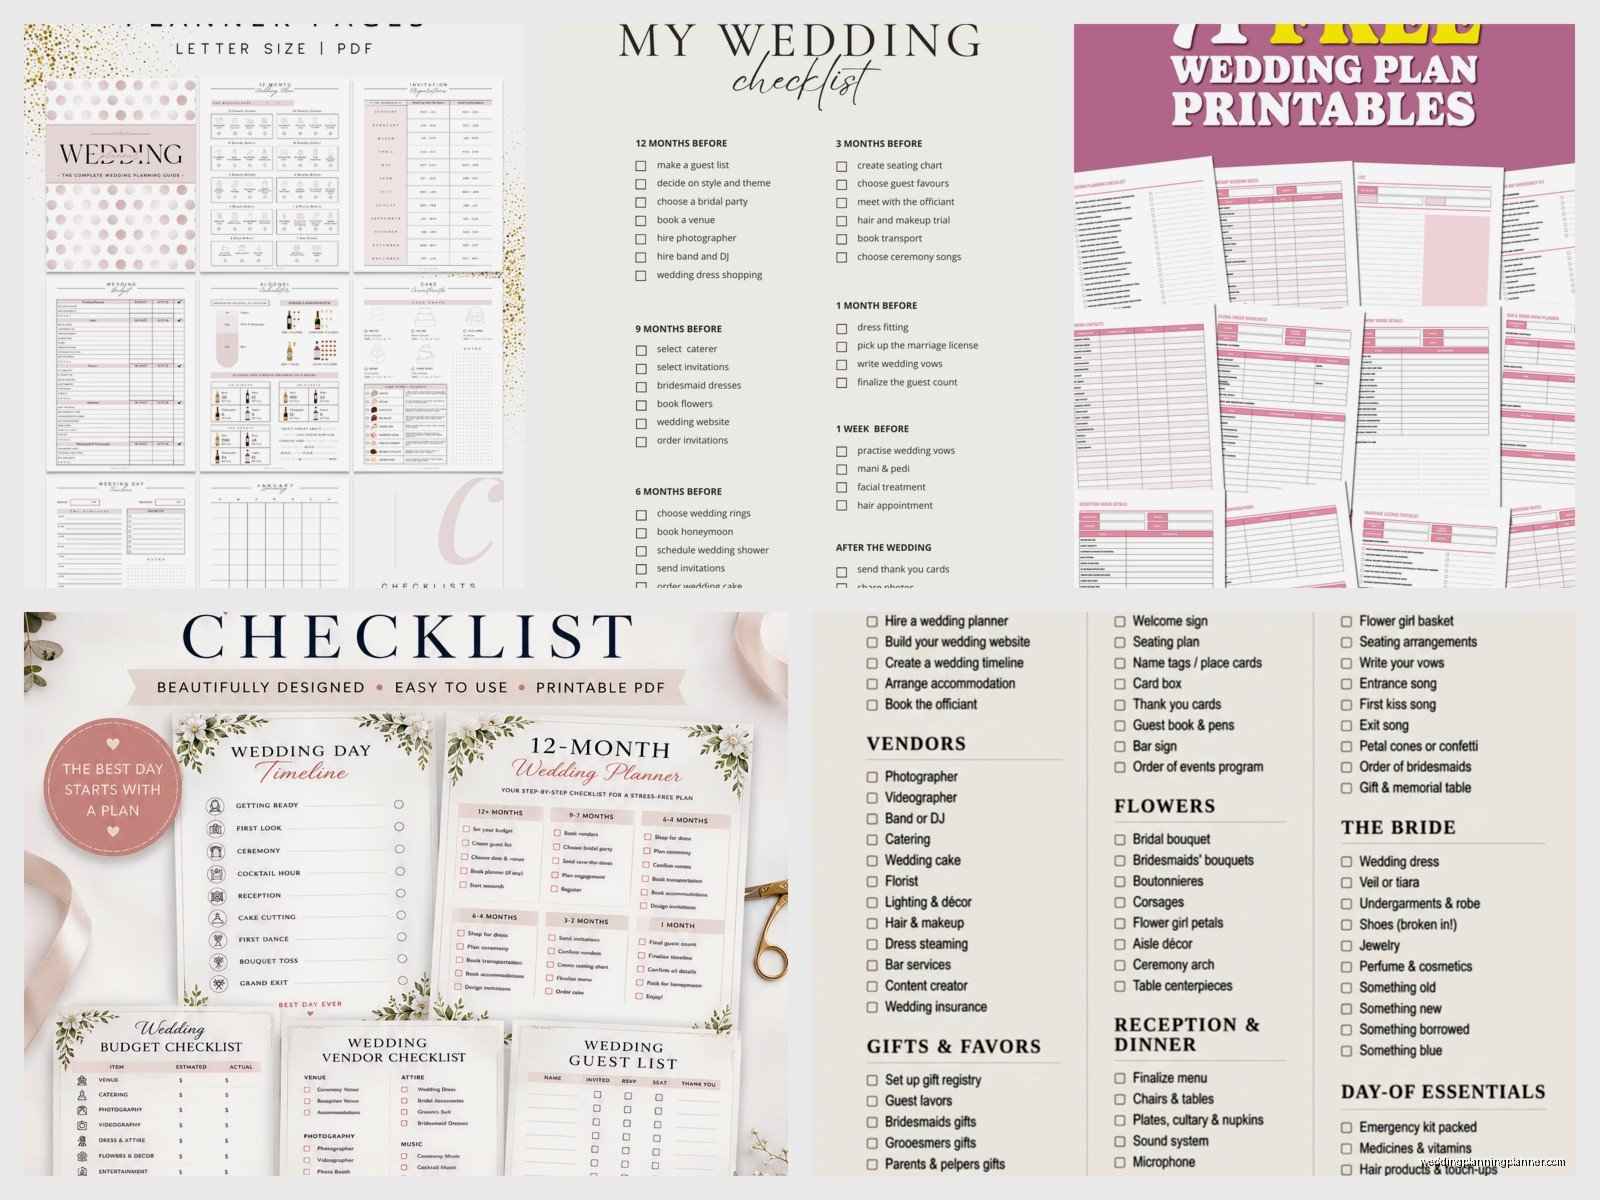
Here’s the thing most people don’t realize – you’re gonna need to customize whatever checklist you download. Every wedding is different. Maybe you’re not doing a rehearsal dinner, or you’re having a destination wedding, or you’re skipping the whole bridal party thing. Cross off what doesn’t apply! Add what’s missing!
When I got married (which feels like forever ago now), I had to add a whole section about coordinating international family travel because half our guests were coming from overseas. That wasn’t on any standard checklist. So I just… wrote it in the margins and added pages.
Don’t be precious about keeping the printable perfect and pristine. It’s a working document. Write all over it, use different colored pens for different categories, stick post-it notes on it, whatever helps you actually use it.
The Tasks That Everyone Forgets
Even with a comprehensive checklist, there are tasks that somehow slip through the cracks. Let me just give you a heads up on the ones I see couples forget most often:
- Breaking in your wedding shoes (do this weeks in advance, not the night before)
- Assigning someone to handle vendor payments and tips on the wedding day
- Planning what to do with your dress after the wedding
- Scheduling hair and makeup trials – not just booking the artist but actually doing the trial
- Arranging transportation for yourselves after the reception
- Getting your marriage license (and checking how far in advance you can get it – some states it expires after 30 days!)
- Deciding who’s returning rental items the day after
- Packing an overnight bag for your wedding night if you’re staying at a hotel
- Eating an actual meal on your wedding day
That last one isn’t really a task you can check off in advance but like… put it on your day-of timeline because I’ve seen too many brides almost pass out because they forgot to eat breakfast and then were too excited/nervous to eat lunch.
Coordinating with Your Partner
If you’re planning with a partner, you need a system for dividing tasks. Some printables have a column for whose responsibility each task is – super helpful. If yours doesn’t, add one.
What worked for me and what I recommend to clients is sitting down together at the beginning and dividing up categories based on who cares more or who has more time. Like if one person is really into music, they handle the band/DJ. If the other person has more flexible work hours, maybe they do the weekday vendor meetings.
But then you gotta actually check in regularly. I had a couple where they divided up tasks but never communicated, and they both booked photographers because each thought the other hadn’t done it yet. Awkward and expensive mistake.
Digital Tools That Work with Printables
Even if you’re using physical printables, there are digital tools that complement them really well. I’m not saying you need all of these, but they can be helpful:
Google Calendar for setting deadline reminders. When you check your printable and see “order invitations by June 1st,” put that in your digital calendar with a reminder two weeks before.
A shared spreadsheet with your partner for budget tracking. Your printable checklist tells you what to do, but a spreadsheet tracks how much you’re spending on each thing.
A wedding planning app like WeddingHappy or Zola just for the guest list management. Keeping track of addresses, meal choices, RSVPs – that’s honestly easier digitally than on paper, even though I love paper for most things.
Photo storage in Google Drive or Dropbox for inspiration pics, venue photos, vendor portfolios. You can reference these while working through your checklist tasks.
The Week-By-Week Approach
What I’ve found works best is breaking your master checklist into weekly mini-goals. Like, don’t just have “book photographer” on your list. When you get to that task, break it down:
- Week 1: Research photographers, look at portfolios, read reviews
- Week 2: Contact top 5 choices, ask about availability and pricing
- Week 3: Schedule consultations with top 3
- Week 4: Make decision and book
This makes big overwhelming tasks feel manageable. And it prevents you from procrastinating because “book photographer” feels huge but “spend 30 minutes looking at photographer websites” feels doable.
What to Do When You Fall Behind
You’re gonna fall behind at some point. It happens to literally everyone. I don’t care how organized you are, life happens. Work gets crazy, someone gets sick, you just need a break from wedding stuff for a week or two.
When you look at your checklist and realize you’re behind, don’t panic. And definitely don’t try to catch up all at once by pulling an all-nighter addressing invitations while simultaneously researching florists and… I mean, that’s how mistakes happen.
Reassess your priorities. What actually HAS to happen this week? What can wait another week or two? Some tasks have hard deadlines (like you need invitations out 6-8 weeks before the wedding) but others are flexible (do you really need to pick out favors right this second?).
If you’re really behind, that might be when you bring in help. Ask your wedding party to help with certain tasks, or hire a day-of coordinator, or even just hire someone on TaskRabbit to help you assemble programs or whatever’s bogging you down.
Stationery-Specific Checklists
Since stationery is my specialty, let me just say – get a separate checklist just for paper goods and printing timelines. Your main wedding checklist might just say “order invitations” but there are like fifteen steps involved in that:
- Choose design/designer
- Finalize wording
- Proofread (multiple times, by multiple people)
- Order samples if doing custom printing
- Approve final proof
- Place order
- Receive invitations and check for errors
- Assemble invitations (invitation, RSVP card, details card, envelope)
- Address envelopes
- Calculate postage (those thick invites need extra postage!)
- Mail invitations
See what I mean? One task is actually a whole project. Same with programs, menus, place cards, thank you notes. Having a detailed stationery timeline checklist prevents last-minute panics.
The Final Month Checklist
The final month before your wedding is when your checklist becomes your lifeline. This is when things get real and you’re juggling a million details. Your final month printable should be week-by-week, honestly even day-by-day for the final week.
This is also when you should be checking off tasks like confirming final headcounts with your caterer, doing your final dress fitting, confirming all vendor arrival times, creating a day-of timeline for your wedding party and family.
I always recommend printing out a fresh copy of your final week checklist even if you’ve been using the same printable all along. There’s something about starting that final week with a clean checklist that helps you feel organized even when everything feels chaotic.
Making Your Checklist Work for Your Brain
Everyone’s brain works differently and that’s okay. Some people love super detailed checklists where every tiny subtask is listed. Other people get overwhelmed by that and need broader categories. Figure out what works for you.
If you have ADHD or tend to get distracted easily, you might need MORE structure with very specific tasks and built-in reminders. If you’re someone who rebels against too much structure, maybe you need a looser checklist that gives you general guidelines but lets you fill in the details yourself.
Color coding can help – like use one color for tasks you’re responsible for, another for your partner’s tasks, another for tasks that need to happen but someone else is handling (like if your mom is organizing the rehearsal dinner). Whatever visual system helps your brain process information quickly.
And look, if halfway through planning you realize the printable you downloaded isn’t working, get a different one! You’re not married to your checklist (well, not yet anyway). Switch it up if you need to. Transfer the important stuff to a new format and move on.
