
Planning Guides, Style Guide
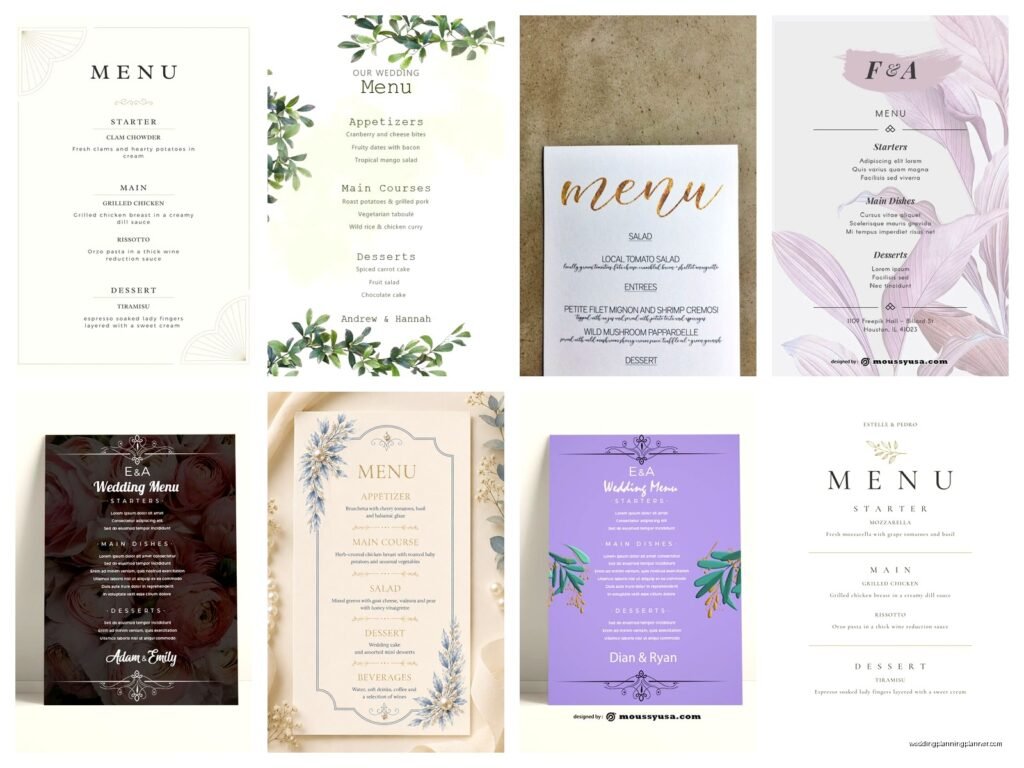
Free Wedding Menu Template: Free Download Files
Aug
Why You Actually Need a Wedding Menu Template
Okay so wedding menus are one of those things couples either obsess over or completely forget about until like three weeks before the wedding. I had this couple in spring 2023 who literally texted me at 9pm asking if I could design their menus from scratch because they “just realized” guests might want to know what they’re eating. Yeah. That was fun.
The thing is, you don’t need to panic about menus because there are SO many free templates out there that you can just download and customize. I’m gonna walk you through exactly what to look for and how to actually use these templates without losing your mind.
Where to Find Free Wedding Menu Templates That Don’t Suck
Alright so first things first – not all free templates are created equal. Some are genuinely gorgeous and some look like they were made in Microsoft Word 2003 by someone’s uncle who “knows computers.”
Canva is honestly your best friend here. They have hundreds of wedding menu templates and the free version gives you access to tons of them. You can customize colors, fonts, add your own photos or graphics. I use Canva for probably 60% of my client projects now because it’s just so easy and clients can make their own edits without calling me seventeen times.
Template.net has a massive collection but you gotta watch out because some require attribution or have weird licensing stuff. Always read the fine print before you print 150 copies.
Etsy might sound weird for “free” but actually a lot of sellers offer free samples or have limited free versions of their paid templates. You can search “free wedding menu template” and filter by price. Some designers give away simpler versions to showcase their style.
Microsoft Office and Google Docs both have template galleries. They’re not gonna blow anyone’s mind with creativity but if you need something clean and simple that you can edit in a program you already know how to use, they work fine.
File Formats You’ll Actually Encounter
This kinda drives me crazy because people don’t realize that downloading a template is only half the battle – you need to be able to OPEN and EDIT it.
- PDF – Great for printing, terrible for editing unless you have Adobe Acrobat Pro (which costs money). If a template only comes in PDF, you’re basically stuck with it as-is.
- DOCX/DOC – Microsoft Word files. Easy to edit if you have Word. Google Docs can open these too but formatting sometimes gets wonky.
- PNG/JPG – Image files. You can’t edit the text in these unless you use Photoshop or similar. Usually these are just for inspiration or you’d need to recreate them.
- PSD – Photoshop files. Only useful if you actually know how to use Photoshop or have someone who does.
- AI/EPS – Adobe Illustrator files. Same deal as Photoshop.
- Canva links – These are templates you can edit directly in Canva’s browser interface. Super convenient.
My cat just knocked over my coffee while I’m writing this, so if this section seems scattered that’s why.
What Should Actually Be On Your Wedding Menu
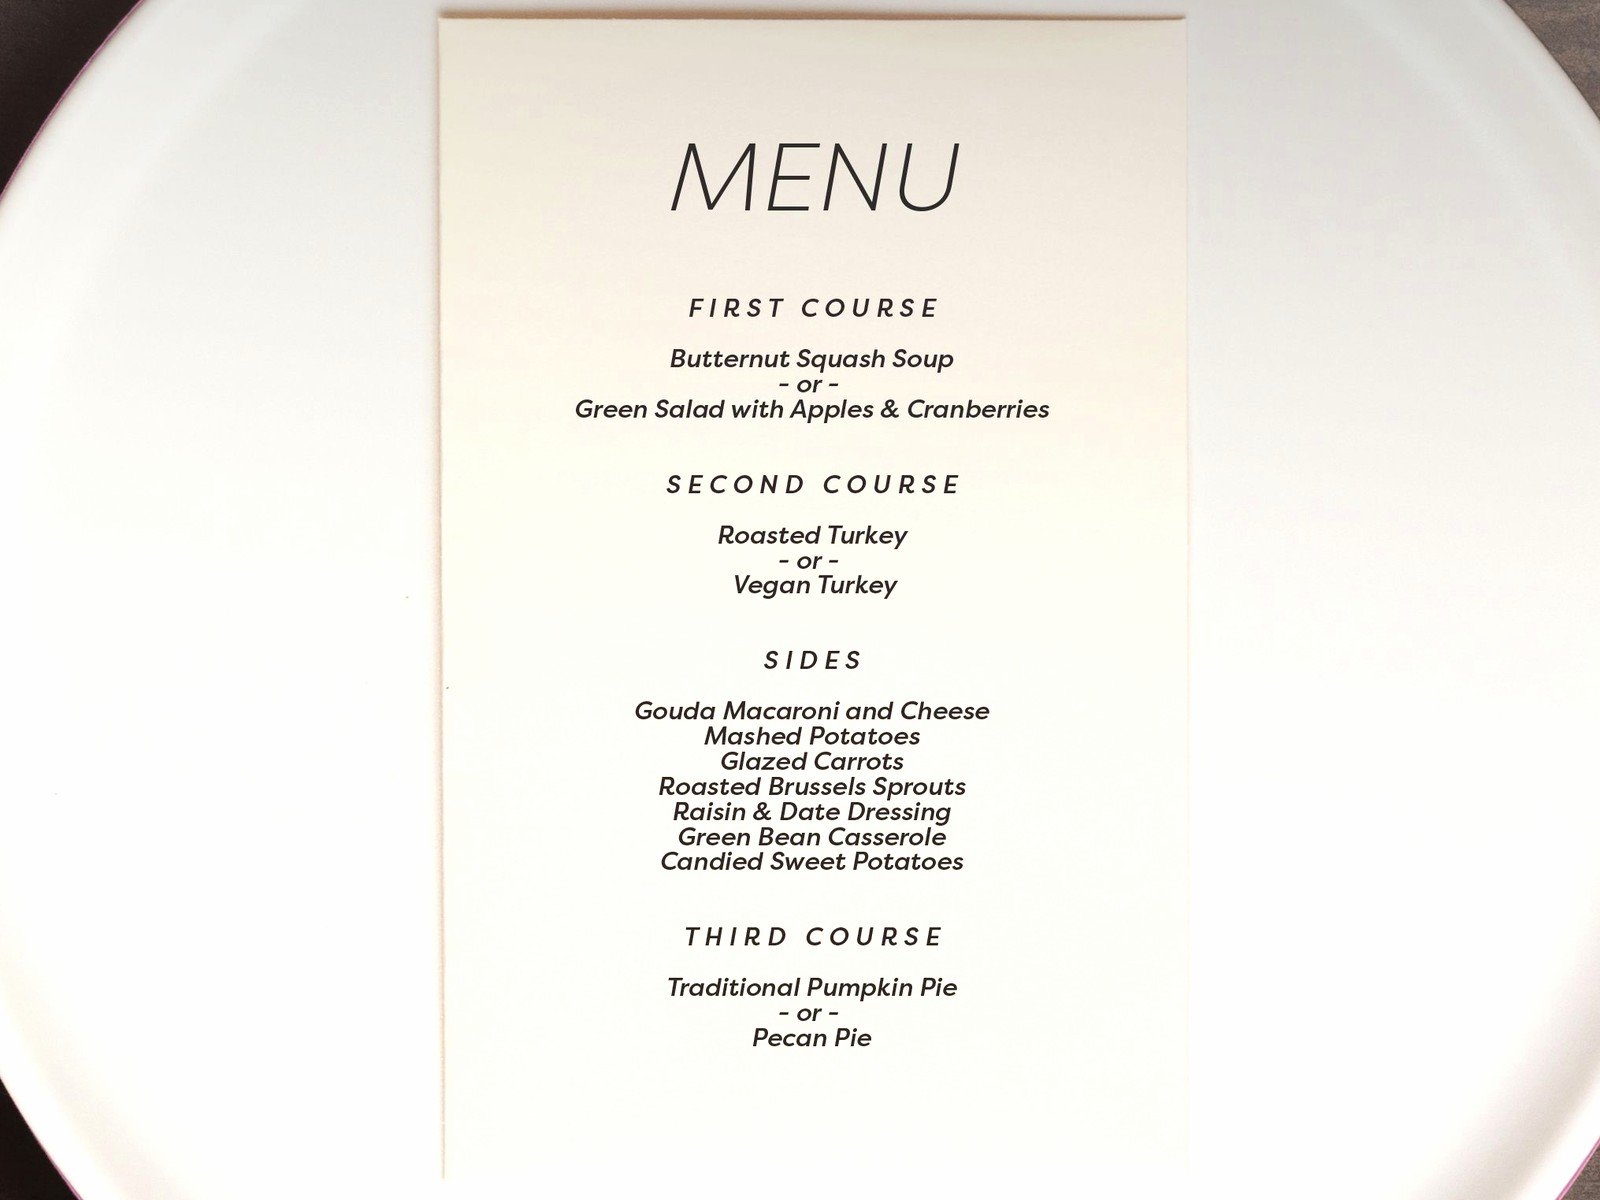
Okay so you’ve got your template downloaded. Now what the heck do you put on it?
The basics:
- Your names (or just first names, or initials, whatever feels right)
- Wedding date
- Course headings (Appetizer, Main Course, Dessert, etc.)
- Actual food descriptions
- Dietary indicators if needed (V for vegetarian, GF for gluten-free, etc.)
One thing that really annoys me is when couples write super vague descriptions like “Chicken” or “Fish.” Your guests deserve better than that! You’re serving herb-crusted chicken breast with lemon butter sauce, not just… chicken. Make it sound appealing because you’re probably paying $75+ per plate.
Different Menu Styles for Different Reception Styles
Plated dinner: This is the traditional sit-down meal where everyone gets the same thing or chooses between 2-3 options. Your menu should list all the courses clearly. If guests pre-selected their meal, you might want a small marker on each menu (like a discreet checkmark or sticker) so servers know who ordered what.
Buffet: List everything that’ll be available. Group items by type (salads, mains, sides, etc.). I usually suggest putting dietary info here because people can self-select what works for them.
Family-style: Similar to buffet but mention that dishes will be served to the table for sharing. Guests like knowing what to expect.
Cocktail reception: List your heavy hors d’oeuvres or small plates. You might organize this by “passed” versus “stationed” items, or just do one list.
Food stations: If you’re doing like a taco bar or pasta station or whatever, describe each station separately. Make it fun – people love interactive food experiences.
Customizing Your Template Without Making It Look Terrible
This is where people get into trouble. They download a beautiful template and then change seventeen things and suddenly it looks like a ransom note.
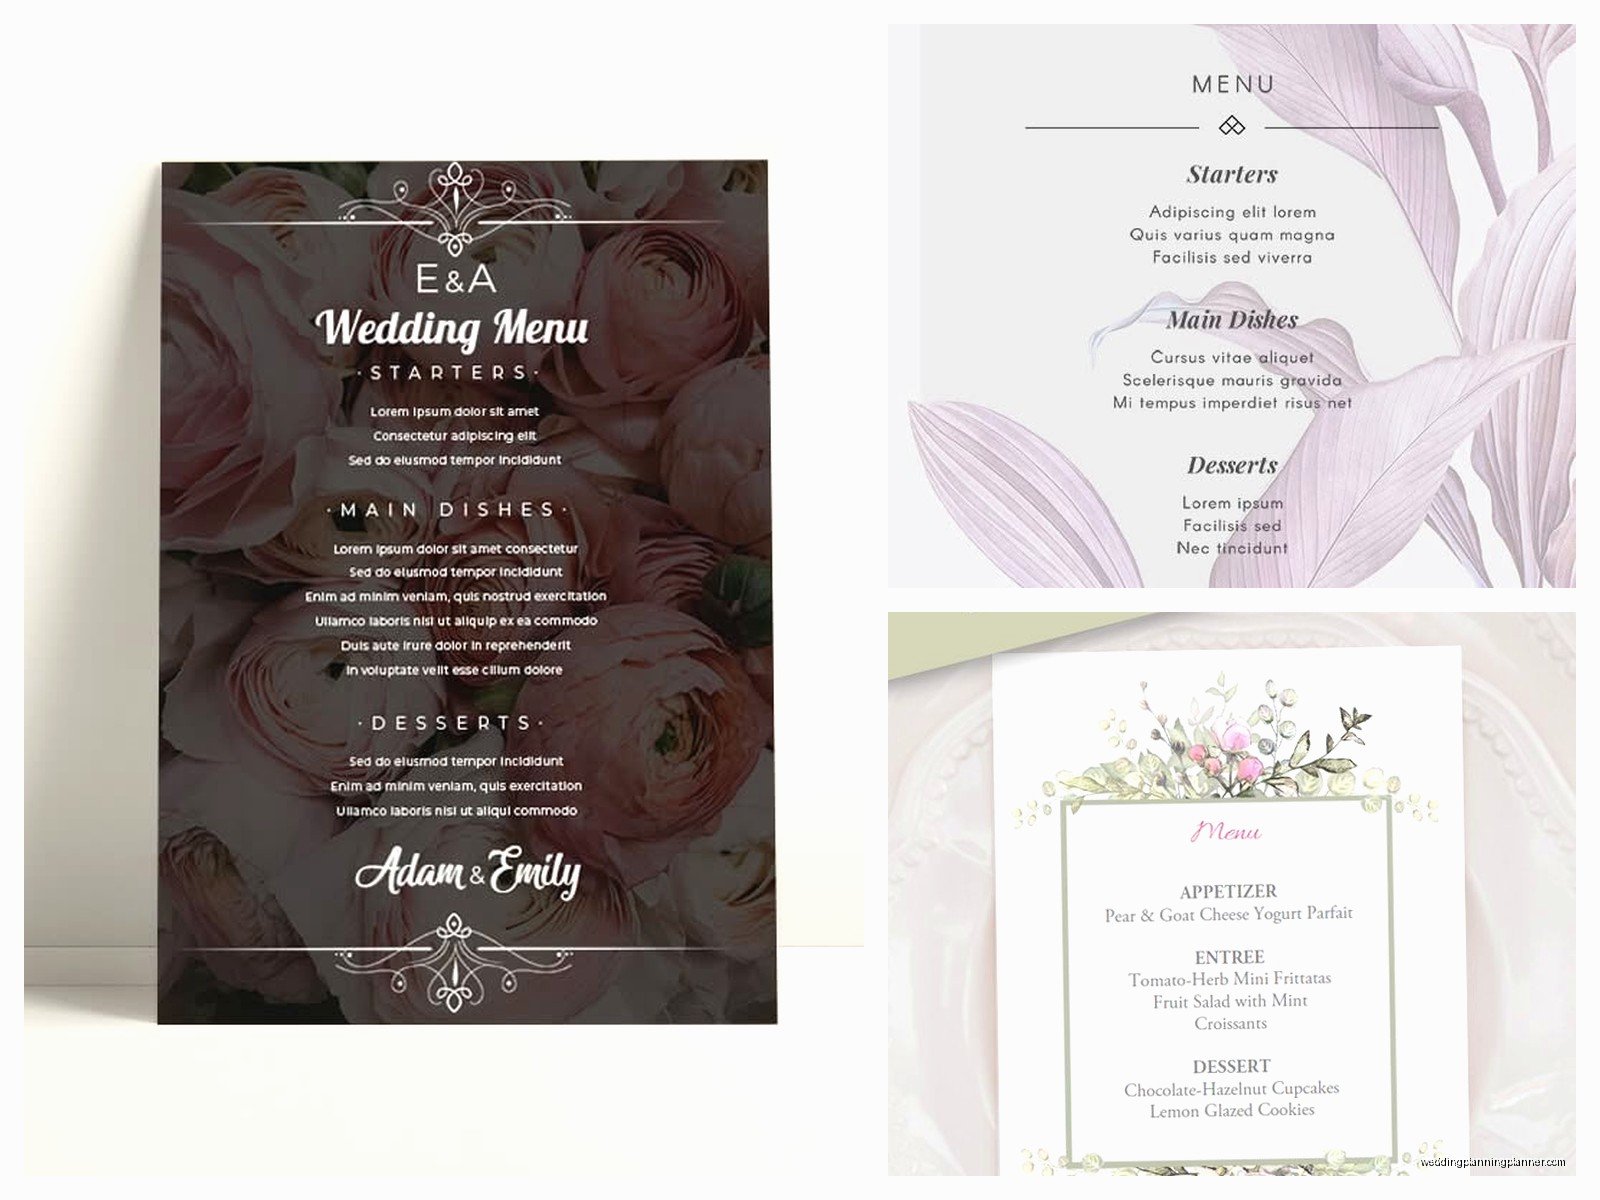
Stick to the original font pairing. Seriously. The designer already chose fonts that work together. If you absolutely must change fonts, only change ONE of them, not all of them. And for the love of everything holy, don’t use more than two fonts on a menu. Three max if one is just for a tiny detail.
Keep the color scheme. If the template is blush pink and gold, don’t suddenly make it navy blue and orange unless you’re prepared to adjust EVERYTHING. Colors affect the whole design balance.
I had this bride in summer 2021 who insisted on changing a minimalist template to include clip art of bells and doves and I just… I couldn’t. I tried to talk her out of it gently but she was convinced it needed “more personality” and anyway, the menus looked exactly how you’d imagine and I still cringe thinking about it.
Size and Printing Considerations
Templates usually come in standard sizes but you need to know what you’re working with:
- 4×9 inches – Tall and slim, fits nicely at place settings
- 5×7 inches – Classic card size, easy to print at most shops
- 8.5×11 inches – Full letter size, good for multi-course menus with lots of info
- A4 – International standard, slightly different dimensions than US letter
- Custom sizes – Can be beautiful but more expensive to print
Before you finalize your design, call your print shop and ask what sizes they can do easily and affordably. Custom cutting costs extra. Also ask about their bleed requirements – that’s the extra space around the edges that gets trimmed off. Most printers want 0.125 inches of bleed.
Actually Editing the Template Step-by-Step
Let me walk you through this like I’m sitting next to you doing it together.
Step 1: Download the template and open it in whatever program it’s designed for. Make sure everything loads correctly – sometimes fonts don’t transfer properly and you’ll see a substitution notification.
Step 2: Save it immediately with a new name like “OurWedding_Menu_v1” so you don’t accidentally mess up the original.
Step 3: Replace the placeholder text with your actual information. Do this carefully – it’s easy to accidentally delete a text box entirely instead of just the text inside it.
Step 4: Check your spelling. Then check it again. Then have someone else check it. I cannot tell you how many menus I’ve seen with typos and it’s just… awkward when 120 people are reading about your “Ceaser Salad.”
Step 5: Adjust sizing if needed. If your entree description is way longer than the template anticipated, you might need to make the font slightly smaller or the text box bigger. Try to keep everything balanced.
Step 6: Print ONE test copy on regular paper. Look at it in actual size. Does the font seem too small? Too large? Is anything cut off? This is the time to fix it.
Step 7: Print a test on your actual cardstock or paper. Colors look different on screen versus printed, and some printers handle certain cardstocks better than others.
Printing Options That Won’t Break the Bank
You’ve got options here depending on your budget and how DIY you wanna go.
Home printing: Totally doable if you have a decent printer. Get good quality cardstock (65lb or 80lb cover weight works well). Buy more than you need because you WILL mess some up. Print a few extra beyond your guest count too.
Local print shop: Places like FedEx Office, Staples, or local printers can do this affordably. They’ll have better quality than your home printer usually. Prices vary wildly so call around. Bring your file on a USB drive or email it to yourself so you can access it there.
Online printing: Vistaprint, Minted, Catprint, etc. You upload your file, they print and ship. This is often the most affordable option for larger quantities. Just build in shipping time – don’t wait until the last minute.
Professional stationer: If you’re already working with someone for invitations, they can probably do menus too. This’ll be the priciest option but also the highest quality.
Paper Stock Choices
This matters more than you’d think!
- Matte cardstock – Classic, easy to write on if you need to add notes, doesn’t show fingerprints
- Glossy cardstock – More vibrant colors, photographs look great, but shows fingerprints like crazy
- Linen or textured paper – Adds elegance, feels expensive, but fine details might not print as crisply
- Vellum – Translucent and romantic, but needs to be layered over something else usually
- Kraft paper – Rustic vibe, works great for casual or outdoor weddings
I usually tell couples to match their menu paper to their invitation paper if possible, or at least stay in the same family of finishes.
Common Mistakes I See All the Time
Let me save you from some disasters I’ve witnessed:
Making the font too small. Remember your grandma is gonna read this, probably in dim reception lighting. Nothing smaller than 10pt for body text, and 12pt is safer.
Forgetting about dietary restrictions. You don’t need to list every ingredient, but marking vegetarian, vegan, gluten-free options is helpful and considerate.
Printing too few. Always print extras. Guests lose them, kids grab them, someone spills wine on one, or you’ll want to keep some as mementos.
Using photos that are too low resolution. If you’re adding photos to your template, make sure they’re at least 300 DPI for printing. That Instagram photo you downloaded is probably only 72 DPI and it’ll look pixelated and blurry when printed.
Not checking with your venue/caterer first. Some venues have specific menu requirements or they provide printed menus as part of the package. Would be a shame to print 150 menus and then find out the venue was already doing it.
What to Do With the Menus at Your Reception
So you’ve designed them, printed them, they look gorgeous – now what?
Most common option is one menu per place setting, either laid on the plate, tucked into the napkin fold, or propped against a water glass. Some couples do one menu per couple instead of per person to save money, which is totally fine – just make it clear they’re meant to be shared by putting them in the center of the place setting.
For buffet or food station setups, you might do larger display menus on easels or frames near each station instead of individual ones at each seat. Or both! Individual take-home menus plus display signs.
Some people get creative and use menus as part of the table decor, incorporating them into centerpieces or creating a menu “wall” near the entrance where guests can see what’s being served.
Quick Template Customization Ideas
If you wanna personalize beyond just adding your text:
- Add a thin border in your wedding color
- Include a small monogram or icon at the top
- Use a custom illustration of your venue or a meaningful location
- Add a favorite quote or lyric at the bottom
- Include a subtle pattern or texture in the background
- Incorporate your wedding hashtag if you have one
- Add a small “thank you” message to your guests
Just remember that less is usually more. You want people to actually read the menu, not get distracted by seventeen decorative elements.
Timing: When to Actually Deal With This
Menu design should happen after you’ve finalized your catering (obviously) but not so late that you’re stressed about printing. I usually recommend having menus designed and ready to print about 3-4 weeks before the wedding. This gives you time to print, deal with any printing issues, and not be panicking the week of while you’re trying to do seventeen other things.
That said, I’ve definitely helped couples throw together menus three days before their wedding and it’s fine, it’s just… more stressful than it needs to be, ya know?
If you’re doing home printing, give yourself extra time for mistakes and reprints. If you’re using an online service, check their production and shipping times and add a buffer for delays because stuff happens.
Alternatives to Traditional Printed Menus
Not everyone needs a printed menu! Here are other options:
Chalkboard or acrylic signs: One large display menu instead of individual ones. Works great for buffets or cocktail receptions.
Digital displays: If your venue has screens, you could display the menu there. Kinda modern and saves paper.
Verbal announcements: The DJ or emcee describes each course as it’s served. Less common but totally doable.
Nothing: Honestly, for super casual weddings or small gatherings, you might not need menus at all. People will figure it out.
I personally think menus add a nice touch and give guests something to look at during those awkward moments when they’re seated but don’t really know anyone at their table yet, but I’m also not gonna tell you they’re absolutely mandatory.
