Planning Guides, Style Guide
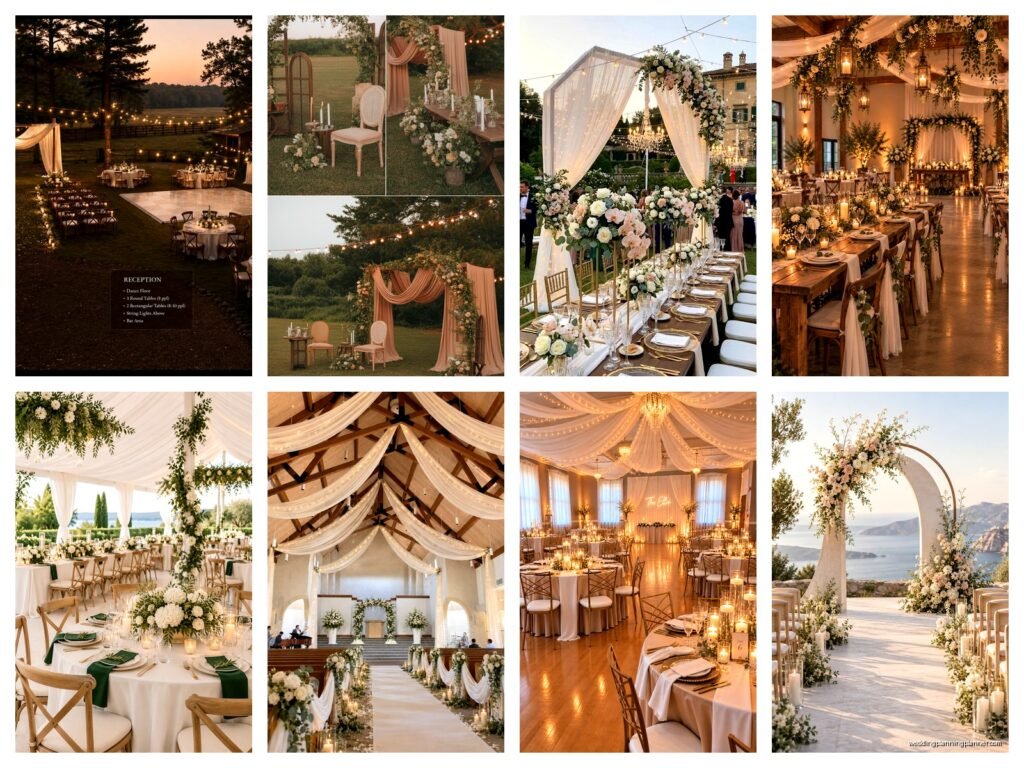
Wedding Set Up: Ceremony & Reception Installation
Sep
Okay so the ceremony setup comes first obviously
The biggest thing people mess up is not doing a site walkthrough at the actual time of day your ceremony happens. I learned this the hard way in summer 2021 when we set up this gorgeous arbor and the sun was literally blinding everyone’s eyes during the vows because we’d only visited at 10am and the ceremony was at 4pm. The photographer was so annoyed and honestly I don’t blame her.
You wanna start with your focal point which is usually an arch, arbor, or backdrop. Get there like 4-5 hours before ceremony time if you can. I know that sounds excessive but trust me things take longer than you think. The installation team needs to stake it down properly especially if there’s any wind, and you need to check it from every angle including where guests will be sitting.
Aisle setup is trickier than it looks
For the aisle runner situation—honestly I’m gonna say most of the time you don’t even need one. They blow around, people trip on them, they get dirty immediately. But if you’re doing one, you need someone assigned to roll it out literally right before the processional starts. Not 20 minutes before. Right before.
Aisle markers are where you can get creative but also where things go wrong. If you’re doing florals on shepherd hooks or lanterns or whatever, measure the spacing beforehand. I use 6-8 feet between markers as a standard but it depends on your aisle length. You need an odd number on each side so they’re staggered, not directly across from each other, because that looks weird in photos.
Chair setup is its own beast. Rows should be about 18-24 inches apart so people can actually walk through and sit down without climbing over each other. Leave a wider aisle between sections if you’re doing a center aisle setup. I always do a center aisle that’s at least 4-5 feet wide, sometimes 6 feet if the bride has a big dress or she’s doing a long train moment.
The reserved seating thing that everyone forgets
Put your reserved signs on chairs the night before if possible or first thing in setup. Front two rows on each side minimum. I use ribbon or small signs, nothing that looks cheap because those front rows are in every single photo. Also someone needs to be assigned to actually enforce the reserved seating because random guests will 100% sit there if no one stops them.
Sound equipment needs to be tested like three times. Once when you set it up, once an hour before ceremony, and once right before it starts. I cannot stress this enough. The officiant needs a microphone even if they think they have a “loud voice”—nah, outdoor acoustics are terrible and half your guests won’t hear anything.
Ceremony to reception flip time is always chaos
If you’re doing the reception in the same space as the ceremony this is where things get… kinda insane. You need a solid crew and a really specific timeline. Most ceremony-to-reception flips take 45-90 minutes depending on how complicated your setup is.
The second the couple walks back down the aisle, your installation team needs to jump in. I mean immediately. Guests are usually doing cocktail hour somewhere else during this time so you have that window. Remove all ceremony chairs first, then break down the arch or backdrop, then any aisle decorations. Work from back to front so you’re not trapped.
This is the part that annoys me the most actually—when vendors don’t communicate about the flip timeline and everyone’s just standing around waiting for someone else to finish their part. You need a day-of coordinator or someone running point who’s literally telling people “okay florist you’re up, now caterers bring in tables, now rental company start with chairs” like directing traffic.
Reception layout basics that matter
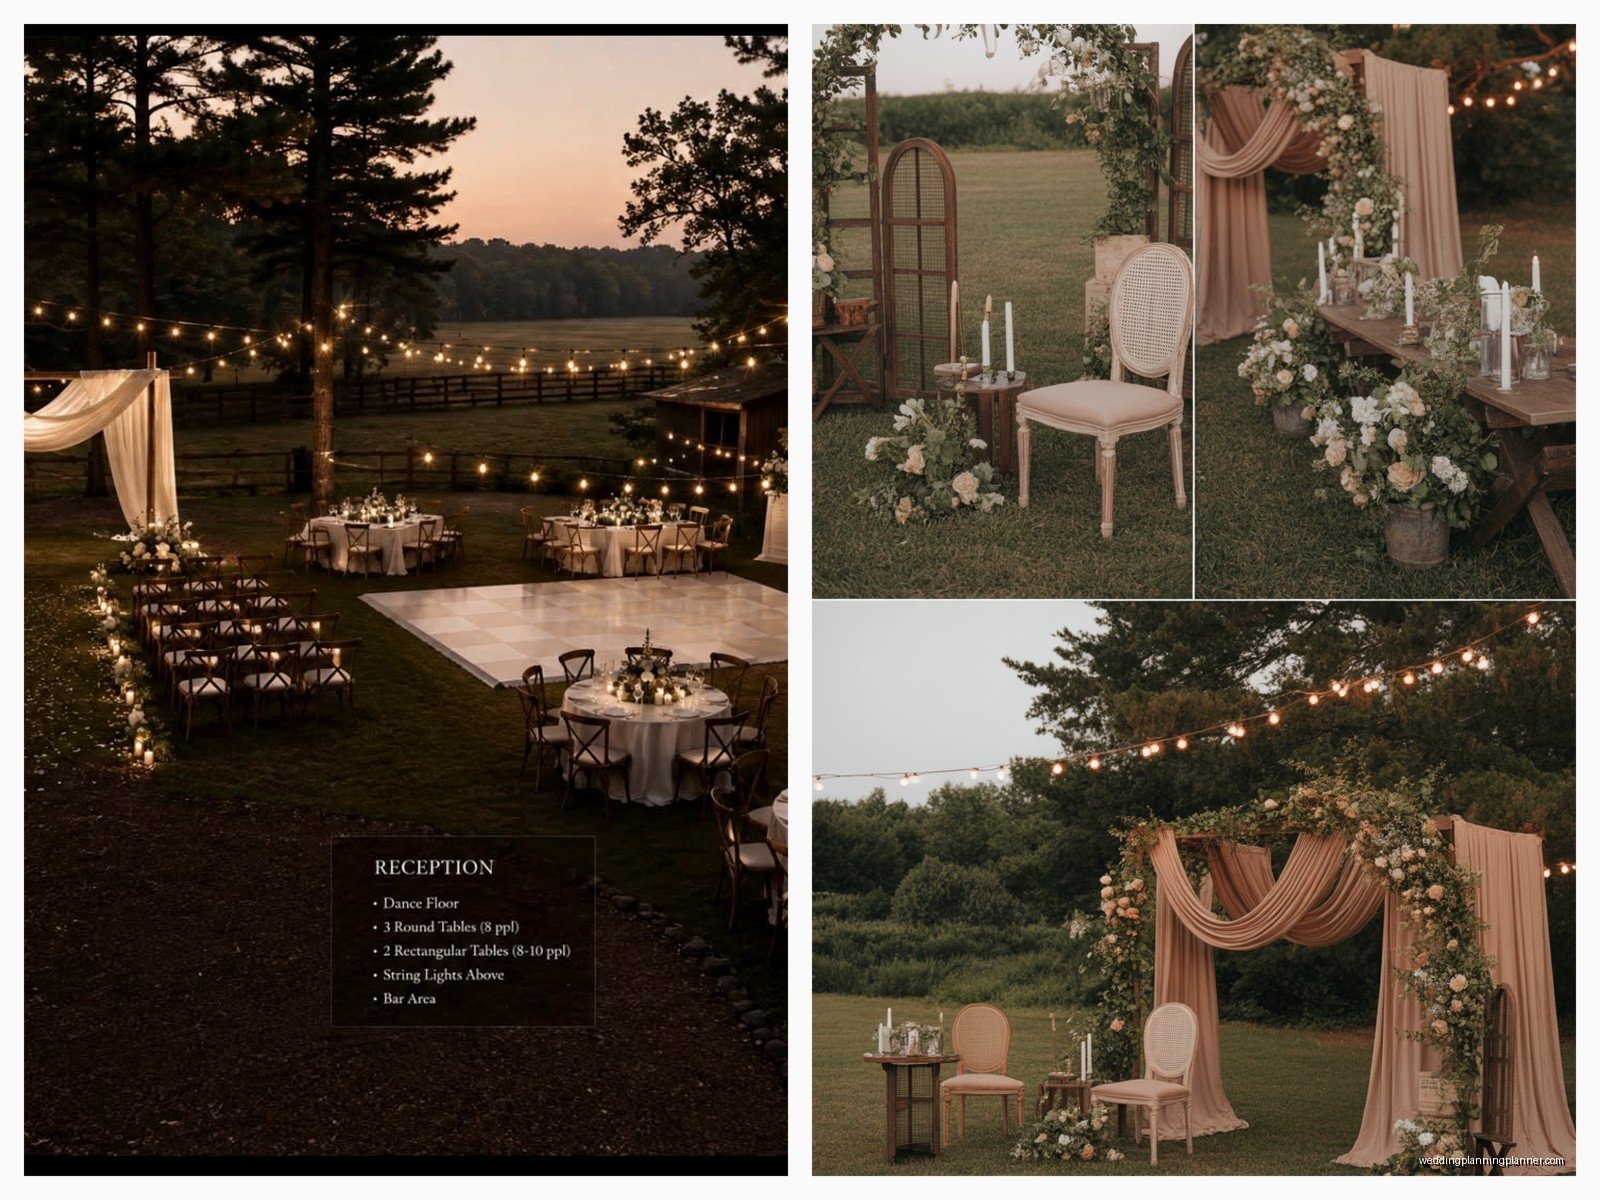
Your reception floor plan should’ve been finalized weeks before but the actual installation day is when you see if it really works. I always bring a printed scaled floor plan and honestly a measuring tape because sometimes venues give you wrong dimensions or someone remembers the space differently than it actually is.
Start with your dance floor placement because that’s usually the focal point and everything else works around it. Then head table or sweetheart table goes opposite the entrance typically so guests see it when they walk in. My cat knocked over my coffee on a floor plan once and the stain actually helped me realize we needed to shift the whole layout so maybe that was helpful? Anyway.
Guest tables go next and you gotta think about flow. People need to be able to walk to the bar, to the bathrooms, to the dance floor without squeezing between chairs. I leave at least 4-5 feet between table edges, more if you can. Rounds are easier for conversation, long tables are prettier for photos but harder to talk across.
The detail stuff that takes forever
Table numbers or names go on after tables are set with linens but before full place settings if possible. They need to be visible from the entrance so guests can find their seats. I usually put them slightly off-center on the table so they’re not blocking sightlines between guests.
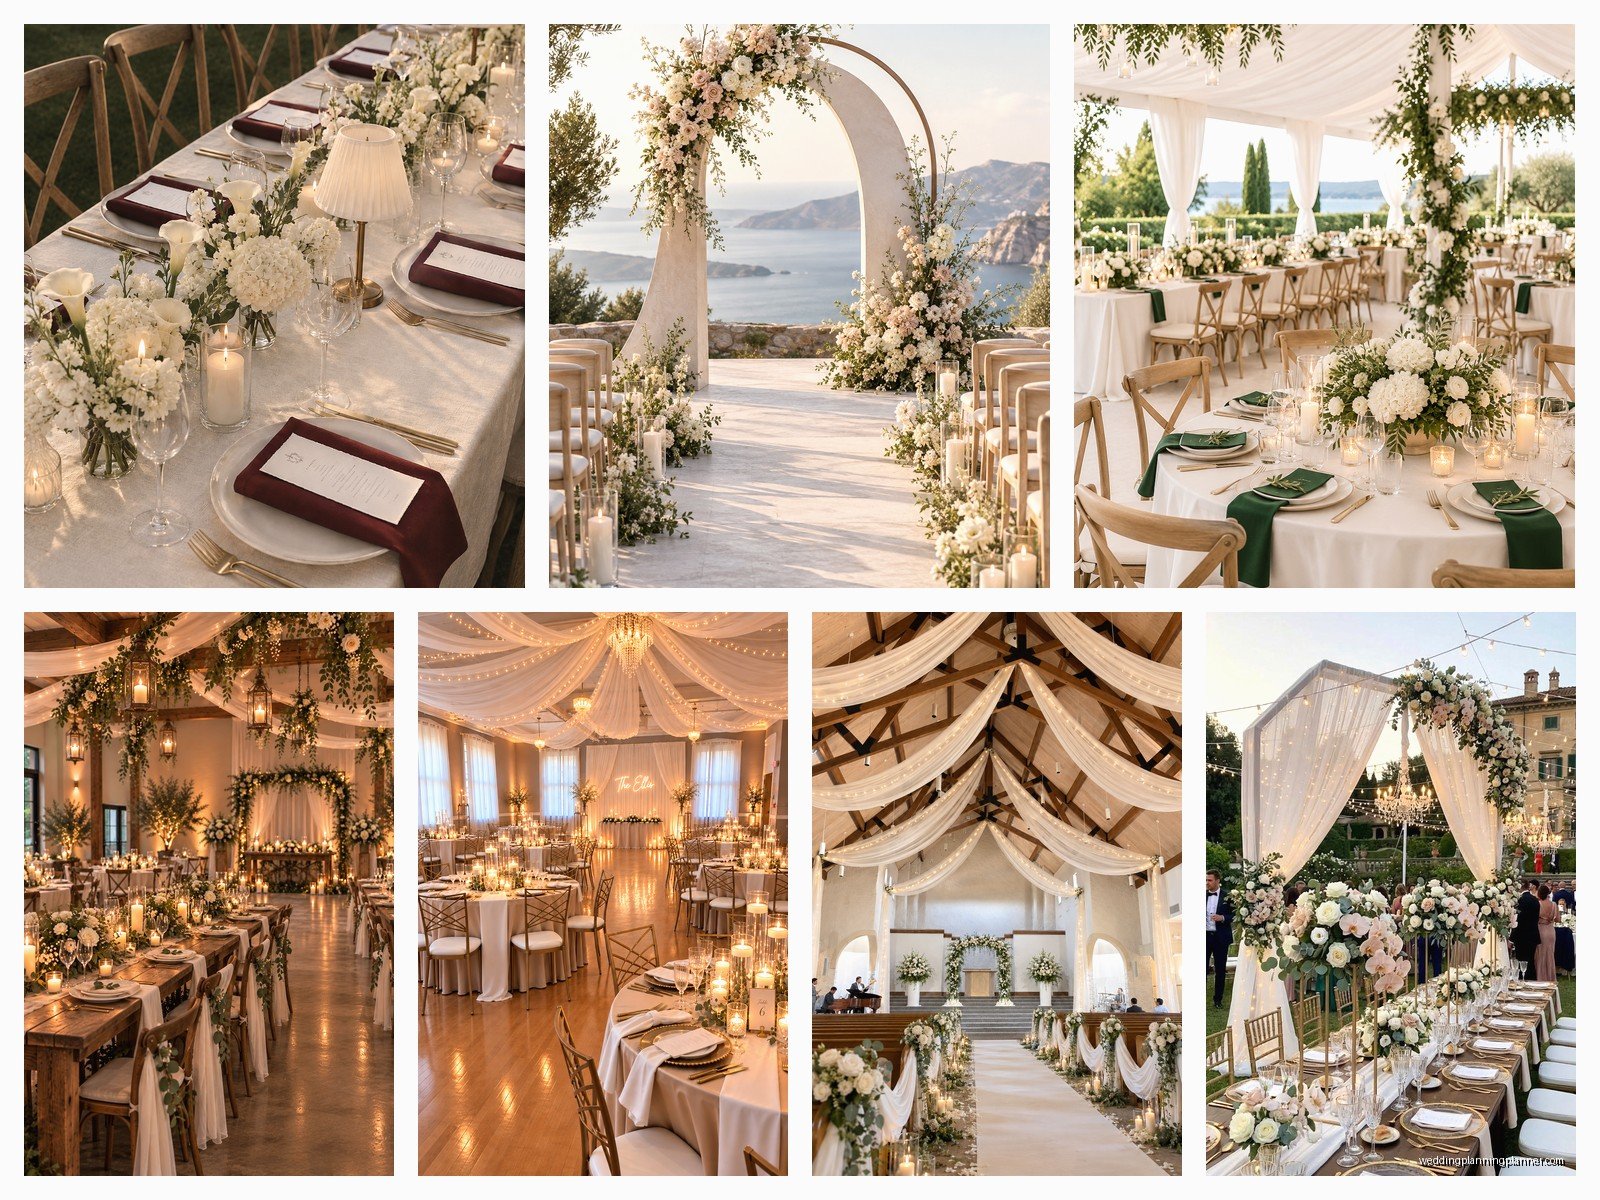
Centerpieces are their own whole thing. If you’re doing tall arrangements make sure they’re HIGH enough that people can see under them to talk across the table, like at least 20 inches above the table surface. Or go low, under 12 inches. That middle height of like 14-18 inches is the worst—it just blocks everyone’s face.
Place settings should be set starting from the charger or dinner plate position. I measure about 2 feet per guest for seating space, so on a 60-inch round that seats 8 comfortably. Silverware goes in the order it’ll be used from outside in, but honestly most caterers handle this part. What I focus on is making sure the menus or name cards are placed properly and not crooked because that drives me crazy in photos.
Lighting setup changes everything and takes the longest
If you’re bringing in lighting like uplights, string lights, pin spotting, or monogram projections, this needs to happen early in your setup timeline. Lighting techs need access before tables are fully set ideally, or at least before linens are on if they’re running cables under tables.
Uplighting goes around the perimeter of the space and should be spaced evenly. I usually see them placed every 6-8 feet depending on the room size and ceiling height. They need to be aimed at the wall, not out into the room where they’ll blind people.
String lights or cafe lights need sturdy rigging points and this is something you should’ve confirmed with your venue way before wedding day. The installation team needs ladders, time, and honestly someone who knows what they’re doing because if those lights fall mid-reception… not great. In spring 2023 we had a situation where the venue told us we could hang lights from certain beams and then day-of they were like “actually no” and we had to completely redesign the lighting plan in like an hour.
Pin spots on centerpieces are gorgeous but they have to be aimed perfectly or they just create weird shadows. This is literally the last thing you do after centerpieces are placed and it takes longer than you think to get each one adjusted right.
The bar setup and cake table people forget about
Your bar needs to be accessible but not in a main traffic path. I see people put bars right near the entrance all the time and then there’s this massive bottleneck. Put it off to the side where there’s room for a line to form without blocking the flow into the room.
Bar setup itself is usually handled by the catering team but you might need to provide decorations—a backdrop, signage, florals, whatever. Get those to them early in the setup so they can incorporate it as they’re setting up their bottles and glassware.
Cake table needs its own moment. It should be visible but protected—you don’t want it right next to the dance floor where someone’s gonna back into it. I usually place it near the head table or along a wall with good lighting. The cake gets delivered and set up later in the timeline, usually 1-2 hours before reception starts, so just have the table ready with linens and any decorations.
All the little things that complete the setup
Signage goes up last basically. Your welcome sign at the entrance, seating chart, bar menu, hashtag sign, whatever you’re doing. These are usually pretty quick to place but you want them secure—use easels that won’t tip over or proper hanging systems.
Guest book table or card box table needs to be right near the entrance where it’s obvious. People will miss it otherwise and then you’ll have cards scattered everywhere or stuck in random places. Put it on a small table with good lighting and maybe a sign that says “cards and gifts” or whatever so it’s clear.
Bathroom baskets if you’re doing them should go in obviously the bathrooms but someone needs to actually walk them over and set them up. I know this sounds dumb but I’ve seen them sit forgotten in a hallway because everyone assumed someone else was handling it.
The final walkthrough before guests arrive
About 30 minutes before guests are supposed to show up, walk through everything like you’re a guest experiencing it for the first time. Enter where they’ll enter, look at what they’ll see. Are table numbers visible? Is anything crooked? Are there cables showing that need to be taped down? Is the temperature okay?
Check bathrooms have supplies. Check the ceremony space if that’s separate—do chairs look straight, is the aisle clear, are programs in place if you’re doing them. Check the cocktail hour space has everything set up. This is your last chance to fix anything before people arrive and start taking photos of everything.
I always take photos of the full setup before guests arrive for my own records and also because sometimes clients want them. Plus if anything goes wrong later you have proof of how it was supposed to look.
Day-of timeline tips that actually matter
Your vendor load-in times need to be staggered. Rental company first with tables and chairs, then linens, then lighting if it needs to go under tables, then florist, then detail items. If everyone shows up at once it’s just chaos and people standing around waiting.
Build in buffer time because something always takes longer than expected. If you think setup will take 4 hours, tell everyone it’s gonna take 5. That extra hour will get eaten up by something—a delivery that’s late, an adjustment that needs to be made, whatever.
Have a point person who knows the full vision and can make decisions. This is usually the planner if there is one, or a trusted family member or friend if there’s not. Someone needs to be able to say “yes that looks right” or “no that needs to move” without having to call the couple who’s getting ready.
Keep the couple away from setup honestly. I know some couples want to see everything as it’s happening but it just creates stress and delays. Let them see it when it’s finished and perfect, not when it’s half-done and looks like a mess. That’s what you’re paying vendors for—to handle this part so they don’t have to worry about it.
Confirm vendor meal times and spaces before the wedding day. Your installation crew and vendors need to eat and they need a space to do it that’s not in the middle of your reception. Work this out with your venue and caterer ahead of time.
Emergency kit for setup day needs things like: extra zip ties, floral wire, tape (clear and duct), scissors, a level, measuring tape, phone chargers, safety pins, stain remover, and honestly some snacks and water for your team. You’re gonna be there for hours and people get cranky when they’re hungry. I learned that one early on.