Planning Guides, Style Guide
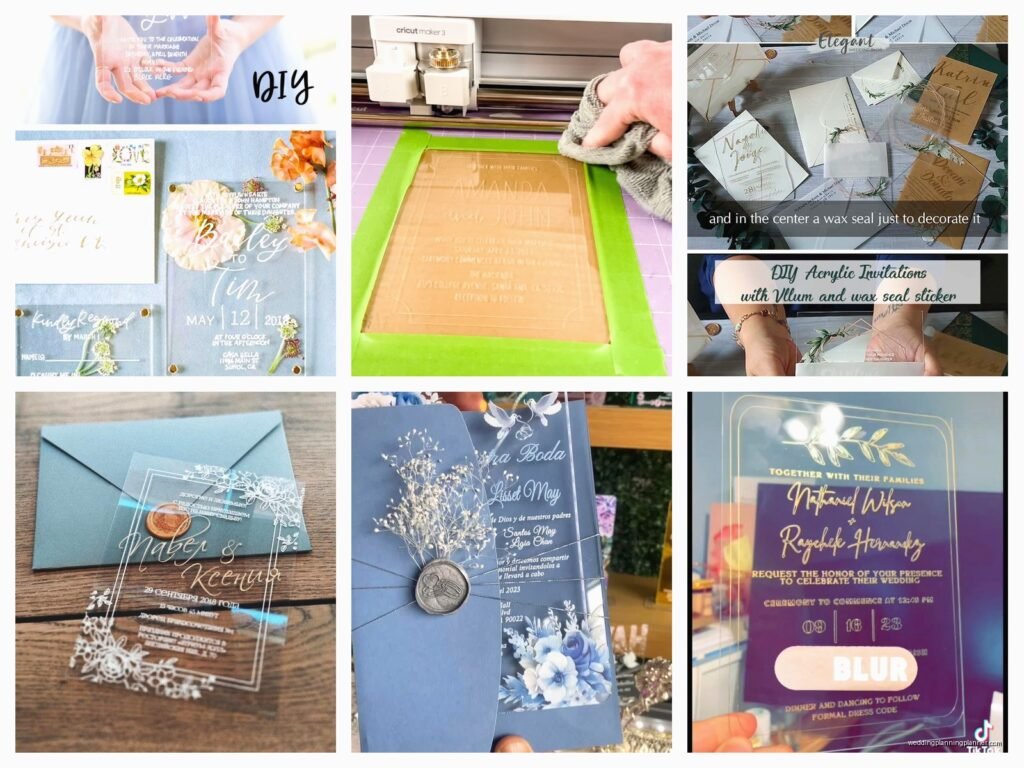
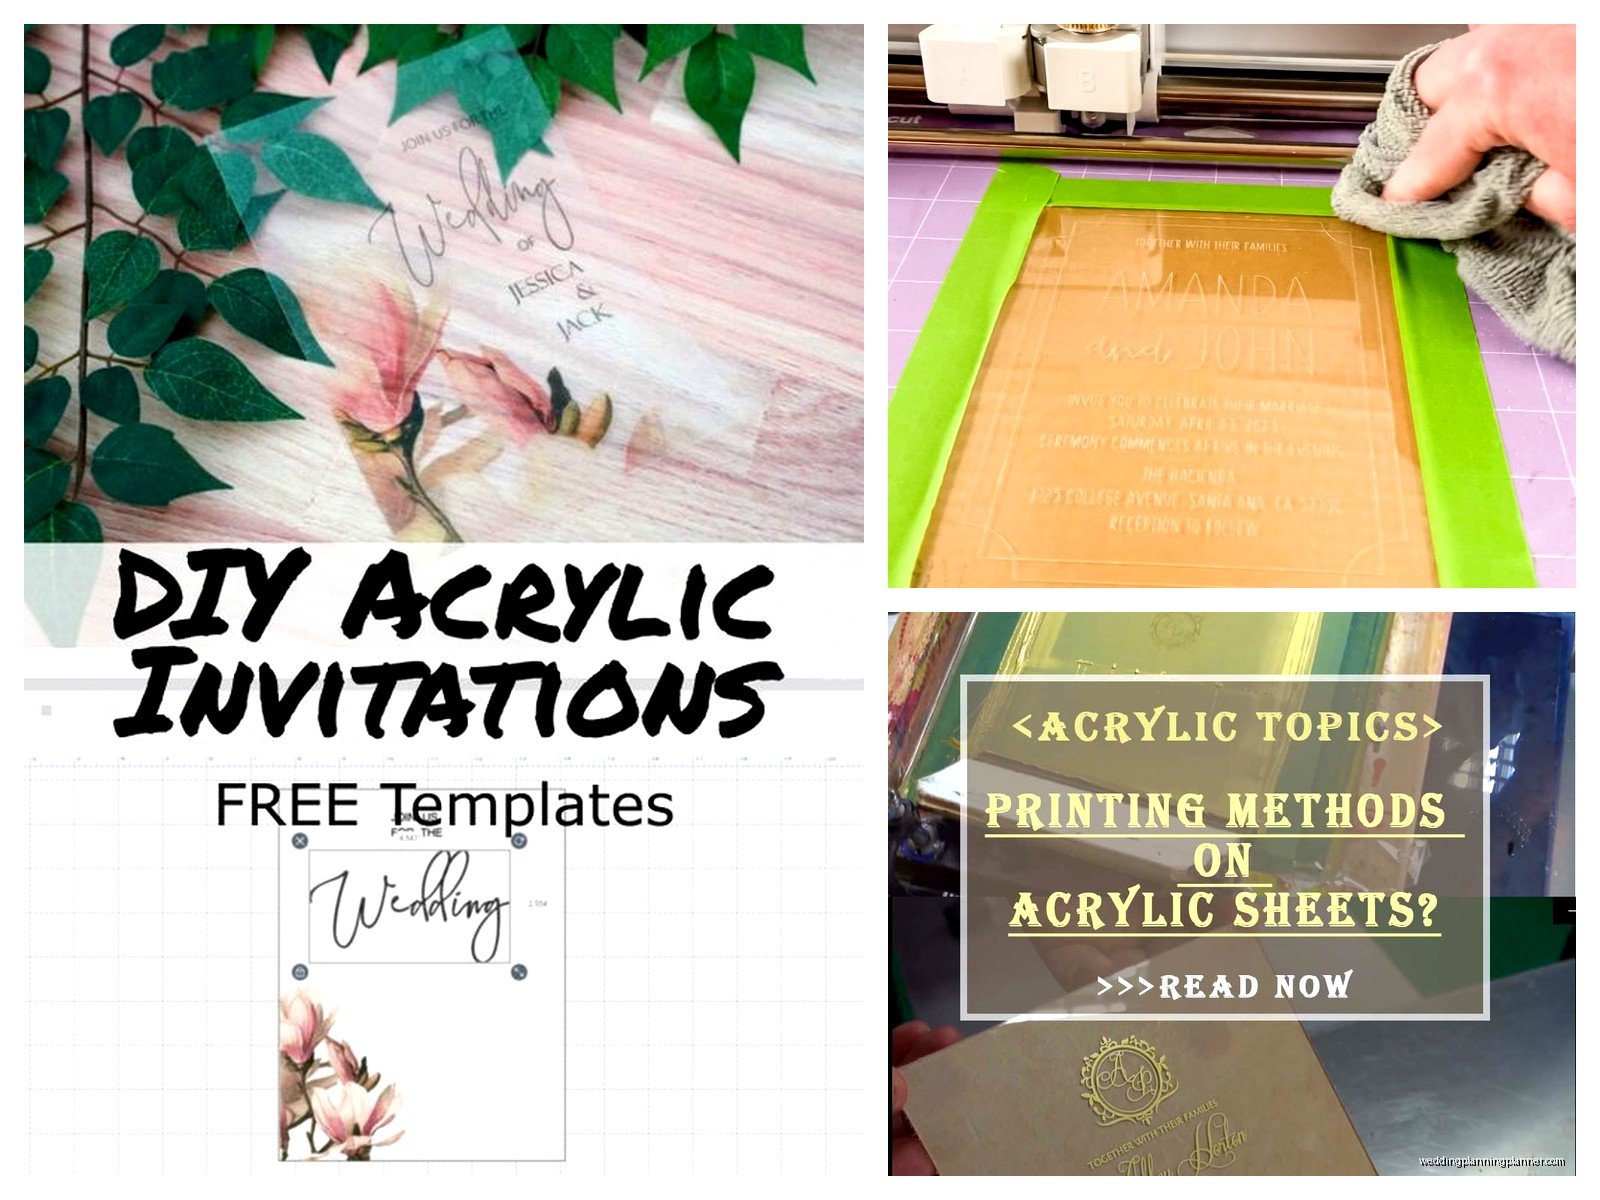
Acrylic Invitations DIY: Clear Perspex Tutorial Guide
Mar
What You Actually Need Before You Start
So you wanna make acrylic invitations and honestly they’re not as scary as they look but you need the right stuff or you’re gonna have a bad time. I learned this the hard way in spring 2023 when a bride insisted on DIYing her invites two weeks before the wedding and showed up at my office with the wrong type of acrylic and… yeah, that was a mess.
Here’s your shopping list:
- Clear acrylic sheets (also called Perspex or plexiglass) – get 2mm or 3mm thickness, nothing thicker unless you want your guests to need a forklift
- Cutting tools – either a scoring knife and straight edge, or if you’re fancy, access to a laser cutter
- Sandpaper – 220 grit and 400 grit
- Rubbing alcohol and microfiber cloths
- Vinyl letters OR paint markers OR printed vellum paper
- Spray adhesive if you’re doing the vellum method
- Protective film or masking tape
- Ruler, pencil, cutting mat
The acrylic sheets usually come with a protective film on both sides which is great because fingerprints on this stuff are SO annoying. Like worse than cleaning glass annoying. Keep that film on as long as possible.
Cutting Your Acrylic Pieces
Alright so cutting acrylic isn’t like cutting paper obviously. You’ve got a few options here and I’ll be real with you about each one.
The score-and-snap method works for straight lines. You basically score the acrylic multiple times with a plastic scoring knife along a straight edge, then position the score line along the edge of your table and apply pressure to snap it. Sounds easy but you gotta score it like 10-15 times, not just twice. I see people give up after three passes and then wonder why it won’t snap cleanly. The scored line needs to be deep enough that when you apply pressure it breaks exactly where you want.
If you want shapes or rounded corners, you’re gonna need different tools. A jigsaw with a fine-tooth blade works but goes slow. Or you can drill holes in the corners and use those as starting points. Honestly though? For anything beyond rectangles, I usually tell people to find a local maker space or sign shop with a laser cutter. It’s like $20-40 depending on your design complexity and you get perfect edges.
Standard sizes I recommend: 5×7 inches is classic invitation size, 4×6 works for save-the-dates, and if you’re doing something really fancy maybe 5×9 for that elegant look.
The Edge Finishing Thing Nobody Tells You
So you cut your acrylic and the edges look cloudy and rough and you’re thinking “well this looks terrible.” Yeah, that’s normal. You need to finish them.
Start with 220 grit sandpaper and sand the edges smooth. Then move to 400 grit for a finer finish. If you really want them crystal clear like professionally made, you’d need to go up to like 1000 grit and then use a polishing compound but honestly for DIY invitations the 400 grit is usually fine especially since most of your design will distract from the edges anyway.
This part is tedious. I’m not gonna lie. My cat knocked over my entire stack of sanded pieces once and I had to start over because they landed in a dusty corner and I couldn’t get them clean again without re-sanding. Still mad about that.
Design Methods: Pick Your Fighter
You’ve got three main ways to get your invitation wording onto the acrylic and they each have pros and cons.
Method One: Vinyl Lettering
This is probably the most popular method I see. You either cut vinyl with a Cricut or Silhouette machine, or you order custom vinyl decals online. The vinyl sticks directly to the acrylic.
Pros: looks super clean and professional, comes in metallic colors like gold and rose gold, permanent, relatively easy to apply
Cons: you need a cutting machine or need to order custom which takes time, small letters can be fiddly to weed and apply, if you mess up the placement you’re kinda screwed
Application tips: Clean your acrylic with rubbing alcohol first. Use transfer tape to move your vinyl design from the backing to the acrylic. Squeegee it down really well to avoid air bubbles. Peel off the transfer tape slowly at a sharp angle.
I use Oracle 651 vinyl mostly because it’s permanent and outdoor-rated so it’s definitely not going anywhere. Comes in a million colors too.
Method Two: Paint Markers
This is the true DIY method where you hand-letter directly onto the acrylic with paint markers. Very trendy, very handmade-looking.
Get oil-based paint markers like Sharpie oil-based (not regular Sharpies, they’ll smear). The fine or medium tip works best. White and gold are the most popular colors.
Practice on a spare piece first because there’s no undo button here. You can scrape off mistakes with a razor blade if you catch them immediately but it’s annoying. Some people print out their design, tape it to the back of the acrylic, and trace over it from the front. That’s actually pretty smart if your handwriting is questionable.
The handmade vibe is either charming or looks amateur depending on your skill level, so be honest with yourself about your abilities. I had a bride in summer 2021 who insisted she had “beautiful handwriting” and then… well, let’s just say we pivoted to vinyl letters halfway through.
Method Three: Vellum Backing
This is my favorite method if you want color or complex designs. You print your invitation design on vellum paper, then adhere it to the back of the acrylic. The acrylic becomes like a clear protective layer over your printed design.
Print on vellum using a laser printer, not inkjet. Inkjet ink can smudge even on vellum. Design your invite in Canva or whatever program you use, making sure your text and graphics fit within your acrylic dimensions with a little margin for error.
Cut your vellum to size – it should be slightly smaller than your acrylic so it doesn’t peek out the edges. Use spray adhesive in a well-ventilated area (seriously, outside is better) and apply a light even coat to the back of the acrylic. Position your vellum carefully because once it touches you can’t really reposition it. Use a clean cloth or squeegee to smooth out any bubbles working from the center outward.
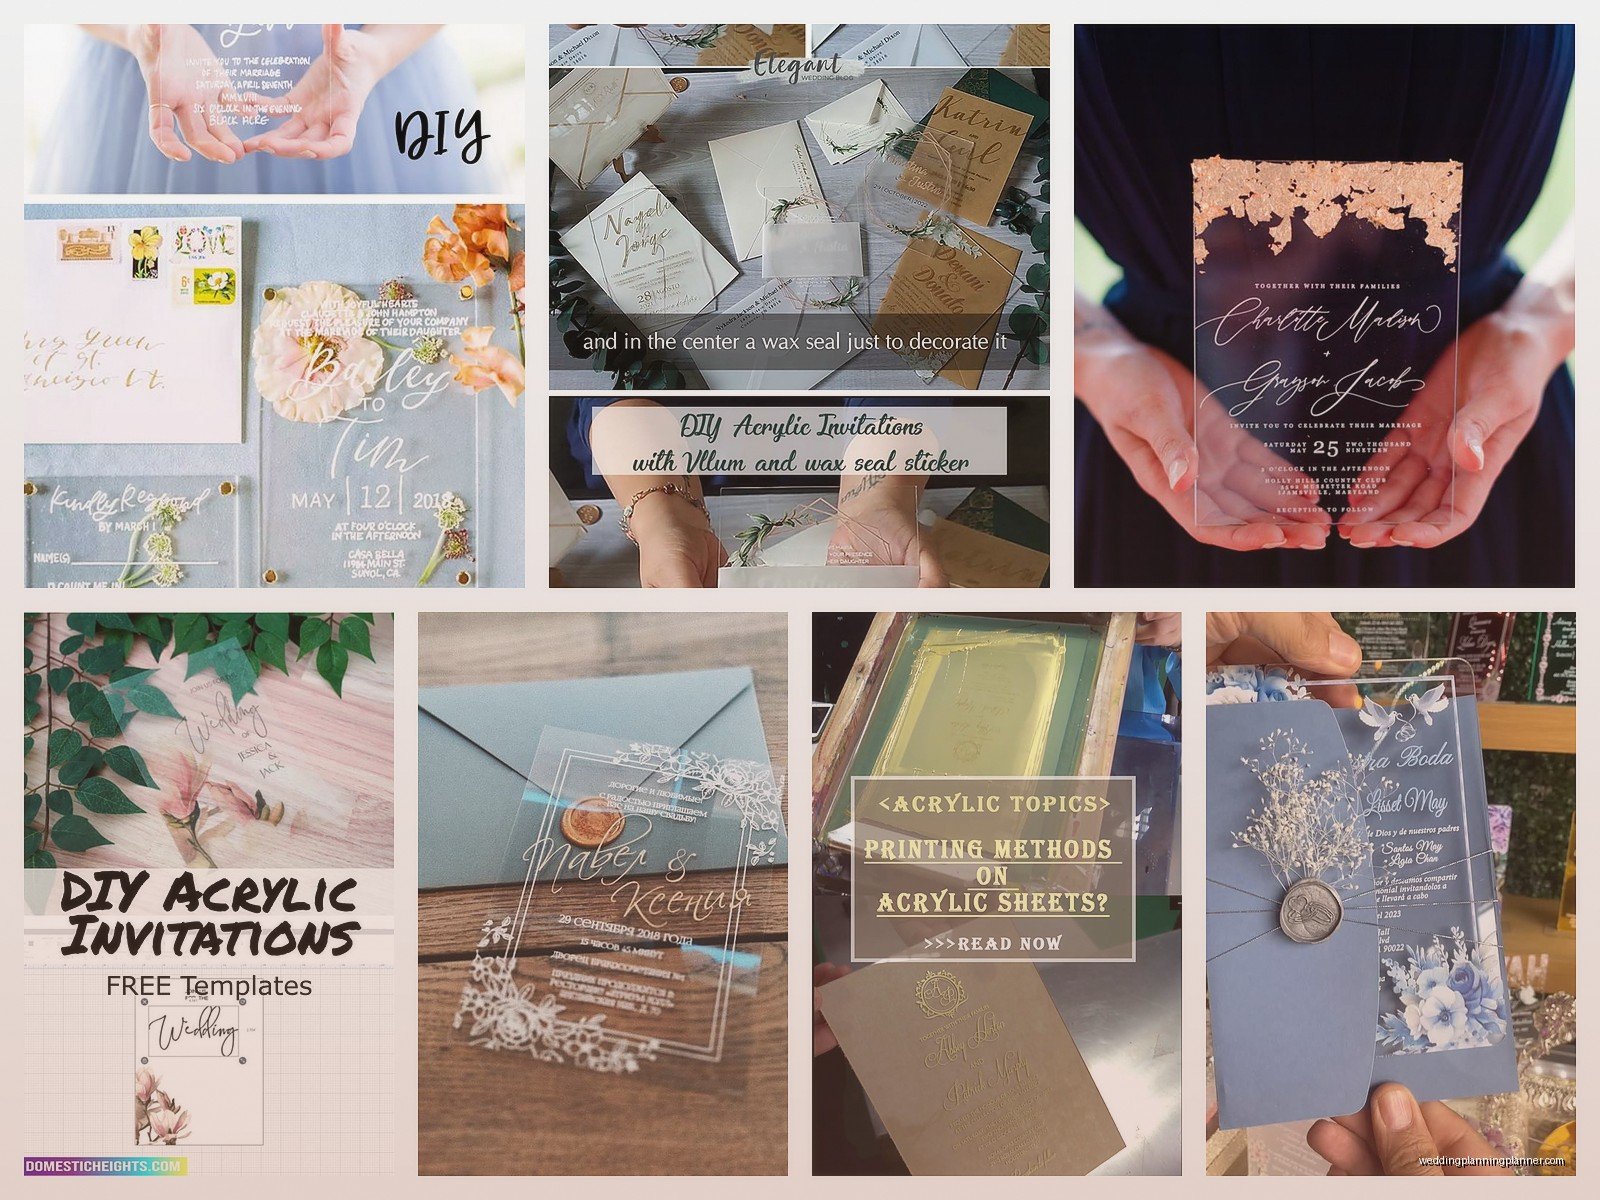
This method lets you do full-color designs, photos, watercolor backgrounds, whatever you want basically.
Dealing With Fingerprints and Smudges
Oh my god this is the thing that annoyed me MOST about acrylic invitations. You look at them wrong and there’s a fingerprint. You breathe near them and there’s condensation marks. It’s ridiculous.
Keep the protective film on as long as humanly possible. Only remove it right before you’re packaging them up. When you do handle the acrylic, hold it by the edges only. Have your rubbing alcohol and microfiber cloths ready at all times.
Some people wear cotton gloves during assembly which looks silly but actually works. I tried this once and my assistant walked in and asked if I was about to perform surgery, but whatever, it kept the acrylic clean so who’s laughing now.
For final cleaning before packaging: spray rubbing alcohol on the microfiber cloth, not directly on the acrylic. Wipe in one direction, then buff with a dry part of the cloth. Do this in good lighting so you can see any remaining marks.
Drilling Holes If You Want Ribbons or Attachments
If you wanna add ribbon or attach multiple pieces together or hang these somehow, you’ll need holes. Use a drill bit specifically meant for plastic or acrylic – usually around 1/8 inch or 3/16 inch depending on your ribbon width.
Mark where you want the holes with a marker on the protective film. Put masking tape over the area where you’ll drill – this prevents cracking. Drill slowly with light pressure. If you push too hard or go too fast, the acrylic can crack and then you’ve got an expensive coaster.
Drill from the front through to the back in one smooth motion. Don’t stop halfway through or you might get rough edges. The tape should catch most of the plastic shavings but have a vacuum handy.
Assembly Ideas and Extras
Acrylic invites look really elevated when you add some details. Here’s what works:
Ribbon ties: Thread ribbon through drilled holes at the top. Silk ribbon looks expensive. Satin works too. Tie in a simple knot or bow.
Layering: You can create a two-layer effect with acrylic on top and colored cardstock behind it, not attached but sitting together in the envelope. This adds color without printing on the acrylic.
Edge painting: Use a small brush to paint the edges with acrylic paint (confusing name I know). Gold or copper edges look really pretty and hide any imperfections from cutting.
Envelope situation: You need sturdy envelopes. Regular paper envelopes don’t work well because acrylic is rigid and can tear through. Use cardboard mailers or thick 120lb+ envelopes. A7 size works for 5×7 invites.
Some people do a full acrylic suite with matching save-the-dates, detail cards, and menu cards. That’s a lot of work but looks cohesive. Just… pace yourself or you’ll be cutting acrylic in your sleep. Ask me how I know.
Cost Breakdown Because You’re Probably Wondering
Let’s be real about pricing because acrylic isn’t cheap but it’s cheaper than ordering custom ones.
A 12×24 inch sheet of 2mm acrylic costs about $15-25 depending where you buy it. You can get roughly six 5×7 invites from one sheet if you plan your cuts well. So that’s about $3-4 per invitation just for the acrylic.
Add vinyl or vellum, envelopes, ribbon, and your time, you’re looking at maybe $6-8 per invitation for DIY versus $15-30 each if you order them custom. So yeah, you save money but you’re trading money for time and effort.
Common Mistakes I’ve Seen
Don’t use acrylic thicker than 3mm unless you have a specific reason. It gets heavy, expensive, and harder to cut. Plus postage costs more because weight.
Don’t forget to account for bleed and margins in your design. Leave at least 1/4 inch margin from all edges or your text might get cut off or look crowded.
Don’t try to cut intricate designs by hand. Just don’t. You’ll waste material and time and probably cut yourself because working with acrylic and frustration is a bad combination.
Test your method first. Make one complete invitation before you commit to making 100. I cannot stress this enough. Test the whole process start to finish.
Don’t assume your printer can handle vellum. Test print first because some printers jam with thicker specialty papers.
Timeline for Making These
If you’re making like 50-100 invitations, plan for this to take way longer than you think. Cutting and finishing edges might take a full day. Applying vinyl or vellum is another day. Cleaning and packaging is another half day at least. That’s if nothing goes wrong and you don’t need to remake any mistakes… or if your cat doesn’t knock anything over.
Order your materials at least a month before you need the invitations done. Give yourself two weeks of actual work time. Mail them out 8-10 weeks before your event because people need time to plan and also because acrylic invites feel fancy so people expect more notice.
Alternatives If This Sounds Like Too Much
Look, sometimes you get halfway through reading a tutorial and you’re like “nah, this is too much” and that’s valid. You could do faux acrylic by printing on clear acetate sheets instead. It’s not as nice but it’s way easier and cheaper. Or do acrylic just for your VIP invites like wedding party and family, and regular paper for everyone else.
You could also order the acrylic pre-cut to size from places like TAP Plastics or online acrylic suppliers and just focus on the design part. That eliminates the most annoying steps honestly. The cutting and edge finishing is where most people get frustrated or hurt themselves or both.
My Actual Honest Opinion
Acrylic invitations look incredible when done right. They feel expensive and modern and your guests will definitely notice them. But they’re finicky and time-consuming and you’ll probably mess up a few before you get the hang of it.
If you’re crafty and patient and have time, go for it. If your wedding is in six weeks and you’re already stressed, maybe this isn’t the project to take on. There’s no shame in ordering them or choosing an easier DIY option or just… buying regular invitations because weddings are stressful enough without adding complicated craft projects, you know?
But if you do decide to make them, start early, order extra materials for mistakes, and maybe put on a good podcast or TV show in the background because you’re gonna be at this for a while. I got through an entire season of something I can’t even remember while prepping acrylic pieces for a client who changed her mind three times about the design