Planning Guides, Style Guide
Canva Bridesmaid Card: Design & Ordering Guide
Mar
Getting Started with Canva for Bridesmaid Cards
Okay so Canva is honestly the easiest way to make bridesmaid proposal cards without spending like $300 at a fancy stationer and I say this as someone who literally makes a living from paper goods. First thing you’re gonna do is create a free Canva account if you don’t have one already. The free version works perfectly fine for most bridesmaid cards but if you want access to the really gorgeous templates and stock photos, Canva Pro is like $12.99 a month and you can cancel after you’re done designing.
When you log in, search for “bridesmaid proposal card” or “bridesmaid invitation” in the search bar at the top. You’ll get literally hundreds of templates. This is where it gets overwhelming because there are SO many options and they all look kinda similar after scrolling for ten minutes.
Choosing Your Template
I usually tell brides to pick based on their wedding vibe first, not just what looks pretty. Are you doing a garden wedding? Look for florals and soft colors. Beach wedding? Maybe something with watercolor blues or minimalist designs. Fall wedding in a barn? Go for those rust and sage green templates with… actually you get the idea.
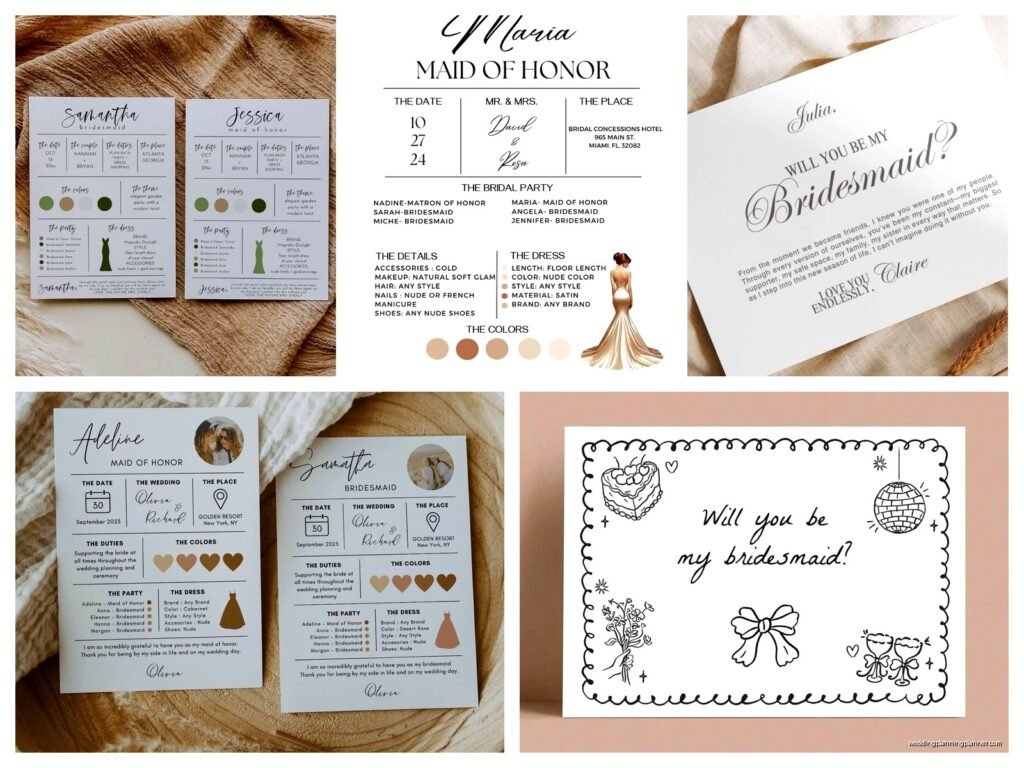
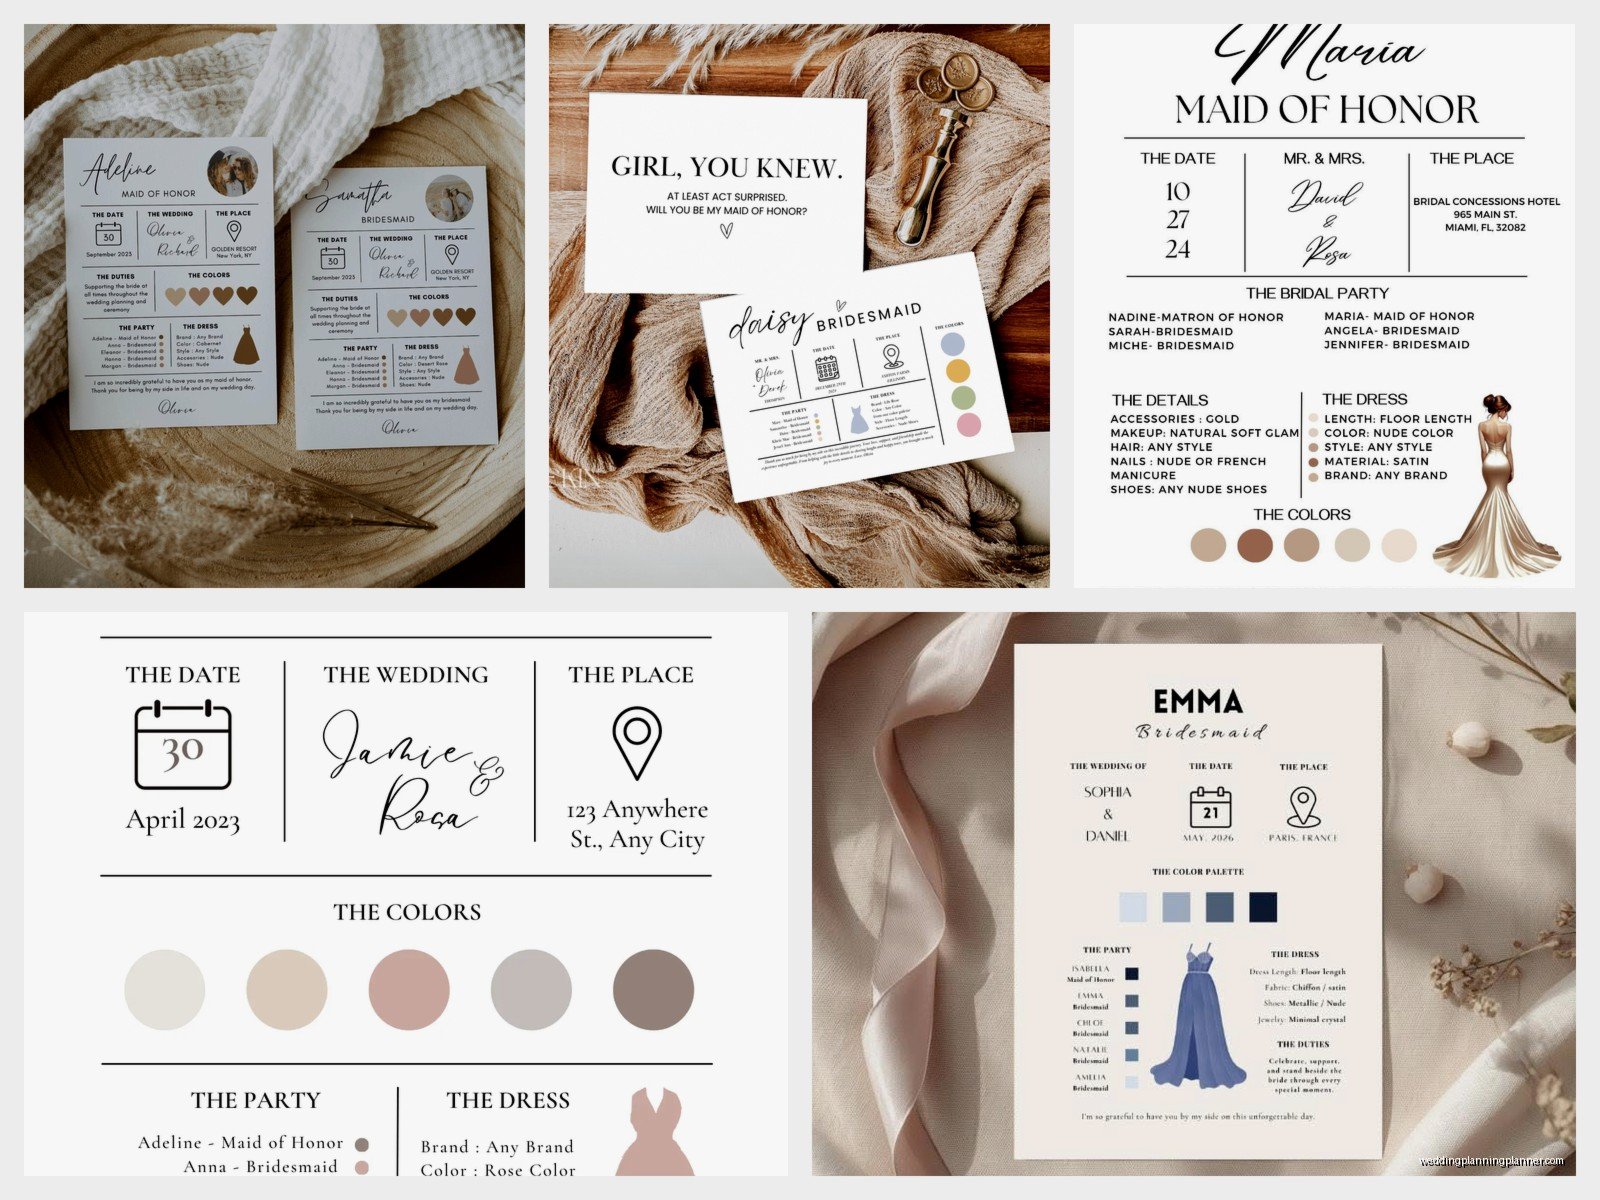
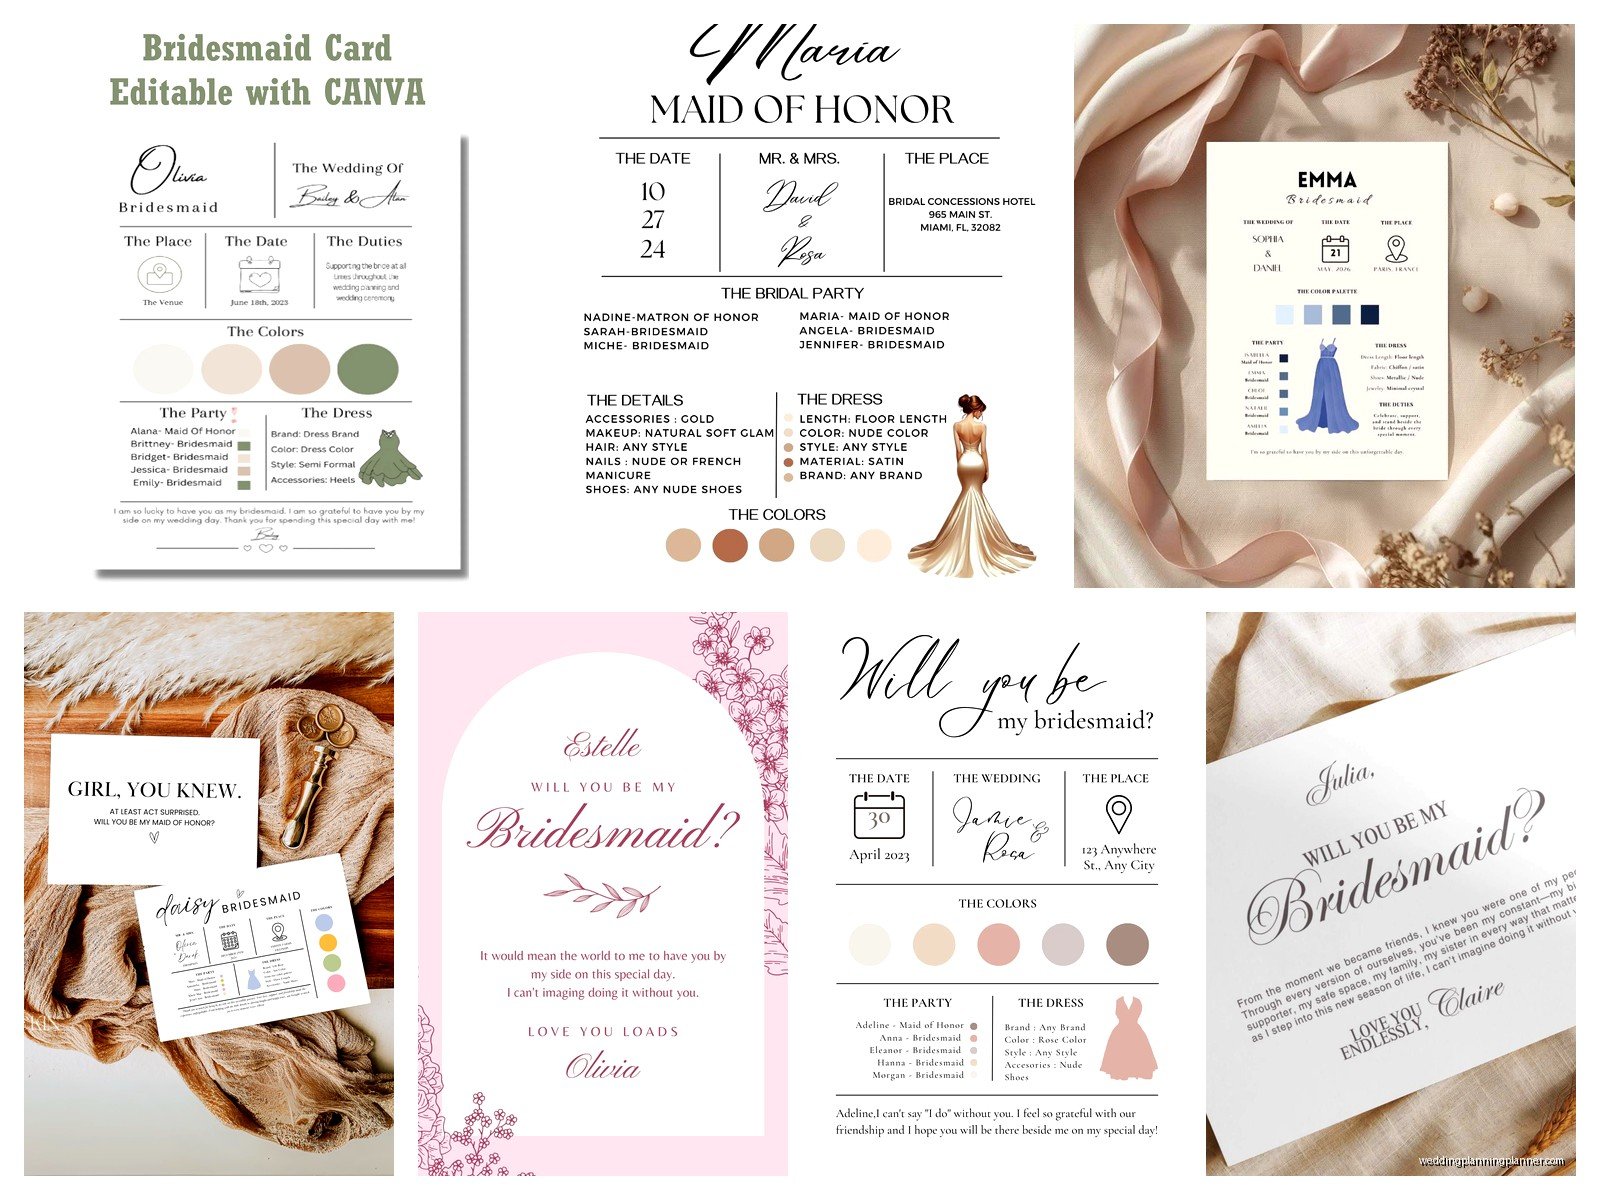
The dimensions matter more than you’d think. Most bridesmaid cards are either 5×7 inches or 4×6 inches. The 5×7 size feels more formal and gives you more room for text if you’re writing a longer message. The 4×6 cards are cheaper to print and mail but can look cramped if you’re not careful with your layout.
One thing that really annoyed me back in spring 2023 was when a bride I was working with picked this absolutely stunning template but it was designed for Instagram posts, not print. She didn’t realize until after she ordered 8 cards and they arrived all pixelated and blurry. Always check that your template says “print” or has proper dimensions listed.
Customizing Your Design
Once you pick a template, click on it and it’ll open in the editor. Everything is customizable which is both amazing and dangerous because you can definitely overcomplicate things.
Text Changes
Click on any text box to edit it. The classic “Will you be my bridesmaid?” is fine but I’ve seen some creative ones like “I can’t say I do without you” or “Let’s get ready to party.” Whatever matches your personality honestly.
Font choices are huge here. Canva has hundreds of fonts but stick to 2-3 maximum on one card. Usually I do a fancy script for the main question and a clean sans-serif for any additional details. Mixing too many fonts makes it look like a ransom note, not a wedding invitation.
Make sure your text is readable. I see this mistake constantly where someone picks a beautiful dusty rose background and then uses light pink text and you literally can’t read it without squinting. If your background is light, use dark text. If your background is dark, use light text. Basic stuff but people forget when they’re excited about design.
Colors and Elements
You can change colors by clicking on any element and selecting a new color from the palette. If you have specific wedding colors, use the color picker tool (the little plus sign in the color menu) to enter your exact hex codes. This keeps everything cohesive.
Adding elements is where you can personalize things. Click “Elements” in the left sidebar and search for stuff like “flowers,” “gold frame,” “watercolor,” whatever. The free elements have a little crown icon if they’re Pro-only, but honestly there are thousands of free options.
I usually add the bridesmaid’s name somewhere on the card. Makes it feel more personal and also nobody can accidentally give the wrong card to the wrong person which, yeah, has happened. Summer 2021 I had a bride who made generic cards and then got confused about who she’d already asked because they all looked identical.
Photos
Some people like adding a photo of them with each bridesmaid. It’s sweet but it also means you need 5-8 different card designs if you’re personalizing each one. That’s more work but the reaction is usually worth it.
To add a photo, click “Uploads” and upload your image. Then drag it onto your design. You can resize it, move it around, and even add filters or adjust the transparency. If you’re putting a photo behind text, make sure the text is still readable – sometimes you need to add a semi-transparent box behind the words.
Print Quality Settings
This is the part where people mess up the most and then blame Canva when their cards look bad. Before you download or order, you need to check your print settings.
Click on “Share” or “Download” at the top right. Choose PNG or PDF for printing. I prefer PDF because it maintains quality better and most print shops prefer it anyway. Make sure the “Flatten PDF” option is checked if you’re using transparency effects, otherwise you might get weird printing issues.
For print resolution, you want at least 300 DPI. Canva Pro automatically does this but the free version might not always hit that mark depending on your template. If you’re ordering through Canva Print (which I’ll get to), they handle the resolution automatically.
Ordering Through Canva Print
Canva has their own printing service which is honestly pretty convenient. Once your design is done, click the three dots menu and select “Order prints.” You’ll see options for different card stocks and finishes.
Paper Stock Options
Standard is fine for most people – it’s a decent weight cardstock that feels professional. Premium is thicker and has a nicer feel, worth it if you’re going for a luxury vibe. I usually recommend premium because the price difference is only like $1-2 per card and it makes a noticeable difference when someone holds it.
Matte finish is classic and elegant, doesn’t show fingerprints. Gloss finish is shiny and vibrant, makes colors pop but shows every smudge. My cat knocked over my coffee on some gloss samples once and you could see every single water mark even after they dried, so… keep that in mind if you’re clumsy like me.
Quantities and Pricing
Canva Print usually has minimum orders but for cards it’s pretty reasonable. Prices vary depending on size, paper quality, and quantity. Generally you’re looking at like $2-5 per card for standard quality, more for premium.
One annoying thing about Canva Print is that shipping can take 7-10 business days sometimes longer depending on where you are. If you’re on a tight timeline, factor that in or look at rush shipping options which cost extra.
Alternative Printing Options
You don’t have to use Canva Print. Lots of people download their designs and print elsewhere for various reasons – cost, timing, or they want specific paper that Canva doesn’t offer.
Local Print Shops
Take your PDF to somewhere like FedEx Office, Staples, or a local print shop. They can usually do it same-day or next-day. The quality depends on the shop honestly. I’ve had great experiences at small local printers who really care about color matching, and terrible experiences at big chains where the teenager working the counter didn’t know how to adjust printer settings.
Ask about paper options. Most print shops have cardstock in various weights. 80lb cover is standard, 100lb cover is thicker and feels more premium. Some places have specialty papers like linen or cotton if you want texture.
Online Print Services
Moo, Vistaprint, and Printful are popular options. They’re usually cheaper than Canva Print if you’re ordering multiple sets. Moo has really beautiful paper quality and I’ve used them for client projects, but their turnaround time is about the same as Canva.
Vistaprint is budget-friendly but the quality is hit or miss in my experience. Sometimes it’s great, sometimes the colors are way off from what you designed. They do run sales constantly though so if you’re on a tight budget, wait for a 40% off deal.
DIY Home Printing
If you have a decent home printer, you can print these yourself on cardstock. Buy cardstock from craft stores like Michael’s or Hobby Lobby – they have packs specifically for printers in various colors and weights.
The trick with home printing is making sure your printer can handle thick cardstock. Check your printer manual for the maximum paper weight it accepts. Most home printers can do up to 80lb cardstock, some can handle 100lb.
Print a test card first on regular paper to check alignment and colors. Home printers never match screen colors exactly, so don’t freak out if things look slightly different. That’s normal and honestly most people won’t notice a slight color shift.
Cut your cards carefully if you’re printing on full sheets. A paper trimmer from the craft store (like $20) gives much cleaner edges than scissors. Or you can buy pre-cut cardstock in standard sizes which… yeah that’s easier but more expensive.
Adding Envelopes
Don’t forget envelopes. Canva Print sometimes includes them but not always, so check. If you’re printing elsewhere, you’ll need to buy envelopes separately.
Standard envelope sizes: A7 for 5×7 cards, A6 for 4×6 cards. You can find these at craft stores, paper supply stores, or Amazon. Colors should complement your card design – white is always safe, but colored envelopes add a nice touch.
Some people get fancy with envelope liners or custom address printing. That’s extra but looks really polished if you’re into that. There are Canva templates for envelope liners too if you wanna go that route.
Timing Your Card Giving
Okay this isn’t really about design but it matters – plan when you’re actually giving these cards. Some brides mail them, some do it in person, some include them in proposal boxes with gifts.
If you’re mailing, add at least a week to your timeline for delivery. If you’re doing proposal boxes, make sure the card size fits in whatever box you bought because that would be annoying to realize after everything’s printed.
I had a bride who designed beautiful cards and then realized she wanted to ask her bridesmaids in person at dinner but the cards were too big to fit in her purse so she had to awkwardly carry this big envelope around all night. Just… think through the logistics is what I’m saying.
Common Design Mistakes
Let me just rapid-fire some mistakes I see all the time so you can avoid them.
Too much text. These cards aren’t letters. Keep it short and sweet. The main question plus maybe one personal line, that’s it.
Ignoring bleed areas. If your design has color that goes to the edge of the card, extend it past the trim line by about 0.125 inches. Otherwise you might get white edges after cutting.
Using low-resolution images. If you upload photos, make sure they’re high quality. Blurry photos make the whole card look cheap no matter how good the rest of the design is.
Forgetting to proofread. Spell-check your text. Ask someone else to read it. I’ve seen cards printed with typos and it’s just… yeah it’s awkward.
Overdesigning. Sometimes simple is better. You don’t need every element, every effect, every font. Pick a cohesive look and stick with it or it starts looking cluttered.
Saving and Organizing Your Designs
If you’re making different cards for each bridesmaid, stay organized. Name your Canva files clearly like “Bridesmaid Card – Sarah” so you don’t get confused later.
Save copies as you work. Canva auto-saves but I’ve had it glitch before (rare but annoying). You can duplicate your design by clicking “File” then “Make a copy” to have backups.
Download all your final files to your computer too, not just relying on Canva’s cloud storage. That way if your account has issues or you need to reprint later, you have everything saved locally.
Budget Considerations
The whole point of using Canva is usually to save money compared to custom stationery, so let’s talk actual costs. A completely DIY approach using free Canva templates, home printing, and basic envelopes might cost you $1-2 per card total. Ordering through Canva Print with premium options could be $5-7 per card. Custom stationery from a professional designer would be $10-25+ per card, sometimes way more.
For eight bridesmaids, that’s the difference between spending $15 versus $200. Pretty significant if you’re on a wedding budget, which, everyone is.
You can also mix and match – design in Canva but print at a local shop for better pricing, or use Canva Pro for one month to access premium templates then cancel. There’s no rule that says you have to do everything one way.