Planning Guides, Style Guide
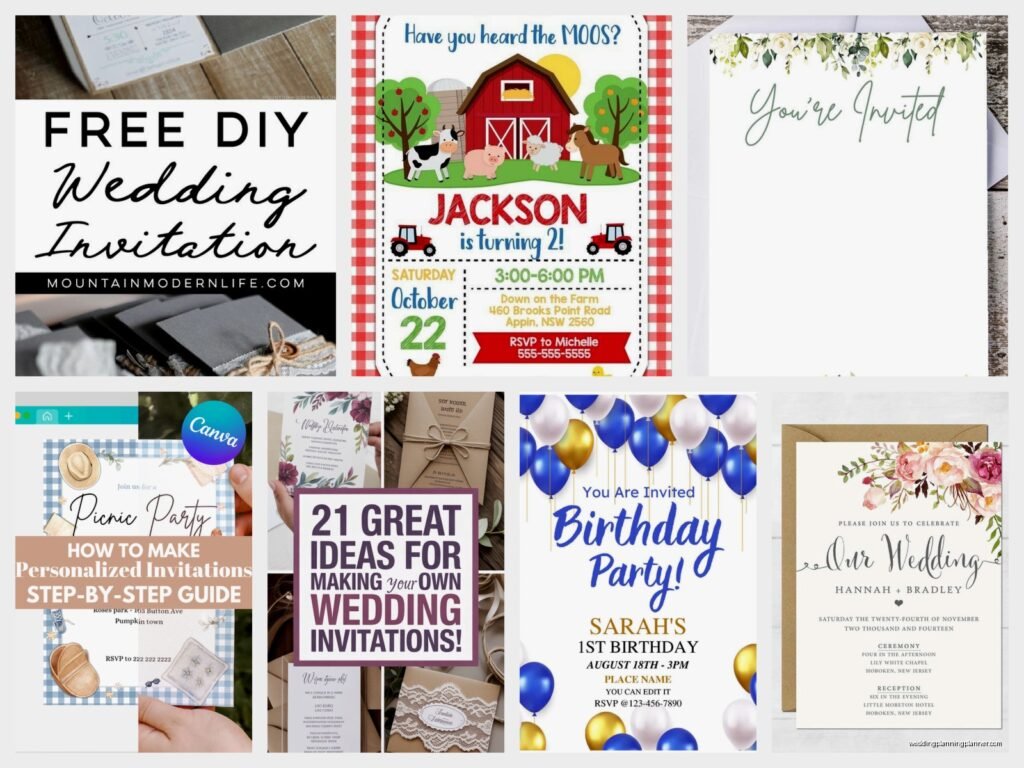
Create Your Own Invitations: DIY Design Tools Guide
Mar
The Tools You Actually Need to Make Your Own Invitations
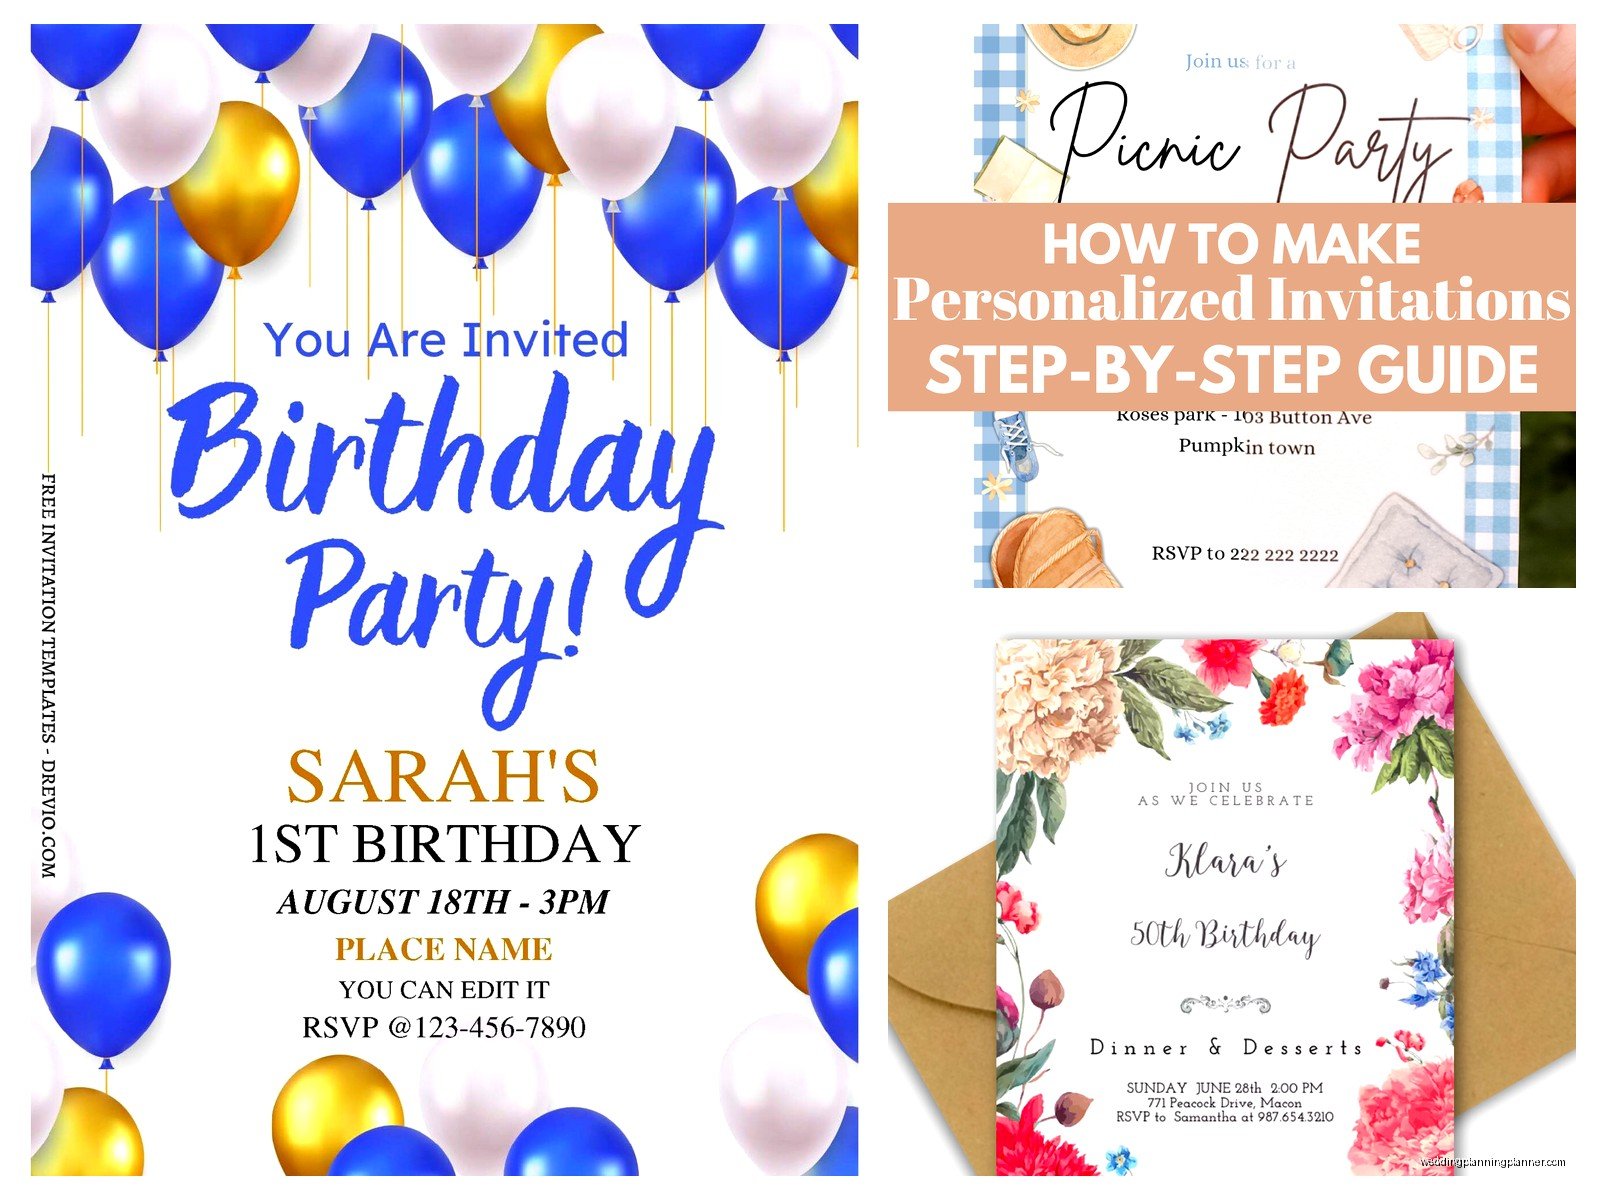
So Canva is gonna be your best friend here and honestly I fought this for SO long because I thought “real” designers don’t use it but then during this nightmare wedding season in summer 2021 when literally everything was backed up and printers were quoting me 8-week turnarounds, I caved and now I use it for like half my client mock-ups. It’s free for the basic version and has templates specifically for invitations in standard sizes like 5×7 and A7 which is what most envelope suppliers stock anyway.
The drag-and-drop interface is pretty intuitive even if you’ve never touched design software. You can upload your own photos, use their stock images, and they have this whole library of fonts that you don’t have to install on your computer. The paid version is like $13 a month I think and gets you access to way more templates and removes the watermark stuff but honestly start with free and see if you even like doing this.
Adobe Express Is the Other Big One
Adobe Express used to be called Adobe Spark and it’s kinda similar to Canva but feels a bit more… Adobe-ish? If that makes sense. The free version is decent and if you already pay for Adobe Creative Cloud you get the premium features included. I find the color matching tools better in Adobe Express when you’re trying to pull specific hex codes from a photo or match a bridesmaid dress color exactly.
What annoyed me about Adobe Express though is that their template library for invitations is smaller and some of them feel really dated like they haven’t updated the wedding section since 2015. But the actual design tools are solid and the export quality is really good.
Setting Up Your Design Files Properly
Okay so this is where people mess up and then get mad when their invitations come back from the printer looking weird. You need to set up your document at the actual trim size PLUS bleed. Bleed is the extra bit around the edges that gets cut off and it’s usually 0.125 inches on each side.
So if you want a 5×7 invitation the actual document size should be 5.25×7.25 inches. And anything important like text or photos of people’s faces needs to stay at least 0.25 inches away from where the cut line will be because cutters aren’t perfectly precise and you don’t want Aunt Martha’s head chopped off.
In Canva you can set custom dimensions when you create a new design. Just click “Custom size” instead of picking a template. For Adobe Express you do the same thing under “Custom dimensions.” Both platforms will let you save this as a template so you don’t have to remember the math every time.
Resolution Matters More Than You Think
Your design needs to be at least 300 DPI (dots per inch) for printing. This is automatic in most design tools when you’re working with their built-in elements but if you upload your own photos make sure they’re high resolution. That pic you grabbed from Instagram? Probably not gonna work. You need the original file from your phone or camera.
I had this bride in spring 2023 who insisted on using this super compressed photo of her and her fiancé from Facebook as the main image and I told her it would print blurry and she said “it looks fine on my screen” and then guess what happened. It printed blurry. So I learned to just show people a test print before we do the full run because apparently nobody believes me when I say pixelated images don’t magically get better.
Typography Rules That’ll Save Your Design
Don’t use more than three fonts total. Seriously. I see people get excited about all the font options and suddenly their invitation looks like a ransom note. Pick one fancy script font for names or the main heading, one clean serif or sans-serif for body text, and maybe one more for accents if you really need it.
And please for the love of all that is holy make sure your text is actually readable. I know that super swirly calligraphy font looks romantic but if your guests can’t tell whether it says “Reception” or “Deception” you’ve got a problem. Body text should be at least 10pt, preferably 11 or 12pt.
Canva has this feature where you can pair fonts and it’ll suggest combinations that work well together which is honestly super helpful if you have no idea what you’re doing. Adobe Express has something similar but I think Canva’s recommendations are better.
Hierarchy Is About Making Things Easy to Read
The most important information should be the biggest and easiest to find. That’s usually the couple’s names and the date. Then venue and time. Then RSVP details. Then all the extra stuff like dress code and website and hotel blocks.
You create hierarchy through size, weight (bold vs regular), and positioning. Don’t try to make everything the same size because then nothing stands out and people’s eyes don’t know where to look first. This drives me crazy when I see it because you can have a perfectly nice design that just doesn’t function well as an invitation.
Color Schemes and How to Not Overthink Them
You can pull a color palette from literally anything. A photo, a piece of fabric, a sunset, whatever. Both Canva and Adobe Express have color palette generators where you upload an image and it gives you the main colors. Or you can use websites like Coolors or Adobe Color.
Stick to 2-4 colors max. Usually I do one main color, one accent color, and then neutrals like white/cream/black/gray. You don’t need to use all the colors in equal amounts either like sometimes the accent color just shows up in a thin border or a small graphic element.
Also test your colors in both digital and print if possible because screens show colors differently than paper does. Blues especially can shift weird. What looks like a pretty dusty blue on your monitor might print straight up gray.

Backgrounds and Textures
You can keep it simple with a solid color or add texture with patterns or watercolor effects or whatever. Canva has tons of background graphics you can use. Just make sure there’s enough contrast between your background and your text or nobody will be able to read it.
A trick I use is to put a semi-transparent white or colored box behind text if the background is busy. It makes the text pop without having to change your whole design. You can adjust opacity in both Canva and Adobe Express pretty easily.
Graphics and Decorative Elements
Less is usually more but that sounds like generic advice so let me be more specific. Pick a style and stick with it. If you’re using botanical line drawings don’t also add watercolor flowers AND geometric shapes AND a photo border. It’ll look chaotic.
Canva calls their graphics “elements” and they have a huge library. Some are free, some need the paid version. You can search by style like “minimalist,” “vintage,” “boho,” whatever. Adobe Express has a similar setup but smaller selection in my experience.
My cat just knocked over my coffee while I’m writing this which is perfect timing because speaking of things that can ruin your design, be careful with clipart-looking graphics. You want your invitation to look custom and thoughtful not like you grabbed the first piece of clipart from 2003. Look for graphics that feel modern or at least intentionally vintage if that’s your vibe.
Layout and Composition Basics
White space is not wasted space it’s breathing room. You don’t need to fill every single inch of your invitation with stuff. In fact leaving empty space makes your design look more elegant and expensive usually.
The rule of thirds kinda works here where you imagine your design divided into a 3×3 grid and place important elements along those lines or at the intersections. But honestly sometimes you just need to move things around until it feels balanced and that’s fine too.
Center alignment is classic for formal invitations. Left alignment feels more modern and casual. Right alignment is… rarely used for invitations because it feels weird to read. You can mix alignments but be intentional about it.
Templates vs Starting from Scratch
There’s zero shame in starting with a template and customizing it. That’s literally what they’re there for. Change the colors, swap the fonts, add your own text, adjust the layout. Most templates in Canva and Adobe Express are pretty flexible.
If you do start from scratch just work in layers. Background first, then big text elements, then smaller text, then decorative stuff. Both platforms let you arrange layers and lock things in place so you don’t accidentally move something you already positioned perfectly.
Exporting Your Files for Printing
This is super important and where a lot of DIY projects go wrong. You need to export as a PDF with high quality settings. In Canva click Download, choose PDF Print, and make sure “flatten PDF” is selected if you’re sending it to a professional printer. For Adobe Express it’s similar under Download or Export.
Some printers want specific file types like CMYK color mode instead of RGB. If you’re using a local print shop call them first and ask what format they prefer. Online printers like Minted or Catprint usually have specs listed on their websites.
Save your working file too obviously so you can make edits later if you catch a typo or need to update information. Both Canva and Adobe Express save your projects automatically in the cloud which is nice but I also download a copy to my computer just in case.
Test Prints Are Not Optional
Print ONE invitation first before you order 150. Print it at home on regular paper just to check spacing and typos. Then if it looks good order a proof from your actual printer on the actual paper stock. Yes this adds time and a bit of cost but it’s way cheaper than reprinting everything because you realized the venue address is wrong or someone’s name is misspelled.
I check for: spelling obviously, date and time are correct, venue name and address match exactly what’s on Google Maps, RSVP date gives people enough time, website URL actually works, phone numbers are right. You’d be surprised how many times I’ve caught errors at the proof stage that would’ve been disasters.
Other Tools Worth Mentioning
PicMonkey is another option that’s kinda between Canva and Adobe Express in terms of features and price. It has good touch-up tools if you’re including photos of yourself. Over is a mobile app that works surprisingly well for simple invitation designs if you wanna work from your phone or tablet.
For more advanced users who want full control Affinity Publisher is like $70 one-time purchase and it’s basically a simpler version of InDesign without the subscription. But there’s a learning curve so maybe not for your first invitation project.
Vellum or Translucent overlays are having a moment and you can design those too but they need to be printed separately and then you layer them over your main invitation. The design for the overlay should be even simpler than your main invite because you’re literally seeing both at once.
Matching Pieces and Keeping Everything Consistent
Once you design your main invitation you’ll probably want matching pieces like RSVP cards, details cards, envelope liners maybe. Save your color codes and font names somewhere so everything matches. In Canva you can duplicate your project and then modify it which keeps all your settings.
RSVP cards are usually 4.25×5.5 or 5×3.5 inches. Details cards can be whatever size you want but keeping them proportional to your main invite looks more cohesive. Like if your invitation is portrait orientation your other pieces probably should be too unless there’s a specific reason to switch.
Envelope addressing is a whole other thing but you can design that digitally too and print on the envelopes directly if your printer can handle thick paper or print on labels. Both Canva and Adobe Express have envelope templates.
Cost Breakdown Because That’s Probably Why You’re DIYing
Design software free to maybe $13/month. Printing depends wildly on quantity and paper quality but figure $1-3 per invitation for decent quality from an online printer. Envelopes maybe $0.50-1 each. So for 100 invitations you’re looking at maybe $150-400 total compared to $500-1000+ from a stationer.
Your time is worth something though and designing invitations takes longer than you think especially the first time. Give yourself at least a few weeks to design, order proofs, make revisions, and get final printing done. Rush fees add up quick if you’re on a tight timeline.