Planning Guides, Style Guide
Cricut Wedding Invitations: Die-Cut Machine DIY Guide
Mar
Getting Your Cricut Ready for Wedding Invitations
So you wanna make wedding invitations with your Cricut and honestly it’s one of the best decisions because the amount of money you’ll save is kinda insane. I had this bride back in spring 2023 who was gonna spend like $2000 on letterpress invitations and I showed her what we could do with a Cricut Maker and she literally cried. Good tears though.
First thing – you need to figure out which Cricut you have because not all of them can handle cardstock the same way. The Cricut Maker and Maker 3 are gonna be your best friends here. They have the adaptive tool system which means they can actually cut through thicker materials without making you want to throw the machine out the window. The Explore Air 2 can work but you’re limited to lighter cardstock and honestly it’s frustrating when you’re trying to do intricate designs.
Before you do ANYTHING else, get your materials sorted. You need cardstock that’s actually meant for die-cutting – I usually go with 80lb to 110lb cover weight. Anything thinner looks cheap and anything thicker… well, the Cricut’s gonna struggle and you’ll waste a bunch of paper. I learned this the hard way when I tried using 130lb cardstock and my machine made this horrible grinding noise that scared my cat so bad she didn’t come out from under the bed for like three hours.
Design Software Stuff You Gotta Know
Cricut Design Space is free but it’s also kinda annoying because it’s not as intuitive as it should be. You’re gonna need to create an account and download it to your computer or use it in a browser. The app version works too but I find the computer version easier when you’re doing detailed invitation work.
Here’s what nobody tells you – you can upload your own designs as SVG files and this is where things get really good. If you can’t design from scratch (and honestly most people can’t), you can buy invitation templates on Etsy or Creative Market. Make sure they’re labeled as SVG or compatible with Cricut. I’ve seen people buy PDF files thinking they’ll work and then get super frustrated when they realize PDFs don’t have the cut lines built in.
When you’re in Design Space, you need to understand layers. Each color or element that you want cut separately needs to be on its own layer. So if you’re doing a pocket invitation with a belly band, that’s three separate cuts at minimum. The software will ask you if you want to cut, write, or score – and this is where the magic happens because you can use multiple tools in one project.
Setting Up Your First Invitation Cut
Okay so let’s say you’ve got your design ready. You need to upload it to Design Space and then resize it to your actual invitation dimensions. Most invitations are 5×7 inches but you can do whatever you want honestly. The resizing tool is in the top toolbar and you can lock the aspect ratio so things don’t get weird and stretched.
One thing that REALLY annoyed me when I first started is that Design Space doesn’t always tell you when your design is too complex for the machine to handle in one pass. You’ll start cutting and then it just… stops. Or it tears the paper. So my advice is to simplify your designs – fewer intricate curves, bigger cut areas, and definitely test cuts before you do your whole batch.
Material Settings and Test Cuts
This is where people mess up the most. You absolutely have to do test cuts. I don’t care if you’re in a rush or you think you know what you’re doing. Every paper is different even if it’s the same weight. Load a small piece of your cardstock onto the mat – use the StandardGrip mat for most cardstock, the StrongGrip if you’re going heavier.
In Design Space, click on “Make It” and then you’ll see the material selection screen. Start with “Medium Cardstock” as your baseline. The machine will suggest a pressure setting. Do your test cut on a small piece and then check if it cut all the way through by trying to remove the design from the mat. If it didn’t cut through completely, increase the pressure by like 2-4 clicks and try again.
For intricate die-cuts with lots of detail, you might need to slow down the cutting speed. There’s an option in the settings menu (the little gear icon) where you can adjust pressure and speed. Slower is better for detailed work even though it takes longer because otherwise you get torn edges or the blade catches and drags.
Blade Choices Matter More Than You Think
The fine-point blade that comes with your Cricut is fine for basic cuts but if you’re doing a lot of invitations, invest in the deep-point blade. It handles thicker cardstock way better and lasts longer. I replace my blades every 3-4 wedding projects depending on how many invites I’m cutting.
There’s also the scoring wheel which is ESSENTIAL for folded invitations or pocket folds. The scoring stylus works okay but the wheel gives you a much cleaner fold line. You’ll need the Maker or Maker 3 for the wheel though – it doesn’t work with the Explore machines.
Actually Making the Invitations
So you’ve got your design, you’ve done test cuts, now it’s time to actually make these things. Here’s my process and it’s kinda specific but it works:
Step 1: Cut all your main invitation pieces first. Don’t try to do different colors or layers at the same time because you’ll get confused about what’s what. I usually do all the base cards first, then all the overlays, then any die-cut elements.
Step 2: Use the brayer tool (it’s like a little roller) to really press your cardstock onto the mat before cutting. Air bubbles under the paper will cause issues and you’ll get rough edges or incomplete cuts.
Step 3: Don’t walk away from the machine while it’s cutting. I know it’s tempting to go fold laundry or whatever but you need to watch for any issues. If the paper starts lifting or the blade is tearing instead of cutting cleanly, stop the machine and fix it.
Step 4: When removing finished pieces from the mat, flip the mat over and peel the mat away from the paper, not the paper away from the mat. This prevents curling and keeps intricate cuts from breaking.
Layering and Assembly
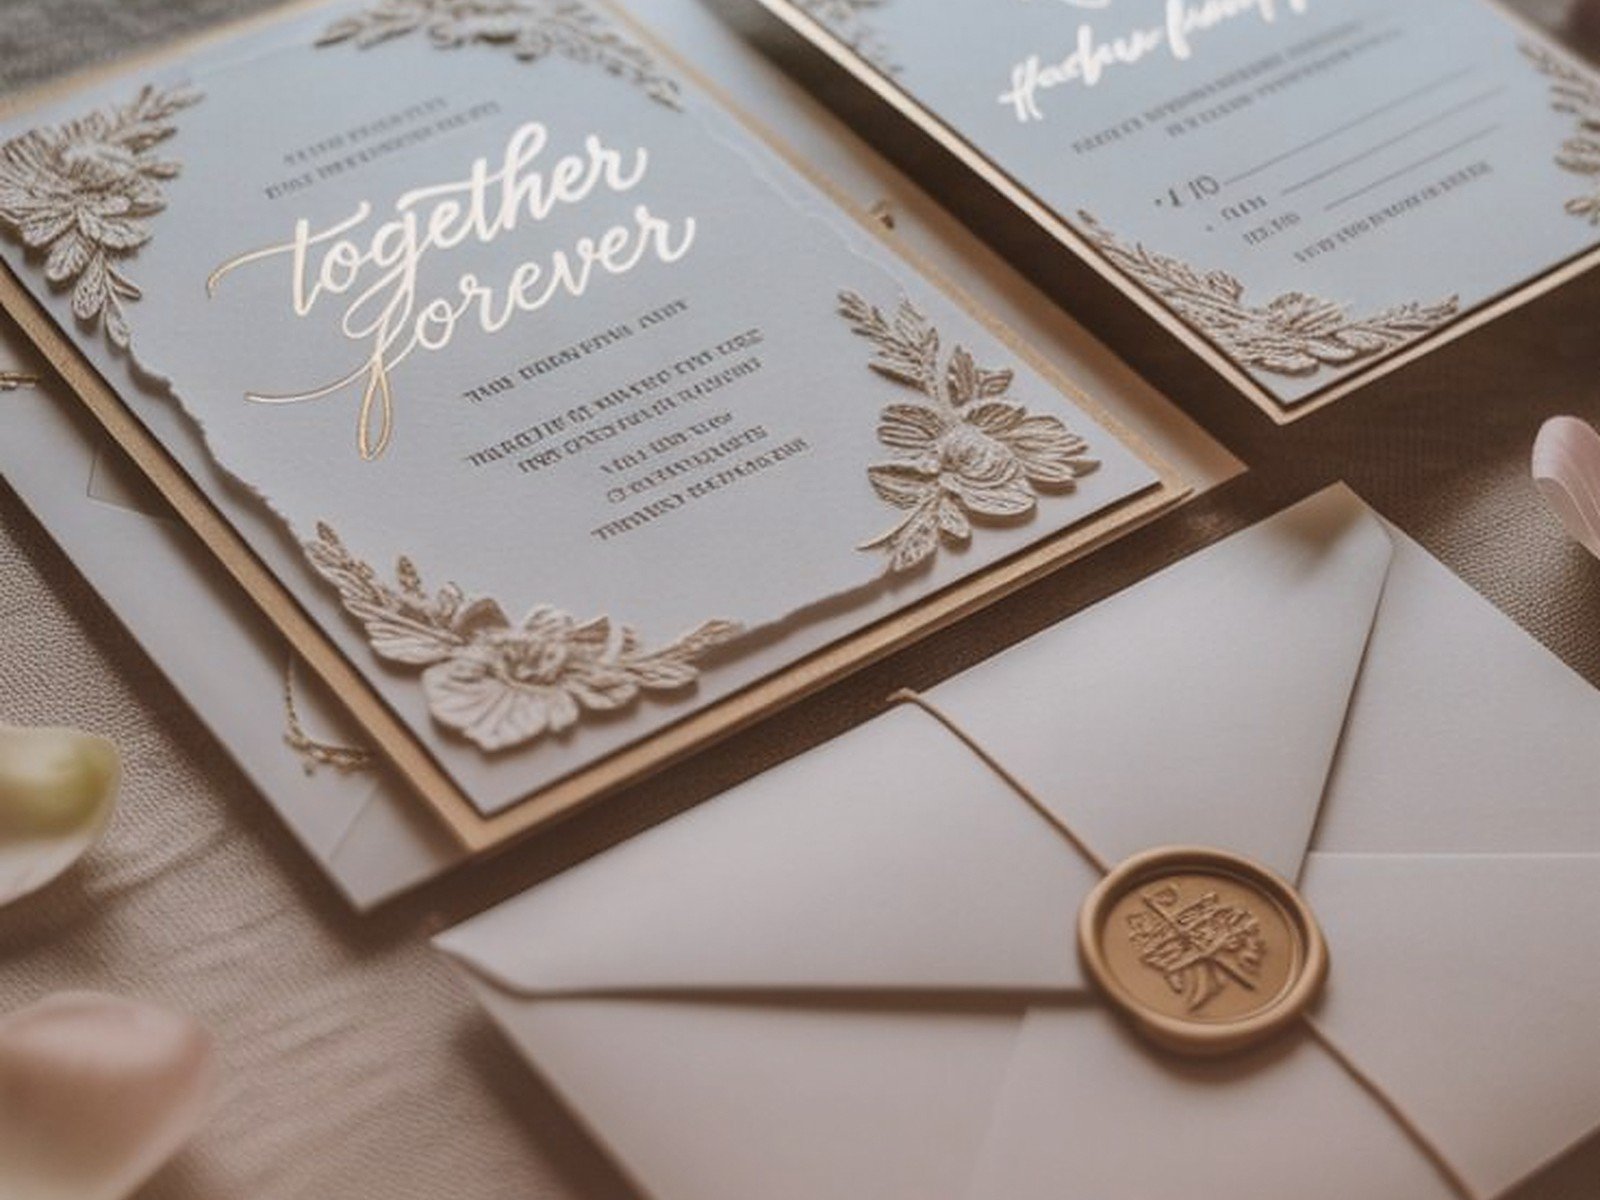
Once everything’s cut, you need to assemble your invitations and this is where it either looks amazing or kinda homemade in a bad way. Get yourself a good paper trimmer, a bone folder, and GOOD adhesive. I use Tombow Mono Multi Liquid Glue for most applications because it dries clear and doesn’t warp the paper.
For dimensional elements, foam squares or dots work great. They give you that professional raised look without being too bulky for envelopes. Speaking of envelopes – you can cut those with your Cricut too using envelope templates but honestly I usually just buy them because cutting and folding envelopes takes forever and… I mean there are limits to how much time you wanna spend on this stuff.
Printing Text on Die-Cut Invitations
This is tricky. You have a few options and none of them are perfect. You can print first and then cut, which works if your printer can handle the cardstock weight and you’re confident in your alignment. Design Space has a “print then cut” feature but it only works for smaller projects – there’s a size limit.
Or you can cut first and then print, but you need a printer that can handle the custom sizes and shapes. Most home printers are gonna struggle with this. What I usually do is cut the invitations and then either hand-letter them (if the bride wants that look) or use a separate printed insert that sits on top of the die-cut layer.
There’s also the Cricut pens which can write text directly onto your invitations. The calligraphy pens look pretty good but you’re limited to single-line fonts which look kinda thin sometimes. For a full invitation suite of like 100+ invites, I wouldn’t rely on the pens because it takes FOREVER.
Troubleshooting Common Issues
Your cuts are rough or torn – blade is dull, replace it. Or you’re cutting too fast, slow it down in settings.
Paper is moving during cutting – mat isn’t sticky enough, clean it with a baby wipe or get a new mat. Or you didn’t press the paper down firmly enough.
Intricate details aren’t cutting through – increase pressure, try a deep-point blade, or simplify your design because some things just won’t work.
The machine is making weird noises – check for paper scraps stuck in the roller bar, make sure your blade housing is fully clicked in, or the cardstock might be too thick for your machine.
How Many Invitations Can You Actually Make
Let’s be real about time because this is important. A simple flat invitation with one die-cut element takes about 3-4 minutes per invitation including cutting and assembly. So for 100 invitations, you’re looking at like 5-6 hours of work minimum. For layered invitations with multiple die-cut elements, pocket folds, belly bands, all that fancy stuff – you could be looking at 10-15 minutes per invitation.
I had a bride who wanted these incredibly intricate laser-cut style invitations and didn’t believe me when I told her the time estimate. We did a trial run of 10 invitations and it took me almost three hours. She ended up simplifying the design because she didn’t want to spend weeks making 150 invitations.
Also your mats will wear out. Each mat is good for maybe 25-40 cuts depending on how much coverage your design has. Budget for replacement mats – they’re like $15-20 each so it adds up.
Design Ideas That Actually Work
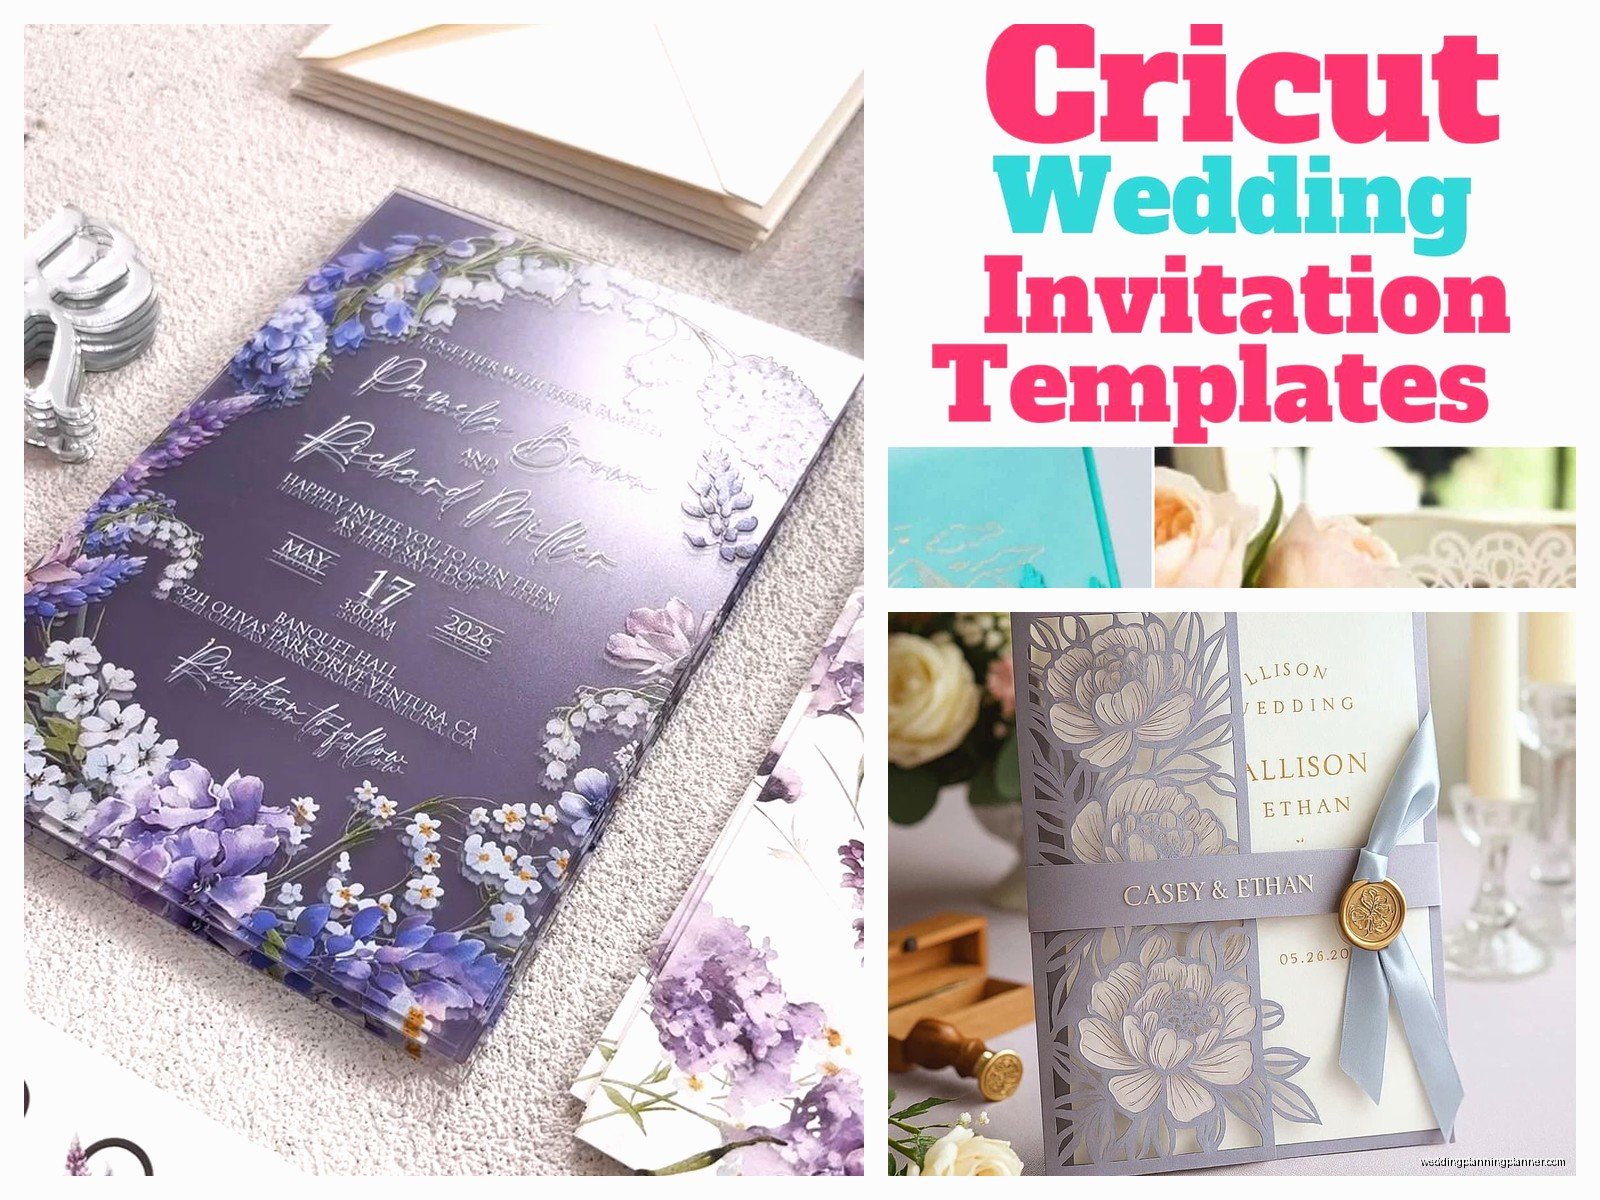
Gatefold invitations are popular and look impressive but they’re pretty straightforward to cut. You just need a score line down the middle and two flaps that open outward.
Pocket folds with a die-cut flap edge look really elegant and aren’t too complicated. The pocket holds your detail cards and the decorative edge adds that custom touch.
Belly bands with die-cut patterns or monograms are my favorite because they add visual interest without requiring a ton of layers or assembly time.
Tag-style invitations with a hole punch and ribbon are super easy and look modern. The Cricut can cut the tag shape and punch the hole in one pass.
What I avoid – anything with cuts smaller than like 0.25 inches because they’re gonna break or not cut cleanly. Also avoid designs with a million tiny pieces that you have to weed out (remove the excess paper). It’s just tedious and you’ll hate your life by invitation number 30.
Supplies List for a Full Invitation Suite
You’re gonna need more than just the Cricut. Here’s what I keep stocked:
- Cardstock in your colors – buy more than you think you need because you WILL mess some up
- StandardGrip and StrongGrip mats
- Fine-point and deep-point blades
- Scoring wheel or stylus
- Paper trimmer
- Bone folder
- Adhesive – liquid glue and foam squares
- Weeding tools for removing tiny pieces
- Brayer for pressing paper onto mats
- Envelopes that fit your invitation size
- Probably wine or coffee depending on your personality
Cost Breakdown Because That Matters
If you already own a Cricut, making 100 invitations will cost you roughly $75-150 depending on how fancy you go with the cardstock and how many layers you’re doing. That includes paper, adhesive, and replacement blades/mats. Compare that to professional printing which starts around $300-500 for basic invitations and goes up to thousands for letterpress or foil stamping.
But factor in your time because that’s worth something too. If you value your time at like $20/hour and you’re spending 8 hours making invitations, that’s $160 in labor. Still cheaper than professional printing but it’s not free labor just because you’re doing it yourself.
Final Tips from Someone Who’s Done This Too Many Times
Start early. Don’t wait until a month before the wedding to start making 150 invitations. Give yourself at least 2-3 months so you’re not stressed and rushing.
Make extras of everything – like 10-15% more than you need because you’ll mess up some during assembly or realize you forgot to account for plus-ones or whatever.
Test your envelopes before you assemble everything. Some die-cut designs are too bulky for standard envelopes and you’ll need to size up or modify your design.
Clean your Cricut regularly during big projects. Paper dust builds up and affects cutting quality. Just wipe down the roller bar and around the blade housing with a dry cloth.
Don’t try to cut really detailed designs in dark cardstock because you won’t be able to see what you’re doing when you’re weeding out the excess. Light colors show the cuts better.
The “attach” function in Design Space is your friend for keeping elements positioned correctly when cutting. If you have a monogram that needs to stay centered on a tag, select both elements and click “attach” before sending to cut.
You can cut multiple invitations per mat depending on your design size. A 12×12 mat can usually fit 2-3 invitations at once which speeds things up. Just make sure to leave space between them for the machine to navigate.