Planning Guides, Style Guide
DIY Invitations: Handmade Wedding Card Tutorial
Mar
Getting Your Materials Together First
Okay so the biggest mistake I see people make is just diving in without having everything on hand and then you’re halfway through cutting cardstock and realize you don’t have the right adhesive and everything gets messy. I learned this the hard way back in spring 2023 when a bride called me frantically because she’d started her DIY invitations at 11pm the night before her engagement party preview invites were supposed to go out. Don’t be that person.
You’re gonna need cardstock as your base – I always recommend 80lb or higher because anything thinner feels cheap when people hold it. Get white or ivory unless you’re doing something specific with your color scheme. Then you need your decorative paper or vellum for layering, which is where the fun happens. Vellum is kinda magical because it adds that translucent elegant look without being too extra.
For cutting you need a paper trimmer with a fresh blade, not those dull ones from your college days. A bone folder for crisp creases. Double-sided tape or a good adhesive runner – I’m obsessed with the Tombow ones but honestly any acid-free tape works. Scissors, obviously. A ruler if you’re measuring anything by hand which you probably will be at some point.
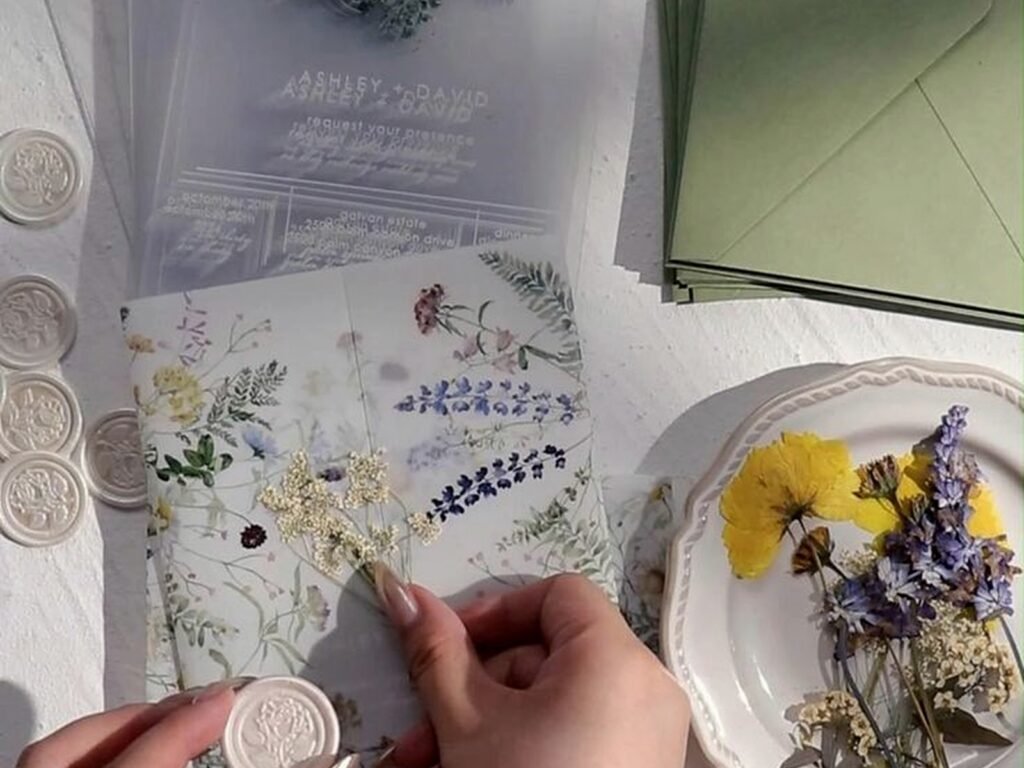
Embellishments are totally up to you but ribbon, twine, wax seals, dried flowers, those little pearl stickers… whatever matches your vibe. Just remember that bulky invitations cost more to mail and that’s something that annoyed me SO MUCH when I first started because nobody tells brides this upfront and then they’re shocked at the post office.
Deciding Your Card Structure
There’s basically three routes you can go – the single panel flat card, the folded card, or the layered panel situation. Single panels are easiest but they feel less formal? Folded cards are classic wedding invitation territory, usually 5×7 when folded. The layered thing is where you stack different colored or textured papers on top of each other with foam tape for dimension.
I always tell people to make one complete sample of each style before committing because what looks good in your head doesn’t always translate. You want to hold it, feel the weight, see how it photographs. Take a picture of it on a table with natural light because that’s what everyone’s gonna do when they post it on Instagram anyway.
For your first time doing this I’d honestly suggest the folded card with one layer of decorative paper on the front. It’s forgiving and looks expensive without being complicated. You can always add more elements once you get the hang of the basic construction.
Measuring and Cutting Everything
This is where precision matters and also where most people mess up their first batch. For a standard 5×7 folded card, you’re cutting your cardstock to 10×7 inches, then folding it in half. But here’s the thing – you need to account for the fold direction based on the paper grain or it’ll crack weird when you score it.
I always cut at least 10-15 extra pieces beyond your guest count because you WILL make mistakes and you don’t wanna be scrambling later. My cat knocked over an entire stack of pre-cut invitations once and I had to recut like 30 pieces at midnight, so yeah, buffer is your friend.
If you’re doing layers, cut your decorative paper slightly smaller than your base – like if your card front is 5×7, cut your decorative layer to 4.5×6.5 so there’s a border. These borders should be even on all sides which means you gotta measure from each edge. Use a pencil to mark lightly before cutting.
The paper trimmer is gonna be your best friend here but double-check every measurement because these things can shift. I’ve seen people cut 50 invitations at the wrong size because they didn’t verify the first cut was accurate.
Scoring and Folding Your Cards
If you’re doing folded cards you need to score before you fold or the fold looks amateurish and bumpy. A bone folder and a ruler are essential here. Place your ruler at the 5-inch mark on your 10×7 cardstock, then run the pointed end of the bone folder along the ruler edge with firm pressure. You’re creating an indented line that the paper wants to fold along.
Then fold along that scored line and use the flat side of the bone folder to press the crease flat. Like really flat. Go over it several times. The difference between a crisp fold and a so-so fold is noticeable when someone opens the envelope.
Some people skip scoring and just fold and it shows, trust me. It’s one of those details that separates handmade-with-care from handmade-in-a-hurry.
Designing Your Layout Before Gluing
Before you start adhering anything, lay out your design completely. I’m talking about printing your text, cutting your layers, arranging your embellishments, everything. Put it all together without adhesive and take a photo. Walk away for like an hour or even overnight if you have time, then come back and look at the photo with fresh eyes.
You might realize the text is too high or too low, the ribbon is overwhelming the design, or you need more breathing room around elements. This saved me during a fall 2021 project where I almost glued down 100 invitation layers before realizing the spacing felt cramped.
Think about visual balance – if you have a wax seal on the right, maybe you need something on the left or maybe the asymmetry works. There’s no perfect formula but it should feel intentional not random.
Printing Your Invitation Text
You have options here – print directly on your cardstock, print on separate paper to layer, or hand-letter if you’re brave and have good handwriting. Most people print on separate cardstock or vellum that gets layered onto the card.
Use a nice font, not like 15 different fonts. Two fonts maximum – one for names/headers and one for details. I see people go font-crazy and it looks like a ransom note instead of a wedding invitation. Your printer matters too – inkjet can smudge if it gets wet so consider laser printing or give inkjet prints time to fully dry.
Test print on regular paper first to check margins and spacing, then do one test on your actual cardstock. Cardstock can jam in cheaper printers so feed it manually and go slow. If your printer hates thick paper, print on regular cardstock and trim it to layer on your folded card base.
Make sure you’re printing with enough margin space around the edges – at least a quarter inch on all sides, more if you’re layering it with decorative borders.
Assembling Your Layers
Start from the bottom layer and work up. Your base card is already folded and ready. Now you’re adding the decorative layer to the front of the card. I use an adhesive runner and apply it to the back of the decorative paper, getting close to the edges but not right on them or it’ll squeeze out.
Center it on your card front – measure from each edge to make sure it’s even or just eyeball it if you trust yourself but honestly measuring is safer. Press down firmly from the center outward to avoid bubbles or wrinkles.
If you’re adding a printed text panel on top of that, same process. Adhesive on the back, center it, press down. Some people use foam mounting tape between layers for dimension which looks really professional – just little squares in each corner and maybe one in the middle if it’s a large piece.
For vellum layers, you gotta be careful because adhesive shows through. Either use minimal adhesive just at the top edge where it’ll be hidden, or use decorative brads or eyelets that become part of the design.
Adding Embellishments and Details
This is where your personality comes in but also where people tend to overdo it. A simple ribbon tied around the card looks elegant – thread it around the folded card spine and tie a bow on the front or side. Trim the ends at an angle for a finished look.
Wax seals are having a moment and they’re easier than you think if you get a good seal and wax. You can add them directly to the invitation front or use them to seal a vellum wrap. Just practice on scrap paper first because the wax can blob or not release from the seal properly if you don’t get the technique down.
Dried flowers can be glued with a tiny dot of craft glue – less is more here, you just need them secured. Little pearl or rhinestone stickers add sparkle without bulk. Some people do watercolor washes on the edges of their cardstock which looks beautiful if you’re artistic… I attempted this once and it looked like a kindergarten project so maybe test your skill level first.
Whatever you add, think about mailability – anything super bumpy needs extra postage and might get damaged in sorting machines or actually you know what, one of my brides had her invitations with delicate dried flowers get completely shredded by the post office automated sorters and she had to remake 40 invitations, so maybe hand-cancel at the post office if you’re doing anything fragile.
Quality Control Check
Before you make all 100 or however many you need, make 5 complete samples. Give them to different people – your mom, your friend, your coworker – and get honest feedback. Does anything feel cheap? Is the text readable? Do the colors work together in person?
Check that everything is adhered properly by gently trying to lift corners. Make sure folds are crisp and even. Look at it in different lighting because what looks good in your craft room might look weird in natural light.
This is also when you finalize your assembly line process. Figure out the most efficient order to do things when you’re making multiples – usually it’s cut everything first, fold everything, then start assembling in batches.
Setting Up Your Assembly Line
You’re not gonna want to complete one invitation start to finish, then start the next one. That’s inefficient and exhausting. Instead, do each step for all invitations before moving to the next step. Cut all your cardstock, then cut all your decorative layers, then score and fold all your cards, then adhere all the first layers, and so on.
Set up a clean workspace – I use a folding table with good lighting. Put on a podcast or some music because this gets repetitive. Work in batches of 10 or 20 at a time so you can take breaks without losing momentum.
Have a completed sample right in front of you as reference so you don’t accidentally switch up your process halfway through. I’ve seen people forget which direction they were layering things and end up with half the invitations slightly different from the other half.
Stack completed invitations carefully – I put wax paper or tissue between them if they have embellishments that might stick together or get crushed.
Addressing and Envelope Coordination
Your envelopes should match the vibe of your invitations obviously. You can buy colored envelopes, line white envelopes with decorative paper, or keep them simple. A7 envelopes fit 5×7 cards perfectly – make sure you order extras because you’ll mess up addressing at some point.
Hand addressing looks personal but it’s time-consuming and your handwriting needs to be decent. Print address labels if you’re not confident, or hire a calligrapher if budget allows. There are also digital calligraphy options now where you send them your addresses and they send back printable labels in fancy fonts.
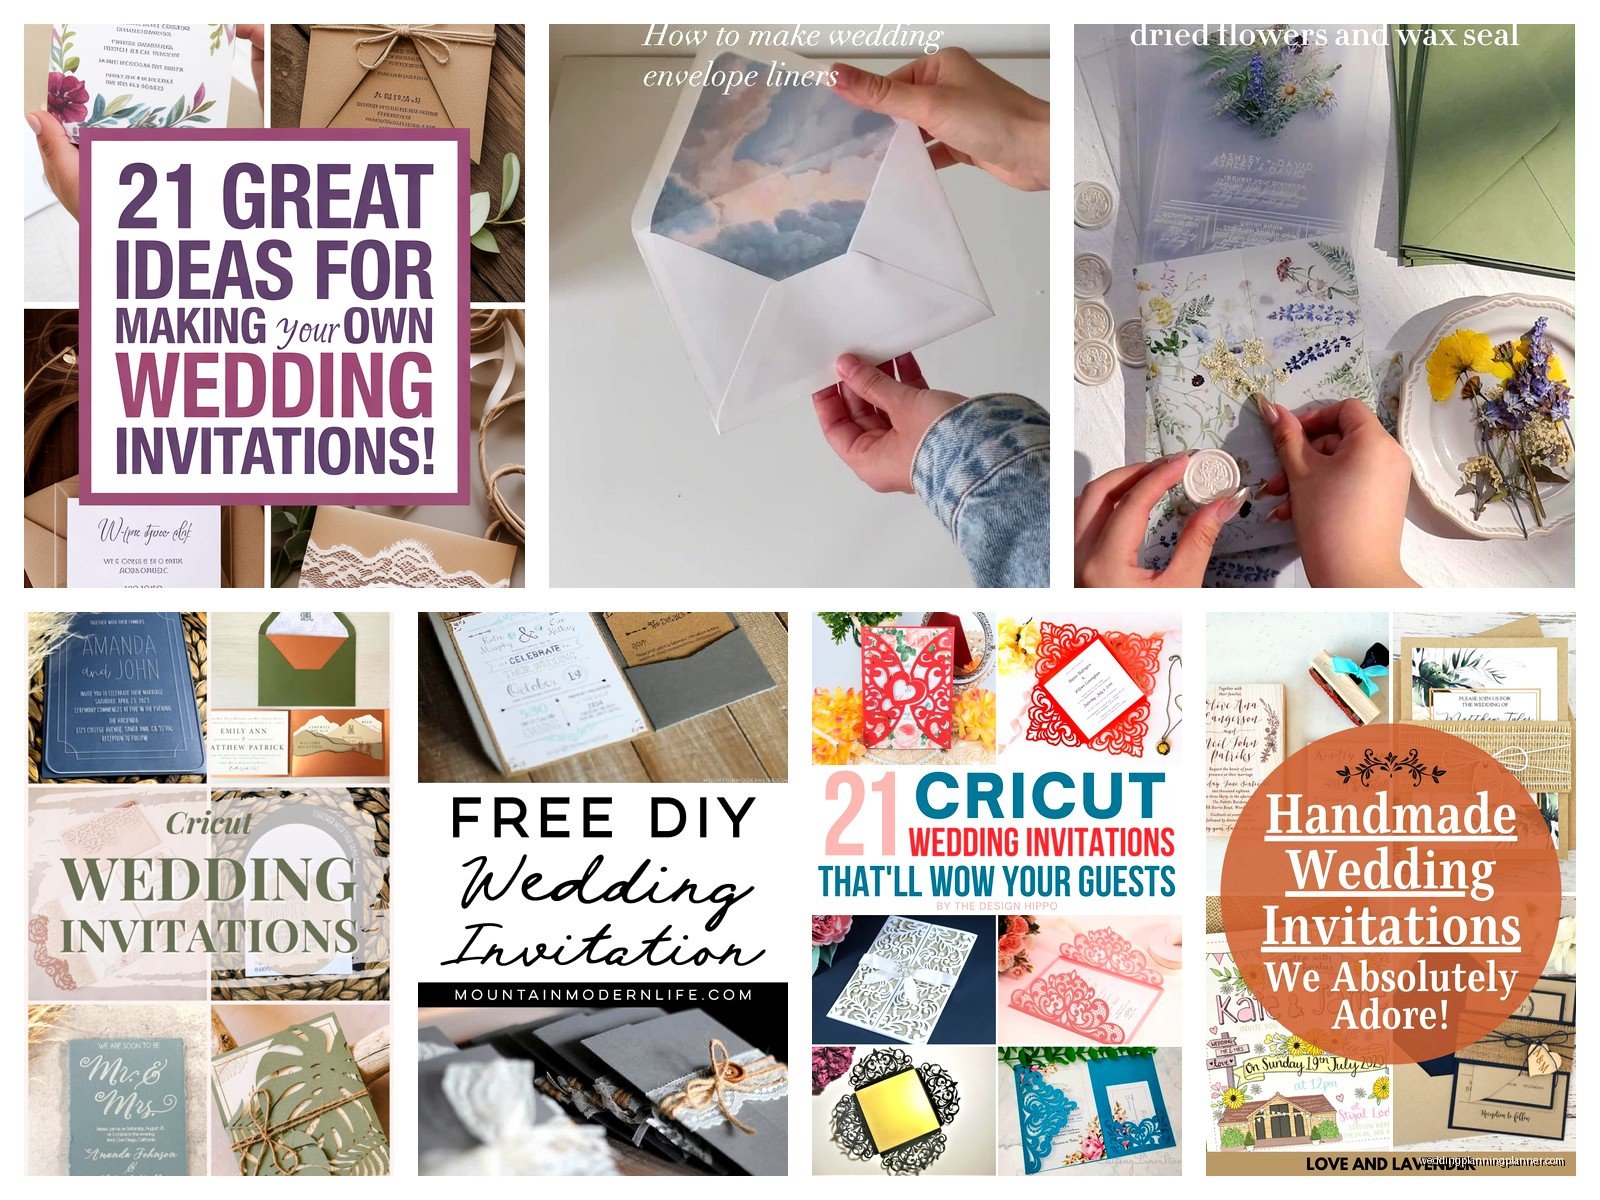
If you’re lining envelopes, do this before addressing them. Cut your liner paper to template size – you can find templates online for standard envelope sizes. Apply adhesive just at the top edge of the liner and smooth it into the envelope. It’s fiddly but worth it for the wow factor when people open them.
Test your complete invitation with envelope at the post office before mailing everything – get it weighed and make sure you have correct postage especially if it’s thick or has embellishments. Nothing worse than invitations getting returned for insufficient postage