Planning Guides, Style Guide
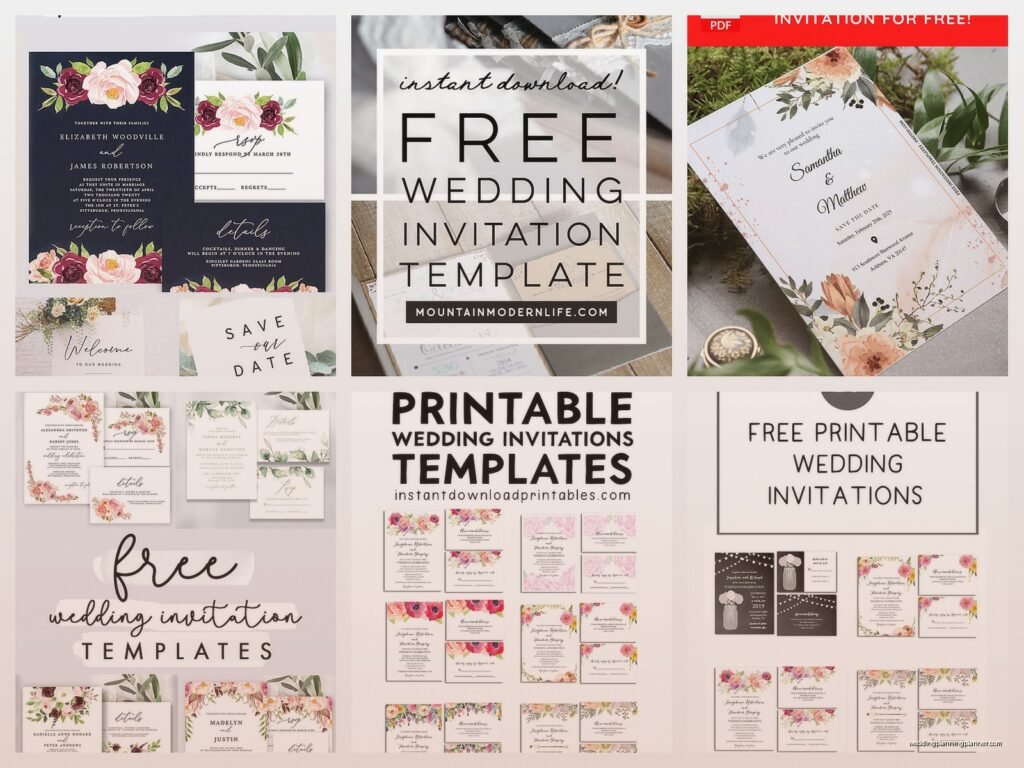
Free Wedding Invitation Templates: Printable Downloads
Mar
So Here’s The Thing About Free Wedding Invitation Templates
Okay so you’re probably thinking free templates are gonna look cheap or whatever but honestly that’s not really the case anymore. Back in like 2015 yeah they were pretty rough but now there are some actually decent options out there. I’m gonna walk you through this whole thing because I get asked about it constantly and honestly it’s one of those topics where people make it way more complicated than it needs to be.
Why You’d Even Want Free Templates In The First Place
Look not everyone has five grand to drop on letterpress invitations okay. I had this client in spring 2022 who literally broke down crying in my office because she’d spent her entire invitation budget on her dress alterations and I just sat there thinking about how the wedding industry makes people feel terrible for making practical choices. Free templates exist for a reason and that reason is valid.
You can use free printable templates when:
- Your budget is tight and you’d rather spend money on literally anything else
- You’re having a micro wedding and only need like twenty invitations
- You’re crafty and actually enjoy DIY projects without lying to yourself about it
- You want to test out designs before committing to a paid designer
- It’s a casual backyard wedding or elopement announcement
- You’re doing a destination wedding where most info is online anyway
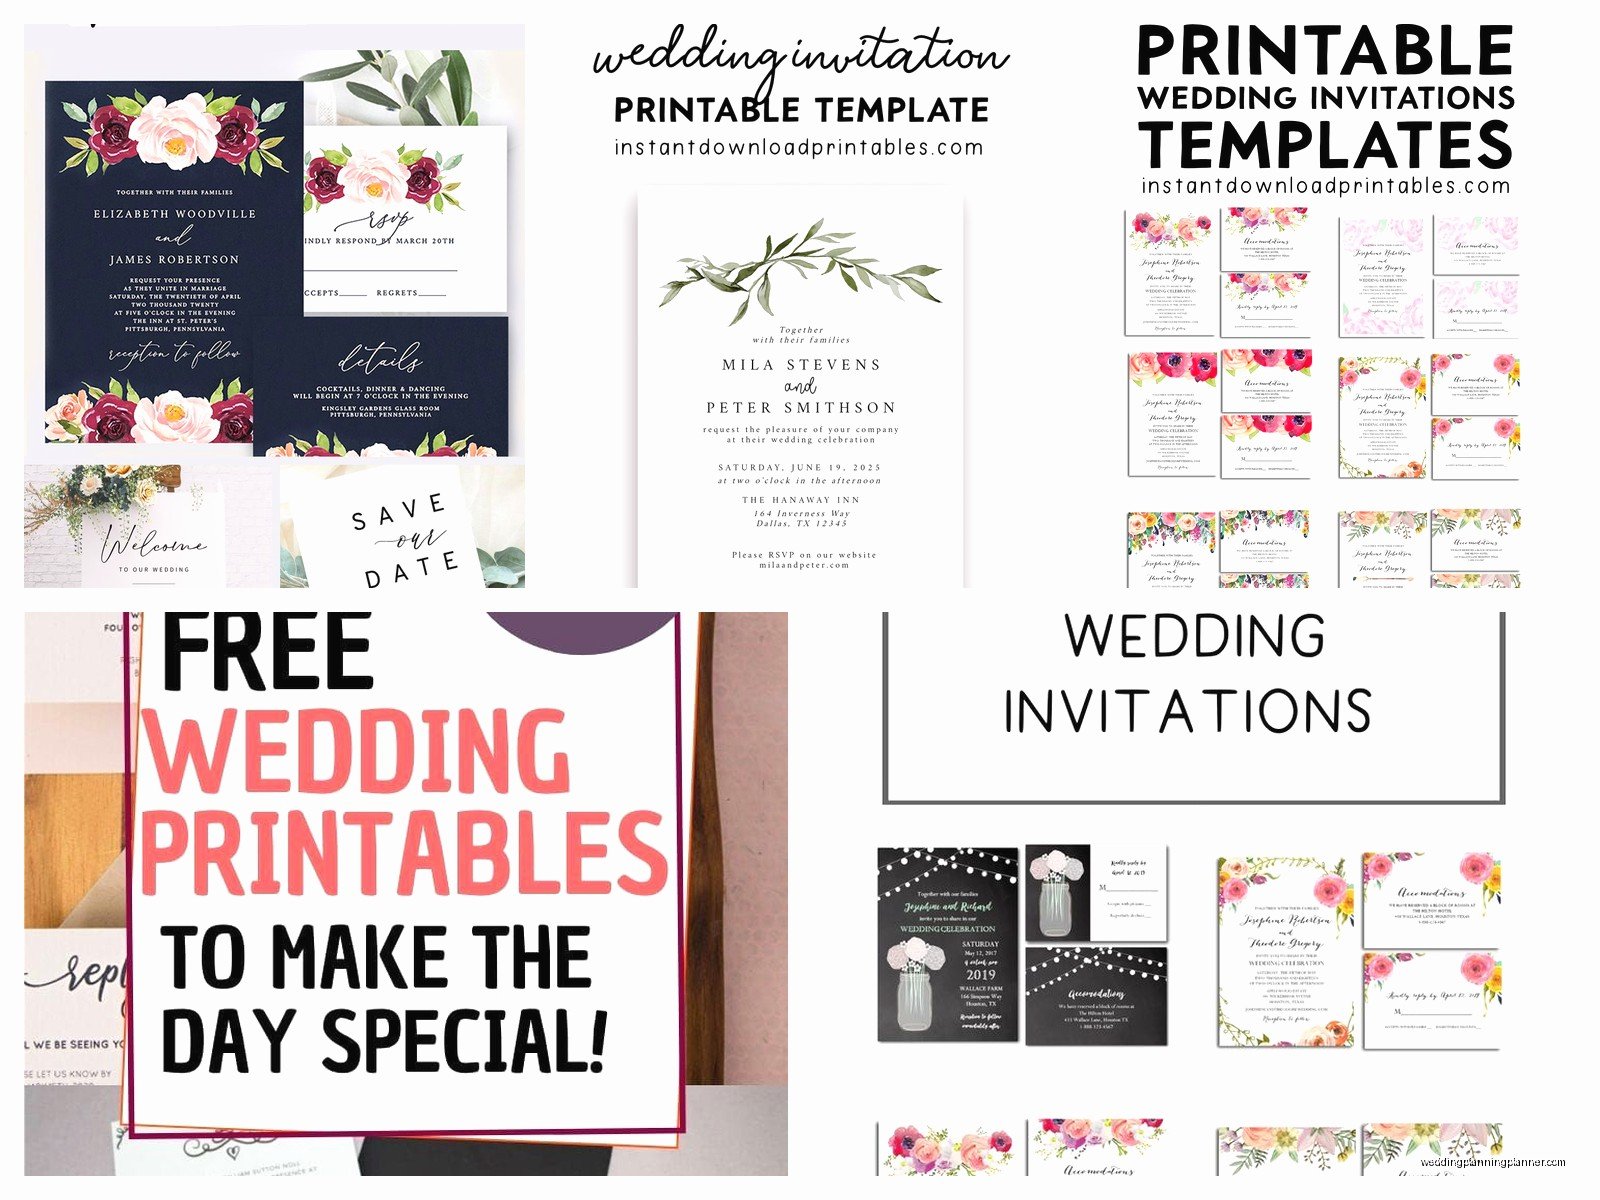
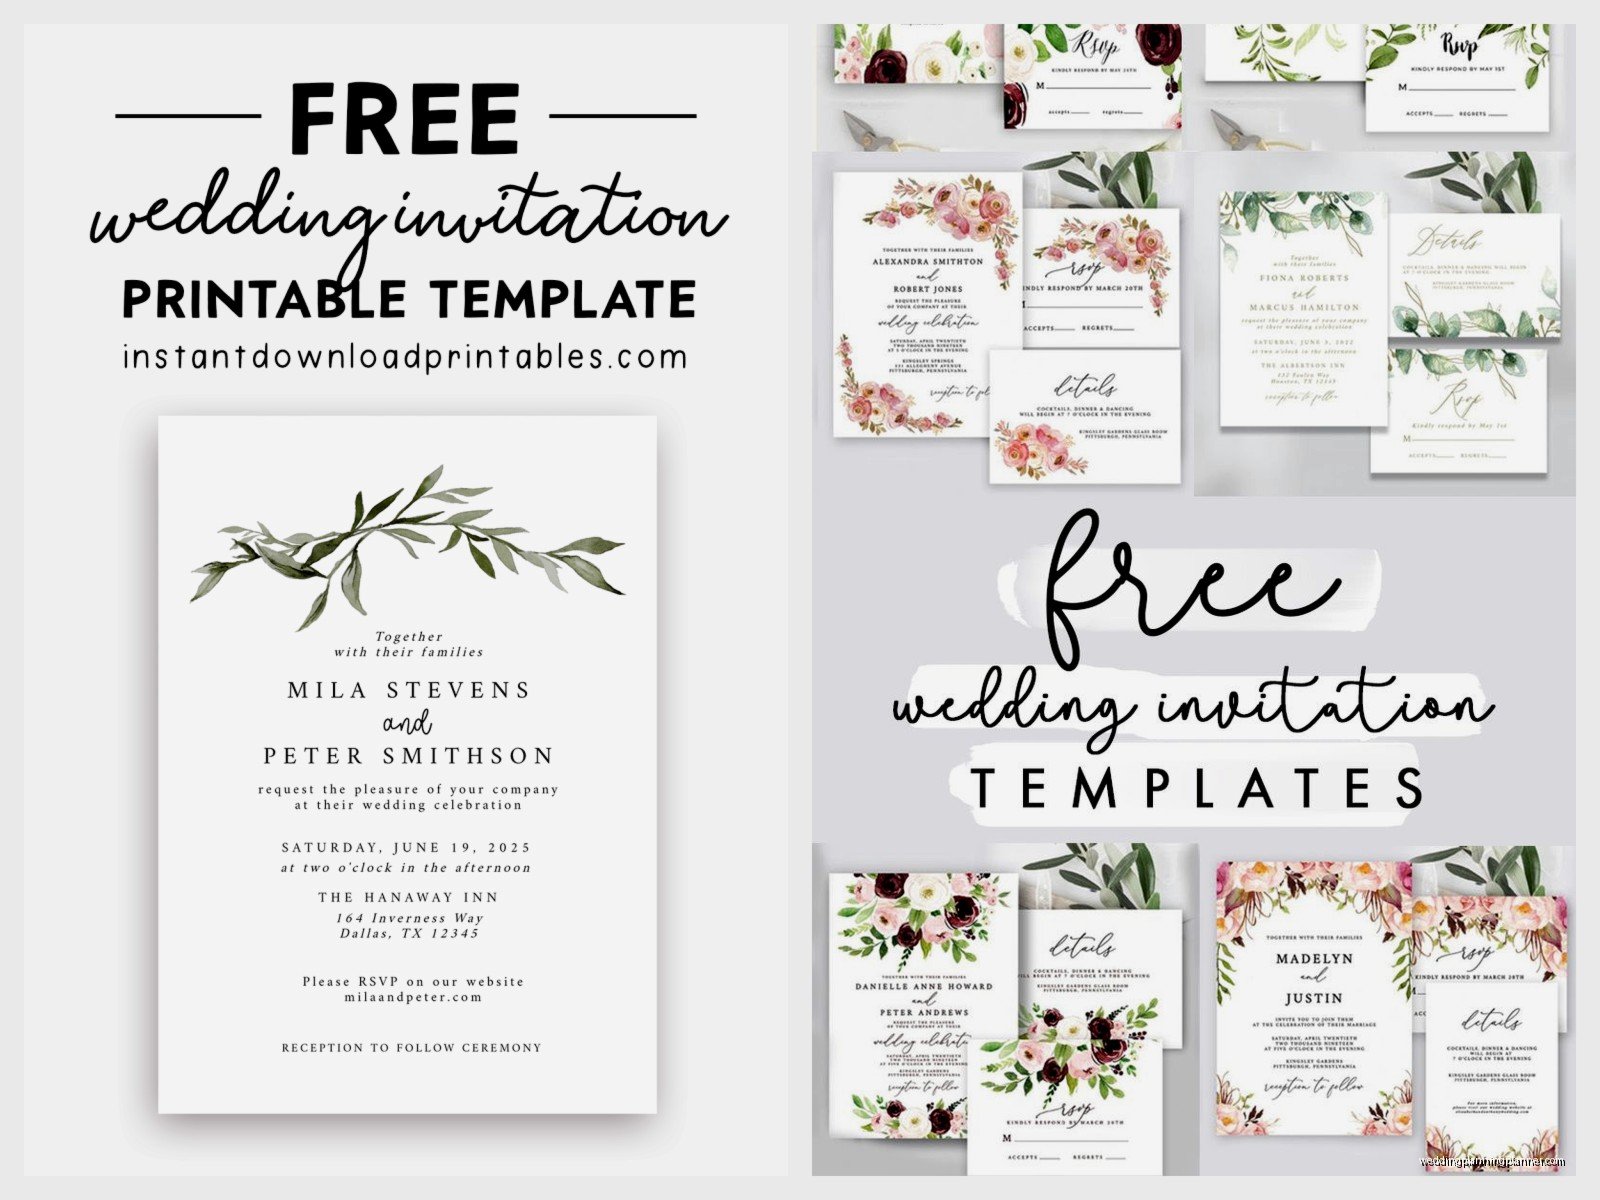
Where To Actually Find Decent Free Templates
Alright so there are like a million websites claiming to have free templates but half of them are just trying to get your email address for spam. Here’s where I actually send people:
Canva
Yeah I know everyone and their mom uses Canva now but there’s a reason for that. They have hundreds of wedding invitation templates and a good chunk are actually free. The pro ones are marked but you can filter by free. What I like is you can customize everything without needing to know design software. Colors fonts images all of it. My cat jumped on my keyboard while I was designing something in Canva last week and somehow made it look better so that tells you how user-friendly it is.
The thing that annoys me about Canva though is that everyone’s invitations are starting to look the same. You’ll see the same eucalyptus leaf template at like four different weddings in one summer. But if you actually put in effort to customize it properly most people won’t notice.
Template.net
They have a decent selection of free wedding invitation templates in different formats. You can download as Word docs PDFs or even Publisher files if you’re one of the three people still using Microsoft Publisher. The designs are kinda basic but that’s not always bad. Sometimes simple is what you want.
Greetings Island
This site is actually pretty solid for free printables. You can personalize online and then download. They have everything from formal to casual styles. The print quality is good if you use the right paper which we’ll get into because paper is like half the battle here.
Etsy Free Section
Okay so this sounds weird but search Etsy for free wedding invitation templates and you’ll find designers who offer free versions of their work. Usually it’s older designs or simplified versions but they’re still professionally made. Some designers offer one free template hoping you’ll buy their other stuff which is fair honestly.
Adobe Express
Used to be called Adobe Spark I think? They have free templates and it’s similar to Canva but with a different vibe. Little more modern looking maybe. You don’t need a full Creative Cloud subscription for the basic free stuff.
Your Local Library Digital Resources
No seriously hear me out. A lot of library systems have access to Creativebug or Lynda.com or other platforms that include template resources. I discovered this accidentally when I was looking up something completely unrelated and it’s actually a hidden gem that nobody talks about.
Understanding Template File Formats
This is where people get confused and honestly it’s not explained well anywhere. Let me break down what you’re actually downloading:
PDF Templates
These are usually the easiest to work with. You download it open it in Adobe Reader or whatever PDF viewer you have and either type directly into form fields or print it and handwrite details. For handwriting you’ll want to test your pen situation first because some gel pens smudge on certain papers and that’s just annoying to discover after you’ve already written out fifty invitations.
DOCX or DOC Files
Microsoft Word templates. These can be tricky because formatting gets weird depending on what version of Word you have and what fonts are installed on your computer. I spent three hours once troubleshooting why a template looked perfect on my laptop but completely broken on a client’s computer and it was just because she didn’t have the font installed. So frustrating.
Pro tip: if you’re using a Word template convert it to PDF before printing so the formatting locks in place.
PNG or JPG Image Files
These are just pictures basically. You’ll need to add your text using photo editing software or apps. Canva works for this or even free options like GIMP or Pixlr. The advantage is the design stays exactly how it looks. The disadvantage is you need at least basic editing skills.
PSD Files
Photoshop files. Only grab these if you actually have Photoshop or know someone who does. They offer the most customization but require actual software knowledge. Not gonna lie most people should skip these unless you’re already comfortable with Adobe products.
AI or EPS Files
Vector files for Adobe Illustrator. Same deal as PSD files. Super customizable but you need the software and skills. I use these professionally but I wouldn’t recommend them for DIY brides unless you already work in graphic design or something.
Customizing Your Template Without Messing It Up
Okay so you found a template you like now what. Here’s the thing people don’t realize: customization is where free templates either look amazing or look like a middle school project.
Text and Wording
First you gotta figure out what you’re actually saying on these invitations. Traditional wording is different from casual wording and that’s different from formal wording. There’s like a whole hierarchy thing.
Traditional format goes:
- Host line (whoever’s hosting usually parents)
- Request line (the actual invitation part)
- Couple’s names
- Date and time
- Location
- Reception information
But honestly most couples now do whatever feels right to them. I had a couple in summer 2024 who just put “We’re getting married come party with us” and then the details and you know what it was perfect for them.
Make sure you spell everything correctly though. I cannot stress this enough. Check the venue name the street address the date. I once had a bride print two hundred invitations with the wrong ceremony time because she didn’t proofread and that was a whole thing.
Font Choices
The template will come with certain fonts but you might want to change them. Here’s my rule: use no more than two fonts maybe three if one is just for a small detail. One script or decorative font paired with one clean readable font.
Fonts to avoid unless you really know what you’re doing:
- Comic Sans (obviously)
- Papyrus
- Curlz
- Bleeding Cowboys
- Too many script fonts layered together
Good free font websites include Google Fonts DaFont and Font Squirrel. Just make sure you check the licensing because some free fonts aren’t actually free for printed materials which is confusing but that’s how it works.
Color Adjustments
Your template might be in colors that don’t match your wedding. That’s fine you can change them. But here’s what you need to know about color printing: what you see on your screen will not be exactly what prints.
Screens use RGB color (red green blue light) and printers use CMYK (cyan magenta yellow black ink). So that beautiful coral you picked might print more orange or more pink depending on the printer. Always do a test print before you commit to printing everything.
Also stick to your actual wedding colors or neutrals. I see people trying to incorporate like six different colors into an invitation and it just looks chaotic. Two or three colors maximum.
Adding Photos
Some templates have space for engagement photos. If you’re adding photos make sure they’re high resolution. At least 300 DPI for printing. That iPhone photo might look fine on Instagram but if it’s low resolution it’ll print blurry.
Crop photos to fit the template space rather than stretching or squishing them. Distorted photos look unprofessional.
Paper Selection Because This Actually Matters
You cannot just print invitations on regular printer paper I mean you can but please don’t. The paper you choose makes a huge difference in how professional the final product looks.
Paper Weight
This is measured in pounds or GSM. Regular printer paper is usually 20-24 lb or around 75 GSM. For invitations you want something heavier.
Good weights for invitations:
- 65 lb cardstock (176 GSM) – this is like the minimum I’d recommend
- 80 lb cardstock (216 GSM) – better, nice weight feels substantial
- 100 lb cardstock (271 GSM) – really nice quality
- 110 lb cardstock (298 GSM) – very heavy might have issues with some home printers
You can find cardstock at craft stores like Michael’s or Hobby Lobby or order online from places like Paper Source or even Amazon. I usually grab mine from the local craft store when they’re doing their weekly 50% off sales because I’m not paying full price for paper.
Paper Finish
Matte smooth is the most versatile. Works with most printers doesn’t show fingerprints writes well with most pens.
Glossy or satin finish can look really nice but some printers don’t handle it well. The ink might smudge or not dry properly. Test first.
Textured papers like linen or laid finish add a fancy touch but again printer compatibility is important. And some textures make it harder to write on if you’re handwriting any details.
Shimmer or metallic papers look pretty but they’re finicky. Laser printers especially don’t always work with them because the heat can mess up the metallic coating.
Paper Color
White cream or ivory are classic and safe. Your colors will print truest on white. Cream and ivory give a warmer more vintage feel but they’ll shift how colors appear slightly.
Colored cardstock can be fun but remember you’re printing on top of it so the colors in your template will mix with the paper color. Printing yellow text on blue paper gives you green vibes basically.
Printing Options And What Works Best
So you’ve got your template customized and you’ve bought paper now you gotta actually print these things.
Home Printing
This is the cheapest option if you already have a decent printer. Inkjet printers generally handle cardstock better than laser printers but it depends on the specific model.
Check your printer’s manual for the maximum paper weight it can handle. Most home printers can do 65-80 lb cardstock. Anything heavier might jam or not feed properly.
Things I learned the hard way about home printing:
- Buy extra paper because you will mess up some prints guaranteed
- Clean your printer heads before starting a big print job
- Use high quality or best print settings not draft or normal
- Let each invitation dry completely before stacking them or the ink will transfer
- Check your ink levels before starting nobody wants to run out of magenta halfway through
One time I was watching this true crime documentary while printing invitations and got so distracted I printed fifteen copies with the wrong date before I noticed so maybe don’t do that.
Print Shop or Office Supply Store
Places like FedEx Office Staples or local print shops can print your templates for you. You bring in your file on a USB drive or email it to them and they print on your paper or theirs.
This costs more than home printing but less than custom invitations. Prices vary but expect maybe 50 cents to 2 dollars per invitation depending on complexity and quantity.
The advantage is professional quality printing and you don’t have to deal with printer issues. The disadvantage is you have less control over the exact color matching and you’re depending on their timeline.
Always do a test print of one or two before committing to the full order. I cannot stress this enough. What looks perfect on screen might need adjustments when actually printed.
Online Printing Services
Websites like Vistaprint Printful or Overnight Prints let you upload your design and they mail you the printed invitations. Some have minimums like you have to order at least 25 or 50.
This is convenient if you don’t have a good printer and your local print shop is expensive. Quality varies by company so read reviews. Turnaround time is usually a week or two plus shipping.
Make sure your file meets their specifications for size resolution and bleed. Bleed is extra space around the edges that gets trimmed off so you don’t end up with white borders. Usually they want 1/8 inch bleed on all sides.
Sizing and Dimensions You Should Know
Wedding invitations come in different sizes and this matters for printing and for envelopes.
Standard Sizes
5×7 inches is probably the most common. It’s a nice size fits well in standard invitation envelopes easy to print at home.
4×6 inches works too smaller and cheaper to mail but less room for information.
5.5×8.5 inches is half a standard letter sheet so it’s efficient for printing.
Square sizes like 5×5 or 6×6 look modern but heads up square envelopes cost more to mail. The post office charges extra for non-standard sizes which is annoying but that’s how it is.
Setting Up Your Document
If you’re working in a template this is already done but if you’re starting from scratch or modifying heavily make sure your document size matches your intended print size.
Set margins of at least half an inch on all sides. This gives you breathing room and accounts for printers that can’t print to the edge.
Use high resolution 300 DPI minimum. Lower resolution looks pixelated when printed.
Envelope Situations Because You Can’t Just Ignore Them
You need envelopes obviously but matching them to your invitations is its own whole thing.
Finding the Right Envelopes
If your invitation is 5×7 you need A7 envelopes which are 5.25×7.25 inches. This gives a little wiggle room for the invitation to fit inside.
For 4×6 invitations you want A6 envelopes.
You can buy envelopes at craft stores office supply stores or online. Lots of options on Amazon or specialty sites like Cards and Pockets or Envelopes.com.
Color matching can be tricky. If your invitation is ivory your envelopes should be ivory too. White with white cream with cream. Mixing them looks sloppy unless it’s intentional contrast.
Addressing Envelopes
You can handwrite addresses print directly on envelopes print on labels or use calligraphy.
Handwriting is free but time-consuming. Make sure your handwriting is actually legible. I’ve seen addresses that look beautiful but the mail carrier can’t read them so the invitation gets returned.
Printing directly on envelopes works if your printer has an envelope feeder or you can hand-feed them. This takes practice though. I’ve wasted so many envelopes feeding them wrong or having them jam.
Printing labels is easier but some people think it looks less formal. Clear labels look better than white labels on colored envelopes.
Hiring a calligrapher is expensive but looks gorgeous if it’s in your budget. Prices range from like 2 to 10 dollars per envelope depending on style and location.
Return Addresses
Put your return address on the back flap or upper left corner of the envelope. You can print it handwrite it use a return address stamp or order printed envelopes with it already on there.
Address stamps are like 20-40 dollars and you can use them forever so they’re kinda worth it if you send a lot of mail.
Additional Inserts And What You Actually Need
Most invitations come with extra cards for additional info. You can make these from templates too.
RSVP Cards
These are small cards where guests fill out whether they’re coming and mail them back. Traditional size is like 3.5×5 inches or 4×6 inches.
You need to include a pre-addressed and stamped envelope with RSVP cards. Yeah you pay for the stamp but it makes it easier for guests to respond and you’ll actually get responses back.
Set an RSVP deadline at least 3-4 weeks before your wedding. You need time to get a final headcount to the caterer.
Some people skip RSVP cards entirely and just do online RSVPs through their wedding website. This is totally valid and saves money on printing and postage. Just include the website URL on your invitation.
Details Cards
This is where you put extra information that doesn’t fit on the main invitation. Things like:
- Hotel room blocks
- Transportation info
- Dress code
- Wedding website URL
- Registry information (though some etiquette people say registry info shouldn’t be in invitations but honestly most people include it now)
- Weekend itinerary if you have multiple events
Keep the design consistent with your main invitation same fonts colors style.
Direction Cards
Kinda old-fashioned now since everyone uses GPS but if your venue is hard to find or you have older guests who prefer paper directions you can include a small map or written directions.
Reception Cards
If your ceremony and reception are at different locations or if the reception is significantly later you might want a separate card with reception details.