Planning Guides, Style Guide
Greetings Island Wedding Card: Design & Ordering Guide
Mar
Greetings Island is honestly one of those sites I wish I’d discovered earlier
Okay so Greetings Island for wedding cards – I’ve been using this platform since like spring 2023 when a bride came to me absolutely panicked because her custom stationer ghosted her two months before the wedding. We needed save-the-dates out FAST and I remembered seeing Greetings Island somewhere on a planning forum. Ended up being a total lifesaver and now I recommend it to probably half my clients who have tighter budgets or just want something simple and clean.
The site itself is a free online design tool that lets you create and customize all kinds of wedding stationery – save-the-dates, invitations, thank you cards, programs, the whole deal. You can either download the designs for free as PDFs or order printed versions through their printing service. It’s kinda genius actually because you’re not locked into anything until you decide you want physical cards.
How the design process actually works
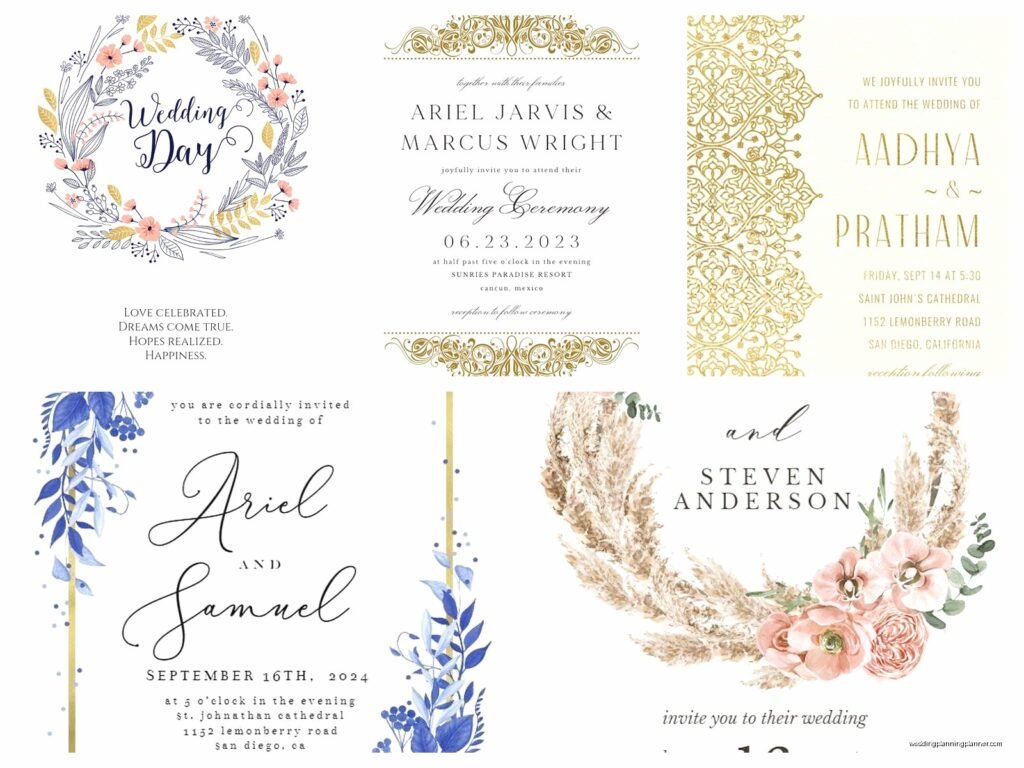
When you first land on Greetings Island, you’ll see they have literally hundreds of templates. I’m talking like 800+ wedding-specific designs last time I checked. They’re organized by style – modern, rustic, floral, minimalist, vintage, all that. You can filter by color too which is super helpful when you’re trying to match a specific wedding palette.
Here’s what I usually tell clients to do: don’t pick a template in the first five minutes. I know that sounds backwards but you’re gonna see SO many options that you’ll second-guess yourself constantly. Spend maybe 20-30 minutes just browsing and favoriting the ones that catch your eye. Then narrow down from there.
Once you pick a template, the editor opens up and it’s pretty intuitive. You can change text, fonts, colors, add photos, move elements around. The interface is drag-and-drop so you don’t need to be a graphic designer or anything. My cat literally walked across my keyboard once while I was designing a client’s save-the-date and somehow made the text hot pink – that’s how easy it is to accidentally change things, but also how easy it is to change them back.
Customization options that actually matter
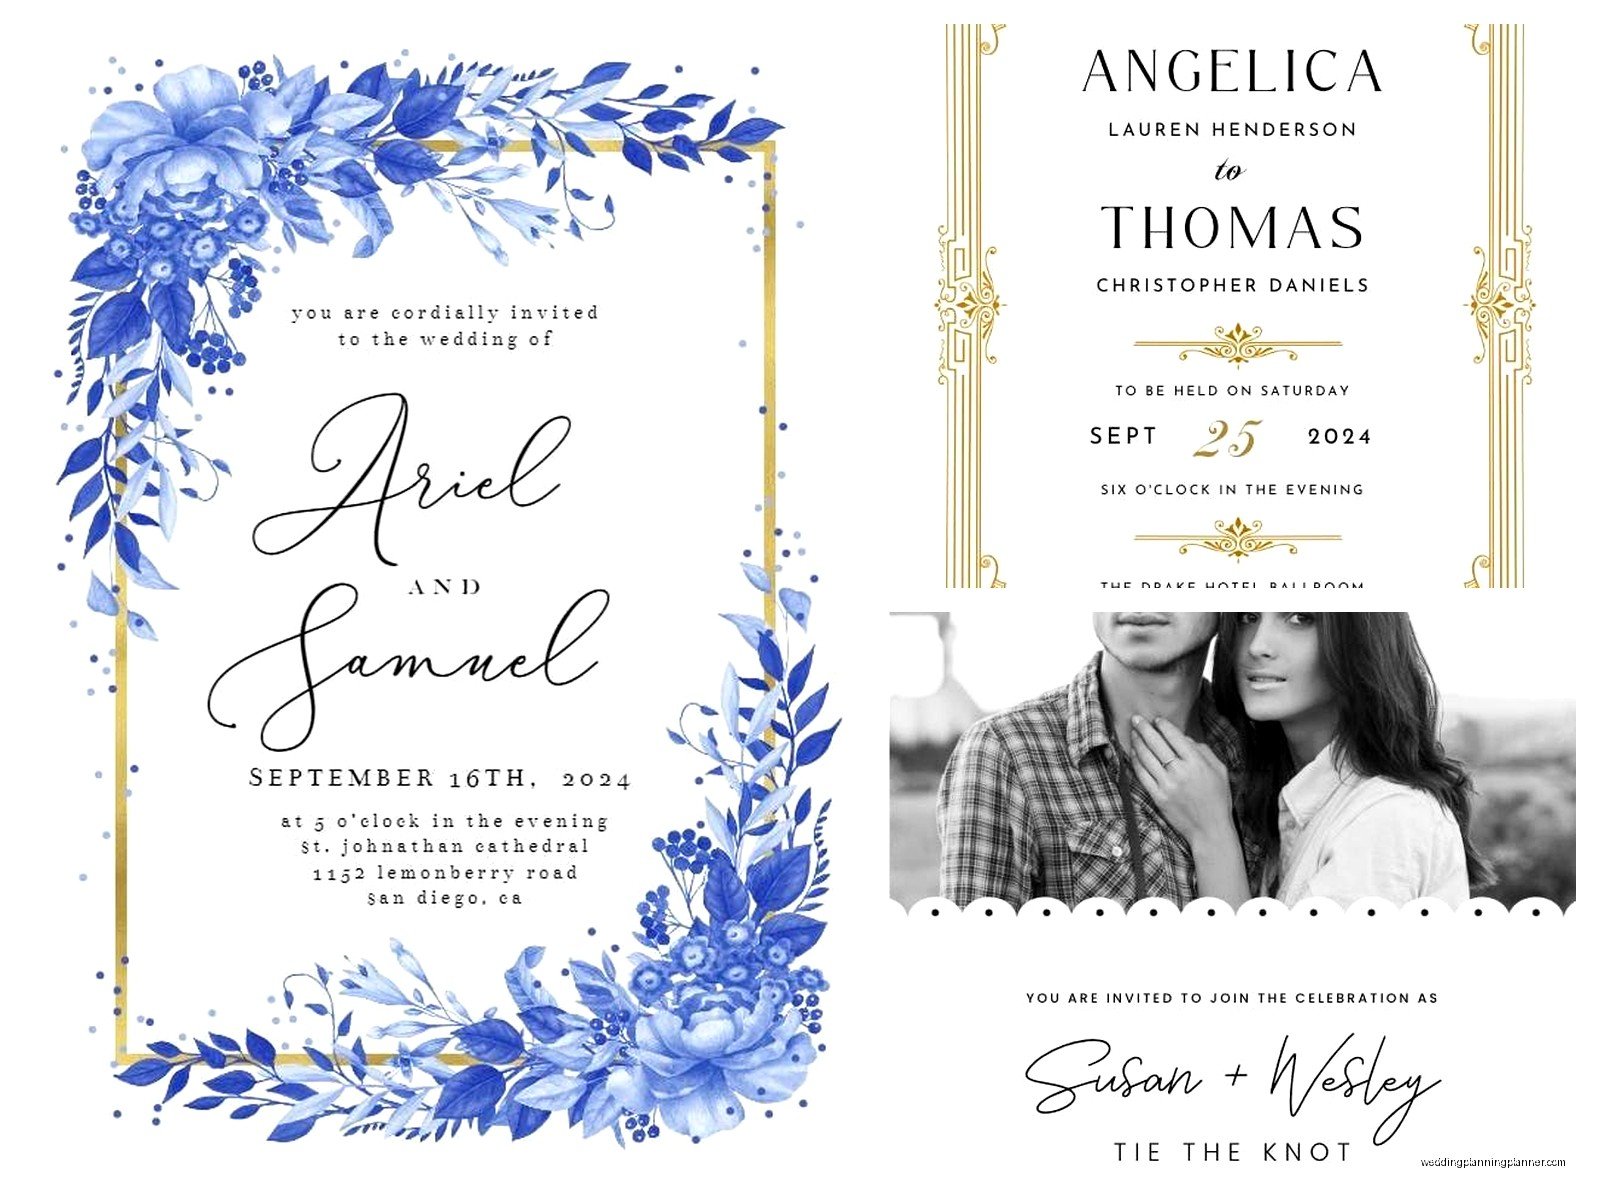
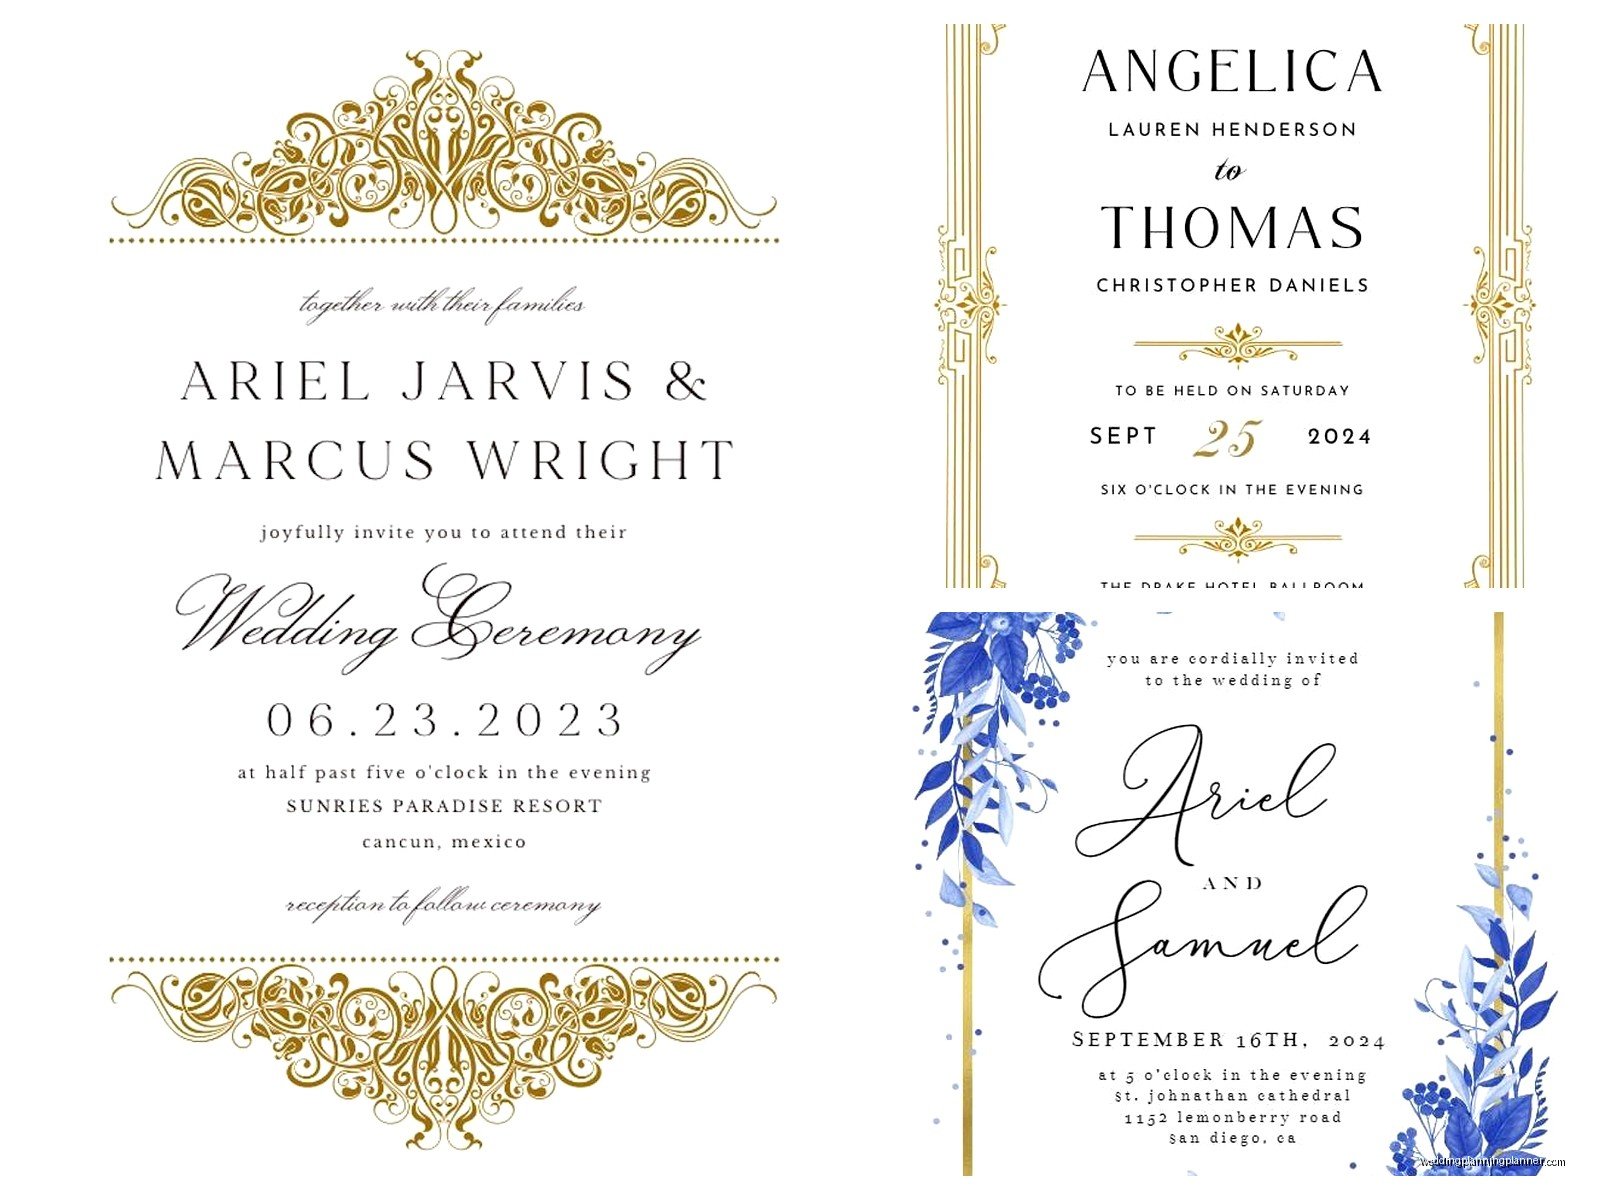
The text fields are the obvious first step. You’ll replace the placeholder names and dates with your actual information. One thing that annoyed me initially was that some templates have character limits on certain text boxes, so if you have a really long venue name like “The Grand Estate at Willowbrook Gardens and Event Center” you might need to abbreviate or pick a different template. Not a dealbreaker but kinda frustrating when you’ve already spent time customizing everything else.
Font selection is decent – they have maybe 50-60 fonts to choose from. Not as many as Canva but enough that you’ll find something that works. I usually stick with their pre-selected font pairings because they’ve already done the work of making sure things look cohesive. But if you wanna go rogue and pair a script font with… actually no, don’t do that. Just trust the template designer on this one.
Color customization is where things get fun. You can change the color of basically any element – text, backgrounds, borders, decorative elements. They have a color picker so you can match your exact wedding colors. Pro tip: if you’re working with a specific hex code from your wedding palette, you can input it directly. Makes everything look way more professional and coordinated.
Photo uploads are available on most templates. You can add engagement photos, pictures of the venue, whatever you want. The photo placement areas are pre-sized so you don’t have to worry too much about cropping, but I’d recommend uploading high-resolution images – at least 300 DPI if you’re gonna print them. Low-res photos look fine on screen but get blurry when printed.
The free download vs. printing decision
So here’s where you gotta make a choice. Greetings Island lets you download your finished design as a PDF completely free. No watermarks, no catch. You can then take that PDF to any printer you want – your local print shop, Staples, FedEx Office, an online printer like Vistaprint or Moo.
I had a couple in summer 2021 who downloaded their invitations and printed them at Costco for like crazy cheap. They looked great honestly. The only issue was they had to cut them themselves because Costco printed them on full sheets, but they made a whole craft day out of it with their wedding party so it worked.
The other option is ordering prints directly through Greetings Island. They partner with a printing service and the quality is pretty solid. I’ve ordered samples to check and the cardstock is nice – feels substantial, good weight, not flimsy. The colors come out accurate which is important.
Pricing breakdown for printed orders
Pricing varies depending on what you’re ordering and how many. Save-the-dates and invitations are usually priced per card, and you get bulk discounts. Last time I checked, invitations started around $1-2 per card for basic designs and went up from there depending on size, cardstock quality, and whether you want extras like envelope liners or belly bands.
They offer different paper types – matte, glossy, textured. I usually recommend matte for invitations because it feels more elegant and photographs better, but that’s totally personal preference. Glossy can look really vibrant for save-the-dates with photos.
Envelopes are included with most printed orders which is nice. They’re basic but serviceable. If you want fancy colored envelopes or you’re picky about envelope quality, you might wanna order those separately from somewhere like Cards & Pockets or LCI Paper.
Shipping times are pretty standard – usually 7-10 business days for production plus shipping time. If you need something rushed they have expedited options but they cost more obviously. I always tell clients to order at least 6 weeks before you need to mail things out, just to be safe.
Design tips from someone who’s done this way too many times
Keep it simple. I know you’re probably tempted to use every design element and font option available, but the best-looking cards are usually the cleanest ones. Pick one or two fonts max, stick to your color palette, don’t overcrowd the design with information.
The wording matters more than you think. You don’t need to include every single detail on the invitation itself – that’s what wedding websites are for. Essential info only: who’s getting married, when, where, RSVP details. Everything else can go on an insert card or your website.
Proofread like your life depends on it. Then have someone else proofread. Then proofread again. I’ve seen so many couples order 150 invitations only to realize they spelled the venue name wrong or put the wrong date. Greetings Island won’t catch your errors – that’s on you.
If you’re using photos, make sure they’re high quality and well-lit. Blurry engagement photos or dark indoor shots don’t translate well to print. Natural light photos work best.
Matching your full suite
One of the actually cool things about Greetings Island is that once you design your save-the-date or invitation, you can usually find matching templates for the rest of your stationery suite. They have coordinating designs for programs, menus, place cards, thank you cards, all of it.
You can save your color palette and fonts so everything stays consistent across different items. This is huge for making your wedding look cohesive without hiring a professional designer or spending thousands on custom stationery.
I had a bride who designed her entire suite – from save-the-dates through thank you cards – on Greetings Island and people thought she’d hired a fancy stationer. The key was she kept everything simple and consistent, used the same color scheme and fonts throughout, and chose a classic design that didn’t try too hard.
What works well vs. what’s kinda meh
The templates that work best on Greetings Island are the modern, minimalist ones and the classic floral designs. They’re timeless and print beautifully. The super trendy designs or really elaborate ones sometimes look better on screen than they do printed – colors can be slightly off or details get lost.
Their RSVP card templates are solid. You can customize them to include meal choices, song requests, whatever you need. Just make sure you leave enough space for people to actually write their responses if you’re doing physical RSVP cards.
The programs and menus are great for DIY printing. Since guests don’t usually keep these, it makes sense to download the PDFs and print them yourself to save money. I’ve had clients print programs at home on nice cardstock the day before the wedding and they looked perfectly fine.
Place cards and escort cards are hit or miss. The designs are cute but if you have a lot of guests, manually entering 150+ names into individual cards gets tedious. There’s no mail merge feature or anything so you’re typing each name separately.
The envelope addressing situation
Greetings Island doesn’t offer envelope addressing or printing services for addresses, which honestly makes sense since they can’t access your guest list. You’ll need to address envelopes yourself or use a separate service.
Options for this: hand-write them if you have nice handwriting or recruit someone who does, use a Cricut or similar cutting machine to make vinyl address labels, order printed address labels from Vistaprint or Avery, or hire a calligrapher if budget allows. I’ve also seen people use clear address labels printed from their home printer which looks clean and modern but some people think it’s too casual for weddings… I think it’s fine honestly, especially for save-the-dates.
Common mistakes I see people make
Waiting too long to order. Even though Greetings Island is fast, you still need to account for design time, proofing, printing, shipping, and addressing. Start at least 3-4 months before you need to mail invitations.
Not ordering samples first. If you’re getting printed cards, order one sample before you commit to 200 invitations. The colors and paper quality might look different than you expected and it’s better to find out with one card than with your entire order.
Forgetting about postage. Oversized cards, square cards, and anything thick or lumpy requires extra postage. Take a finished invitation (with all inserts and envelope) to the post office and have them weigh it before you buy stamps. Nothing worse than having invitations returned because of insufficient postage.
Not accounting for extras. Order at least 10-15 more invitations than you think you need. People lose them, addresses change, you’ll want to keep one for yourself as a keepsake, things happen.
Going too small with text. What looks readable on your computer screen might be tiny when printed. Keep body text at least 10-11 point font, and make sure there’s enough contrast between text and background colors.
When Greetings Island might not be the right choice
If you want something really unique or highly customized, you might outgrow what Greetings Island can do. The templates are great but there’s only so much you can change before you’re fighting with the design limitations.
For super formal weddings, some couples prefer the weight and quality of letterpress or foil-stamped invitations. Greetings Island is digital printing which is perfectly nice but it’s not gonna give you that luxury feel of specialty printing techniques.
If you need really specific sizing or shapes, their options are somewhat limited. Most templates come in standard card sizes which is fine for most people but if you have a vision for like, circular invitations or something unusual, you’ll need to look elsewhere or…
Actually you know what, you can still design something in Greetings Island and download it, then take the PDF to a specialty printer who can print on whatever size or shape you want. So there’s that workaround.
My actual recommendation after using this for years
For most couples, especially those with budgets under $500 for all stationery, Greetings Island is gonna be your best option. It’s free to design, you can take your time, and you’re not committed until you either download or order prints.
The sweet spot is using Greetings Island for save-the-dates and thank you cards (definitely download and print these yourself to save money), and then deciding whether to print invitations through them or take the PDF elsewhere depending on pricing and paper quality preferences.
I’ve used it for rushed orders, for budget-conscious couples, and for people who just want something simple and pretty without the hassle of working with a designer. It’s not gonna win awards for most innovative stationery, but it’ll get the job done and look good doing it.