Planning Guides, Style Guide
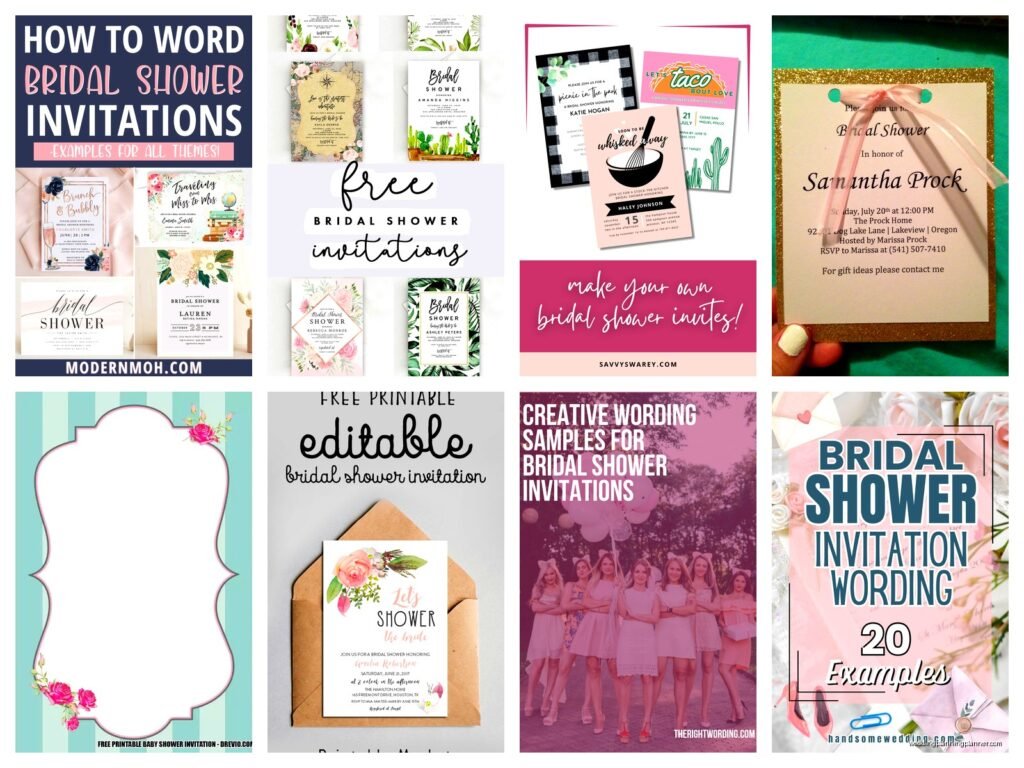
Make Your Own Bridal Shower Invitations: DIY Tutorial
Mar
Okay So Here’s How You Actually Make Bridal Shower Invitations
The first thing you gotta know is that making your own bridal shower invitations isn’t nearly as complicated as those Pinterest boards make it look. I had this bride back in spring 2023 who was absolutely convinced she needed to learn calligraphy and buy a Cricut machine and basically become a professional graphic designer in three weeks, and I was like… nah. You really don’t need all that.
Start with deciding whether you want to go digital or physical. Digital is obviously easier and you can literally make something in Canva in like twenty minutes, but there’s something about getting a physical card in the mail that people actually appreciate. I still keep physical invites I’ve received in a box somewhere, but I’ve never once looked back at a digital invitation after the event.
What You’ll Actually Need
For physical invitations, here’s the real list:
- Cardstock paper (110lb weight is perfect, don’t go lighter or it feels cheap)
- A printer that can handle cardstock or access to a print shop
- Envelopes that actually fit your card size (measure twice, seriously)
- Some kind of design software – Canva is free and works great, or even Word if you’re comfortable with it
- Paper cutter or really good scissors
- Maybe some embellishments like ribbon or stickers if you’re feeling fancy
The thing that annoyed me SO much when I first started helping clients with DIY invitations was that craft stores sell these “invitation kits” that are wildly overpriced and the paper quality is usually terrible. You’re paying like $30 for 25 invitations when you could get better cardstock at a fraction of the price.
Designing Your Invitation
Open up Canva and search for bridal shower invitation templates. There are thousands. Pick one that matches the vibe of the shower – if it’s gonna be a garden party, find something with florals, if it’s more modern and sleek, go minimalist. You can customize literally everything.
Here’s what needs to be on every bridal shower invitation:
- The bride’s name (obviously)
- Date and time
- Location with full address
- RSVP info – who to contact and by when
- Registry information if applicable
- Dress code if there is one
- Who’s hosting (this is actually proper etiquette)
I usually do a 5×7 inch size because it’s standard and envelopes are easy to find. You can do 4×6 if you want something smaller and cheaper to mail, but honestly the postage difference is minimal and the bigger size looks more… I don’t know, intentional?
The Wording Part
This trips people up but it shouldn’t. You can be formal or casual depending on the shower vibe. Formal would be like:
Please join us for a Bridal Shower honoring Sarah Michelle Thompson, Saturday, June 15th, 2024, 2:00 PM, The Garden Room at Westfield Country Club
Casual is more like:
Let’s shower Sarah with love! Join us for brunch, mimosas, and celebrating the bride-to-be, June 15th at 2 PM, Jamie’s house – 123 Oak Street
I had my cat knock over my coffee onto a stack of printed invitations once and I just… it was during a really stressful client situation where everything was already behind schedule and I literally stood there for a solid minute just staring at the brown liquid spreading across thirty invitations. Had to reprint everything overnight. Anyway, keep drinks away from your workspace.
Printing Tips That Actually Matter
If you’re printing at home, do a test print on regular paper first. The colors on your screen never match exactly what comes out of the printer, and you don’t wanna waste expensive cardstock figuring that out. Adjust the brightness or saturation if needed.
Your home printer settings should be:
- Best quality or high quality setting
- Cardstock or thick paper option
- Feed one sheet at a time if your printer is being finicky
Honestly though, if you need more than like 30 invitations, just go to a print shop or use an online service like Catprint or PrintPlace. The cost difference isn’t huge when you factor in your time and ink costs, and the quality will be better. I use Catprint for most of my client projects now because their turnaround is fast and the printing is consistently good.
Cutting and Assembly
If you printed full sheets and need to cut them down, invest in a paper cutter. The one from Amazon for like $25 works fine. Scissors never give you straight lines no matter how careful you are, and wonky edges make the whole thing look homemade in a bad way.
For assembly, you can keep it simple or add layers. A simple version is just the printed cardstock invitation. But if you want it to look more elevated, you can:
- Mat it on a slightly larger piece of contrasting cardstock
- Add a belly band (that’s the strip of paper that wraps around)
- Tie with ribbon
- Add a vellum overlay
- Use a wax seal on the envelope
The belly band thing is easier than it sounds – you just cut strips of cardstock about 2 inches wide, wrap them around the middle of your invitation, and glue the ends together in the back. It looks fancy but takes like 30 seconds per invitation.
Envelope Addressing
You can hand-write addresses if your handwriting is decent, print labels, or print directly on envelopes. I’m gonna be honest, printed labels look kinda cheap unless you get the clear ones. Hand-writing looks personal and nice if you have the time and patience.
If you want to print directly on envelopes, you’ll need to set up your document size correctly in Word or whatever you’re using. Measure your envelope and create a custom page size. Then you can do a mail merge if you’re sending to lots of people, which saves so much time.
For the return address, you can get a custom stamp made on Etsy for like $20-30 and it’s way faster than writing it out every time. Plus it looks really put-together.
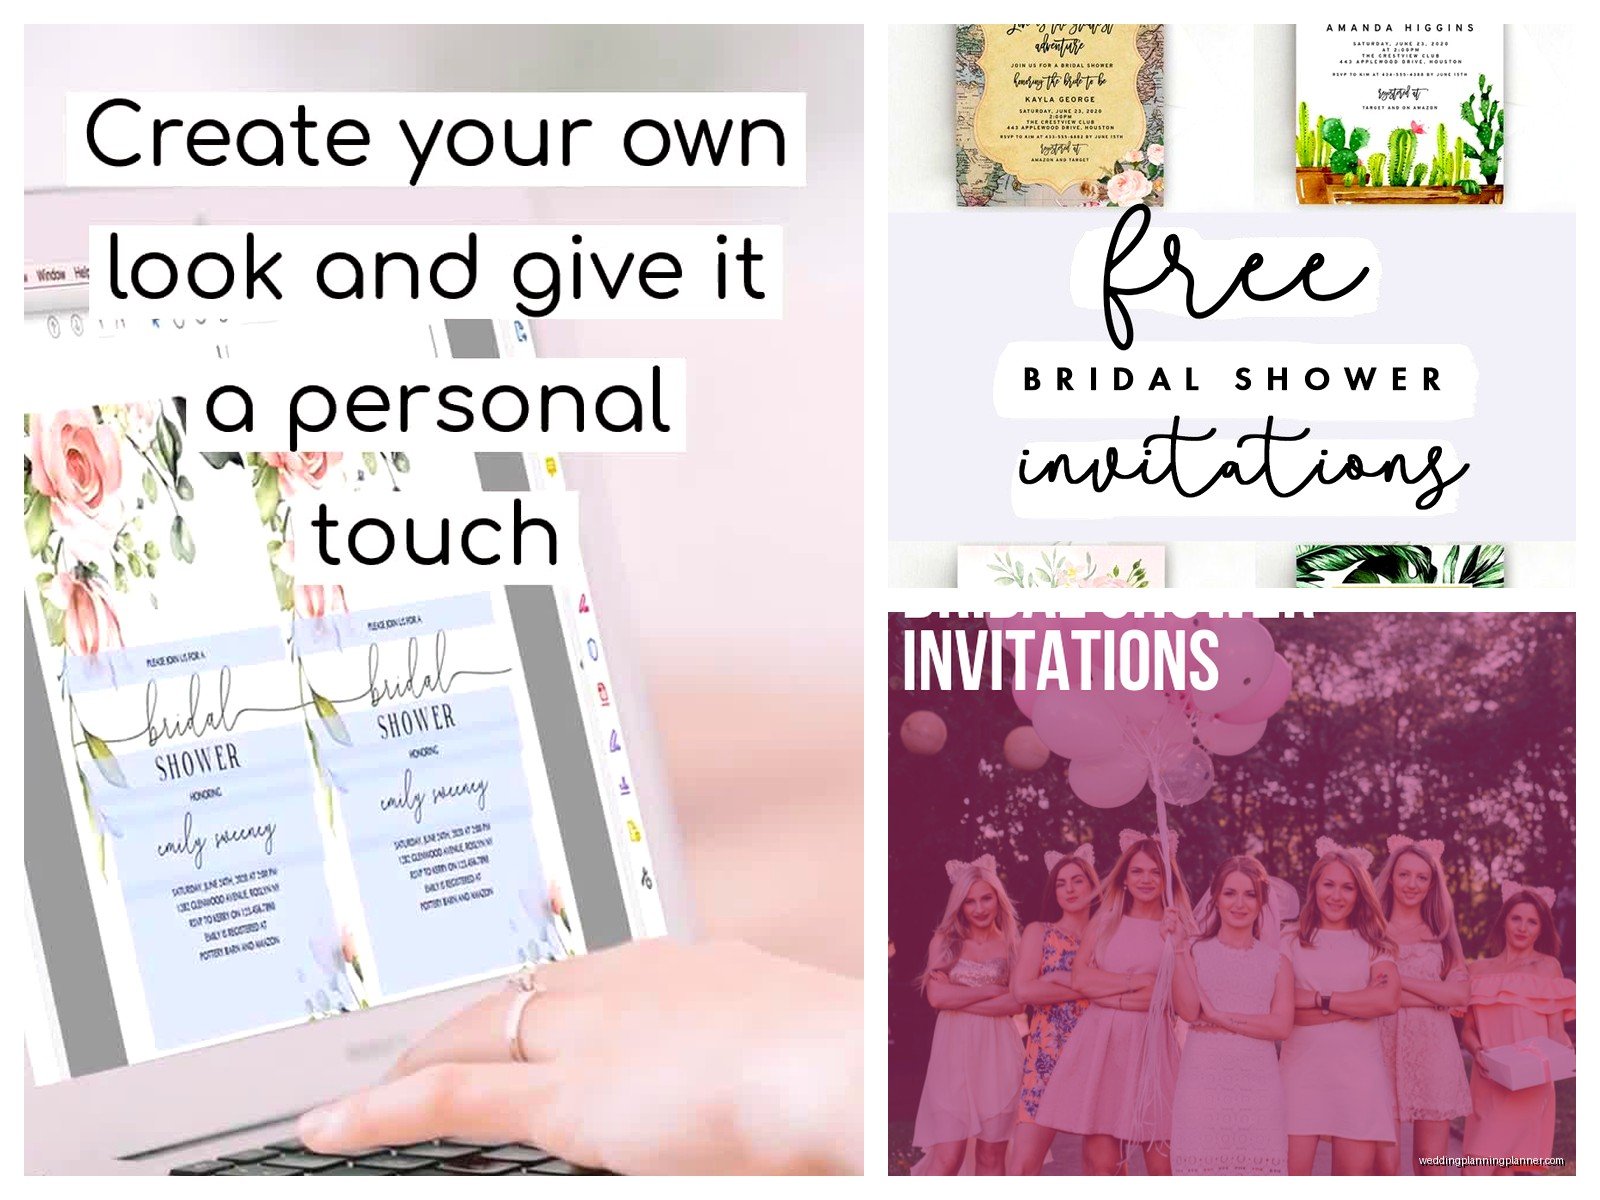
Digital Invitation Route
If you’re doing digital invitations instead, the design process is the same in Canva, but you’ll download it as a PNG or PDF. Then you can either:
- Email it directly
- Use a service like Paperless Post or Greenvelope
- Text it if everyone’s phone numbers are in a group chat
- Create a private event page
The benefit of services like Paperless Post is they track RSVPs automatically, send reminders, and look more official than just a random email attachment. They have free options but the nicer designs cost a bit. Still cheaper than printing and mailing though.
Timing and Mailing
Send bridal shower invitations 4-6 weeks before the event. That gives people enough time to plan but isn’t so far in advance that they forget or something else comes up. If you’ve got out-of-town guests, maybe push it to 8 weeks.
For mailing, weigh one complete invitation at the post office before you buy stamps. If it’s over 1 ounce or if it’s square-shaped or has any bulk from ribbons or embellishments, you’ll need extra postage. Nothing worse than having invitations returned for insufficient postage… actually that happened to me in summer 2021 and half the invites came back and we had to rush to resend them and it pushed the RSVP deadline back and then we didn’t have accurate headcount for catering until the last minute and it was a whole thing.
Extra Details That Make It Special
If you want to include extra info without cluttering the main invitation, make an insert card. This can have:
- Directions or parking info
- Registry details
- Accommodation suggestions for out-of-towners
- Shower games or activities planned
- Gift preferences or themes
You can also include a separate RSVP card with a self-addressed stamped envelope, which is more traditional and formal. Or just put “RSVP to Jamie at 555-0123 or jamie@email.com by June 1st” on the main invitation.
Common Mistakes to Avoid
Don’t use light colored text on light backgrounds. I see this ALL the time where someone picks a pretty pastel design and then uses white or cream text and you literally cannot read it. Your invitation needs to be readable from arm’s length without squinting.
Don’t forget to proofread. Have someone else read it too. I’ve seen invitations go out with the wrong date, wrong address, misspelled names… once saw one that said “Briday Shower” instead of Bridal Shower and nobody caught it until they were already mailed.
Don’t make the font too small. Especially if you have older guests, keep body text at least 11pt, preferably 12pt. The fancy script fonts are pretty but should only be used for names or headers, not for addresses or important details.
And don’t overthink it, which is rich coming from someone who literally plans events for a living but like… I’ve seen people stress themselves out so much over invitations that they’re not even enjoying the process or, you know, actually looking forward to the shower itself which is supposed to be fun and—
Budget Breakdown
Here’s roughly what you’ll spend for 30 invitations doing it yourself:
- Cardstock: $15-20
- Envelopes: $10-15
- Printing at home: $10-15 in ink, or $30-40 at a print shop
- Embellishments if you want them: $10-20
- Postage: $20-25
Total: roughly $65-120 depending on how fancy you go. Compare that to ordering custom invitations which usually start around $150-200 for the same quantity. So yeah, you do save money, but also factor in your time because cutting and assembling 30+ invitations takes a few hours at least.
Alternative Ideas
If traditional cards aren’t your thing, you could do postcard-style invitations which are cheaper to mail. Or invitation magnets that people can stick on their fridge. I’ve seen people do invitations as bookmarks if the bride loves reading, or as seed packets for a garden-themed shower.
You could also do a video invitation if everyone’s tech-savvy enough. Record a cute message, edit it on your phone with CapCut or InShot, and text it out. Very modern and personal, though some older guests might not vibe with it.
There’s also the hybrid approach where you design it yourself but use a service like Minted or Shutterfly to print and mail everything for you. You still get the custom design and save money compared to their pre-made options, but you don’t have to deal with the assembly and mailing part.