Planning Guides, Style Guide
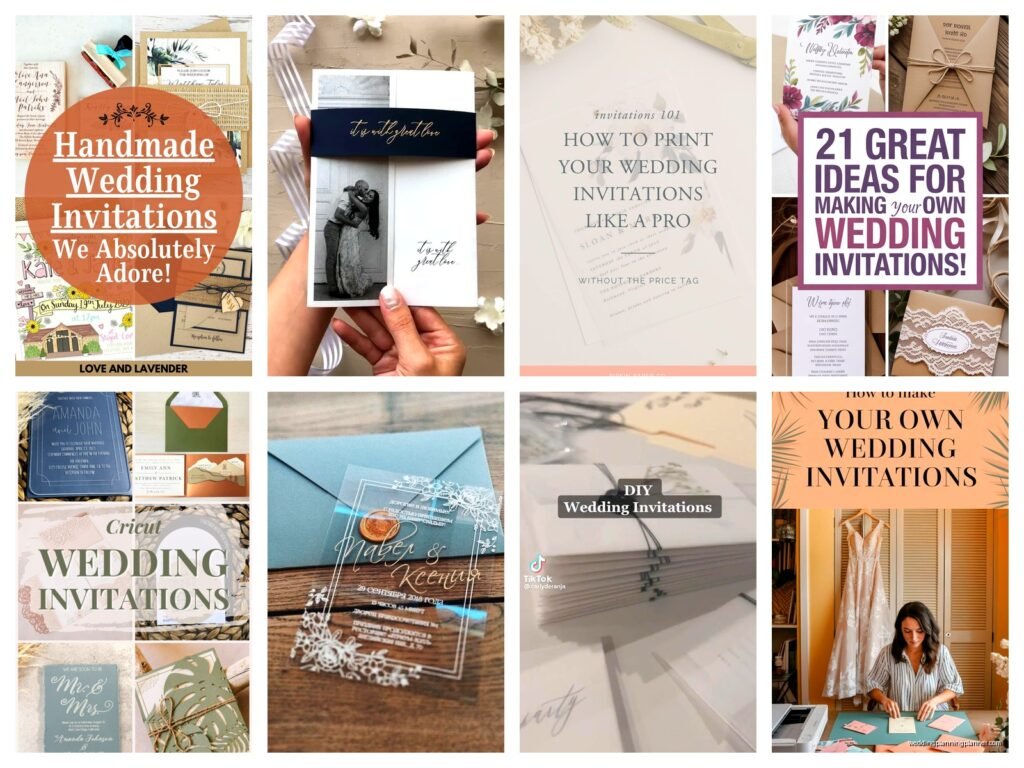
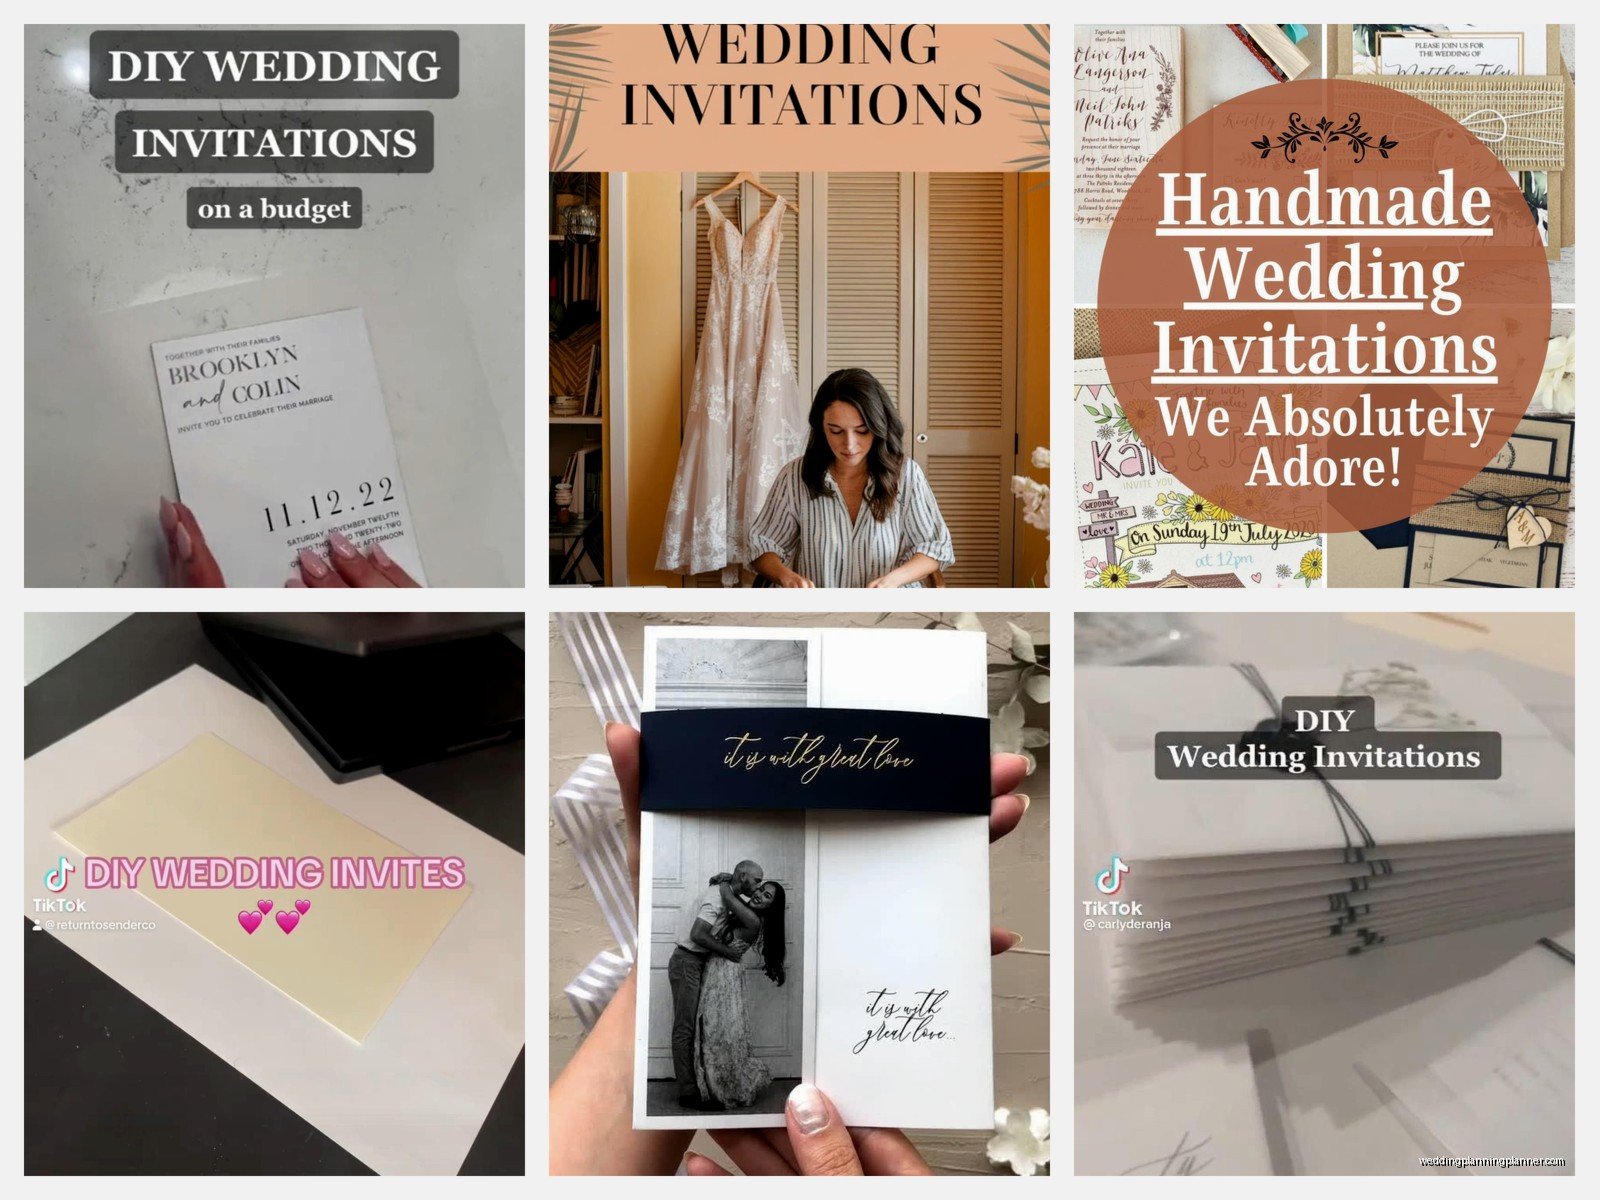
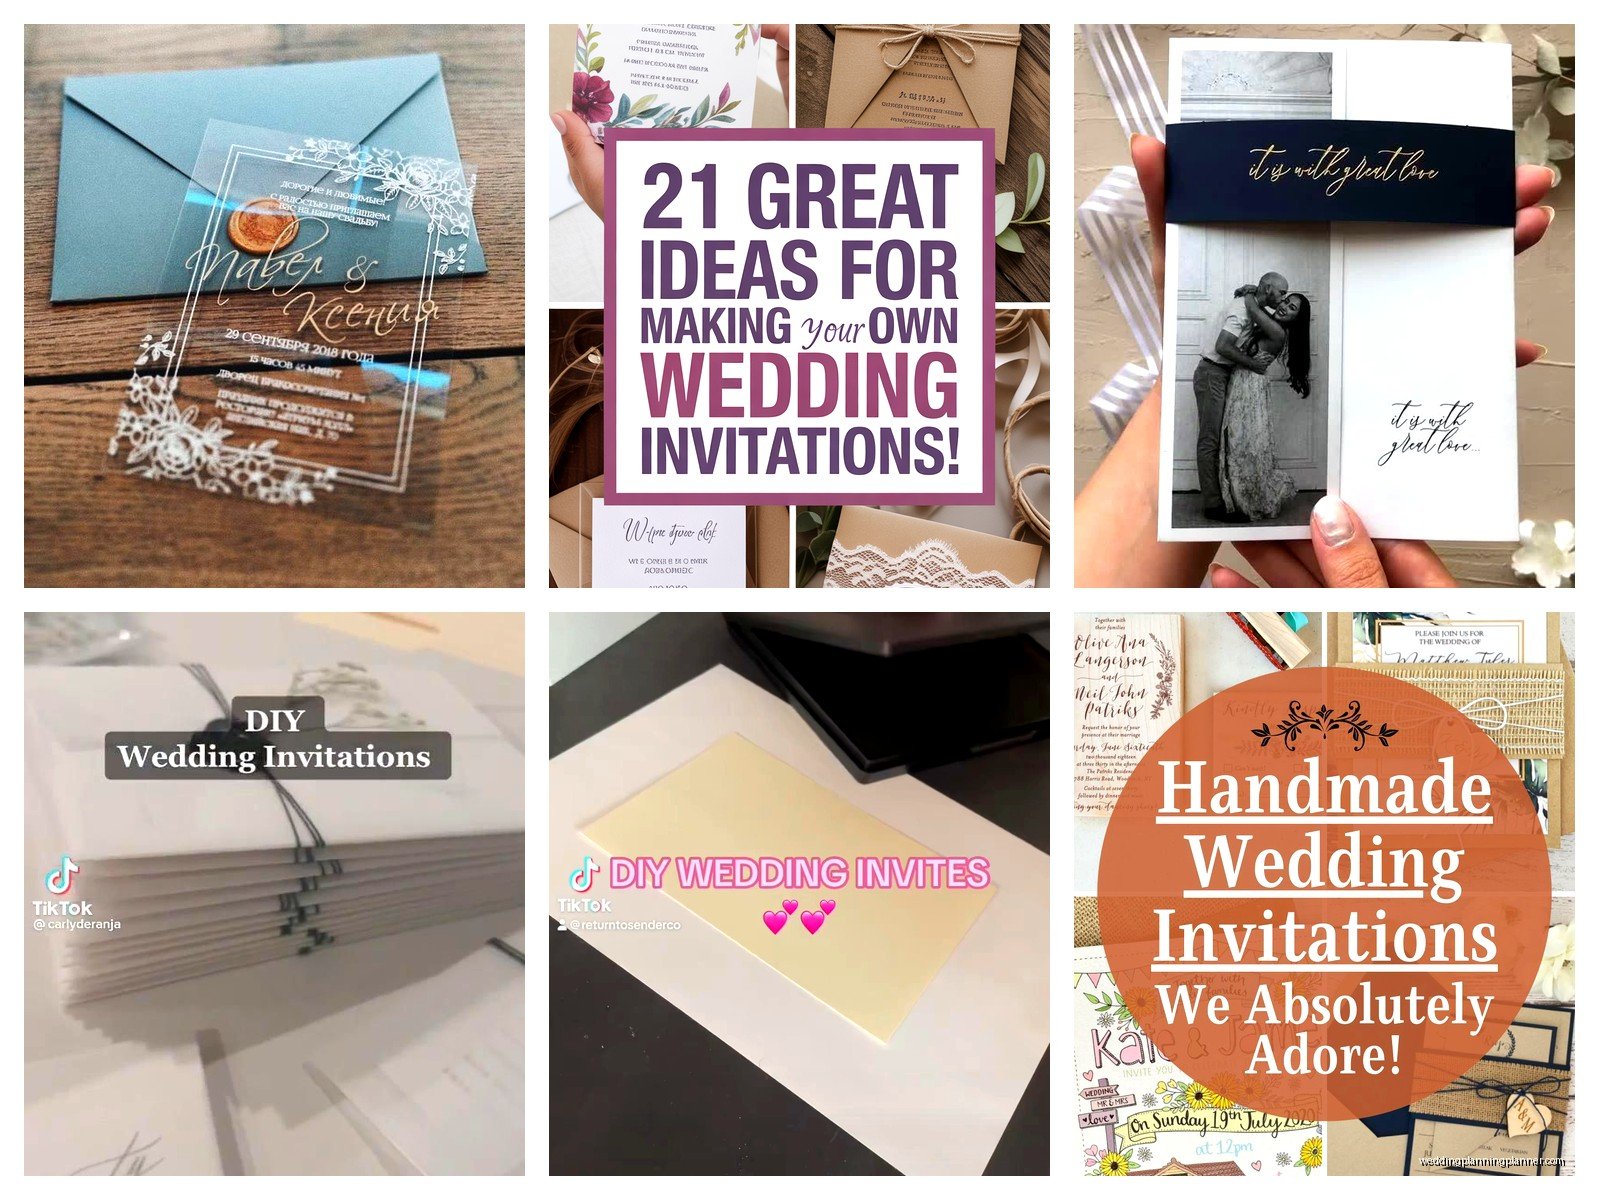
Making Your Own Wedding Invitations: Complete DIY Tutorial
Mar
Okay so first thing you need to know about DIY invitations
The biggest mistake I see people make is underestimating how long this takes. Like seriously. Last spring I had this bride who decided three weeks before her wedding that she wanted to handmake 150 invitations and I was like… no. Just no. We had to have a very honest conversation about timing because addressing envelopes alone was gonna take her forever.
Start with your guest list count. Add 15-20 extras for mistakes because you WILL mess up. I always do. Even after doing this professionally for years, I still accidentally smudge ink or cut something wonky.
Materials you actually need
Alright so here’s what you’re shopping for. Cardstock is your base – I recommend 80lb or 100lb weight for the actual invitation, nothing lighter or it feels cheap. You can get this at any craft store or online. For envelopes, you can buy them separately (way easier) or make your own if you hate yourself and have unlimited time.
You’ll need a paper cutter. Not scissors. A proper paper trimmer with measurements. I use a Fiskars 12-inch trimmer and it’s like $25 and worth every penny. The amount of time this saves you versus cutting each invite with scissors is insane.
Adhesive options: double-sided tape, glue sticks, or my personal favorite for layered invitations is those foam adhesive squares. They give dimension. Regular liquid glue is kinda messy and warps the paper sometimes.
Printing: you can use your home printer if you’re doing something simple, but test it first. Print quality varies so much and some printers just can’t handle cardstock. I’ve seen people jam their printers so bad trying to force thick paper through. For fancier stuff, you might wanna use a print shop – Staples, FedEx, local printers all work.
Design software situation
Canva is honestly your best friend here. It’s free for basic stuff and has a million templates. I know everyone uses it now but there’s a reason – it’s actually intuitive. You can also use Microsoft Word if you’re comfortable with it, or get fancy with Adobe InDesign if you already know how to use it (don’t learn it just for this, not worth it).
Template dimensions: standard invitation is 5×7 inches. You’ll design it at those dimensions but remember printers need bleed area, so actually make your design canvas 5.25×7.25 and keep important text/images away from the edges.
The actual process step by step
First you gotta finalize your wording. This is where people get stuck forever. Here’s a basic formula: host line (whoever’s hosting), request line (inviting you to celebrate), couple’s names, date and time, venue name and address, reception details if needed.
Once you have your design ready, print ONE. Just one. Check it in person because colors look different on screen versus printed. I learned this the hard way in summer 2021 when I printed 200 invites and the navy blue I chose looked straight up purple when printed. Had to redo everything.
When you’re ready to print the full batch, do it in small sets. Print 20, check them, print 20 more. Don’t do all 150 at once because if something’s wrong, you just wasted all that paper.
Cutting and assembly
This is where you’ll spend most of your time honestly. Set up a workspace – I use my dining table and my cat absolutely hates it because he can’t sit there, he just walks around meowing at me which is… anyway.
If you’re doing layered invitations (like a colored backing with white invitation on top), cut your base layer first. Use that paper trimmer and measure everything. For a 5×7 invitation with a border showing, I usually do the base at 5.25×7.25 and the top layer at 4.75×6.75. That gives you a quarter-inch border all around.
Stack cutting saves time: you can carefully stack 3-4 sheets and cut them together, but more than that and it gets messy. The bottom sheets don’t cut as cleanly.
Assembly line method works best. Don’t complete one invitation start to finish, then start the next. Instead, cut all your base layers. Then cut all your top layers. Then apply adhesive to all of them. Then stick them all together. Production line style.
Printing methods and what actually works
Home laser printer: crisp text, handles cardstock better than inkjet, doesn’t smudge. But color isn’t always great and most home laser printers are black and white.
Home inkjet: better color, cheaper printer cost, but ink is expensive and it can smudge if you touch it too soon. Let each sheet dry for like 30 seconds before stacking.
Professional printing: more expensive upfront but honestly sometimes worth it. You upload your file, they print on whatever cardstock you choose, and it looks professional. I’ve used Catprint and Vistaprint before and both were fine.
What annoyed me most about DIY invitations
The thing that drives me absolutely crazy is when people don’t account for envelope addressing. You spent all this time making beautiful invitations and then you’re gonna handwrite addresses in your regular handwriting with a ballpoint pen? Nah. Either practice calligraphy (which takes time), use a calligraphy pen, print directly on envelopes if your printer can handle it, or order printed address labels that at least look nice.
I had a bride once who made these GORGEOUS letterpress-style invitations – she used a template and textured paper and they were stunning. Then she addressed the envelopes in pencil because she wanted to “sketch it first” and just… never went over it in pen. Still haunts me.
Adding special touches without losing your mind
Ribbon: buy it on rolls, not pre-cut. Tie it around the invitation or use it as a belly band. Measure one piece, cut all your pieces at once, then tie them all.
Wax seals: okay these look amazing but they’re time consuming and they add thickness which means extra postage. Get a wax seal stamp (tons on Etsy), use wax beads or a glue gun (glue gun is faster and easier), and practice on scrap paper first. The glue gun method is actually what I do most – you can get glue sticks in metallic colors and it looks basically the same as real wax.
Vellum overlays: this is that semi-transparent paper that goes over your invitation. It’s pretty and adds a formal touch. Cut it slightly smaller than your invitation, print or write details on it, and layer it on top. Secure it with a ribbon or a single adhesive dot at the top.
Pocket invitations: these are invitations with a pocket that holds all the insert cards (RSVP, details card, etc). You can buy pocket folds pre-made or make them yourself by scoring and folding cardstock. Making them yourself is tedious though, I usually just buy the blanks.
Insert cards and what you actually need
RSVP card: essential. Include a pre-addressed and stamped envelope for it or people won’t send them back. I know it costs money to put stamps on all those envelopes but trust me, without it your response rate drops dramatically.
Details card: this has your wedding website, hotel information, dress code, whatever doesn’t fit on the main invitation. Usually 4×5 or so, smaller than the main invite.
Direction card: kinda outdated now that everyone has GPS but some couples still include it, especially for venues that are hard to find or don’t show up properly on Google Maps.
You can print these on regular cardstock, they don’t need to be as heavy as the main invitation. I usually use 65lb or 80lb.
Timing and realistic expectations
For 100 invitations with inserts, expect to spend maybe 15-20 hours total? That includes design time, printing, cutting, assembly, addressing envelopes. Maybe more if you’re doing something complicated or if you’re a perfectionist.
Break it into chunks. Do design one weekend. Print and cut the next weekend. Assemble the weekend after that. Don’t try to do it all in one marathon session because you’ll burn out and start to hate them.
Mail them 6-8 weeks before the wedding. That gives people time to respond and you time to track down the people who inevitably don’t RSVP.
Postage is more complicated than you think
Take a finished invitation to the post office and have them weigh it. Anything over 1 ounce needs extra postage. Square envelopes cost more to mail than rectangular ones (I know, it’s weird). Wax seals and ribbons add bulk which adds cost.
Buy pretty stamps if you can. The USPS has actually nice designs sometimes – florals, vintage stuff, love themed stamps. It’s a small detail but it makes the envelope look more special.
Common mistakes I see all the time
Not testing print colors first. What looks good on screen might print completely different.
Forgetting to proofread. I once saw an invitation that said “Saterday” instead of Saturday and they didn’t notice until after printing 120 of them. Have multiple people proofread.
Using fonts that are too small or too fancy. Script fonts are pretty but if your grandma can’t read it, pick something else. I generally don’t go smaller than 10pt font for any text.
Not accounting for printer margins. Most home printers can’t print edge to edge, they need like a quarter inch margin. Design accordingly.
Cheap paper that’s too thin. It feels flimsy and doesn’t make a good impression. Spend the extra money on decent cardstock.
Money saving tips that actually work
Buy materials during craft store sales. Michaels, Hobby Lobby, Joann – they always have 40-50% off coupons. Stock up on cardstock and envelopes when they’re on sale.
Skip the RSVP envelope if you’re comfortable with online RSVPs only. Direct people to your wedding website instead. Saves money on envelopes and stamps.
Print at home if possible. Even with ink costs, it’s usually cheaper than professional printing for small quantities.
Simple designs look elegant. You don’t need layers and ribbons and wax seals and vellum and… sometimes a clean, simple design on nice paper is gonna look better than something overdone.
Tools that make life easier
A bone folder for creasing paper cleanly. It’s like $3 and makes folded invitations look so much more professional.
A corner rounder punch if you want rounded corners. Totally optional but it’s a nice touch.
Envelope moistener instead of licking 150 envelopes. Your tongue will thank you.
Tweezers for placing small embellishments or adhesive squares exactly where you want them.
Good lighting. This seems obvious but when you’re doing detail work for hours, bad lighting will give you a headache.
I usually set up with my laptop playing something in the background – last time I did a big batch I rewatched The Office for the millionth time. Makes the repetitive stuff more bearable.
Digital alternatives if you’re second guessing the DIY route
Look, sometimes halfway through planning people realize they don’t actually wanna do this. That’s okay. There are semi-DIY options where you customize a template and they print and ship them to you. Minted, Paperless Post (they have physical invites too), Zazzle, lots of options.
Or you can DIY just the design and have them printed professionally. That’s actually a good middle ground – you get the custom design without the physical labor of cutting and assembling everything yourself.
The money you save doing it completely yourself might not be worth the time investment depending on your situation. I had a client in 2023 who was gonna DIY to save money but she was working 60 hour weeks and planning a wedding and she was just stressed. We found a semi-custom option that cost maybe $100 more than full DIY and she was so much happier.