Planning Guides, Style Guide
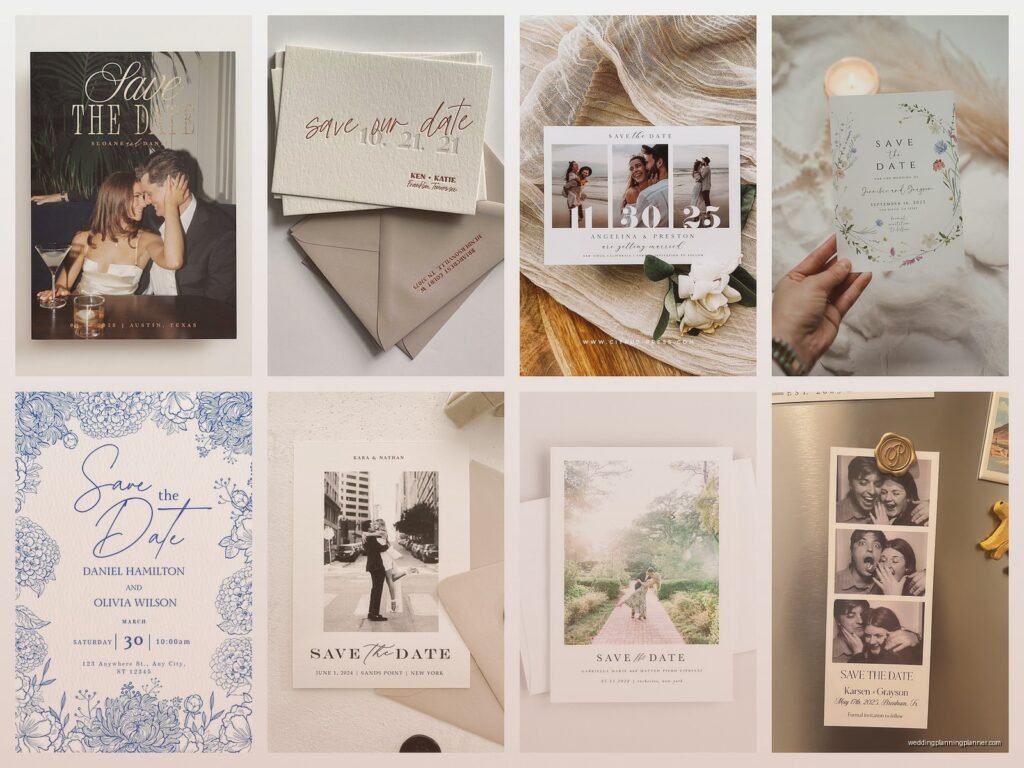
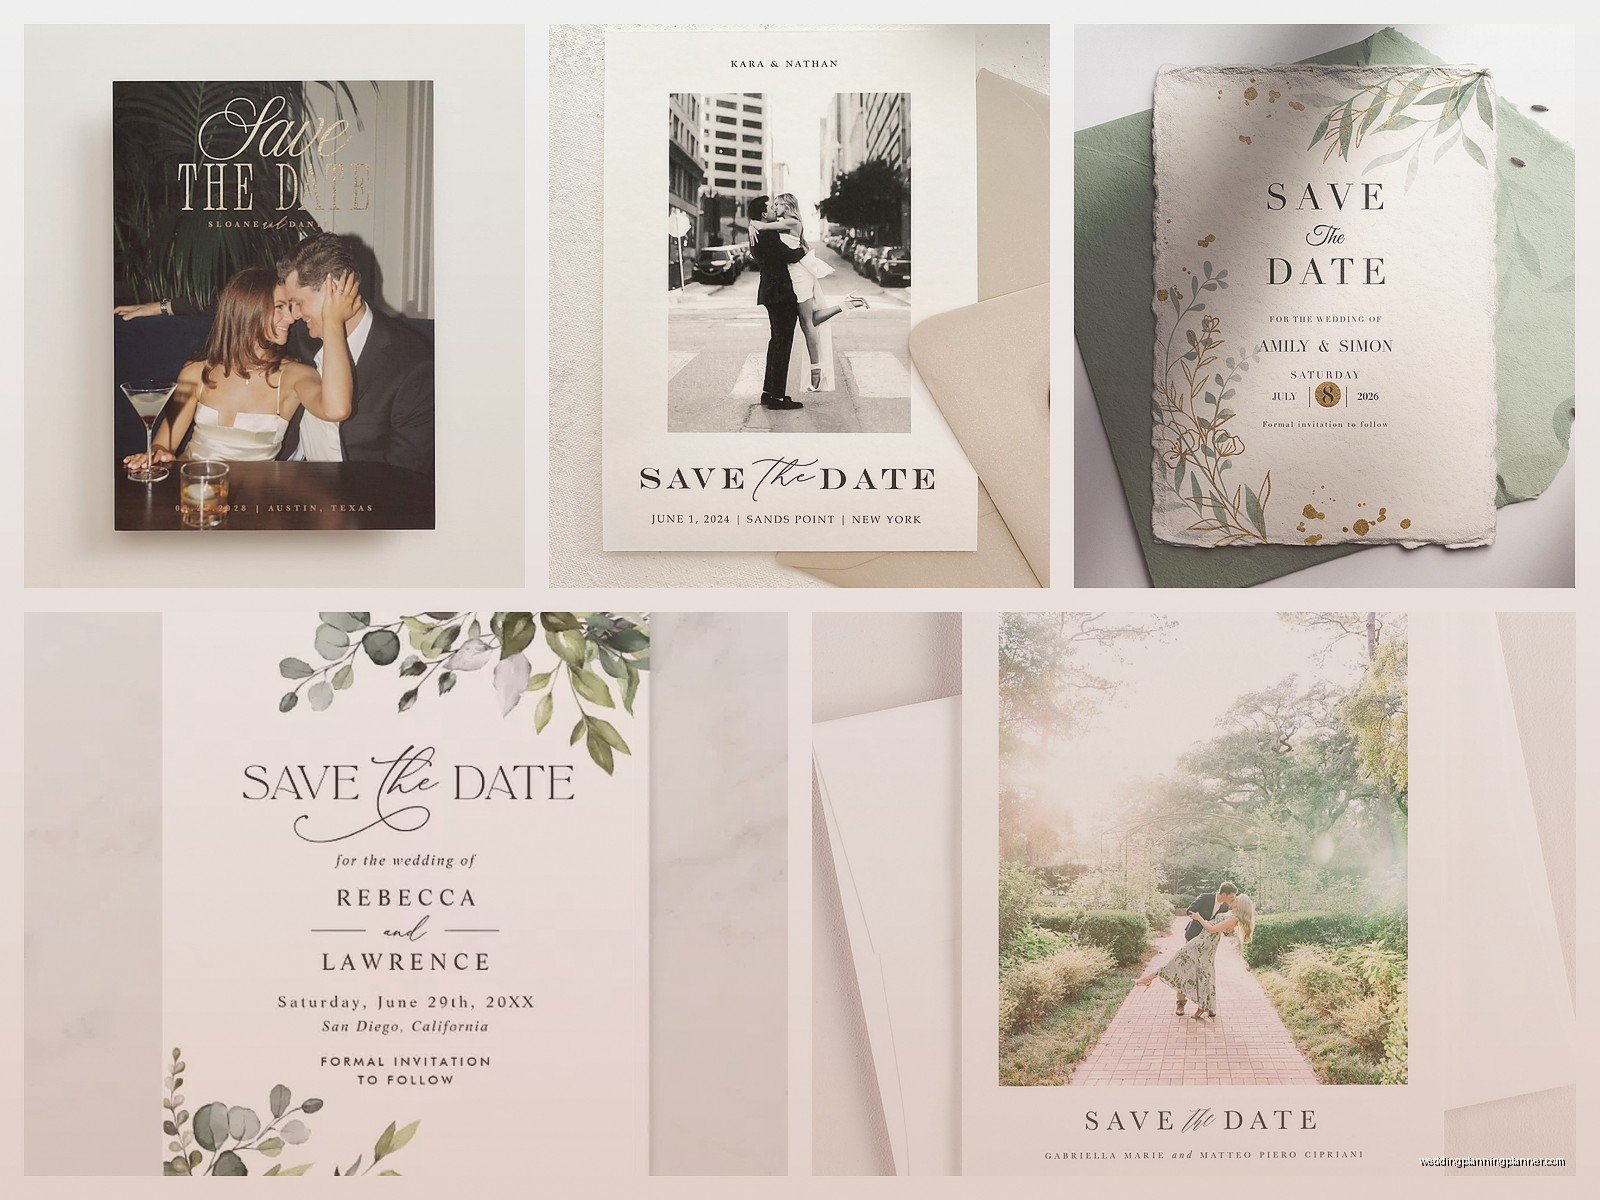
Print Save the Dates: At-Home Printing DIY Guide
Mar
Getting Your Printer Situation Sorted First
Okay so the biggest mistake I see people make is thinking their regular old printer from 2015 is gonna handle cardstock like a champ. It won’t. I learned this the hard way back in spring 2023 when a bride called me literally crying because she’d just jammed her $200 worth of fancy paper into her basic inkjet and now it looked like a printer graveyard in her office.
You need to check your printer specs before you buy a single sheet of paper. Look for the maximum paper weight it can handle—it’s usually listed in the manual or online specs. Most home inkjets can handle 80lb cardstock, some can do 100lb, but anything heavier and you’re asking for trouble. Laser printers are actually better for this if you have one, they grip thicker paper way more reliably.
If your printer maxes out at regular copy paper weight, you’ve got options. You can print on lighter weight paper and then mount it onto heavier cardstock (I’ll explain that later), or you can just accept that your save the dates will be on nice stationery paper instead of thick cardstock and honestly that’s fine too.
Paper Selection Is Where People Lose Their Minds
The paper aisle at craft stores is overwhelming and I kinda hate how they organize it. You’ve got cardstock, stationery, resume paper, photo paper—what even is the difference sometimes?
For save the dates, I usually recommend starting with 80lb cardstock if you’re new to this. It feels substantial, feeds through most printers, and doesn’t cost a fortune. You can get pre-cut 5×7 sheets which is the most common save the date size. Some brands I’ve had good luck with are Neenah, Strathmore, and even the Recollections brand from Michaels works fine.
Here’s what you need to think about: finish matters more than you’d expect. Matte cardstock is the most printer-friendly—ink dries fast, no smudging, looks professional. Glossy or shimmer cardstock looks gorgeous but can smear if you touch it too soon, and some printers just refuse to cooperate with it. I once watched my cat walk across a sheet of freshly printed shimmer cardstock and her paw prints became a permanent part of someone’s save the date design, so.
Texture is another thing. Linen finish is beautiful and hides minor printing imperfections really well. Smooth finish shows everything—every tiny misalignment, every ink streak—but colors look more vibrant.
The Color Situation
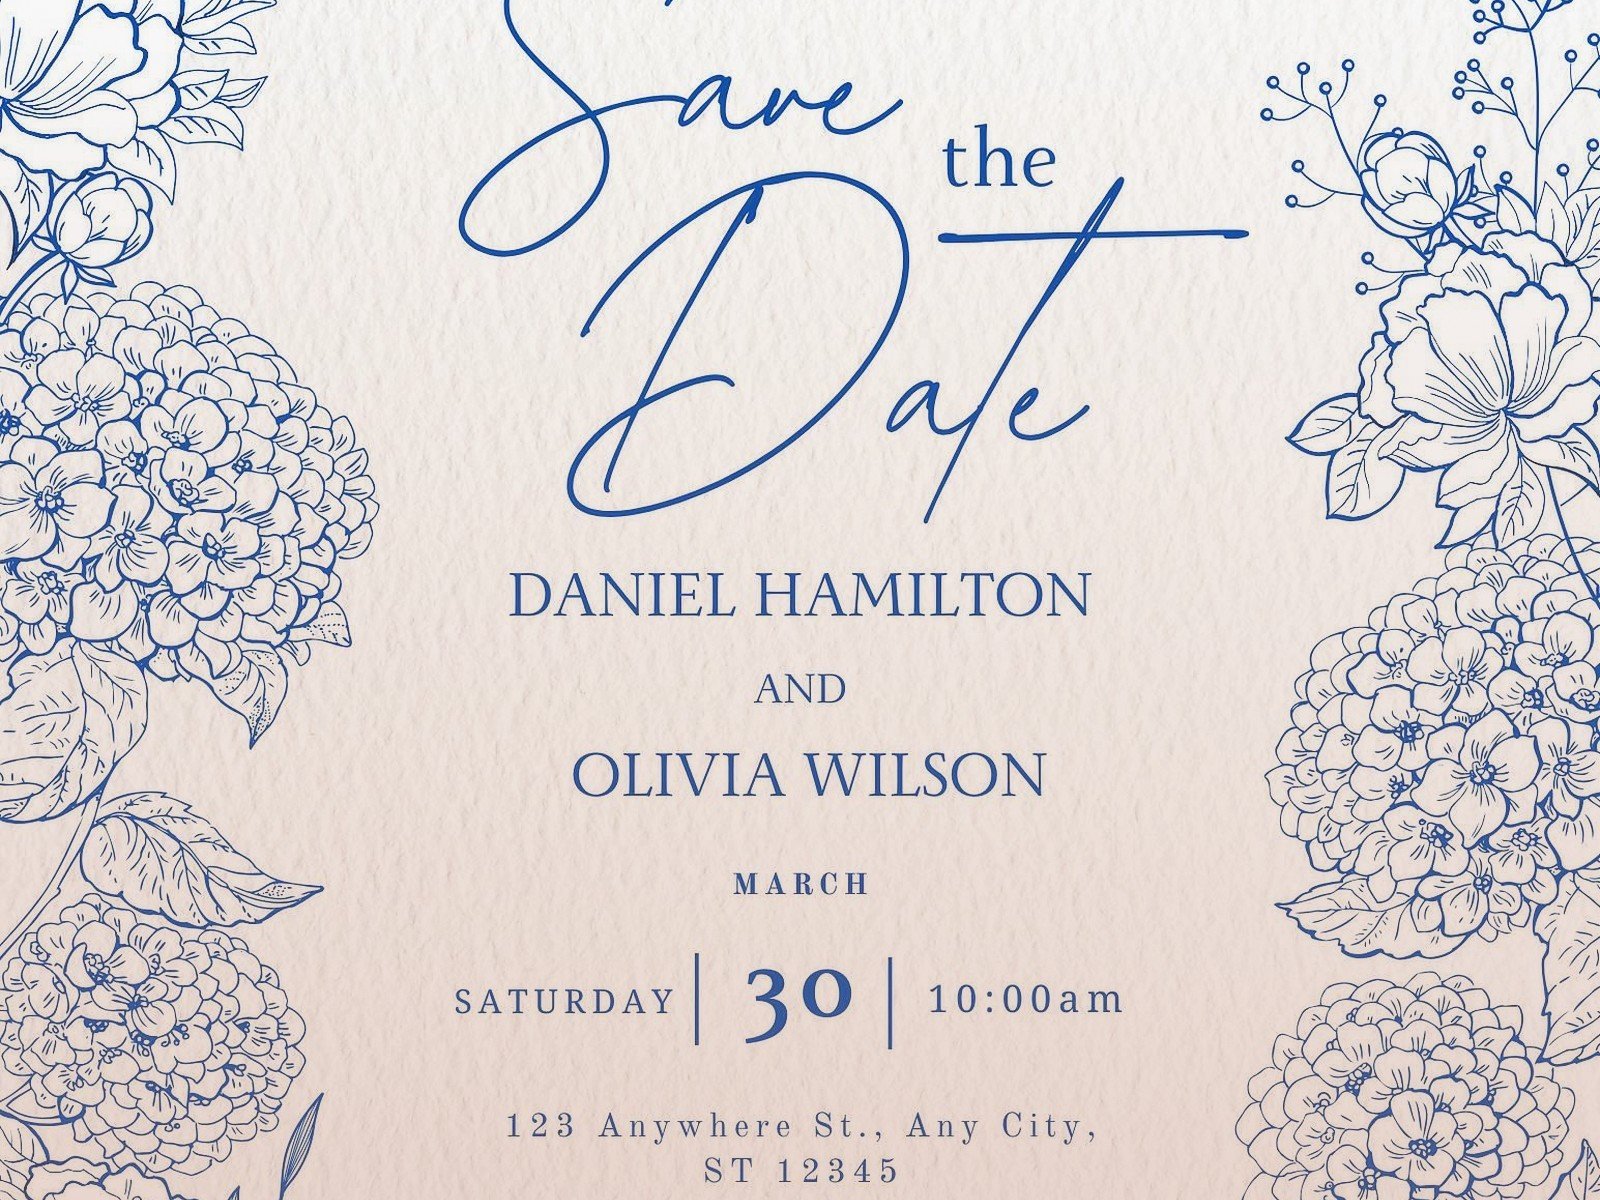
White and cream are classic and you really can’t go wrong. But if you want colored cardstock, test print first because what looks like dusty blue on your screen might print totally differently on navy paper. Ink colors interact with paper colors in weird ways. I generally tell people to stick with light or medium colored papers if they’re printing at home—dark cardstock requires special white ink printers which, nah, that’s not a home printing thing.
Design Software Options That Won’t Make You Want to Scream
You don’t need to be a graphic designer for this. Canva is honestly the easiest option and I recommend it to probably 80% of people who ask me about DIY printing. They have tons of save the date templates, you can customize everything, and the interface is pretty intuitive. The free version works fine but the Pro version gives you more fonts and the ability to resize designs easily.
If you want more control, Adobe InDesign is the professional option but it has a learning curve and a subscription cost. Microsoft Word actually works for simple text-based designs—people sleep on Word but you can create really clean, minimalist save the dates with it.
Whatever you use, here’s the critical part: set up your document at the actual size you’re printing. If you’re doing 5×7 cards, your document should be 5×7 inches. Set your margins to at least 0.25 inches on all sides because printers can’t print to the very edge and you don’t want important text getting cut off.
Design Tips From Someone Who’s Seen A Lot of Disasters
Keep text at least 12pt font size. I know you want to fit everything on there but tiny text looks cheap when printed at home and is impossible for anyone over 50 to read without their glasses.
Use high resolution images only—300 DPI minimum. That photo you grabbed from Instagram? It’s gonna look pixelated and terrible. Save yourself the heartbreak and use high-res photos from the start.
Borders are your friend because they hide uneven cuts and slight misalignments. A simple border around your design makes everything look more intentional even if your cutting was a bit wonky.
Actually Printing The Things
Alright so you’ve got your design, your paper, your printer is ready to cooperate (hopefully). Here’s the process that’ll save you from wasting half your paper on test prints.
First, print ONE test on regular copy paper. Check your alignment, your colors, your text for typos. I cannot stress this enough—I’ve seen people print 100 save the dates with the wrong date because they didn’t do a test print. It was me. I was people. Summer 2021, printed my own sister’s save the dates with the wrong year and didn’t notice until I’d finished the whole batch.
Once your test looks good, print another test on your actual cardstock. Just one. Colors look different on cardstock than on copy paper, and you need to make sure it feeds through properly.
Printer Settings That Matter
Go into your printer settings—don’t just hit print like you’re printing a grocery list. Select the paper type. Most printers have a cardstock or heavy paper option. This adjusts how the printer grabs and moves the paper through.
Set quality to high or best. Yes it uses more ink and takes longer but you’re making save the dates not a draft email.
Some printers have a rear feed tray specifically for thick paper—use it if you have it. The straight-through path is easier on cardstock than making it curve through the regular paper path.
Print slowly. If your printer has a speed option, choose slow. I know it’s annoying but it reduces jams and gives ink more time to set properly.
The Actual Printing Process
Don’t load all your cardstock at once thinking you’ll just let it run. Load 5-10 sheets max, let those print, make sure they look good, then load more. Nothing worse than discovering a problem on sheet 47 of 150.
Let each sheet dry before stacking them. I usually print a few, set them aside on a clean surface, print a few more. If you stack wet prints, you’ll get transfer marks and smudging and you’ll wanna cry.
Keep the paper you’re not currently printing stored flat in its original packaging or a clean folder. Humidity and dust are enemies of good printing. My office gets weirdly humid in summer and I learned that paper absorbs moisture and then jams in the printer way more easily… fun times.
What To Do When Things Go Wrong Because They Will
Paper jams happen. When they do, turn off the printer, open every panel you can open, and gently remove the jammed paper. Don’t yank it. Check for tiny torn pieces left inside before you try printing again.
If colors are printing wrong, run a printer head cleaning cycle. If that doesn’t fix it, you might need new ink cartridges. Old or low ink prints in weird colors—I’ve seen cyan run out and suddenly everything has a yellow-orange tint.
Smudging means either your ink isn’t dry (wait longer between prints), your paper finish isn’t compatible with your ink type, or you need to adjust settings to use more heat or less ink saturation.
Misalignment issues usually mean your paper isn’t loading straight. Most printers have adjustable guides in the paper tray—make sure your cardstock is snug against those guides before printing.
Cutting Your Printed Cards
If you bought pre-cut cardstock, you can skip this. If you’re printing on full sheets and cutting down, you need the right tools or it’ll look homemade in a bad way.
A paper trimmer with a ruler guide is essential. Those little scissor cuts are never straight no matter how careful you think you’re being. You can get a decent 12-inch paper trimmer for like $20-30.
Cut slowly and measure twice. Mark your cut lines lightly with pencil if you need to. I use a metal ruler and a craft knife for small batches because I can get really precise cuts, but that takes practice and a cutting mat.
For rounded corners, you can buy a corner rounder punch. It’s a small tool that makes your cards look more polished and professional. Totally optional but it does make a difference.
The Mounting Method If Your Printer Can’t Handle Thick Paper
So if your printer only handles light paper, print your design on nice resume paper or stationery paper, then mount it onto cardstock using a good adhesive. Double-sided tape works but spray adhesive or adhesive sheets give you the smoothest result without bumps.
Cut your printed design slightly smaller than your cardstock backing—like 1/8 inch smaller on each side—so you get a nice border frame effect. It actually looks intentional and kind of fancy.
Apply adhesive evenly, smooth from the center outward to avoid bubbles, and let it dry completely before handling.
Envelope Printing Or Nah
You can absolutely print on envelopes too. Most printers have an envelope feed option. Set up your addresses in a spreadsheet or use Canva’s addressing feature.
Feed envelopes one at a time through the rear tray if you have one. Envelopes jam easier than flat paper because of the… well because of the envelope shape and the thickness where it’s glued.
Or just hand write them. Sometimes that personal touch is worth the hand cramp. Or hire a calligrapher if you’ve got budget left. Or print on labels and stick them on envelopes—I know people have opinions about this but honestly it looks fine if you use clear labels and decent fonts.
Ink Costs Will Surprise You
Here’s the thing that annoyed me most when I first started doing print projects: ink cartridge costs are absolutely ridiculous. You’ll spend more on ink than on paper sometimes. If you’re printing a lot of save the dates—like over 100—consider getting your cartridges refilled at Costco or using a refill kit. Or look into ink subscription services if your printer brand offers one.
Calculate your cost per card before you commit. Add up paper cost, ink cost, envelopes, and your time. Sometimes the per-card cost of DIY printing ends up being pretty close to what you’d pay at a print shop, but without the convenience or guaranteed quality. Just something to think about before you’re too far in.
Storage Until You Mail Them
Stack finished save the dates with sheets of tissue paper or parchment paper between every 10-15 cards. Store them flat in a box in a cool dry place. Don’t rubber band them because you’ll get indent marks. Don’t store them near windows because sun fading is real even for things you’re only storing for a few weeks or months.
Keep a few extra blank cards and some extra printed ones just in case. You’ll need them when you realize you forgot to add your college roommate to the list or when your aunt spills coffee on hers and asks for a replacement.
Realistic Timeline
Don’t think you’re gonna design, print, cut, and assemble 150 save the dates in one weekend. Give yourself at least 2-3 weeks. Design and testing takes longer than you think, printing takes forever if you’re being careful, and cutting and assembly is tedious.
I usually tell people to plan for printing about 20-25 cards per hour once you’ve got your system down. That includes printing time, drying time, and handling. So for 100 cards, you’re looking at 4-5 hours of actual printing work spread across multiple sessions because you need to let things dry and also you’ll need breaks or you’ll lose your mind.
The satisfaction of pulling off a successful DIY print project is pretty great though, and you’ll have total control over every detail which is what some people really want for their wedding stuff. Plus you can print extras without paying per-piece pricing and you can make last-minute changes without dealing with a print shop’s revision fees and timelines