Uncategorized
Wedding Invitation: Design & Etiquette Complete Guide
Feb
So look, wedding invitations are honestly one of those things where people either overthink every detail or completely wing it and then panic three months before the wedding when they realize their wording sounds like a corporate memo. I’ve seen both extremes and neither is cute.
Getting Your Timeline Right
First thing—and I mean this is gonna save you so much stress—you need to send save-the-dates about six to eight months before the wedding. The actual invitations go out around six to eight weeks before. I know everyone says this but people still mess it up constantly. Just last month I had a bride send invites three months early and then half her vendors changed and the whole thing became this nightmare of correction cards.
Oh and if you’re doing a destination wedding or getting married during a holiday weekend, push that timeline even earlier. Like ten to twelve months for save-the-dates because people need to book flights and hotels and use vacation days.
The Actual Design Part
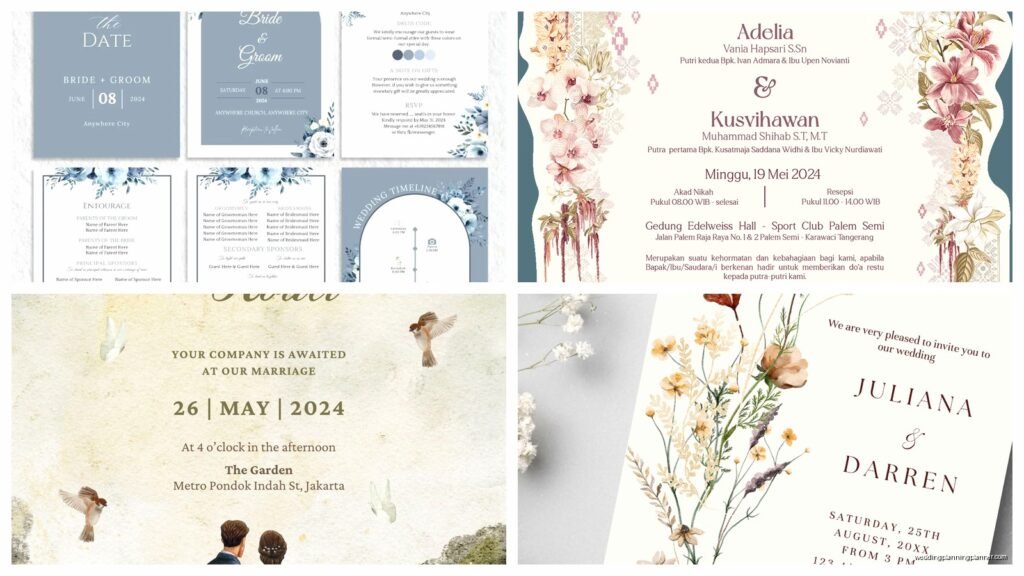
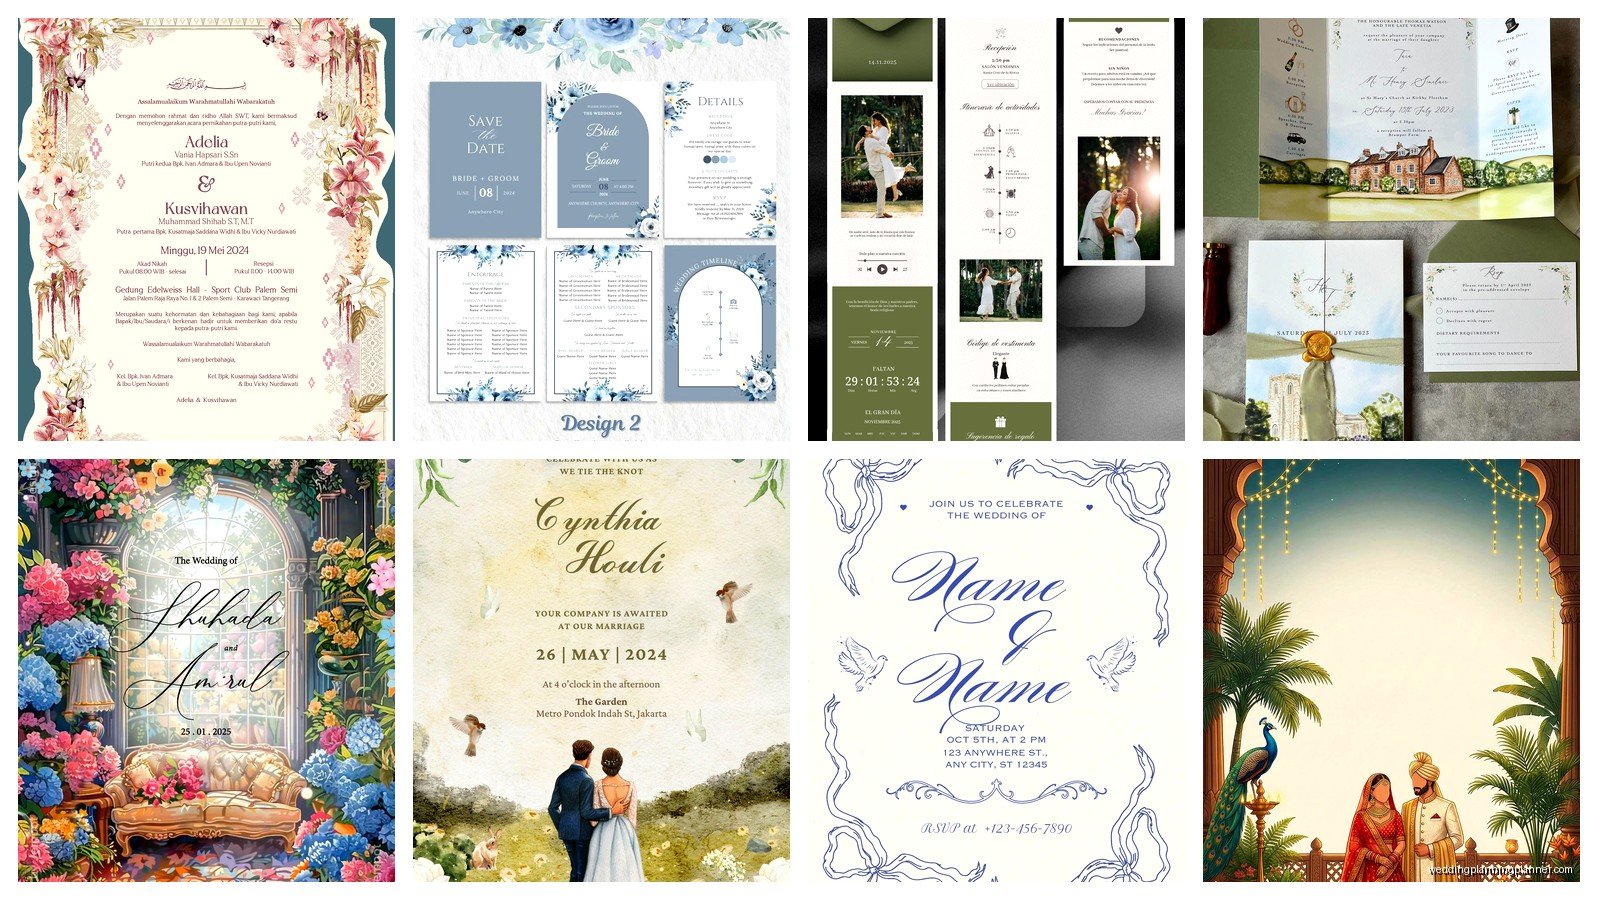
Okay so here’s where it gets fun but also where people freeze up. Your invitation suite should match your wedding vibe but it doesn’t need to be this matchy-matchy situation with every single element. I usually tell clients to pick like two or three main design elements—maybe it’s a specific flower illustration, a color palette, and a font style—and then just carry those through.
The traditional invitation suite includes the main invitation, an RSVP card with envelope, a details card for extra info like hotel blocks or website, and maybe a weekend events card if you’re doing multiple things. You don’t need all of these though. Sometimes less is honestly more elegant.
Paper Weight Matters More Than You Think
This is gonna sound weird but the paper weight completely changes how people perceive your invitation. Anything under 80lb cover stock feels flimsy and kinda cheap. I usually recommend 110lb or higher for the main invite. My cat knocked over my sample box last week and I watched this beautiful 130lb cotton paper invitation just float down gracefully while the budget ones scattered everywhere like confetti.
Cotton paper vs regular cardstock is another thing. Cotton has this texture that feels more luxe and it photographs better too. But it’s pricier so if budget is tight, save the cotton for just the main invitation and use regular cardstock for the other insert cards.
Wording That Doesn’t Sound Stiff
Traditional wording follows this format and honestly it still works if your wedding is formal:
Mr. and Mrs. Parents Names
request the honor of your presence
at the marriage of their daughter
Bride’s Name
to
Groom’s Full Name
son of Mr. and Mrs. Other Parents Names
But like… most couples I work with now are paying for their own weddings or it’s a joint thing with parents, so that traditional wording feels off. Here’s what I usually suggest instead:
Together with their families
Bride’s Name and Groom’s Name
invite you to celebrate their marriage
Way simpler and it doesn’t make anyone feel awkward about who’s hosting or paying or whatever family dynamics are happening.
The Honor vs Honour Thing
Okay this trips people up constantly. “Honour” with a U is for religious ceremonies, “honor” without is for non-religious venues. That’s literally the only rule and yet I still get panicked texts about it weekly.
What Info Actually Needs to Be There
Your main invitation needs these things and nothing else:
- Who’s getting married (full names or just first names, your choice)
- Date spelled out completely—no numbers
- Time spelled out too, like “half after six o’clock” or just “six thirty in the evening”
- Venue name and city, state
- Reception info if it’s at the same place just say “reception to follow” right on the invite
Everything else—dress code, hotel blocks, registry info, your wedding website—goes on the details card or the website itself. Do not cram it all on one invitation. It looks cluttered and people’s eyes just glaze over.
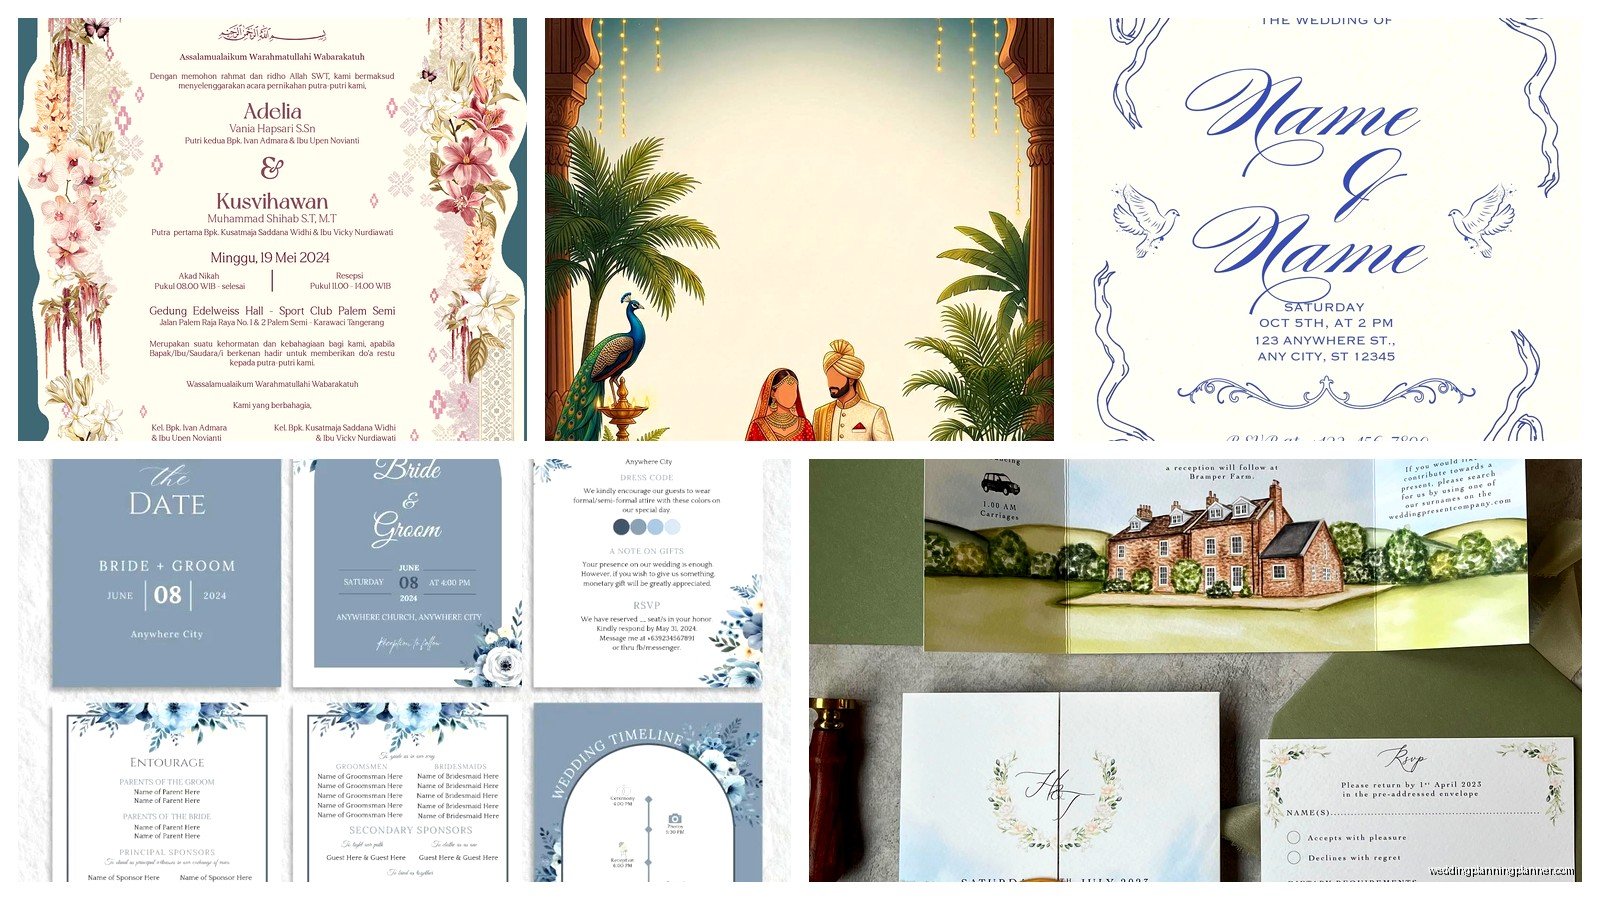
RSVP Cards Done Right
Pre-address and stamp the RSVP envelopes. I know it costs extra but I promise you’ll get way more responses back. People are lazy and if they have to find a stamp they’ll just text you later or forget entirely. Then you’re chasing people down two weeks before and it’s annoying for everyone.
Give people a specific date to RSVP by—usually three to four weeks before the wedding. And make the response options clear:
M_________________
__ accepts with pleasure
__ declines with regret
That M line is for them to write their names. It’s traditional and honestly still the clearest way to do it. Some people try to get cute with the wording and then guests get confused about whether they’re supposed to write something or check a box.
Meal Choices on RSVP Cards
If you’re doing plated dinner with options, list them on the RSVP card with checkboxes. But—and this is important—have people write their initials next to their choice, not just check boxes, because I’ve seen so many RSVP cards where a couple checks three boxes total and the caterer is like “okay but which person wants which meal?” It becomes this guessing game.
Addressing Envelopes Without Losing Your Mind
Outer envelopes get formal names. Inner envelopes (if you’re using them, which honestly most people skip now) get more casual names plus kids’ names if they’re invited.
Here’s the hierarchy for formal addressing:
- Married couple, same last name: Mr. and Mrs. John Smith
- Married couple, different last names: Ms. Sarah Jones and Mr. John Smith (her name first or alphabetical)
- Unmarried couple living together: Ms. Sarah Jones and Mr. John Smith (separate lines)
- Single person with plus-one: Ms. Sarah Jones and Guest
But wait—and I forgot to mention this earlier—if you’re having a casual wedding, you can totally just use first and last names without titles. Like “Sarah Jones and John Smith” instead of all the Mr. and Ms. stuff. It depends on your overall vibe.
The Plus-One Situation
This causes more drama than almost anything else. My rule: anyone married, engaged, or in a long-term relationship gets their partner invited by name. For everyone else, it’s your call based on budget and space. But be consistent—don’t give some single friends plus-ones and not others in the same friend group or people get weird about it.
If someone isn’t getting a plus-one, just address the invite to them only. Don’t write “and Guest” if you don’t mean it. People will still ask but at least the invitation was clear.
Dress Code Wording
Put this on your details card or invitation, bottom right corner usually:
- White Tie (good luck, this is basically royal wedding level)
- Black Tie
- Black Tie Optional
- Formal or Cocktail Attire
- Semi-Formal
- Dressy Casual
- Casual
If you don’t specify anything, people assume cocktail attire. Also if your wedding is on a beach or barn or somewhere where heels are gonna be a problem, mention that. “Garden party attire—lawn friendly shoes recommended” or whatever. Your guests will appreciate it.
Digital vs Printed
Look, I’m a stationery consultant so obviously I love printed invitations. But digital invites are totally fine for casual weddings, small weddings, or if budget is super tight. Just use a actual service like Paperless Post or Greenvelope, not like a Facebook event. That’s too casual even for casual weddings.
The one thing though—older relatives might not see digital invites or know how to RSVP online. So maybe print some for them or at least call to make sure they got it.
Proofread Everything Three Times
Seriously get multiple people to proofread. Check the date and day of the week match—I’ve seen invitations printed with “Saturday, June 14th” when June 14th was actually a Sunday that year. Check spelling of the venue name and address. Double-check everyone’s names including parents’ names. Once it’s printed you can’t fix it without spending all that money again.
Extra Stuff That’s Nice But Not Required
Belly bands, wax seals, ribbon—these all look gorgeous but they add cost and assembly time. If you’re DIYing your invitations, be realistic about whether you’re actually gonna sit there and tie 150 little ribbons. I’ve had brides cry at my office table while assembling invites at midnight because they underestimated how long the pretty details would take.
Envelope liners are one upgrade that’s usually worth it though. They’re those decorative paper inserts that go inside the envelope flap and they make even a simple invitation look more expensive. Plus they’re not that hard to install.
Oh and another thing—if you’re doing any kind of wax seal or raised embellishment, take one finished invite to the post office and have them weigh it and check if it’s too thick. Sometimes you need extra postage or hand-canceling so the envelopes don’t get destroyed in the sorting machines. Hand-canceling means they stamp it by hand instead of machine and you gotta specifically request it but it’s worth it for fancy invites.
Anyway that’s basically everything I tell clients in our first consultation. The main thing is just start early and don’t overcomplicate it. Your invitation should give people the info they need and get them excited about your wedding, that’s it. Everything else is just decoration.