Planning Guides, Style Guide
Homemade Wedding Cards: Design & Ordering Guide
Jun
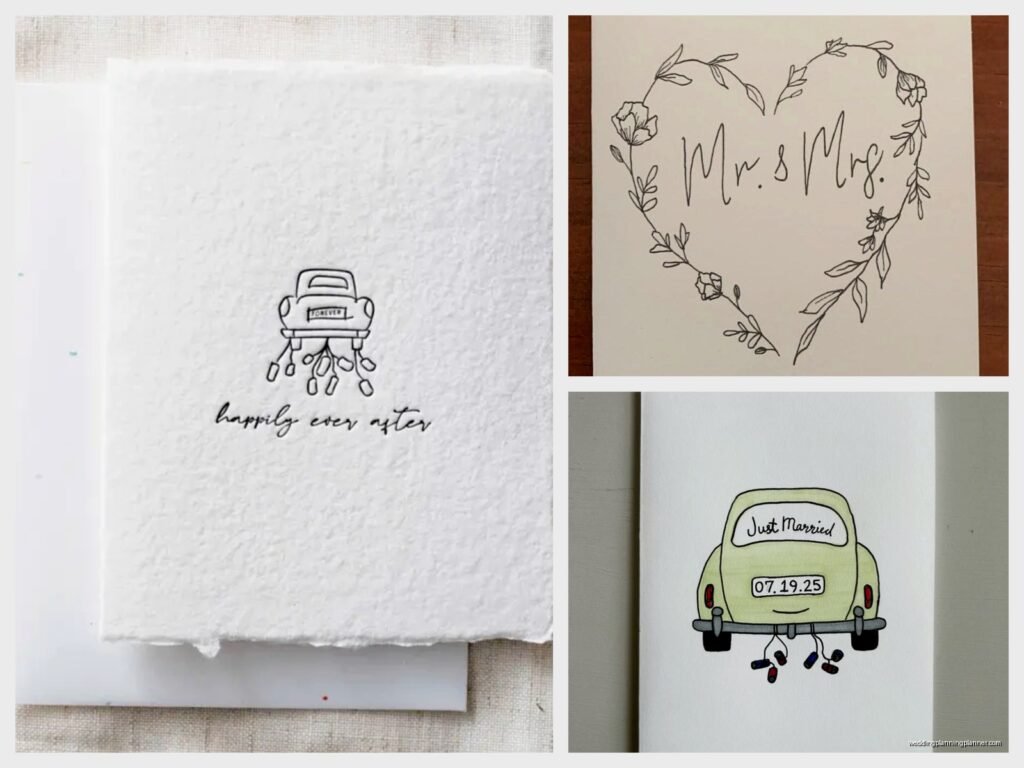
Okay so homemade wedding cards are having this massive moment right now
Like seriously every third couple I work with wants to DIY their invitations or at least some part of the stationery suite. Which is great! But also… there’s so much that can go wrong and I need you to know what you’re actually getting into before you buy 200 sheets of expensive cardstock.
First thing – and I learned this the hard way in summer 2021 with a bride who shall remain nameless – you need to decide if you’re doing ACTUALLY homemade (like cutting and assembling everything yourself) or if you’re doing that thing where you design it yourself and then order from a print shop. Because those are two completely different projects with completely different timelines and stress levels.
The Fully DIY Route
If you’re going full homemade, you’re gonna need supplies. And not just like “oh I’ll grab some paper at Target” supplies. You need:
- Cardstock in your chosen weight (I recommend 110lb cover stock minimum for the actual invite, 80lb is fine for inserts)
- A paper cutter that doesn’t suck – get the guillotine style with the arm, not those sliding blade ones
- Envelopes that actually FIT your cards (measure twice, I’m serious)
- Adhesive (runner tape is cleaner than liquid glue)
- A bone folder if you’re doing any folding
- Probably a corner rounder because sharp corners on invites look kinda cheap
The design part is where people get stuck. You can use Canva, which honestly has gotten so good for this stuff, or if you’re comfortable with it, Adobe Illustrator or InDesign. I used Canva for my own sister’s bridal shower invites last year and nobody could tell they weren’t professionally designed. But here’s what annoys me SO MUCH about DIY card designs – people forget about bleed and margins. Your printer cannot print to the edge of the paper. It just can’t. So if you design something with text that goes all the way to the edge, you’re gonna be trimming it off and it’ll look messy.
Leave at least a quarter inch margin on all sides. Half inch is better.
Design software options ranked by how much of a learning curve they have
Canva is obviously the easiest. They have wedding invitation templates you can customize and the interface is pretty intuitive. The free version is fine but the Pro version ($13/month) gives you access to way better fonts and graphics. You can design everything there – save it as PDF and either print at home or upload to a print shop.
Microsoft Word or Pages – nah, don’t do this unless you absolutely have to. The formatting gets weird when you try to print and you can’t do layers properly.
Adobe Illustrator – this is what I use for client work but it’s expensive and has a steep learning curve. If you already know it, great. If not, don’t learn it just for wedding invites.
Photoshop – actually decent for invitation design if you’re more familiar with it than Illustrator, just make sure you’re working at 300 DPI resolution.
The printing situation
Okay so you’ve designed your cards. Now what. You have options and they all have pros and cons that nobody tells you about upfront.
Printing at home: This works if you have a good printer and you’re doing like 30 invitations max. Maybe 50 if you hate yourself. I tried to print 80 invitations at home once and my printer literally started smoking. My cat freaked out and knocked over my coffee onto a stack of finished cards and… anyway. Get a printer that handles cardstock well – many don’t. The HP OfficeJet Pro series is decent. Epson EcoTank printers are good too. Test print on regular paper first, then do one cardstock test, THEN commit to printing everything.
Local print shops: Like FedEx Office or local printers. You can bring in your PDF and they’ll print on their professional equipment. Cost is usually around $1-3 per invitation depending on paper quality and color vs black and white. The quality is way better than home printing. Turnaround is usually 2-5 days.
Online print services: This is honestly the sweet spot for most people doing “homemade” invites. You design it yourself so it feels personal and DIY, but the actual printing is professional quality.
Online printing services I actually recommend
Catprint.com – they’re cheap and quality is solid. Great for invitations, programs, menus. Turnaround is about a week. Their cardstock options are good and they do custom sizes without upcharges which is kinda rare.
Minted – okay yes they have their own designs but you can also upload your own design and use their printing services. It’s pricier but the paper quality is chef’s kiss. They also do all the envelope addressing for you if you want.
Vistaprint – everyone dogs on Vistaprint but honestly for DIY brides on a budget it’s fine? The quality isn’t incredible but it’s not bad. Just avoid their super cheap options – go for the premium cardstock.
Zazzle – good middle ground. Tons of customization. You can design from scratch or modify templates. Shipping can be slow though.
Printique (used to be Adoramapix) – really good quality, fast shipping, and their customer service actually helps if something goes wrong.
Here’s the thing about ordering from print services that I wish someone had told me – order samples first. Like yes it costs extra money and yes it feels like a waste but trust me. The color on your screen is NOT the color that prints. In spring 2023 I had a bride who designed these gorgeous invitations with what looked like a soft blush pink on her monitor… printed out as straight up salmon. She had to reorder everything. 150 invitations. Do the sample.
Assembly is where the time actually goes
Nobody thinks about assembly time. You’re not just printing cards and mailing them. Most wedding invitations have multiple pieces – the actual invitation, RSVP card, RSVP envelope, details card, maybe a map or accommodations card, belly band or ribbon…

Each invitation suite might take 5-10 minutes to assemble if you’re doing anything beyond just a single card. Multiply that by your guest count. For 100 invitations with multiple inserts, you’re looking at 8-15 hours of assembly time. I usually tell couples to do it over several evenings with wine and a good TV show. We’re rewatching The Bear right now and it’s… actually maybe too stressful for wedding invitation assembly.
Assembly supplies you’ll actually need
- Clear workspace (like a full dining table)
- Assembly line system – lay out all pieces and move down the line
- Envelope moistener – do NOT lick 100+ envelopes, your tongue will hate you
- Postage stamps (and yes you need to actually take a fully assembled invite to the post office to weigh it)
- Return address stamps or labels for the back flap
- Wax seals if you’re going that route (cute but adds time and cost)
Oh and speaking of postage – this is something that trips people up constantly. Wedding invitations are usually heavier than regular mail because of the cardstock and multiple pieces. You probably need extra postage. A standard USPS Forever stamp covers 1 oz. Most wedding invitation suites are 2-3 oz which means you need two stamps or you need to buy the correct postage amount. Otherwise they get returned to you or worse, delivered with postage due to your guests which is embarrassing.
Also if your invitations are square or oversized, there’s an additional non-machinable surcharge. Standard invitation size is 5×7 which is fine, but if you’re doing 6×6 square invites, each one costs extra to mail.
Timeline for DIY wedding cards
This is where people really mess up. They think “oh I’m doing it myself so I can wait until the last minute” but actually you need MORE time, not less.
Here’s a realistic timeline:
4 months before wedding: Finalize your design. Order samples from print companies. Test assembly with sample pieces. This is also when you should finalize your guest list because you need to know quantities.
3 months before: Place your printing order. Most online services need 1-2 weeks but give yourself buffer time. Order all your assembly supplies and extra materials (always order 10-15% extra to account for mistakes).
2.5 months before: Invitations should arrive. Start assembly process. Don’t try to do it all in one day because you’ll burn out and make mistakes.
2 months before: Mail invitations. This gives guests 8 weeks to RSVP which is standard.
If you’re doing save the dates too (and you probably should if you’re having a destination wedding or holiday weekend wedding), those go out 6-8 months before the wedding. Same process but usually simpler – just a postcard or single card, no assembly required.
Common mistakes I see all the time
Not proofreading enough. Get at least three people to read your invitation before you print 200 of them. I once saw invitations that said “Black Tie Option” instead of “Black Tie Optional” and another that had the wrong year… the couple didn’t notice until they were addressing envelopes.
Choosing fonts that are too small or too decorative. Your grandma needs to be able to read this. Minimum 10pt font for body text, 12pt is better. And that gorgeous calligraphy script font? Use it for names or headers only, not for addresses or important details.
Not testing the printer settings. Print one, check it, adjust if needed, print another test. Don’t just hit print x200 and walk away.
Forgetting about RSVP card postage. You need to put stamps on the RSVP envelopes too unless you want to make your guests pay to respond to your wedding, which is… a choice.
Ordering exact quantities. Paper gets jammed, you mess up cuts, you spill coffee (hi, me), your dog eats one (also me, different wedding). Order extras.
Cost breakdown because everyone wants to know
For 100 invitation suites (invitation, RSVP card, RSVP envelope, details card), here’s roughly what you’re looking at:
Printing from online service: $150-400 depending on paper quality and whether you do flat or folded cards
Envelopes: $20-60 for outer envelopes (the RSVP envelopes usually come with the printing order)
Postage: roughly $150 for invitation postage plus $70 for RSVP postage
Assembly supplies (adhesive, corner rounder, envelope moistener): $30-50
Total: $420-730 for 100 invitations
Compare that to ordering fully custom invitations from a stationer which typically runs $800-1500 for the same quantity, or using a template service like Minted or Paperless Post which runs $300-600. So yes DIY saves money but not as much as people think when you factor in your time.
Is it actually worth doing yourself
Honestly? Depends on what you value. If you genuinely enjoy crafty projects and you have the time, yes absolutely. There’s something kinda special about making your own invitations. If you’re doing it ONLY to save money and you hate crafts… maybe just use a template service or order semi-custom from an online retailer. Your time and stress levels are worth something.
I did fully DIY invitations for exactly one wedding (my best friend’s, 2019) and swore I’d never do it again. Not because it was hard but because there are just so many other wedding things to do and spending 20 hours on invitations meant not spending that time on other stuff. But my friend loved the personal touch and still has one framed in her house so like, it meant something to her.
The middle route – designing yourself and ordering from a print service – is what I recommend to most couples. You get the personal design, the ability to customize everything exactly how you want, but without the physical labor of printing and cutting everything yourself. Plus the quality is genuinely better than home printing unless you have a really high end printer.
Digital invitation options because we should probably talk about those
Okay so some couples are skipping physical invitations entirely and doing digital. Paperless Post is the big name here. Greenvelope is another option. You design (or customize a template), send via email, guests RSVP online. It’s obviously way cheaper – like $50-100 for unlimited guests – and faster and better for the environment.
But here’s the reality – older guests often don’t love digital invitations and some people still think they’re too casual for a wedding. Really depends on your crowd and your wedding vibe. A casual backyard wedding? Digital is totally fine. Formal church wedding? Probably want physical invitations.
You can also do a hybrid – send digital to your younger guests and physical to older relatives. Just make sure your RSVP system works for both.
The other thing with digital is you lose that tangible keepsake aspect. Nobody’s keeping your Paperless Post invitation in a scrapbook. Some couples do digital save the dates and physical invitations which honestly is a good compromise.
Actual practical tips from someone who’s seen it all
Set up an assembly station and leave it set up. Don’t try to clear the dining table every night. Just claim that space for 2-3 weeks.
Get friends to help but only friends who are actually detail oriented. That friend who’s fun at parties but scattered? Not your invitation assembly buddy.
Put on a podcast or music, not a show you actually want to watch. Assembly is mindless and if you’re trying to follow a plot you’ll mess up.
Keep a master spreadsheet of your guest list with addresses, what you sent them, when, and RSVP status. You’ll need this.
Hand cancel your invitations at the post office if they’re thick or have embellishments. This means the postal worker manually stamps them instead of running them through the machine. Costs a bit extra but prevents damage.
Don’t use white ink on dark cardstock unless you’re prepared for it to look streaky. Digital printing doesn’t do white ink well. If you want white on dark, you need to order from a specialty printer or do foil instead.
Test your envelope sizes before you order 200 envelopes. Cut a piece of paper to your card size, fold it or stack the pieces how they’ll actually be, and make sure it fits in the envelope comfortably. Nothing worse than invitations that don’t actually fit in the envelopes you bought.
Save your design file in multiple places. Cloud, external hard drive, email it to yourself. I’ve seen people lose weeks of design work because their laptop crashed.
If you’re doing belly bands or ribbon, practice the tying technique on a few samples first. There’s definitely a learning curve to getting them to look neat and consistent.