
Planning Guides, Style Guide
Wedding Planning Spreadsheet: Complete Excel Organizer
Jun
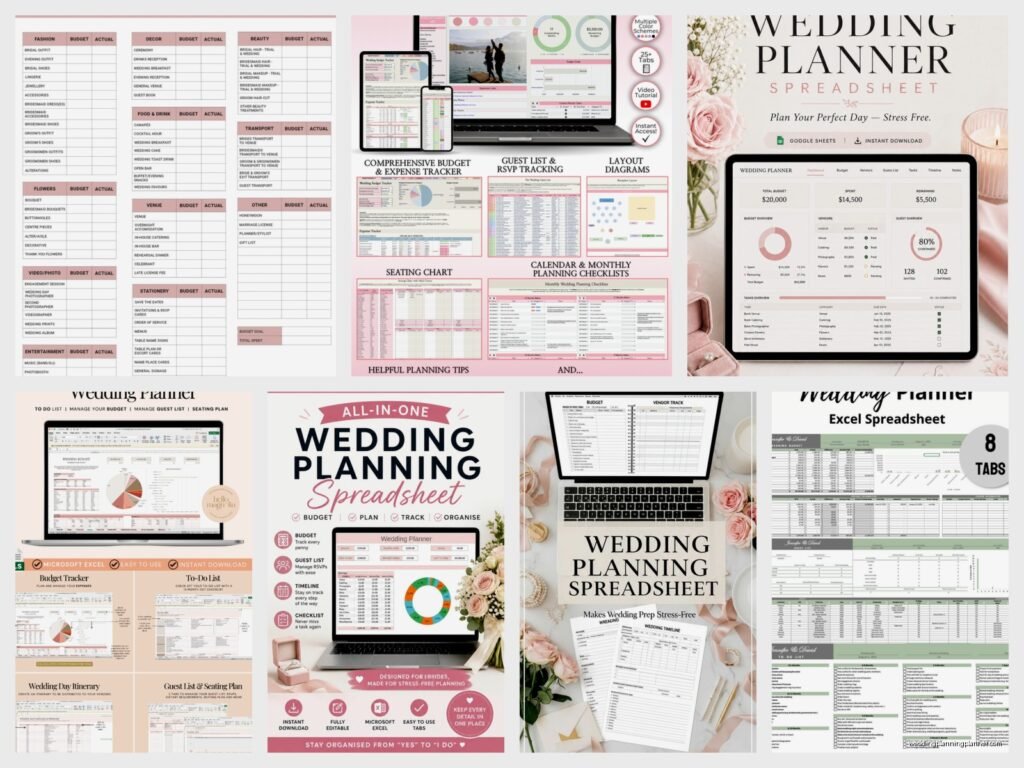
Setting Up Your Wedding Planning Spreadsheet Structure
Okay so the first thing you gotta do is stop overthinking the tabs situation because I see this ALL the time with couples. They download some template with like 47 tabs and get overwhelmed before they even start. I learned this the hard way back in spring 2023 when a bride sent me her “system” and it was literally 23 tabs deep with color coding that made my eyes hurt.
Start with these core tabs and you can add more later if you actually need them:
- Master Budget
- Guest List
- Vendor Contacts
- Timeline & Checklist
- Seating Chart
- Payment Tracker
That’s it. Six tabs. You can always add a gift tracker or honeymoon planning tab later but honestly most couples never even look at those fancy extras.
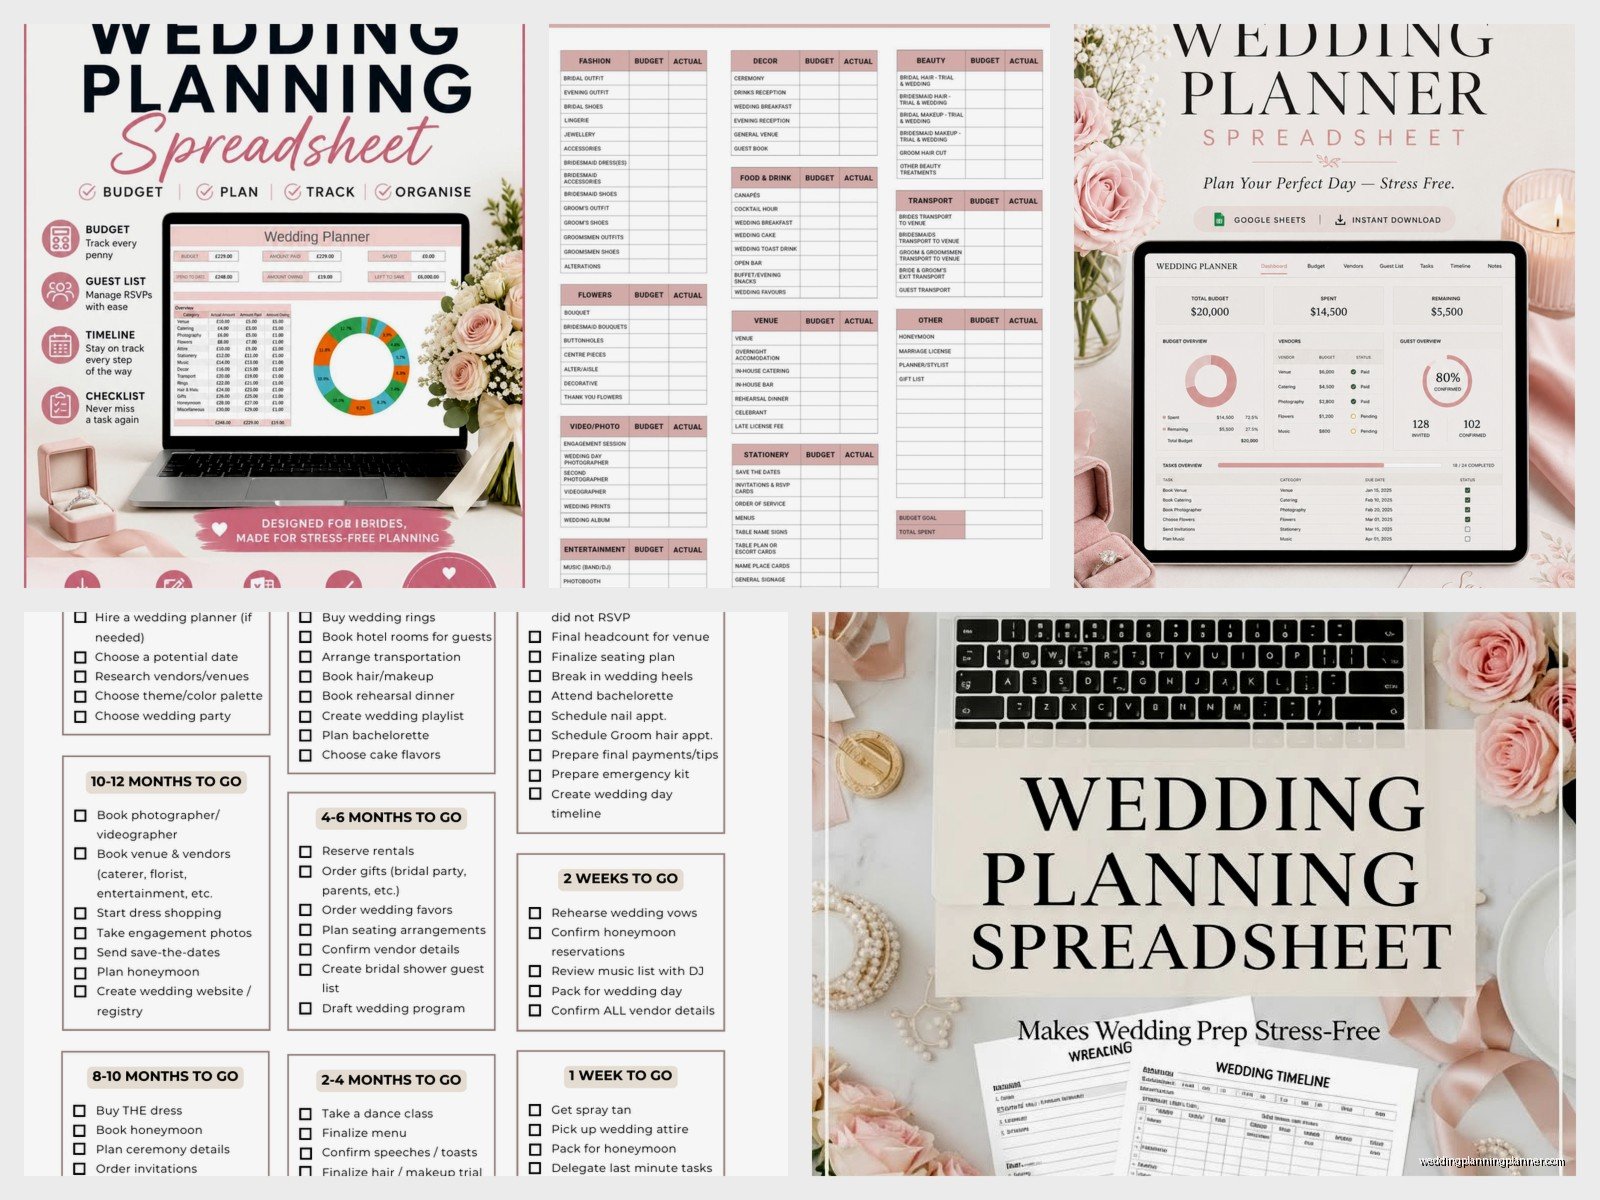
For your Master Budget tab, set up columns for: Category, Estimated Cost, Actual Cost, Deposit Paid, Balance Due, Payment Due Date, and Notes. The Notes column is where you’ll thank yourself later because that’s where you write stuff like “includes setup fee” or “tip not included” that you’ll 100% forget otherwise.
The Guest List Tab That Won’t Make You Cry
This is where things get messy and I’m not gonna sugarcoat it. Your guest list spreadsheet needs way more info than you think. Here’s what columns you actually need:
- Guest Name (full legal name for invitations)
- Relationship (whose side they’re on)
- Address
- Phone
- Invitation Sent (date)
- RSVP Status
- Number Attending
- Meal Choice
- Dietary Restrictions
- Plus One Allowed (yes/no)
- Plus One Name
- Gift Received
- Thank You Sent
And here’s the thing that annoyed me for YEARS until I figured it out – you need a separate column for “household” or “invitation group” because the Johnsons might be one invitation but three people, and if you don’t track that separately your count gets weird when you’re trying to figure out how many actual invitations to order versus how many humans are coming.
Use data validation for the RSVP Status column so you have a dropdown with options like: Not Sent, Awaiting Response, Attending, Declined, Maybe. This keeps everything consistent instead of having some marked as “yes” and others as “coming” and others as “will be there” which makes filtering impossible.
The Formula That Saves Your Sanity
At the top of your guest list tab, create summary boxes using COUNTIF formulas. Something like =COUNTIF(G:G,”Attending”) to count how many people marked attending. Do this for each status and you’ll always know exactly where you stand without manually counting. My cat literally walked across my keyboard while I was setting this up for a client once and somehow made the formula better, so… sometimes chaos works?
Vendor Contact Management
Your Vendor Contacts tab needs to be detailed enough that if you lost your phone tomorrow, you could still contact everyone. I had a groom’s phone die completely two weeks before his wedding and he nearly had a breakdown until I reminded him everything was in the spreadsheet.
Columns you need here:
- Vendor Category (venue, catering, photography, etc.)
- Company Name
- Contact Person
- Phone
- Website
- Contract Signed (yes/no/pending)
- Total Cost
- Deposit Amount
- Deposit Paid Date
- Final Payment Due
- Notes
In the Notes section, write down stuff like what you discussed in meetings, any special requests, or if they were recommended by someone specific. Trust me, six months from now you won’t remember that your florist said she could do that thing with the eucalyptus unless you write it down.
Use conditional formatting to highlight vendors where the contract isn’t signed yet – make those rows turn yellow or something so they visually jump out at you when you open the sheet.
Timeline and Checklist Tab
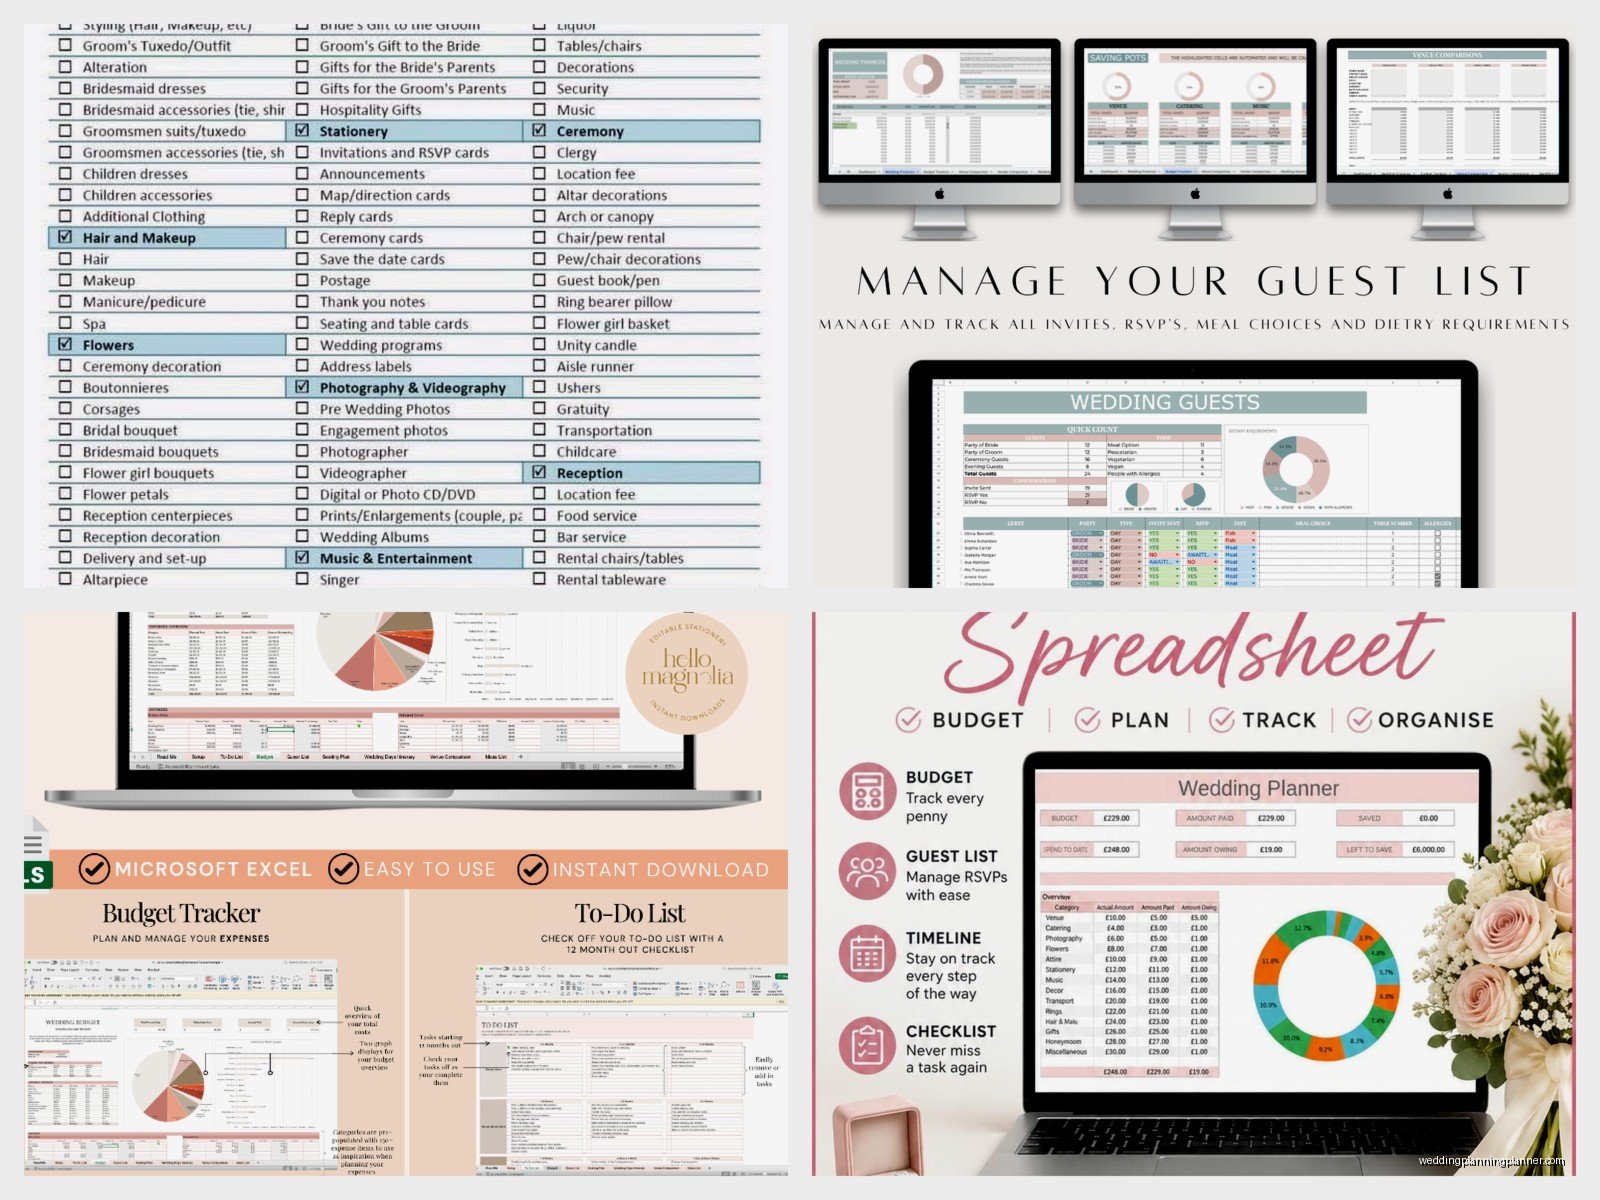
So this is where you track all the tasks but not in some overwhelming way. Break it down by timeframe:
- 12+ months before
- 9-11 months
- 6-8 months
- 4-5 months
- 2-3 months
- 1 month
- 2 weeks
- 1 week
- Day before
- Wedding day
For each task, have columns for: Task Description, Who’s Responsible, Deadline, Status (not started/in progress/complete), and Notes. The “Who’s Responsible” column is kinda crucial because otherwise you and your partner will both assume the other person is handling something and then nobody does it.
I like adding a Priority column too with High/Medium/Low options because not everything is equally important and when you’re stressed it helps to see what actually matters versus what’s just nice to have.
The Seating Chart Nightmare
Okay so the Seating Chart tab is… it’s a lot. You need columns for Guest Name, Table Number, Seat Number (if you’re doing assigned seats which nah, I don’t usually recommend), Meal Choice, and Special Notes like “needs to be near bathroom” or “keep away from Uncle Jerry.”
What I do is color-code the cells by family/friend group so you can visually see if you’re accidentally putting all the groom’s college friends at one table and leaving his family scattered. It just makes the whole thing easier to visualize at a glance.
Create a separate little section that shows your table capacity – like if you have 15 tables that seat 10 people each, that’s 150 capacity, and you can check that against your attending guest count. I’ve seen couples order tables for their estimated count and then get way more yes RSVPs than expected, which is… stressful to fix last minute.
Payment Tracker Details
Your Payment Tracker tab should pull data from your Vendor Contacts tab if you wanna get fancy with it, but honestly it can also just be its own thing. List every payment you need to make with these columns:
- Vendor/Expense
- Total Amount Due
- Deposit Amount
- Deposit Due Date
- Deposit Paid (yes/no)
- Second Payment Amount
- Second Payment Due Date
- Second Payment Paid (yes/no)
- Final Payment Amount
- Final Payment Due Date
- Final Payment Paid (yes/no)
- Payment Method
- Confirmation Number
Some vendors want payments in like three installments and some want everything upfront and some want it all the week of the wedding, so having this mapped out means you won’t get surprised by a huge bill you forgot about.
Use conditional formatting to make cells turn red when a due date is within two weeks. That way when you open your spreadsheet you immediately see what’s urgent.
Formulas That Actually Help
So I’m not gonna pretend everyone loves Excel formulas but there are a few that make wedding planning way easier. In your budget tab, use =SUM() to total up each category and then a grand total. Sounds basic but you’d be surprised how many people just… don’t do this and then wonder why they’re over budget.
For tracking how much you’re over or under budget, use =Actual Cost – Estimated Cost in a variance column. Positive numbers mean you spent more, negative means you’re under. Then you can see at a glance which categories are eating up your budget.
In the guest list, use =COUNTA() to count how many addresses you have versus how many guests, which helps you figure out if you’re missing contact info. There’s nothing worse than being ready to send invitations and realizing you don’t have addresses for like 30 people.
For your RSVP tracking, create a formula that calculates your response rate: =(number of responses/number of invitations sent)*100. This helps you know if you need to start chasing people down or if you’re on track.
Data Validation Dropdowns
Okay this is gonna sound technical but it’s not I promise. Data validation lets you create dropdown menus in cells so you’re not typing the same things over and over. Use it for:
- RSVP Status options
- Meal choices
- Payment status (paid/pending/overdue)
- Task status (not started/in progress/complete)
- Priority levels
To set it up, go to Data > Data Validation > List and then type your options separated by commas. Now you have a dropdown and everything stays consistent which makes filtering and sorting actually work properly.
Conditional Formatting for Visual Sanity
I’m obsessed with conditional formatting because it makes your spreadsheet actually usable instead of just being a wall of data. Here’s what I set up:
In the budget tab, make cells turn red when you’re more than 10% over budget for that category. Yellow if you’re within 10%. Green if you’re under budget. You can do this by selecting the variance column, going to Conditional Formatting > Color Scales or setting up custom rules.
For due dates, make them turn orange when they’re within 30 days and red when they’re within 7 days. This way you can’t miss important deadlines even if you’re not checking the sheet every single day.
In your checklist, make completed tasks turn gray or get a strikethrough automatically when you mark them complete. It feels good to see progress and it helps you focus on what’s left.
Sharing and Collaboration Settings
If you’re using Google Sheets instead of Excel (which honestly I recommend because then you can both access it from anywhere), you need to set up sharing properly. Give your partner edit access obviously, and maybe view-only access to your parents or wedding planner if they’re helping.
But here’s what I learned – don’t give everyone edit access because someone will accidentally delete a formula or mess up your formatting and then you’re trying to figure out what happened. View-only for anyone who just needs to see info, edit for people who actually need to update things.
You can also set up notifications in Google Sheets so you get an email when someone makes changes, which is helpful if you’re both updating the guest list and you wanna know when your partner adds people.
Protecting Important Formulas
Once you get your formulas set up, protect those cells so you don’t accidentally delete them. In Excel or Google Sheets, you can lock specific cells while leaving others editable. I always lock the cells with formulas and the header rows because I’ve seen too many couples accidentally sort just one column instead of the whole dataset and then everything gets mismatched and it’s a mess to fix.
Budget Breakdown Categories
Your budget categories should be specific enough to be useful but not so detailed that you’re tracking every single napkin. Here’s what I use:
- Venue (ceremony and reception separate if different locations)
- Catering (food and beverage)
- Bar/Alcohol
- Photography
- Videography
- Music/Entertainment
- Flowers/Decor
- Wedding Attire (dress, suit, accessories)
- Hair and Makeup
- Invitations/Stationery
- Wedding Cake
- Transportation
- Accommodations
- Favors and Gifts
- Officiant
- Wedding Planner/Coordinator
- Rings
- Miscellaneous (always include this because random stuff comes up)
For each category, I add a column for “percentage of total budget” which auto-calculates. This is eye-opening because you might think you’re spending a normal amount on flowers until you see it’s 15% of your entire budget and then you’re like… maybe we don’t need flowers on every surface.
Templates vs Building Your Own
So there are approximately eight million wedding spreadsheet templates out there and some are great and some are weirdly complicated. I’ve tried probably 50+ different ones over the years and honestly? The best spreadsheet is one you’ll actually use.
If you download a template with 30 tabs and get overwhelmed, you won’t use it. If you build your own with just the basics, you probably will. That said, templates can give you ideas for what to track that you might not have thought of.
What I usually tell couples is download a template, look at what’s there, then delete everything that doesn’t apply to your wedding and add anything that’s missing. Don’t feel like you have to use every feature just because someone included it.
The template I used for a destination wedding in summer 2021 had this whole elaborate travel coordination tab that ended up being super helpful, but for local weddings I just delete that entirely. Customize it to your actual needs, not some theoretical perfect wedding that exists in template-land.
Mobile Access and Backup
Make sure you can access your spreadsheet from your phone because you will need to check something while you’re out meeting with vendors or at a tasting or whatever. Google Sheets app works pretty well for this. Excel mobile app is… fine but not as smooth in my experience.
And please, PLEASE back up your spreadsheet regularly. Either use cloud storage (Google Sheets does this automatically) or make copies weekly if you’re using Excel. I had a couple lose their entire spreadsheet three months before their wedding because their laptop died and they hadn’t backed anything up and it was just… I mean we rebuilt it but it took hours and they were missing some information permanently.
Set a reminder to download a backup copy once a month if you’re using Excel. Just save it with the date in the filename like “Wedding_Planning_Nov2024.xlsx” so you have versions you can go back to if something gets messed up.
Also consider printing out key pages like your vendor contact list and day-of timeline because if technology fails on your wedding day, you still need that information. I keep a printed binder as backup for all my weddings and it’s saved me more than once when someone’s phone died or whatever.
