
Planning Guides, Style Guide
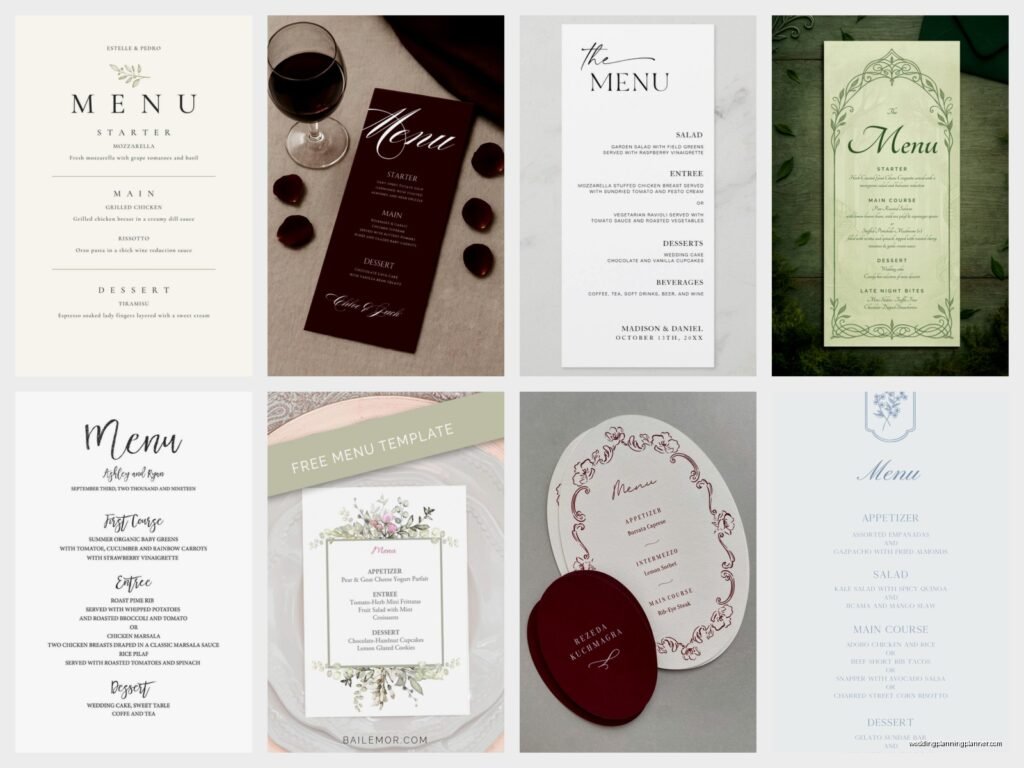
Wedding Menu Template: Reception Dinner Card Downloads
Jun
Why Reception Dinner Cards Are Actually Really Important
So you’re probably thinking dinner menu cards are just decorative right? Like another thing to spend money on when you’ve already blown your budget on flowers and that ridiculous cake that costs more than your first car. But honestly they serve a real purpose and I learned this the hard way in spring 2023 when a bride called me literally crying because half her guests didn’t know the dinner was plated service and they were wandering around looking for a buffet line that didn’t exist.
Menu cards tell your guests what’s coming, they help with dietary restrictions if you note them properly, and they give servers a heads up about who ordered what if you’re doing a choice meal. Plus they look nice on the table, I’ll give you that.
Types of Menu Card Templates You’ll Actually Use
There’s basically a few formats that work for real weddings, not just the Pinterest fantasy ones:
Individual Place Setting Cards
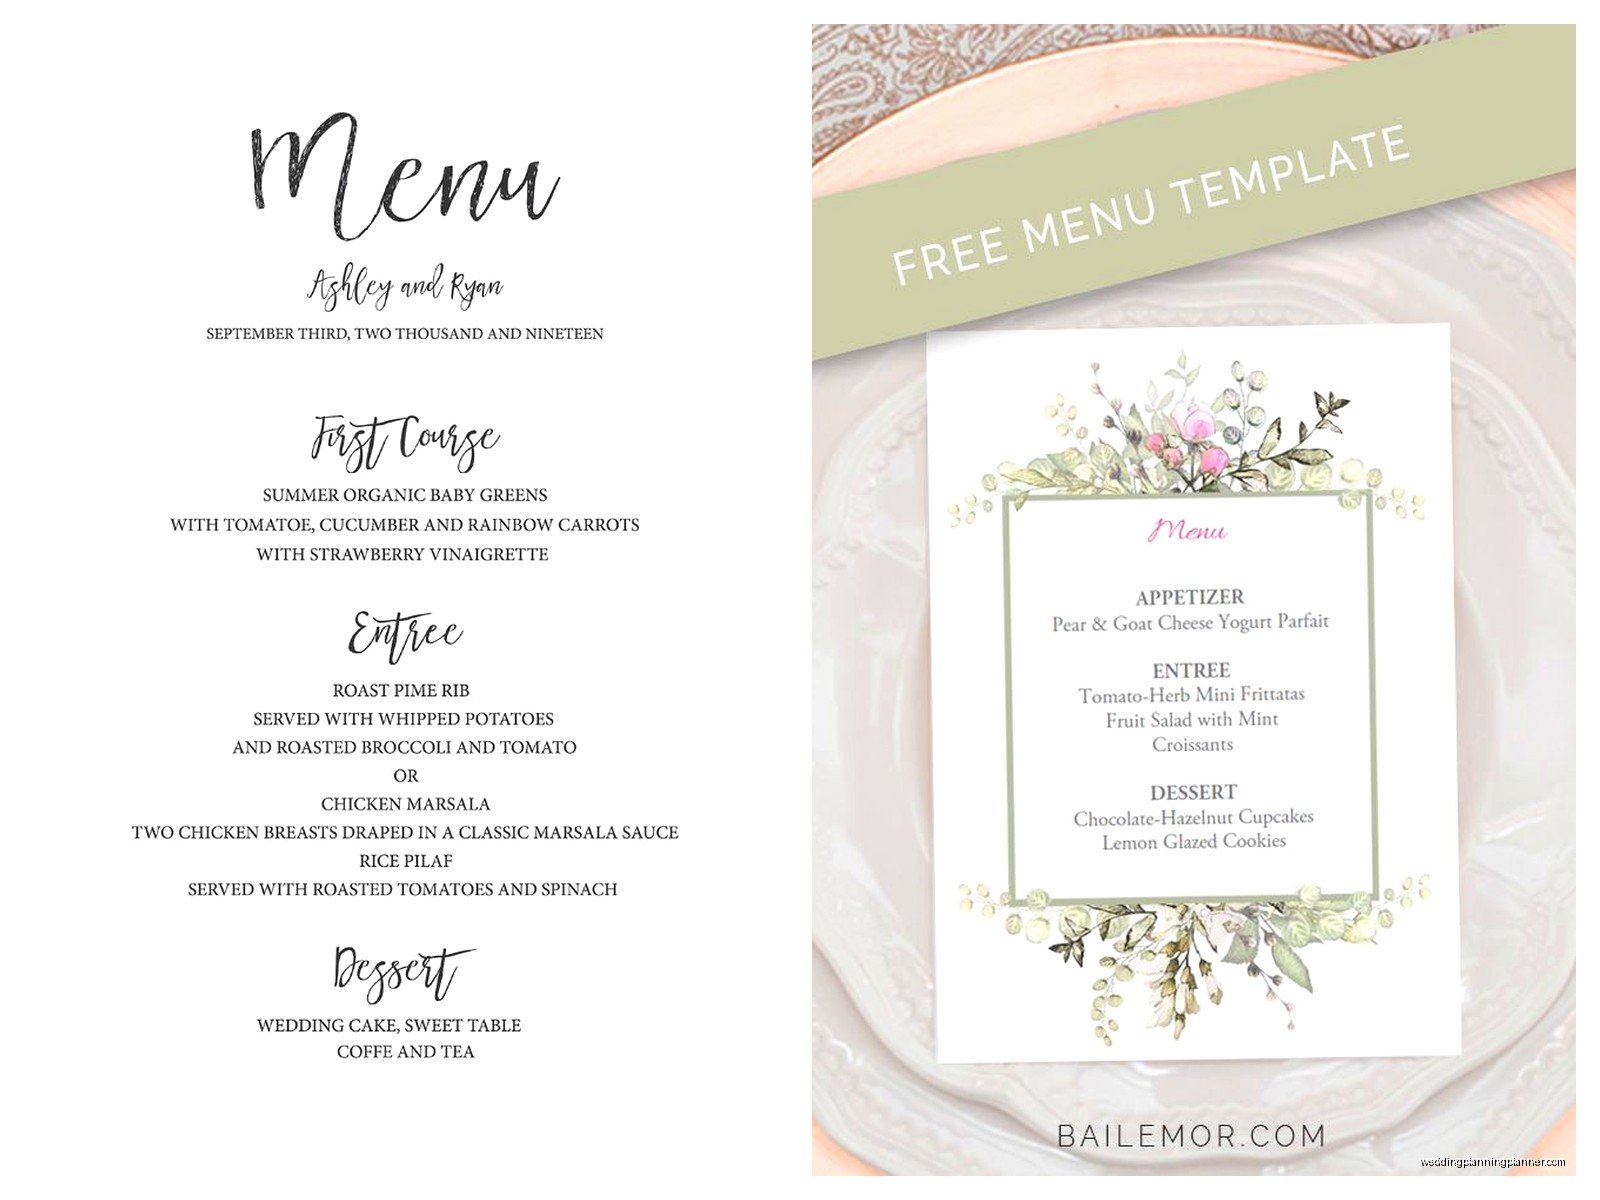
These are the small cards that go at each place setting, usually like 4×6 or 5×7 inches. They’re my favorite because guests can take them home as a little keepsake if they want, though honestly most people leave them on the table. You can find templates for these everywhere – Etsy, Canva, even Microsoft Word has some decent ones now which kinda surprised me.
The thing with individual cards is you gotta print a lot of them. If you have 150 guests that’s 150 cards to print and cut and possibly assemble if you’re doing something fancy with ribbon or whatever. Budget your time accordingly because this takes longer than you think.
Table Menu Cards
One larger card per table, usually 5×7 or even 8×10. These go in the center of the table or next to the centerpiece. Way less printing, which is nice for your sanity and your printer. I use these for bigger weddings where we need to save on costs or when the couple just doesn’t want to deal with 200 individual cards.
The downside is guests have to kinda lean in to read them sometimes, especially if your centerpiece is doing the most. I had this one wedding where the florist went rogue and created these massive arrangements that completely blocked the menu cards and I was SO annoyed because we’d specifically discussed sight lines.
Framed Display Menus
These are bigger, like 11×14 or larger, and you put them on an easel at the entrance to the reception or near the bar. They’re good for cocktail hour menus or when you want to display what’s being served but don’t need a card at every seat. Templates for these are usually designed more like posters.
Where to Download Templates That Don’t Suck
Alright so here’s where you actually find these things:
Canva is gonna be your best friend here. They have hundreds of free templates and the paid ones are usually only like $1-3. You can customize everything – fonts, colors, layout. Even if you’re not particularly design-savvy you can make something that looks professional. I use Canva probably 60% of the time now because it’s just so easy to send a link to a bride and let her edit it herself.
Etsy has tons of downloadable templates from actual designers. You pay anywhere from $5-25 usually and you get a template you can edit in Word, Canva, or sometimes Photoshop or Illustrator if you’re fancy. The quality varies wildly though so read the reviews. Some sellers are amazing and will help you customize, others just take your money and disappear.
Creative Market is where I go when I need something more unique or upscale. Templates run $10-40 generally but they’re really well-designed. You’ll need some basic software knowledge though because many require Adobe programs.
Microsoft Word and Google Docs both have template libraries. They’re free and honestly pretty decent for simple, classic designs. Not gonna win any design awards but they work perfectly fine for traditional weddings.
Template.net and similar sites have both free and paid options. The free ones usually have some limitations or watermarks until you pay, but it’s worth browsing.
What Information Actually Goes on These Things
This is where people get confused or overthink it. Here’s what you need:
The obvious stuff: Your names (or just “Menu” or “Dinner” as a header), the date if you want it, and then the actual menu items listed in order of service. First course, second course or salad, main course, dessert. Simple.
Dietary indicators: If you’re marking which entrée is vegetarian, vegan, gluten-free, whatever. Use little symbols or just write it out. This is actually really helpful for servers and for guests who might be wondering if they can swap their chicken for the vegetarian option.
Choice indicators: Some couples do a little system where guests circle their choice on the menu card or there’s a little symbol on their place card that corresponds to their meal. This is more common with plated dinners where guests pre-selected their entrée.
What you DON’T need: A novel. I’ve seen menu cards with paragraph descriptions of each dish including where the heirloom tomatoes were grown and the chef’s inspiration and… just no. “Grilled Salmon with Lemon Butter” is plenty. “Grilled Salmon with Lemon Butter Sauce, Seasonal Vegetables, and Roasted Fingerling Potatoes” if you wanna be specific. But “Grilled Salmon caught fresh from the coastal waters of Maine, prepared with a delicate lemon butter reduction crafted from organic lemons and grass-fed butter…” is too much. Nobody’s reading all that.
Actually Editing and Customizing Templates
So you downloaded a template, now what? Most templates are gonna be editable in whatever program they specify. Here’s the thing though – read the instructions that come with it. I know, revolutionary advice, but you’d be surprised how many people skip this and then email me asking why the fonts look weird.
Fonts: If the template uses a specific font you don’t have installed, you’ll need to download it. Most template sellers include font links or the fonts themselves. Google Fonts is free and has tons of options if you need to substitute something.
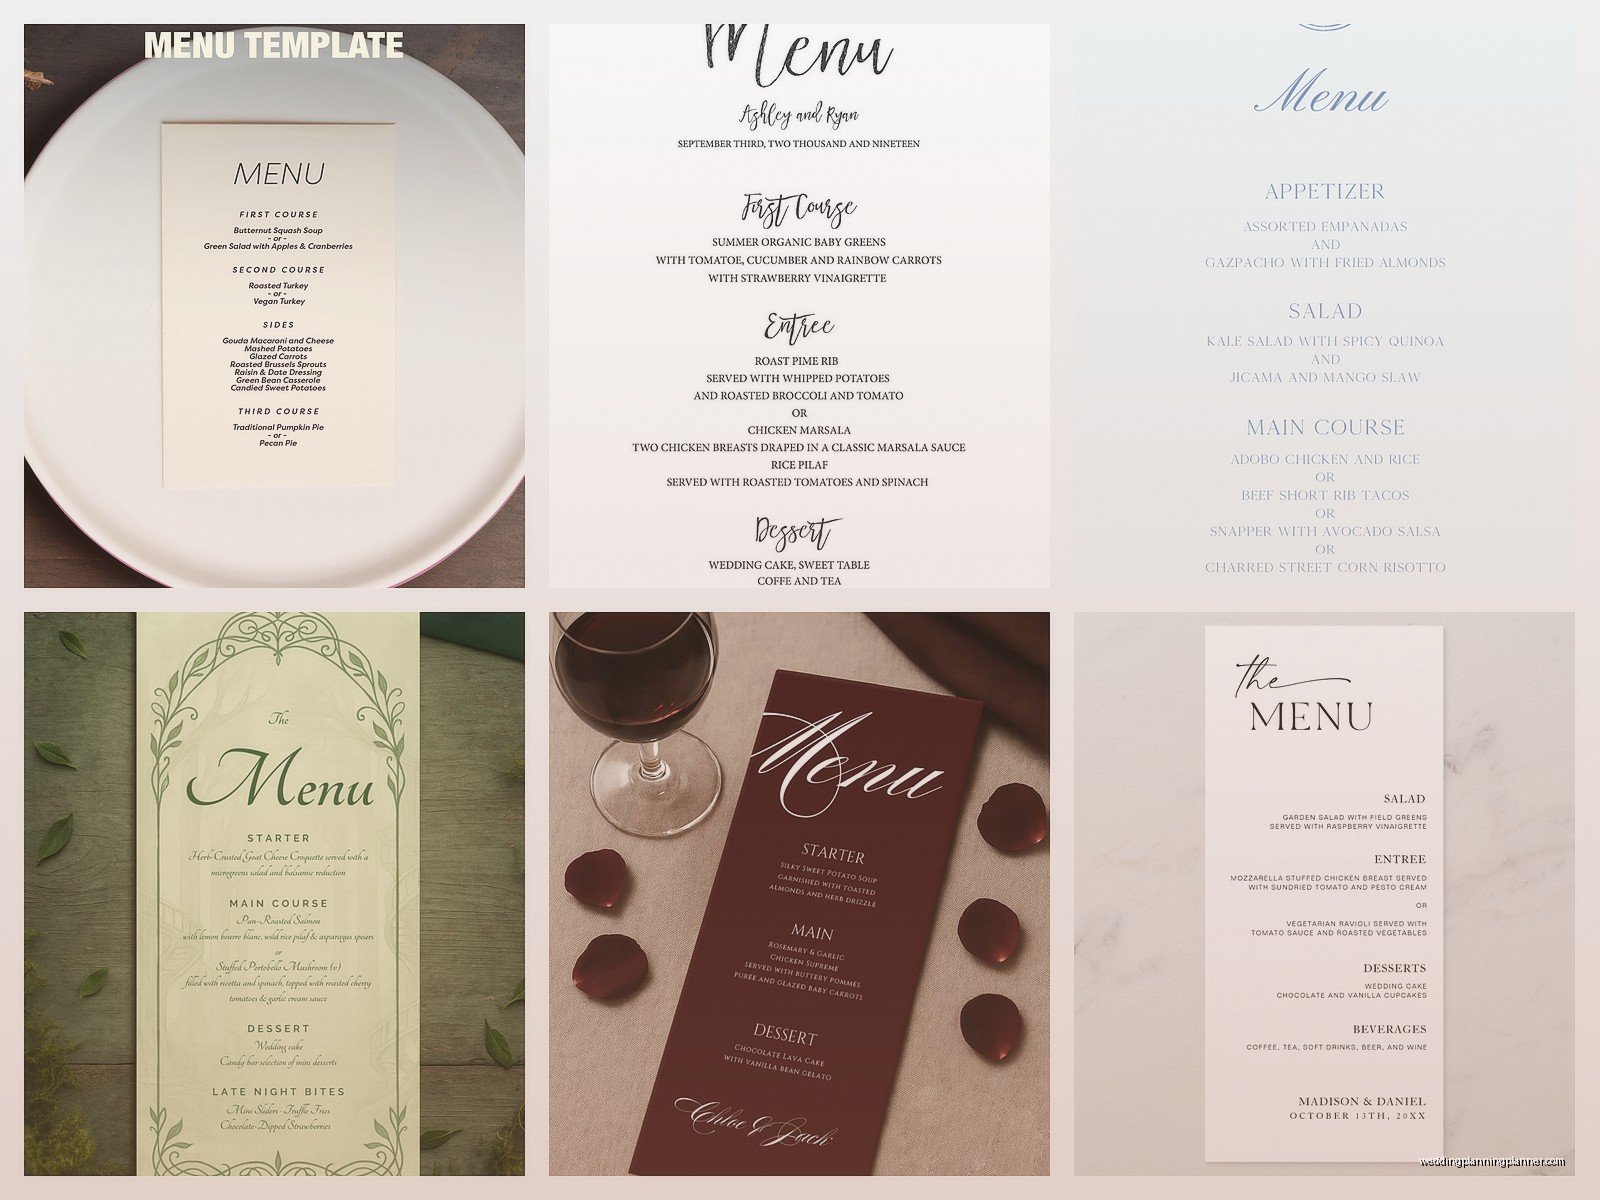
Colors: Match your wedding colors obviously, but make sure there’s enough contrast that people can actually read the text. Light pink text on white cardstock might look pretty in theory but your 85-year-old grandmother isn’t gonna be able to read it in dim reception lighting.
Sizing: This is where people mess up constantly. Check what size the template is designed for BEFORE you print. If it’s designed for 5×7 and you try to print it on 8.5×11 paper and then cut it down, the proportions will be off and it’ll look weird. Also make sure your actual menu text fits in the space allocated. If you have five courses you might need a bigger template than someone serving three.
My cat just knocked over my coffee while I’m writing this and I’m choosing to believe she’s not trying to sabotage this entire blog post but anyway…
Printing These Things Without Losing Your Mind
You’ve got options here and they all have pros and cons:
Print at home: Cheapest option if you already have a decent printer. Get good quality cardstock – 80lb or higher – and make sure your printer can handle it. Do test prints first because colors look different on screen than printed and you don’t wanna waste 150 sheets of expensive paper because the purple came out looking like muddy brown.
Home printing is fine for like 50 cards or less. More than that and you’re gonna hate your life and your printer will probably jam seventeen times. Ask me how I know.
Local print shop: Places like FedEx Office, Staples, local printers. Usually pretty affordable and they can handle the cardstock and cutting for you. You just bring them your file (save it as a PDF for best results) and tell them what you want. Turnaround is usually a few days.
Online printing services: Vistaprint, Minted, Zazzle, Printique, CatPrint. You upload your design and they print and ship to you. Quality is generally excellent and it’s often cheaper than local printing for larger quantities. The downside is shipping time, so order early. Like at least 3-4 weeks before your wedding early.
Professional wedding stationer: This is the most expensive option but you get what you pay for. They’ll help with design, printing, assembly, everything. Worth it if you’ve got the budget and want something really special or if you’re doing letterpress or foil stamping or other fancy techniques.
Common Template Mistakes I See All The Time
These drive me absolutely crazy:
People use super scripty fonts that are impossible to read. Yes, that calligraphy font is gorgeous as a header but please use something legible for the actual menu items. Your guests shouldn’t need a decoder ring to figure out what they’re eating.
Not proofreading. I cannot tell you how many times I’ve seen menu cards with typos. “Chicken Brest” instead of “Chicken Breast.” “Ceaser Salad” instead of “Caesar Salad.” Get someone else to proofread because you’ll miss your own mistakes after staring at it for hours.
Forgetting to account for the actual meal being served. Sounds obvious but I’ve had couples use a template that lists four courses when they’re only serving two, or vice versa, and then they’re trying to make it work and it just looks awkward.
Not considering the table setup. If you’re using tall centerpieces, a small menu card might get lost. If you’re using charger plates and multiple dishes at each place setting, there might not be room for a menu card. Think about the physical space.
The Paper and Cardstock Situation
If you’re printing yourself or ordering from somewhere that lets you choose paper weight, here’s what you need to know. Regular printer paper (20-24lb) is too flimsy for menu cards. It looks cheap and it’ll flop over. You want cardstock that’s at least 65-80lb, preferably 80-110lb. It should feel substantial when you hold it.
Finish matters too – matte, glossy, linen, felt. Matte is classic and easy to print on. Glossy can look fancy but shows fingerprints. Linen and felt add texture but not all printers can handle them well. I usually stick with matte cardstock because it’s the most forgiving.
Color is usually white or ivory but you can do whatever matches your wedding. Just remember darker cardstock might need white or metallic ink to show up, which limits your home printing options.
Timeline for Getting This Done
Here’s when you should actually be dealing with menu cards in your planning timeline:
Around 3-4 months before the wedding, start looking at templates and designs. You need to know your actual menu first though, so coordinate with your caterer. Don’t order or finalize anything until your menu is 100% locked in because changes are a pain.
6-8 weeks out, finalize your design and place your printing order if you’re using a service, or buy your supplies if you’re DIYing. This gives you buffer time for mistakes or reprints.
2-3 weeks before, you should have everything printed and ready. If you’re doing any assembly like adding ribbons or mounting them on backing paper, do it now, not the night before your wedding when you’re already stressed about everything else.
What About Digital Menus or QR Codes
Okay so some couples are doing this now where they just put a QR code on the table that links to a digital menu. It’s eco-friendly and you can update it easily if something changes last minute. Personally I think it’s kinda impersonal for a wedding? Like we’re already on our phones too much, do we need to scan a code at a wedding reception? But it works for some couples, especially if they’re having a very casual or modern wedding.
If you go this route, still have at least one printed menu displayed somewhere for people who don’t have phones or don’t want to deal with scanning things. And test the QR code extensively because nothing’s worse than guests scanning and the link doesn’t work or goes to a random page because you typed it wrong or…
Matching Your Other Stationery
Your menu cards should coordinate with your invitations, programs, place cards, table numbers, whatever other paper goods you’re using. They don’t have to be EXACTLY the same – that matchy-matchy look can actually feel kinda boring – but they should be in the same family. Same color palette, similar fonts, cohesive style.
If you got your invitations from Minted or Shutterfly or wherever, check if they offer matching menu card templates. Most companies do wedding suites now where all the pieces coordinate, which makes your life easier.
Budget Considerations Because This Adds Up Fast
Let’s talk money because menu cards can range from basically free to ridiculously expensive. If you’re doing individual cards for 150 guests:
DIY printing at home: Maybe $30-50 for cardstock and ink, assuming you have a printer. Cheapest option but most time-intensive.
Online printing service: $75-200 depending on paper quality, size, and quantity. Mid-range, good quality, saves time.
Professional stationer: $300-800+ for custom design and letterpress or foil printing. Splurge option for people who care a lot about stationery.
Table cards instead of individual cards can save you money since you need fewer. One card per table of 8-10 guests means you’re printing 15-20 cards instead of 150, which is significantly cheaper no matter which printing method you use.
Honestly if budget is tight this is one area where you can cut costs without it being super obvious. Guests aren’t gonna remember your menu cards specifically unless they’re either really spectacular or really terrible. They’re functional first, decorative second.
