
Planning Guides, Style Guide
Wedding Invitation Templates Free Download: Editable Files
Jun
Finding Actually Good Free Wedding Invitation Templates
Okay so free wedding invitation templates are everywhere but most of them are absolute garbage and I learned this the hard way back in spring 2023 when a bride emailed me at 11pm because she downloaded what looked like a gorgeous template and it turned out to be a PDF she couldn’t even edit. Like, what’s the point of that? Anyway, let me walk you through what actually works because I’ve tested probably hundreds of these things.
First thing you need to know is that “free” doesn’t always mean completely free. Some sites will let you download a template but then you need specific software to edit it. Canva is probably your best bet if you want something that’s genuinely free and editable without needing to buy Photoshop or InDesign. They have a free tier that’s pretty decent, and their templates are actually designed well—not like those weird clipart-heavy things from 2008 that some websites still push.
Where to Actually Download Editable Templates
I’m gonna be straight with you, the best free sources are Canva, Google Docs/Slides templates, and Microsoft Word templates. Everything else is either sketchy, requires payment after download, or the files are corrupted half the time.
Canva lets you customize everything right in your browser. You don’t download until you’re done editing, which honestly saves so much time. They have thousands of wedding invitation templates and you can filter by style—vintage, modern, floral, minimalist, whatever. The free version has some limitations like you can’t use certain premium elements, but there’s usually a free alternative that looks similar enough.
Google Slides templates are underrated for invitations. Yeah, it sounds weird using presentation software for invitations but it works surprisingly well because you can control exact placement of text and images. Plus everyone has a Google account already so you don’t need to create another login situation. I’ve used these for save-the-dates mostly.
Microsoft Word templates are kinda hit or miss. The official Microsoft template gallery has some okay options, but they tend to look pretty basic. You’ll probably need to customize heavily to make them not look like every other invitation.
File Formats You’ll Actually Encounter
This is where it gets annoying because not all editable files are created equal. You’re gonna see these formats:
- PDF – Sometimes editable, usually not. If it says “editable PDF” make sure it actually opens in something like Adobe Acrobat where you can click and type. Most free PDFs aren’t editable though.
- DOCX – Microsoft Word format. Easy to edit if you have Word or Google Docs. These are pretty straightforward.
- PSD – Photoshop files. Don’t download these unless you have Photoshop because they won’t open in anything else and Photoshop costs like $30/month.
- AI – Adobe Illustrator files. Same problem as PSD files.
- PNG/JPG – These are just images. Not editable. If a site offers “free templates” that are just JPGs, that’s useless unless you’re gonna print them exactly as-is with no customization.
- PPT/PPTX – PowerPoint or Google Slides. Actually pretty easy to work with.
I had this client in summer 2021 who downloaded a bunch of “free templates” that were all JPGs and she spent three hours trying to figure out how to add her text before calling me in tears. We ended up starting from scratch with a Canva template and finished in like 45 minutes. So yeah, check the file format before you download.
How to Actually Edit These Templates
Alright so you found a template you like and it’s actually editable. Now what? The process depends on what software you’re using but here’s the general approach I always recommend.
Using Canva Templates
Create a free Canva account if you don’t have one. Search for “wedding invitation” in their template library. Click on one you like and it opens in the editor. You can change literally everything—text, colors, fonts, images, layout. The text boxes are already there so you just click and type your information.
One thing that drives me crazy about Canva is that some elements are locked behind their Pro subscription and you won’t know until you try to use them. There’ll be a little crown icon on premium elements. But honestly there are so many free alternatives that you can usually find something similar without paying.
When you’re done editing, download as PDF for print quality or PNG if you’re sending digital invitations. The free version lets you download, you just can’t do transparent backgrounds or resize to custom dimensions without Pro.
Using Word or Google Docs Templates
These are more basic but also more flexible in some ways. Open the template file and you’ll see placeholder text like “Bride Name” and “Groom Name” or whatever. Just highlight and replace with your actual information. You can change fonts from the toolbar, adjust colors, move text boxes around.
The tricky part with Word templates is printing. You need to make sure your printer settings match the template size. Most templates are designed for standard letter size (8.5 x 11 inches) but some are for 5 x 7 invitation cards. Check the page setup before you print a hundred copies and realize they’re the wrong size. Yes this has happened to me and yes I wanted to throw my printer out the window.
Google Slides Method
This is actually my secret weapon for DIY brides on a budget. Open Google Slides, set your slide size to custom dimensions (like 5 x 7 for a standard invitation), and either find a template or build from a blank slide. You can insert text boxes, images, shapes, whatever you need. The alignment tools are really good which makes it easy to center everything properly.
My cat just knocked over my coffee while I’m writing this which is perfect timing because… anyway, Google Slides lets you collaborate too so if the couple wants to both edit the invitation they can do it simultaneously. Download as PDF when you’re ready to print.
What Information You Actually Need on the Invitation
Okay so you have your template open and you’re staring at it like… what do I actually put on here? Here’s the essential information that needs to be on a wedding invitation:
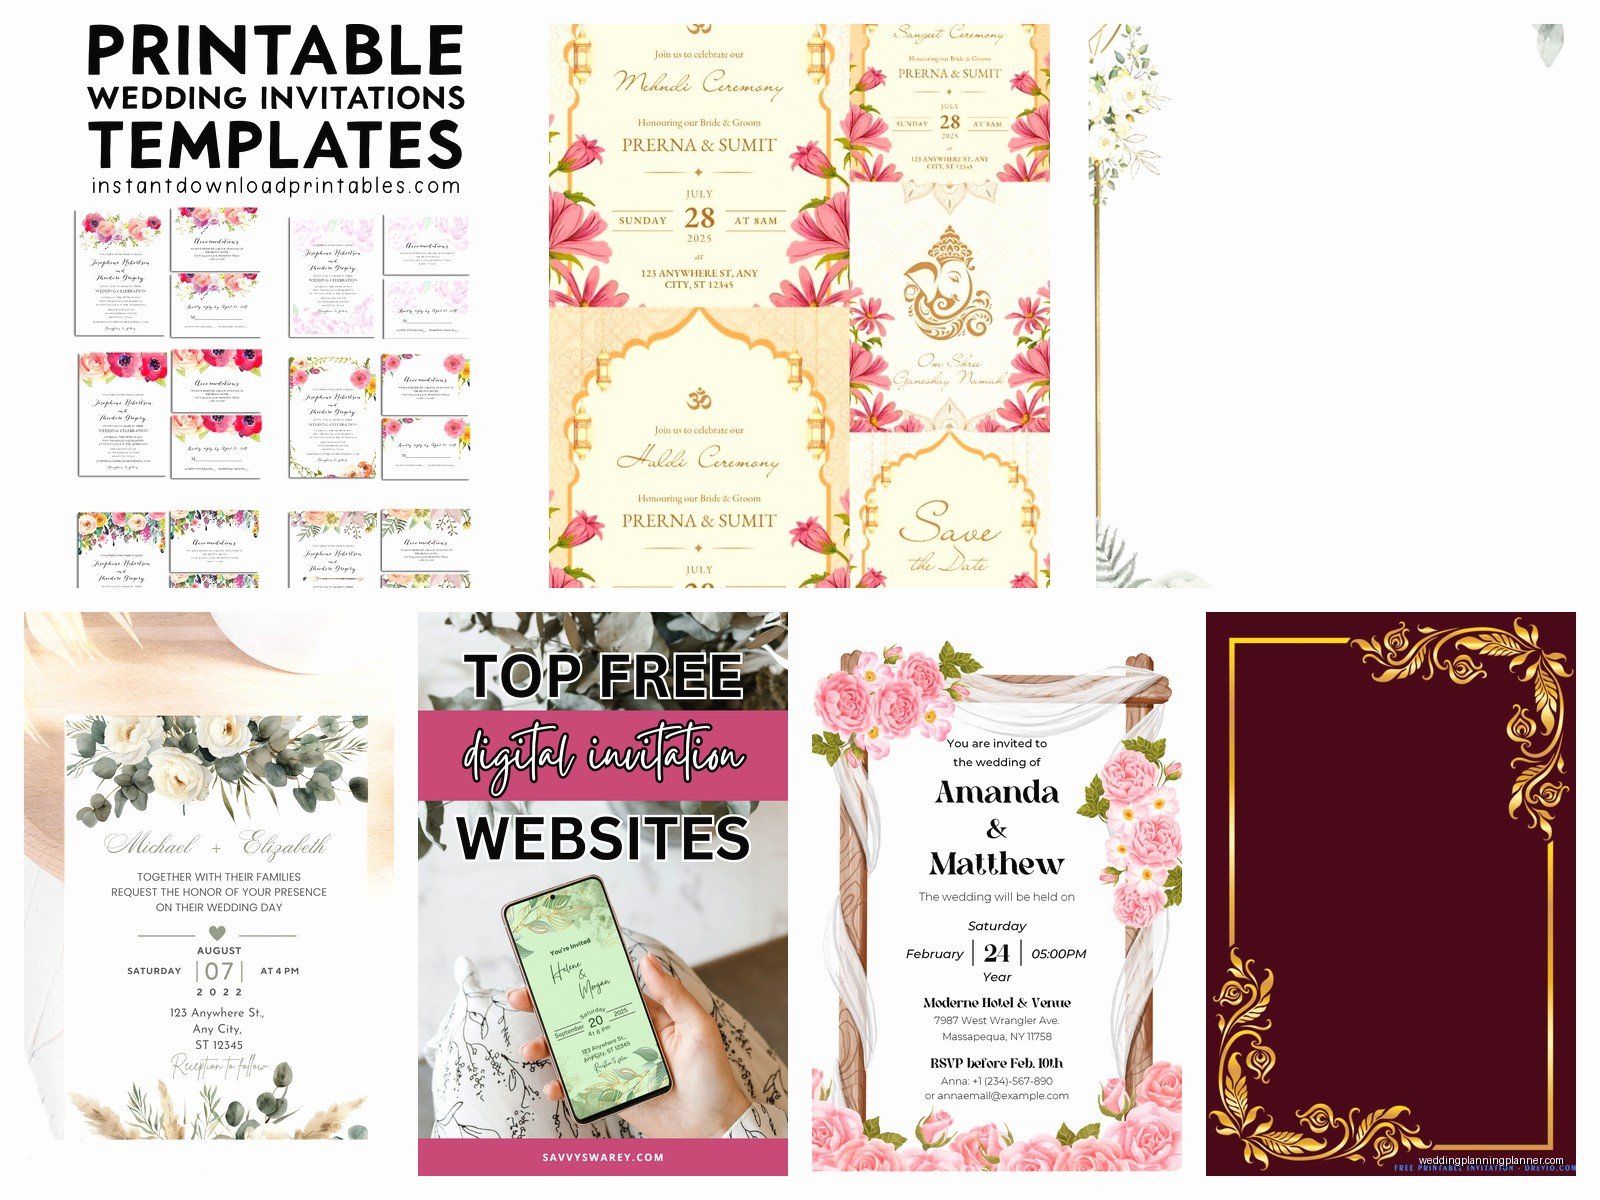
- Names of the couple (full names, not nicknames unless you’re going super casual)
- Date of the wedding (spell it out, don’t use numbers like 6/14/25)
- Time of the ceremony
- Venue name and location (city and state at minimum)
- Reception information (if it’s at the same location, you can say “Reception to follow”)
- RSVP details (deadline date and how to RSVP)
Optional things you might include: dress code, wedding website URL, hotel accommodation info, or a short note if it’s adults-only.
Don’t put registry information on the invitation itself. That goes on a separate insert card or on your wedding website. I know some people do it anyway but it’s traditionally considered tacky and I have to tell you this even though you’re gonna do whatever you want anyway.
Wording Examples You Can Copy
Formal traditional wording goes something like:
Mr. and Mrs. John Smith request the honor of your presence at the marriage of their daughter Sarah Marie to Michael James Anderson on Saturday, the fourteenth of June two thousand twenty-five at four o’clock in the afternoon at St. Mary’s Church, Boston, Massachusetts. Reception to follow.
Casual modern wording is more like:
Sarah Smith and Michael Anderson invite you to celebrate their wedding on Saturday, June 14, 2025 at 4:00 PM at The Garden Venue, Boston, MA. Dinner and dancing to follow. RSVP by May 1st at ourweddingwebsite.com
You can adjust based on your style. If both sets of parents are hosting, you list them. If the couple is hosting themselves, you start with the couple’s names. There are like seventeen different variations depending on family situations but those are the basics.
Printing Your DIY Invitations
So you’ve edited your template and it looks perfect on screen. Printing is where things can go wrong real fast. I’ve seen so many brides print their invitations on regular printer paper and wonder why they look cheap. Well… it’s because they’re on regular printer paper.
Get cardstock. At minimum 80lb cardstock, but 100lb or 110lb is better for invitations. You can find this at any office supply store or Amazon. White, cream, and ivory are classic choices. Some cardstock comes with texture which looks really nice for wedding invitations.
Test print on regular paper first. Seriously, don’t skip this step. Print one copy on cheap paper to make sure everything is positioned correctly, the text isn’t cut off, and the colors look how you want them. Adjust if needed, then print on your nice cardstock.
Home Printer vs Professional Printing
Your home printer can probably handle printing invitations if you have a decent inkjet or laser printer. Just make sure it can feed cardstock—check your printer manual for the weight it can handle. Most home printers max out around 110lb cardstock.
Professional printing through places like Staples, FedEx Office, or online services like Vistaprint will give you better quality but it costs more. Sometimes it’s worth it though, especially if you need like 150 invitations and don’t want to babysit your home printer for six hours while it jams every third sheet.
Online printing services often have their own templates too, and if you upload your file they’ll print and ship to you. Prices vary but you’re usually looking at $1-3 per invitation depending on paper quality and quantity. Still way cheaper than custom designed invitations which start at like $5-8 each minimum.
Common Problems and How to Fix Them
Template won’t open – Check what software it requires. If it’s a PSD file and you don’t have Photoshop, you’re out of luck unless you want to use GIMP (free Photoshop alternative) but that has a learning curve.
Colors look different when printed – This is normal. Screens display RGB colors and printers use CMYK. Blues and purples especially tend to look different printed. Do a test print to see the actual colors before printing everything.
Text is blurry – Your file resolution is probably too low. For printing, you want at least 300 DPI. If you’re working with a template that’s 72 DPI, it’ll look fine on screen but blurry printed. Find a higher quality template or recreate it at higher resolution.
Template has a watermark – Yeah, it’s not actually free. Some sites show you the template for free but the downloaded version has watermarks unless you pay. Read the fine print before downloading.
Can’t change the font – In some templates, especially PDFs, the fonts are embedded or flattened so you can’t change them. You can only change the text content. If you need different fonts, you might need to find a different template or use a more flexible format like DOCX or Canva.
Design Tips That Actually Matter
Readability is more important than looking fancy. I’ve seen templates with script fonts for EVERYTHING and you literally cannot read the venue address. Use script or decorative fonts for names or short phrases, but use a clean readable font for the important details like date, time, and location.
Leave white space. Don’t cram every inch of the invitation with text or design elements. Your eyes need places to rest. A cluttered invitation looks cheap even if the design itself is nice.
Match your wedding colors but don’t go overboard. If your wedding colors are navy and blush, you don’t need to use both colors in equal amounts on the invitation. Maybe navy text with small blush accents, or vice versa. Too many colors looks chaotic.
Proofread multiple times and have someone else proofread too. I had a bride who printed 200 invitations with the wrong year on them because she was so focused on the design that she didn’t notice the typo. Spell check won’t catch “2024” when you meant “2025” so you gotta actually read it carefully.
File Organization Tips
Save multiple versions as you edit. Like “invitation-draft1”, “invitation-draft2”, “invitation-FINAL”, “invitation-FINAL-actualfinal”. I know it seems excessive but you’ll thank me when you want to go back to an earlier version because you changed something and now you hate it.
Keep your editable file separate from your print file. Your editable file might be a Canva project or a DOCX file. Your print file should be a high-resolution PDF. Don’t delete the editable version after you export to PDF because you WILL need to make changes. The bride will decide she wants to add “adults only” to the invitation at the last minute or realize she spelled someone’s name wrong.
Back everything up. Save to Google Drive, Dropbox, or email the files to yourself. I’ve had clients lose everything because their computer crashed and they didn’t have backups. Don’t be that person crying over lost files two weeks before the wedding.
Envelope Addressing and Assembly
Oh right, you also need envelopes. A7 envelopes (5.25 x 7.25 inches) fit standard 5 x 7 invitations. You can buy these in bulk online or at craft stores. They come in tons of colors and finishes.
For addressing, you can print directly on envelopes if your printer can handle it, hand write them (time consuming but looks nice), or print on clear labels. There are also envelope templates you can download if you want to print addresses in a pretty font.
Some free invitation template sites also offer matching envelope liner templates, RSVP card templates, and detail card templates. If you want everything to match, look for template sets rather than individual pieces.
Assembly is just invitation, RSVP card with envelope, any detail cards, all tucked into the main envelope. The invitation goes in first (when the recipient opens the envelope, they see the invitation first). RSVP card and other inserts go on top. There are specific etiquette rules about the order but honestly most people don’t notice or care.
Weigh a fully assembled invitation before you buy stamps because if it’s over 1 ounce you need extra postage. Take one to the post office and have them weigh it to be sure. Nothing worse than having your invitations returned for insufficient postage… actually wait, having them delivered postage-due to your guests is worse. Don’t do that.
