
Planning Guides, Style Guide
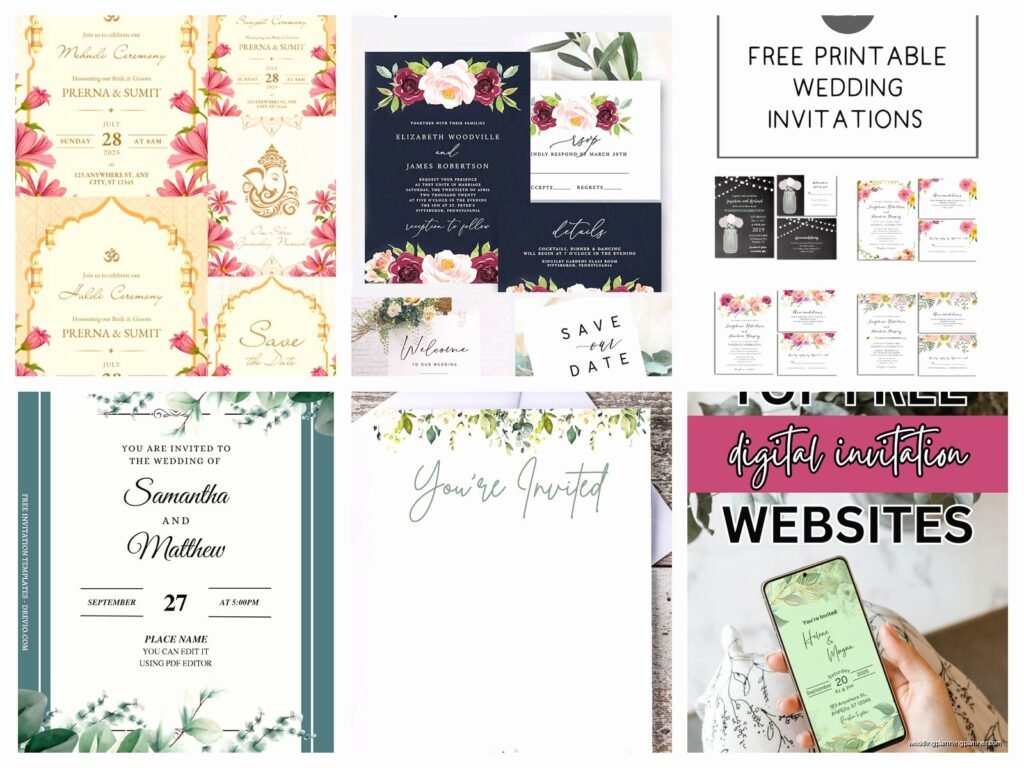
Printable Wedding Invitations: Free Download & Print
Jun
Finding Free Printable Wedding Invitation Templates That Don’t Look Cheap
Okay so printable wedding invitations are honestly one of those things that can save you like hundreds of dollars if you do them right, but they can also look absolutely terrible if you just grab the first free template you find on Google. I learned this the hard way back in spring 2023 when a bride showed me what she’d already printed before hiring me to “fix” her stationery suite and I literally had to tell her we needed to start over because the resolution was so pixelated it looked like a ransom note.
The biggest thing you gotta know upfront is that “free” doesn’t always mean ready-to-print. Some templates are free to download but then you need specific software to edit them, or they’re only free for personal use which technically weddings fall under but some sites are weird about it, or the free version has watermarks you can’t remove without paying anyway.
Where to Actually Find Good Free Templates
Canva is gonna be your best friend here. I know everyone and their mom uses Canva now but there’s a reason for that. They have thousands of wedding invitation templates and a bunch are completely free. You can customize them in your browser without downloading any special software which is huge if you’re not tech-savvy or don’t want to deal with Adobe products.
The free Canva templates let you change colors, fonts, add your own text, move elements around. Some of the fancier graphics and photos require Canva Pro but honestly you can work around that by finding similar free elements or uploading your own images.
Other places I actually recommend:
- Greetings Island – they have a decent selection and the editing tools are simple
- Template.net – more formal traditional designs if that’s your vibe
- Etsy (wait hear me out) – some sellers offer free samples or have free templates in their shops to attract customers to their paid designs
- Microsoft Word templates – yes really, Microsoft has wedding invitation templates built into Word and they’re not as outdated as you’d think
What to Avoid
Stay away from those sketchy template sites that make you sign up for email lists or download executable files. I once clicked on what I thought was a template download and it tried to install some toolbar thing on my computer. Also nah to any site that requires you to enter credit card info for a “free trial” because you will forget to cancel and get charged.
Understanding File Formats and Resolution
This is where people mess up constantly and it drives me insane. You need to understand DPI which stands for dots per inch. For printing at home or at a print shop, you want 300 DPI minimum. Anything less will look blurry or pixelated when printed even if it looks fine on your screen.
When you’re downloading a template, check the file format. PDF is usually your safest bet for printing because it preserves the formatting and quality. PNG files work too if they’re high resolution. JPEG can work but sometimes the compression makes things look not as crisp.
If you’re editing in Canva, when you download your finished invitation, select PDF Print not PDF Standard. The Print version has higher quality. Or select PNG and make sure the quality slider is all the way up.
Customizing Your Template Without Making It Look Homemade
The trick to making free templates look expensive is restraint. I see so many couples who think more is more and they add like seventeen different fonts and every color in their wedding palette and suddenly it looks like a kindergarten craft project.
Stick to two fonts maximum. One for headings or names, one for details. Make sure they’re readable. That super swirly calligraphy font might look romantic but if your guests can’t figure out what time the ceremony starts, you’ve failed.
Colors should be limited too. Your main wedding color plus maybe one accent and then black or dark gray for body text. White or cream for background unless you’re specifically going for a dark moody invitation which can look amazing but uses way more ink.
Oh and speaking of ink, this is something that annoyed me so much I almost wrote a whole blog post just about this… people don’t think about ink costs when they design these elaborate invitations with full-bleed dark backgrounds. You will go through ink cartridges SO FAST. If you’re printing at home and want to save money on ink, keep your backgrounds light or white and use color strategically as accents.
Adding Your Personal Touch
What makes printable invitations not look generic is adding elements that are specific to you. Upload a photo of you and your partner if the template has space for it. Change the default graphics to things that match your wedding theme or venue. If you’re getting married at a beach, swap out those generic floral graphics for something coastal.
You can also add a custom monogram or your wedding logo if you have one. I usually create simple monograms for my clients in Canva using their initials and a shape or frame element. Takes like ten minutes and makes everything look more cohesive.
Paper Selection Because It Actually Matters
You cannot print these on regular copy paper and expect them to look good. Just can’t. You need cardstock at minimum. I recommend 110lb or higher for invitations. You want it to feel substantial in your guests’ hands.
If you’re printing at home, check your printer specs first because not all home printers can handle thick cardstock. Mine definitely can’t and I learned that when it jammed and I had to call my brother-in-law to help me take apart the whole… anyway that’s not important.
Paper options:
- Matte cardstock – classic, works with any design, doesn’t show fingerprints
- Shimmer or metallic cardstock – adds elegance, catches light nicely, a bit more expensive
- Linen or textured cardstock – hides printing imperfections better, feels fancy
- Recycled cardstock – if you want eco-friendly options, just make sure it’s thick enough
You can get good cardstock at craft stores like Michael’s or Hobby Lobby, or order online from places like Cards & Pockets or Paper Source. Amazon has variety packs too if you wanna test different types.
Printing Options: Home vs. Print Shop
Printing at home gives you the most control and you can do test prints easily. But you need a decent printer. Inkjet printers usually produce better color quality than laser printers for invitations. Make sure your printer can handle the paper weight and size you’ve chosen.
Before printing your whole batch, always do test prints. Print one, check the colors, make sure nothing is cut off, verify that the text is crisp. Then print maybe three more to make sure it’s consistent. I once had a client who printed 150 invitations before realizing her printer was running low on magenta and half of them had a weird orange tint.
Using a Print Shop
If your home printer isn’t cutting it or you just don’t wanna deal with the hassle, take your files to a print shop. FedEx Office, Staples, and local print shops can all print from your PDF files. This costs more than printing at home but less than ordering pre-printed invitations.
When you go to a print shop, bring your file on a USB drive or email it to yourself so you can access it there. Bring a sample of your paper if you bought special cardstock and want them to use it, though most print shops have their own paper stock you can choose from.
Ask to see a proof before they print the whole order. Some shops charge for this but it’s worth it to catch any issues.
Assembly and Finishing Touches
Once everything is printed, you might need to trim your invitations if they have bleed or if you printed multiple per page. Get a paper trimmer not scissors. The Fiskars SureCut is like $30 and will give you straight edges. Cutting 100+ invitations with scissors will make you lose your mind.
Consider these finishing touches that make printables look more professional:
- Corner rounder punch – rounds the corners for a softer look
- Edge painting – use a small brush or sponge to add metallic paint to the edges
- Layering – mount your invitation on a slightly larger backing card in a contrasting color
- Belly bands or vellum wraps – adds dimension and holds everything together
- Wax seals – very trendy right now and you can get affordable seal kits online
My cat knocked over my wax melting pot once and I had gold wax all over my desk which was a nightmare to clean but anyway…
The Whole Suite Not Just the Invitation
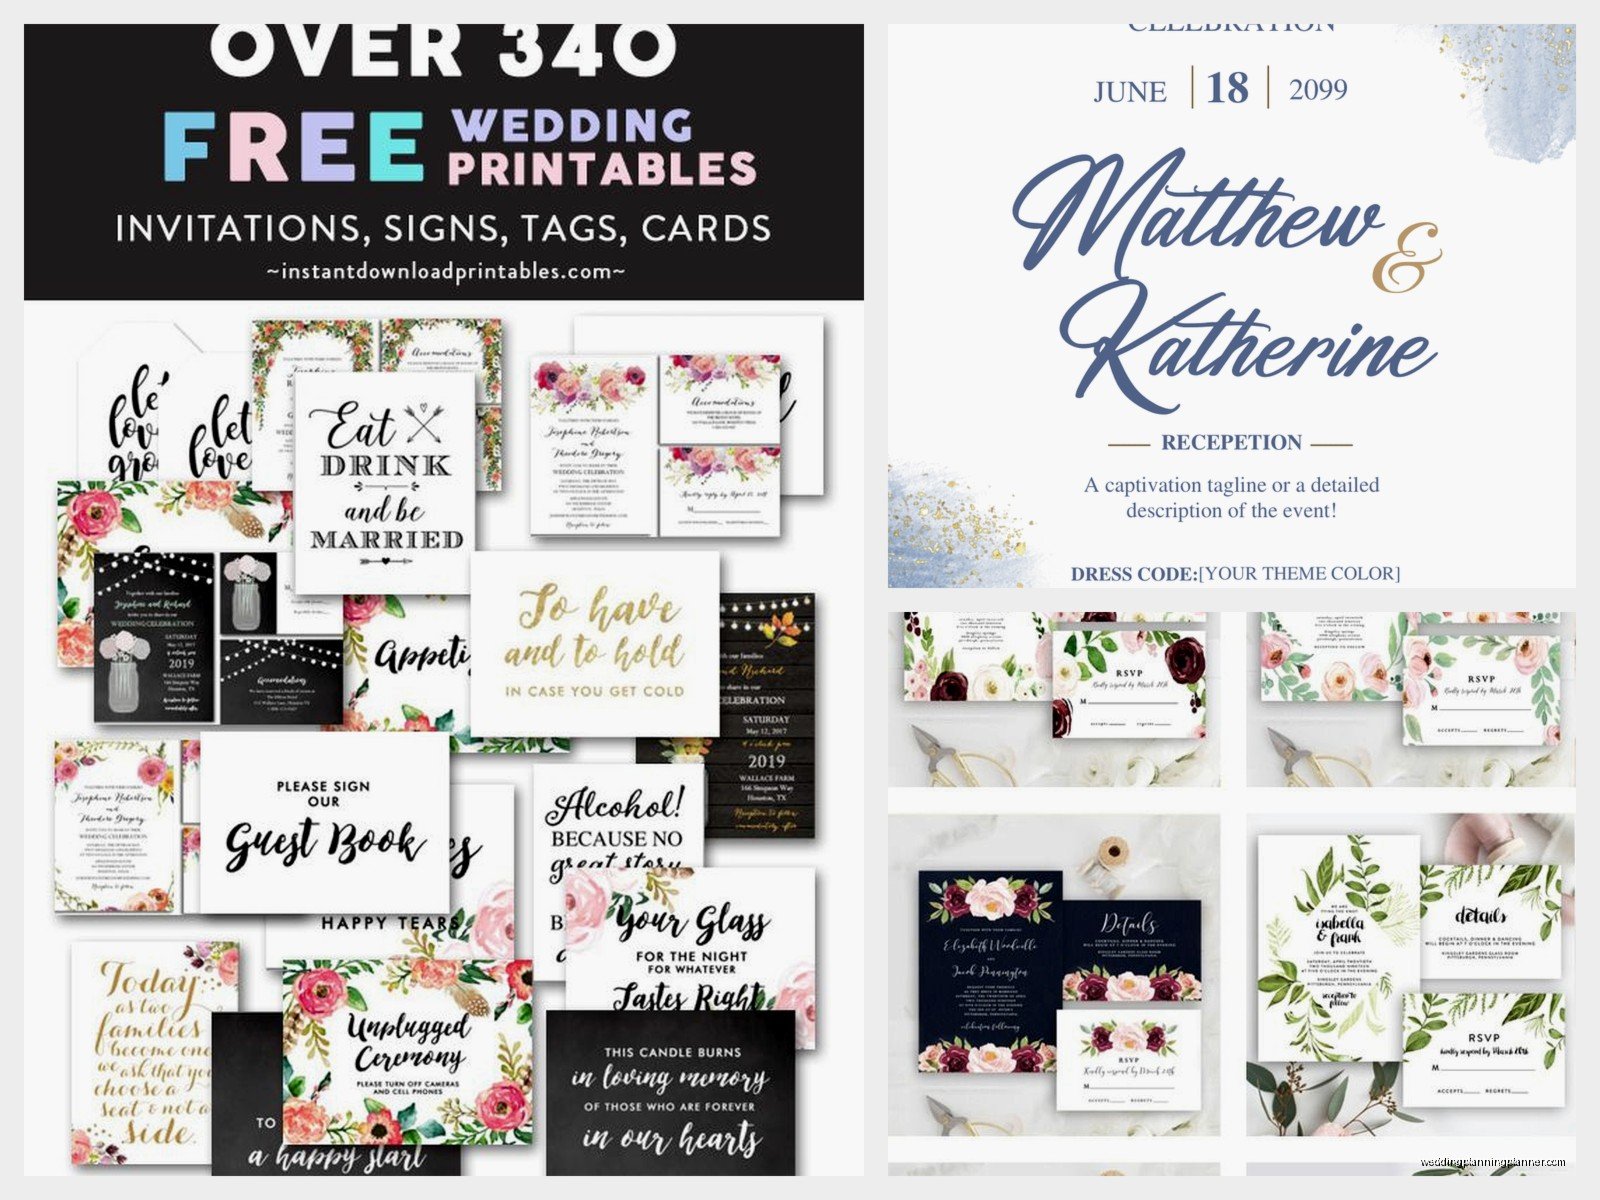
If you’re doing printable invitations, you should probably do the whole suite in the same style. That means RSVP cards, details cards, envelopes if you’re printing addresses, programs, menus, place cards, whatever else you need.
The good news is that once you’ve designed your invitation, you can copy that design and just swap out the text for the other pieces. Keep the same fonts, colors, and graphics so everything matches.
For RSVP cards, you can do postcard style to save on return envelopes or you can direct people to a wedding website to RSVP online which is what most people prefer anyway honestly.
Envelope Addressing
You can print directly on envelopes if your printer has a straight-through feed, but this is tricky and you’ll waste some envelopes figuring out the alignment. I usually recommend printing on labels instead or just handwriting them if you have decent handwriting.
If your handwriting is terrible (no judgment mine is too), ask a friend with nice handwriting to help or look into hiring a calligrapher just for envelopes. Some calligraphers charge per envelope and it’s way cheaper than having them do the whole invitation suite.
You can also buy envelope addressing templates that help you print directly onto envelopes with better accuracy. These are like $10-15 and reusable.
Timeline and Quantity Planning
Order more paper than you think you need. If you need 100 invitations, buy enough paper for 125. You will make mistakes. Your printer will jam. You’ll spill coffee on one. Just trust me on this.
Start the design process at least 3-4 months before you need to mail invitations. That gives you time to design, order paper, do test prints, make changes, print everything, assemble, and address without rushing.
Invitations should be mailed 6-8 weeks before the wedding. Save the dates if you’re doing them should go out 6-8 months before.
Troubleshooting Common Problems
Colors look different printed than on screen – this is normal because screens use RGB color and printers use CMYK. Do a test print and adjust your colors in the design if needed.
Text is cut off – check your margins and make sure you’re not designing too close to the edges. Leave at least a quarter inch margin on all sides, more if you’re cutting them yourself.
Printer streaks or smudges – clean your printer heads and make sure you’re using the right paper setting in your print dialog box.
Colors are faded – you might need to replace your ink cartridges or select a higher quality print setting.
What This Actually Costs
Let’s say you’re doing 100 invitations. Here’s roughly what you’re looking at:
- Cardstock: $25-50 depending on quality
- Envelopes: $15-30 for decent ones
- Ink cartridges: $40-80 if you need to replace them
- Embellishments (optional): $20-50
- Postage: whatever current rates are, probably $70-100 for the whole batch
So you’re looking at roughly $170-310 total for 100 invitations if you print at home. Compare that to $300-800+ for professionally printed invitations and you’re saving a decent amount. Though if you use a print shop instead of printing at home, add another $50-100 to that cost.
Real Talk About Whether This Is Worth It
Printable invitations aren’t for everyone. If you hate crafty projects or don’t have time or get stressed about details, just buy printed invitations or hire someone. I had this client back in summer 2021 who insisted she wanted to do everything herself to save money but then she called me crying three times because her printer kept jamming and she was so stressed and we ended up having to rush order printed invitations anyway which cost more because of the rush fee.
But if you like DIY projects and have patience and start early enough, printable invitations can look just as good as expensive printed ones. Guests honestly can’t tell the difference if you use good paper and design them well. I’ve seen $5 per invite professional suites that looked worse than good printables.
The main advantages are cost savings and flexibility. You can print exactly how many you need, make last-minute changes easily, and print extras if you forgot someone without placing a minimum order.
Just go into it with realistic expectations about the time investment and don’t try to print 200 invitations the night before you need to mail them because that’s when everything will go wrong, your printer will die, and you’ll be at Staples at midnight begging them to print your files.
