
Planning Guides, Style Guide
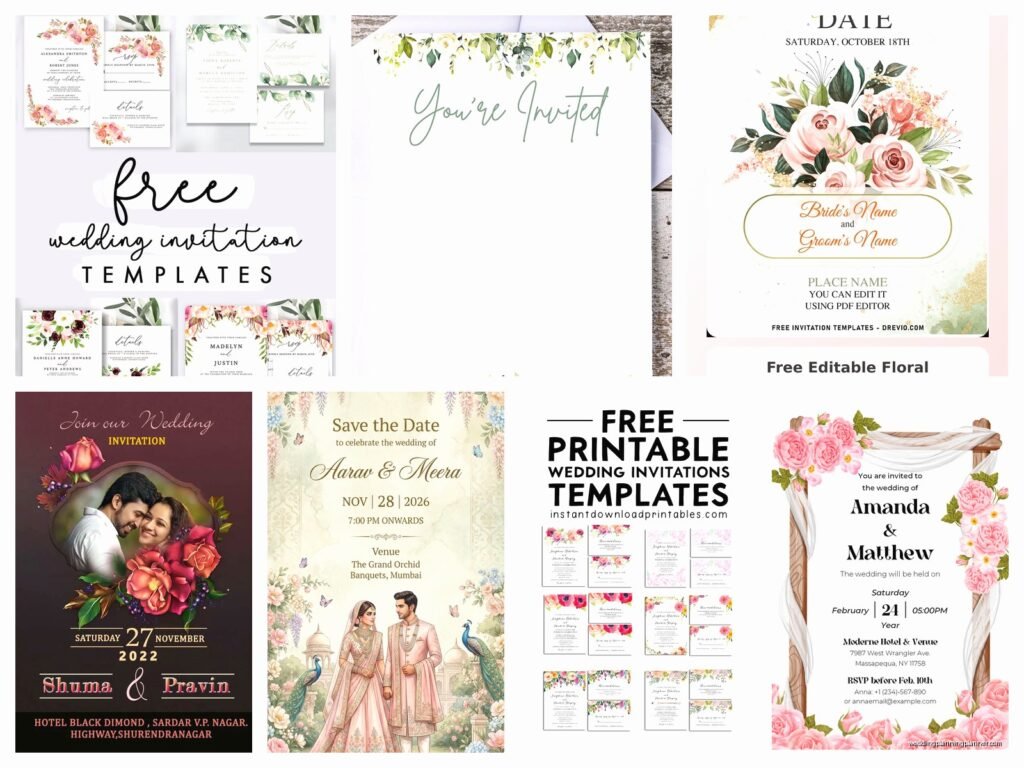
Online Editable Wedding Invitation Cards Free Download: Templates
Jun
So You Want Free Editable Wedding Invitation Templates
Okay so free editable wedding invitation cards are basically everywhere online now and honestly it’s kinda changed everything about how couples approach their stationery. Back in like spring 2023 I had this bride who was absolutely panicking because her printer quoted her $800 for invitations and she nearly cried in my office, and I pulled up Canva on my laptop and showed her the free templates and she literally hugged me. It was awkward but sweet.
The main platforms you’re gonna want to check out are Canva, Greetings Island, Adobe Express (used to be called Adobe Spark), and even Microsoft Word has some decent templates now. Each one has pros and cons that I’ll get into but first let me just say that the quality difference between free and paid templates has basically disappeared in the last two years which is wild.
Where to Actually Find These Templates
Canva is probably your best bet if you want something that looks professional without needing design skills. They have literally thousands of wedding invitation templates and the free version gives you access to maybe 60-70% of them. The premium templates will have a little crown icon on them which is annoying because sometimes you’ll spend 20 minutes customizing something only to realize you can’t download it without paying, but whatever. You can filter by style like minimalist, floral, rustic, modern, vintage… I’ve seen couples find exactly what they want in under 10 minutes.
Greetings Island is less well-known but honestly their free selection is solid. The editor is simpler than Canva which can be good or bad depending on your comfort level. They focus specifically on invitations and cards so everything is already sized correctly for standard printing which saves you headaches later.
Adobe Express has really stepped up their game. The templates are gorgeous and very on-trend but the editor can be a bit… it’s not as intuitive as Canva if I’m being honest. If you already use Adobe products you’ll figure it out fast but my less tech-savvy clients sometimes get frustrated.
What “Editable” Actually Means
This is important because not all templates are created equal. When you see “editable” it usually means one of three things:
- Browser-based editor where you change text and colors directly on the website
- Downloadable file (usually PDF or Word doc) that you edit on your computer
- Canva template that you duplicate and customize in your own account
The browser-based ones are easiest for most people. You just click on the text boxes, type your info, maybe change some colors, and download. No software needed. This is what Canva and Greetings Island do.
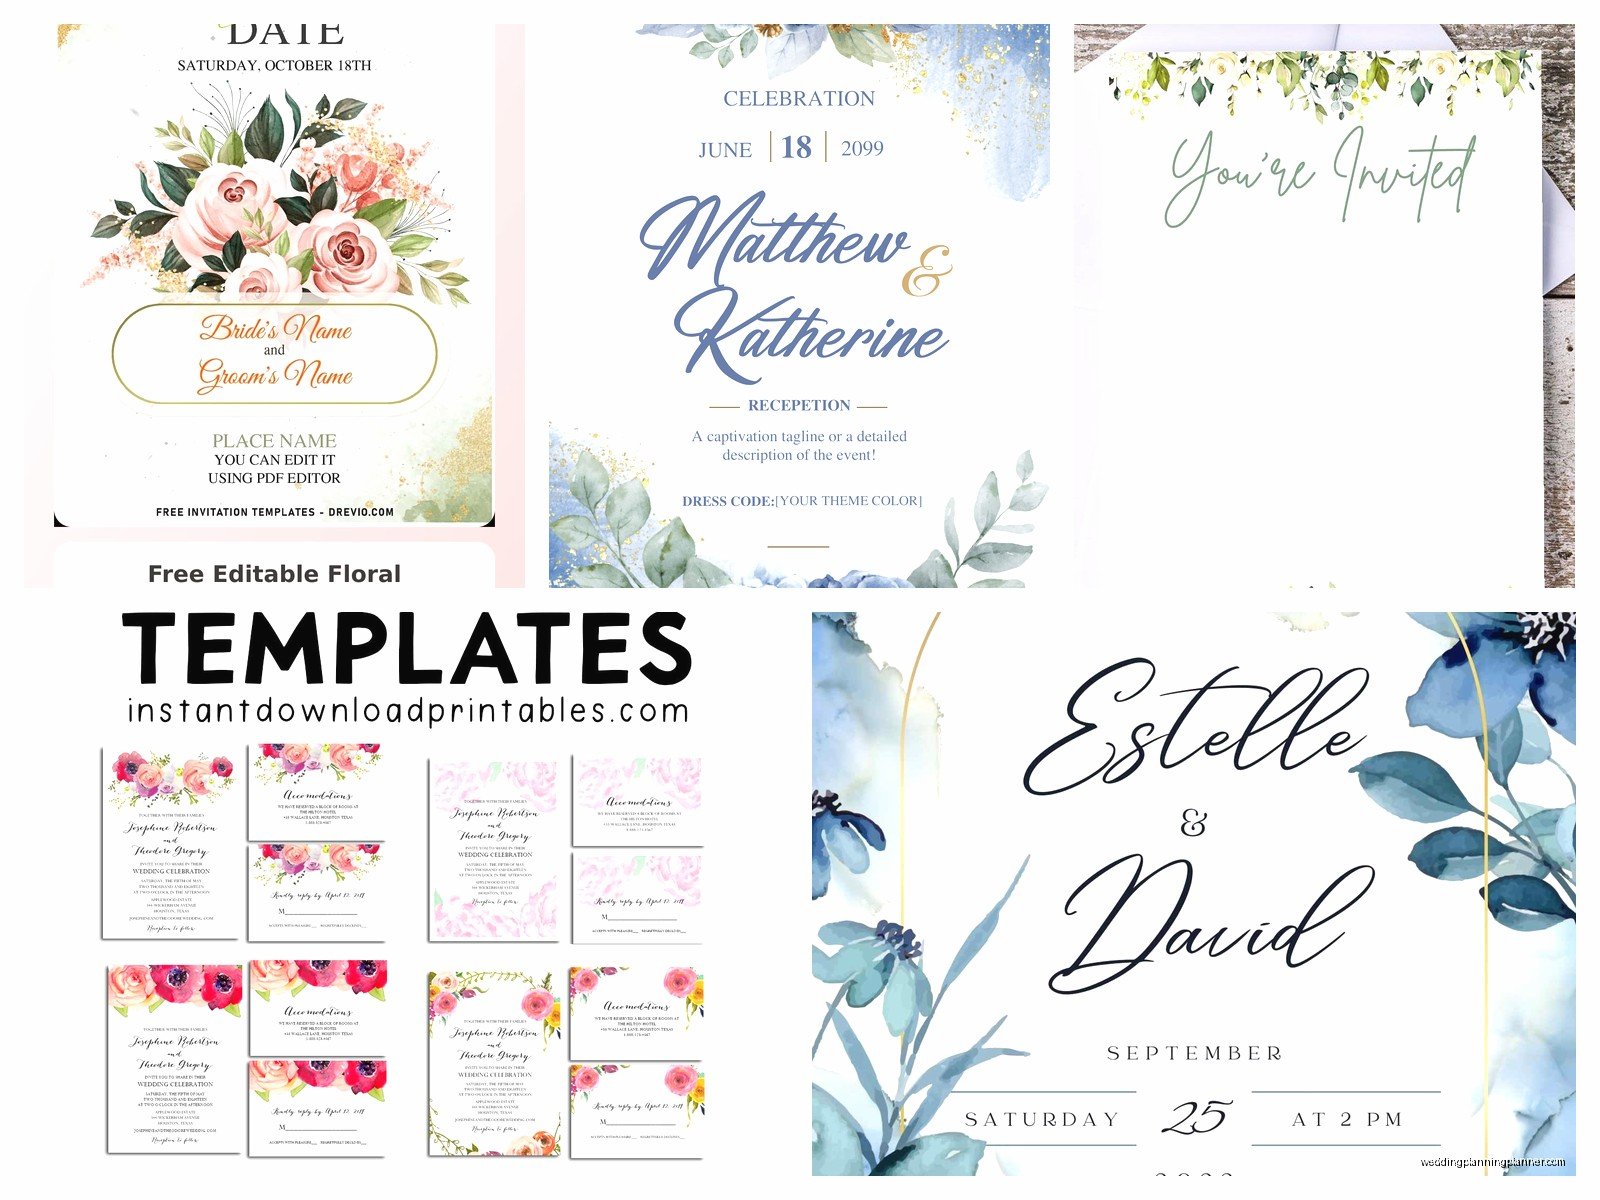
The downloadable files can be trickier because you need the right software. If it’s a Word template you’re fine obviously but if it’s a PSD file you need Photoshop which costs money so that defeats the whole purpose of free templates right?
How to Choose a Template That Won’t Look Cheap
Look I’m just gonna say it straight – some free templates look free. You know what I mean. They have that clip-art vibe or the fonts are weird or the layout is just off somehow. Here’s what to look for to avoid that:
Font quality matters so much. If the template uses more than three different fonts it’s probably gonna look messy. The best templates stick to two fonts maximum – one fancy one for names or headlines and one simple readable one for details. Stay away from anything using Comic Sans or Papyrus or… actually I had a groom in 2021 who insisted on using Papyrus because he loved Avatar (the movie) and it was a whole thing.
White space is your friend. Templates that cram every inch with flowers or graphics or text usually look amateur. The really elegant invitations have breathing room. If you’re looking at a template and it feels crowded, keep scrolling.
Check if the design elements are cohesive. Everything should feel like it belongs together. The colors should complement each other, the graphics should match in style, the fonts should work together. Sometimes free templates just throw random elements together and hope for the best.
Customizing Your Template Without Screwing It Up
Okay so you found a template you like and now you’re gonna make it yours. Here’s my process that I walk clients through:
Step one: Don’t change everything at once. Start with just the text. Add your names, date, venue, all the basic info. See how it looks with your actual words before you start messing with colors and fonts.
Step two: If you’re changing colors, stick to your wedding colors obviously but make sure there’s enough contrast. Light text on light backgrounds is impossible to read and your elderly relatives will complain. Trust me on this. I’ve gotten so many texts from mothers-of-the-bride about readability issues.
Step three: Resist the urge to change fonts unless the original ones really don’t work. The designer chose those fonts for a reason and they probably know better than… wait actually no some of these templates have terrible font choices nevermind. But if you do change fonts, use Google Fonts or the fonts included in Canva because they’re free for commercial use.
Step four: Add your own photos if the template has photo placeholders. This is where you can really personalize it. Engagement photos work great. Just make sure your photo is high resolution – at least 300 DPI if you’re printing.
The Download and Print Situation
This is where people run into problems and honestly it’s the most annoying part of the whole process. Free templates usually let you download as a PDF or PNG or JPG. For printing you want PDF if possible because it maintains quality better.
Standard invitation size is 5×7 inches. Make sure your template is actually sized correctly before you download. Canva sometimes defaults to social media sizes and you’ll end up with a square invitation which looks weird in an envelope.
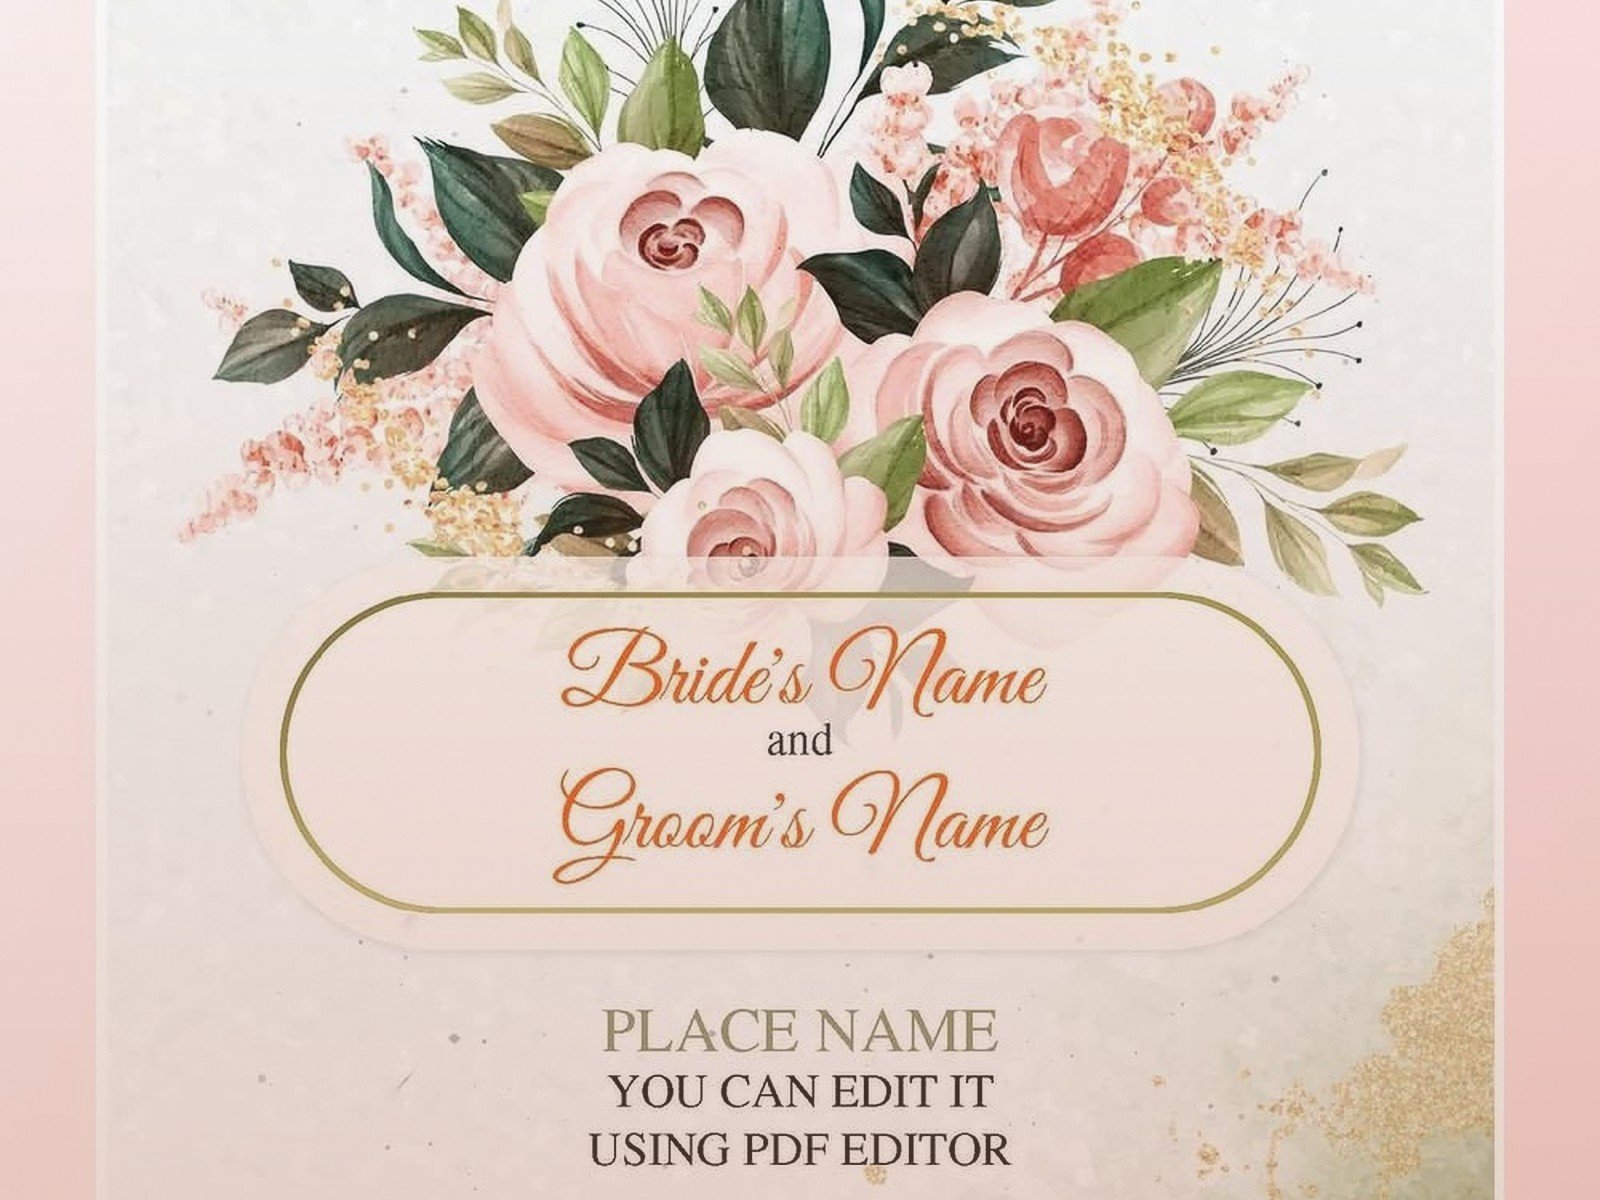
You’ve got printing options:
- Print at home if you have a good printer and cardstock
- Upload to Staples or FedEx Office or local print shop
- Use an online service like Vistaprint or Minted
- Some platforms like Canva will print and ship to you directly
Printing at home sounds economical but ink cartridges are expensive and getting the colors right is frustrating. I usually recommend the FedEx Office route because you can see a test print before committing to 100 copies.
One thing that really annoyed me recently was discovering that some “free” templates on certain sites only let you download a low-resolution version unless you pay. Like they advertise free templates but then the free download is 72 DPI which is only good for screen viewing not printing. It’s technically free but completely useless for actual invitations. Super sketchy.
File Formats and Technical Stuff You Kinda Need to Know
I’m not gonna get too technical but there’s some basics that’ll save you trouble:
PDF: Best for printing. Maintains quality and fonts. This is what print shops want.
PNG: Good for digital use or if you need a transparent background. Decent for printing but files are usually bigger.
JPG: Most universal but compresses the image so quality can suffer. Fine for digital invitations sent via email.
If you’re working with a print shop they might ask for “print-ready files” or “files with bleed.” Bleed means the design extends past the edge of where it’ll be cut so you don’t get white borders. Most free templates don’t include bleed which is fine for home printing but professional printers prefer it.
Digital vs Printed – What You Actually Need
Some couples are doing fully digital invitations now which is honestly so much easier. You customize the template, download it, and email it or text it or create a wedding website and link to it. Done. No printing costs, no postage, no addressing envelopes at midnight while watching reality TV (just me?).
But if you’re doing traditional printed invitations you’ll need to think about:
- Cardstock weight – 80lb or heavier feels nice and sturdy
- Envelopes – standard A7 envelopes fit 5×7 invitations
- Envelope addressing – you can print labels or print directly on envelopes or do calligraphy
- RSVP cards if you want them – some templates come with matching RSVP designs
- Postage – you might need extra postage if your invitation is heavy or square shaped
My cat just jumped on my desk and stepped on the keyboard which feels like a sign to wrap up this section…
Matching Suite Items You Can Also Get Free
Most template platforms offer matching designs for your whole stationery suite. Once you’ve customized your invitation you can usually find coordinating templates for:
- Save the dates
- RSVP cards
- Details cards (accommodation info, directions, etc)
- Programs
- Menus
- Place cards
- Thank you cards
- Signage for the venue
Having everything match looks really polished and professional. It’s one of those details that guests might not consciously notice but it elevates the whole vibe of your wedding.
Common Mistakes People Make
I’ve seen these mistakes so many times and they’re all avoidable:
Not proofreading carefully. You’d think this is obvious but I’ve seen invitations with the wrong date, misspelled venue names, incorrect times… Print one test copy and have multiple people read it before you print 150 copies.
Choosing a template that doesn’t match their wedding style. If you’re having a black tie ballroom wedding, that rustic kraft paper template with burlap texture probably isn’t the vibe. Your invitation sets expectations for guests.
Making the text too small. When you’re designing on a computer screen everything looks fine but then you print it and realize the details are in like 8-point font and nobody can read it. Keep body text at 10-point minimum, 11 or 12 is better.
Not ordering enough. You need one invitation per household not per guest, but also order extras for keepsakes, mistakes, last-minute additions, framing… I tell couples to order 10-15% more than they think they need.
Waiting until the last minute. Even with free templates and fast printing, you still need time for design, proofreading, printing, addressing, and mailing. Invitations should go out 6-8 weeks before the wedding, save the dates 6-8 months before.
Canva Specific Tips Because Most People Use It
Since Canva is probably where you’ll end up, here’s some insider knowledge:
Use the search filters. You can filter by free vs paid, by color, by style. Saves so much scrolling time.
The “duplicate page” feature is perfect if you need multiple invitation designs for like different ceremonies or different language versions.
Brand kit feature lets you save your wedding colors even in the free version now I think? Or maybe that’s pro… anyway if you can access it, save your colors so they’re easy to apply consistently.
You can upload your own fonts if you have Canva Pro but honestly their free font selection is pretty good. Look for font pairings in their templates – they’ve already done the work of matching fonts that look good together.
Share your design with your partner or wedding planner or whoever needs to review it. They can leave comments directly on the design which is way easier than texting screenshots back and forth.
When Free Templates Aren’t Enough
Look sometimes free templates just won’t cut it. If you have a very specific vision or your wedding has unique cultural elements or you want something truly custom, you might need to hire a designer or buy a premium template. That’s totally fine and valid.
But for probably 80% of couples, free editable templates are more than sufficient. They’re customizable enough to feel personal, professional enough to look expensive, and the time and money you save can go toward other parts of your wedding.
I had this couple last year who spent $0 on their invitations using Canva and they looked absolutely stunning. Nobody at the wedding knew they were free templates. The bride printed them at home on nice cardstock from Paper Source and they were gorgeous. Meanwhile I’ve seen couples spend $2000 on custom letterpress invitations that honestly weren’t any more beautiful, just more expensive.
Quick Checklist for Your Invitation Design
Before you finalize and download, make sure you’ve got:
- Your names (spelled correctly, using your preferred names)
- Date with day of week, month, date, and year
- Time (and specify if it’s AM/PM because yes people get confused)
- Venue name and full address
- Reception info if it’s at a different location or different time
- Dress code if you have one
- RSVP deadline and method (website, email, phone, mail-back card)
- Your wedding website URL if you have one
- Registry info if you’re including it (though etiquette says this goes on the website not the invitation but people do it anyway)
Optional details that might go on a separate details card:
- Hotel room blocks
- Transportation info
- Weekend itinerary if you’re doing welcome drinks or day-after brunch
- Parking information
- Weather considerations
The wording can be traditional or casual depending on your style. Traditional wording has that “Mr. and Mrs. So-and-So request the honor of your presence” format. Modern couples often go with something like “Together with their families, Bride and Groom invite you to celebrate their marriage” or even just “Let’s get married! Join us…” Do whatever feels like you.
Troubleshooting Common Technical Issues
Sometimes technology doesn’t cooperate and here’s what usually goes wrong:
Colors look different when printed: Screens display in RGB, printers use CMYK. Colors will always look slightly different. Do a test print to see the real colors before printing everything.
Download button is greyed out: Usually means you’re trying to download a premium element. Look for the crown icons and either remove those elements or substitute free alternatives.
File is too large to email: Compress it using a free online tool or upload to Google Drive or Dropbox and share the link instead.
Template won’t open: Make sure you have the right software. Some templates require specific programs or browser versions.
Text is getting cut off: Check your margins and safe zones. Keep important text at least 0.25 inches from the edges.
Honestly the learning curve isn’t that steep. Most people figure out the basics in an hour or so and then it’s just about tweaking until it looks right. I’ve had 70-year-old mothers-of-the-bride successfully customize Canva templates so if they can do it, you definitely can.
