
Planning Guides, Style Guide
Wedding RSVP Form: Response Card Template Downloads
Jul
Response Cards Are Way More Important Than People Think
Okay so response cards. RSVP forms. Whatever you wanna call them. They’re literally the most underestimated piece of your wedding stationery and I cannot tell you how many times I’ve had to deal with the fallout when couples just slap something together last minute and then act shocked when they get zero responses or like, completely unusable information back.
The thing is, your RSVP card is doing actual work for you. It’s collecting data you need for seating charts, catering counts, dietary restrictions, song requests if you’re into that. And if it’s confusing or unclear or—god forbid—missing key info, you’re gonna spend weeks chasing people down via text asking “wait did you want chicken or fish” and honestly that’s my personal nightmare.
What Actually Goes On A Response Card
Let me break down the essentials because I see people overcomplicate this OR leave off critical stuff. You need:
- A clear deadline (usually 3-4 weeks before the wedding)
- A line for guest names—and I mean their actual names, not just “number attending”
- Accept or decline options (make it obvious)
- Meal choices if you’re doing plated dinner
- Space for dietary restrictions or allergies
- Optional: song request line, which is kinda fun but also can backfire
In spring 2023 I had this bride who insisted on adding like seven different questions to her response card including “what’s your favorite memory of us as a couple” and while that’s sweet in theory, it meant half her guests just… didn’t fill it out because it felt like homework. We ended up with a 40% response rate initially and had to send follow-up emails. Not fun.
The Wording Part That Everyone Overthinks
You can go traditional or casual, but whatever you pick, be consistent with the rest of your invitation suite. Here’s what traditional looks like:
M___________________
accepts with pleasure / declines with regret
the kind invitation of [couple names] for Saturday, the fifteenth of June
That “M” line is for guests to write their names—it’s an old formal thing where they’d write “Mr. and Mrs. John Smith” or whatever. Honestly it confuses people now so I usually just put “Name(s)” instead.
For casual, you can do something like:
Can’t wait to celebrate with you!
Name(s): ___________________
__ Accepts with bells on!
__ Sadly must decline
See how much clearer that is? Your Aunt Margaret isn’t gonna be confused about what to do.
Digital vs Physical Response Cards
Alright so this is where it gets interesting because we’re kinda in this weird transition period where some people still expect physical mail and others are like “why would I mail something in 2025” and both camps have valid points I guess.
Physical response cards come with your invitation suite. You need to include a pre-addressed, pre-stamped envelope (yes, YOU pay for the stamp, not your guests). The card itself is usually around 4.25″ x 5.5″ or can be a postcard style to save on that extra envelope.
What drives me absolutely insane is when couples don’t put stamps on the return envelopes because they think “oh people will just add one” and then—surprise!—they don’t get responses back because nobody has stamps lying around anymore. Like we’re not living in 1987, people don’t just have stamp rolls in their desk drawer.
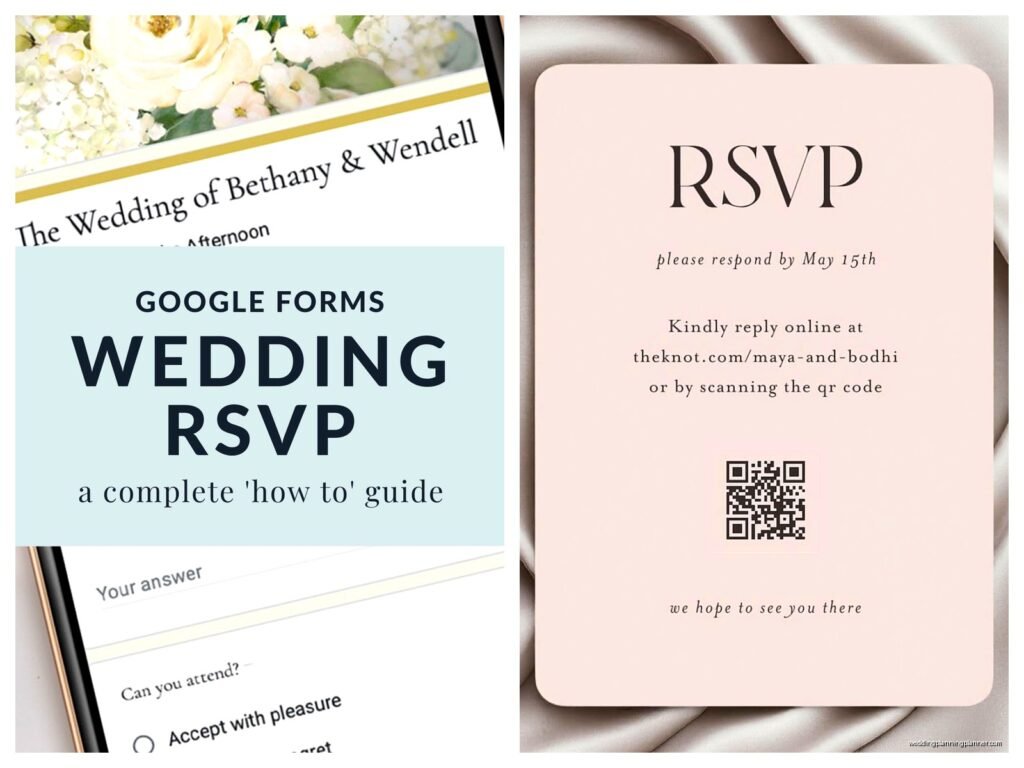
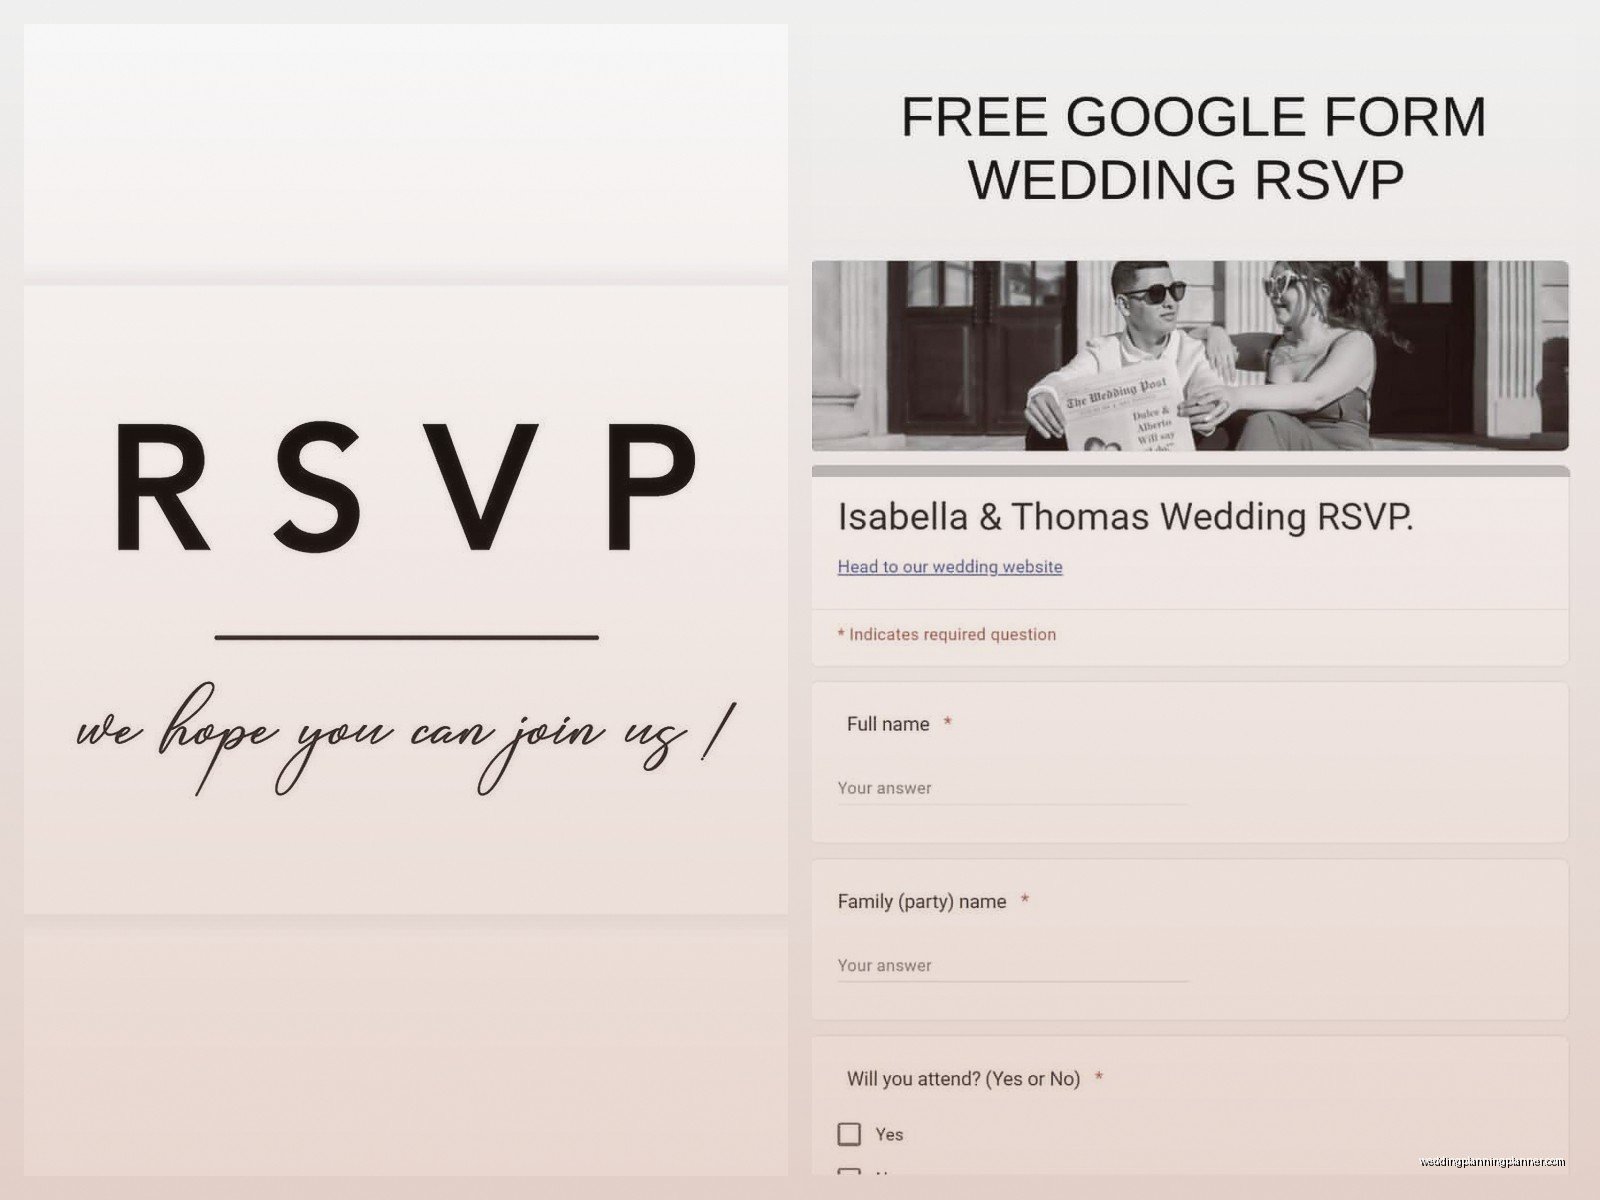
Digital RSVPs through your wedding website are honestly the way most of my clients go now. You can use platforms like Withjoy, Zola, The Knot, Minted, or even Google Forms if you’re budget-conscious. The response rate is usually higher because people can do it from their phone immediately instead of meaning to mail it back and then forgetting.
Template Downloads: Where To Actually Get Them
So you want templates you can customize yourself. Smart move because hiring a designer for response cards alone can run you $200-500 depending on complexity. Here’s where I send people:
Canva has hundreds of free and paid templates (Pro is like $13/month and worth it). You can customize everything—fonts, colors, layout. Then download as PDF and either print at home on cardstock or upload to a print service. I literally use Canva for my own client mockups sometimes because it’s just that easy.
Etsy has tons of instant download templates usually ranging $5-25. You’re buying a Corjl template or a Templett template most of the time, which means you edit it in your browser and download the final PDF. No special software needed. Just make sure you read the listing carefully because some sellers are… less responsive than others if you have questions.
Microsoft Word templates exist too—Microsoft has a whole template library. They’re kinda basic looking but functional if you’re going for simple and classic.
Adobe Express (used to be called Spark) has templates if you’ve got Adobe Creative Cloud. Similar vibe to Canva but I think Canva’s interface is more intuitive for people who aren’t designers.
Printing Your Response Cards
Once you’ve got your template customized, you gotta actually print these things. Options:
At home: Get decent cardstock (110lb cover weight minimum), make sure your printer can handle it. This works great for under 50 invitations. Any more than that and you’re gonna run through ink cartridges like crazy and probably have a breakdown when the alignment goes wonky on card #47. Ask me how I know.
Local print shop: Places like FedEx Office or local printers can print on your cardstock or theirs. Usually runs about $1-3 per card depending on quantity and if you want any fancy finishes.
Online printing services: Minted, Vistaprint, Catprint, PrintRunner. You upload your PDF and they ship you the finished cards. Minted’s quality is gorgeous but pricier. Vistaprint is budget-friendly but you get what you pay for in terms of paper quality—I’ve seen their cardstock feel kinda flimsy.
The Postcard Option Nobody Talks About Enough
RSVP postcards are having a moment and I’m here for it. They’re cheaper to mail (postcard stamp vs regular stamp), you don’t need a return envelope, and they’re less wasteful. The downside is that theoretically anyone could read what your guest wrote, but like… your mail carrier doesn’t care about Aunt Susan’s salmon preference, I promise.
For postcard RSVPs, your template needs to be formatted with the response info on one side and the return address/stamp area on the other. Standard postcard size is 4″ x 6″ which works perfectly.
Setting Up Online RSVP Forms
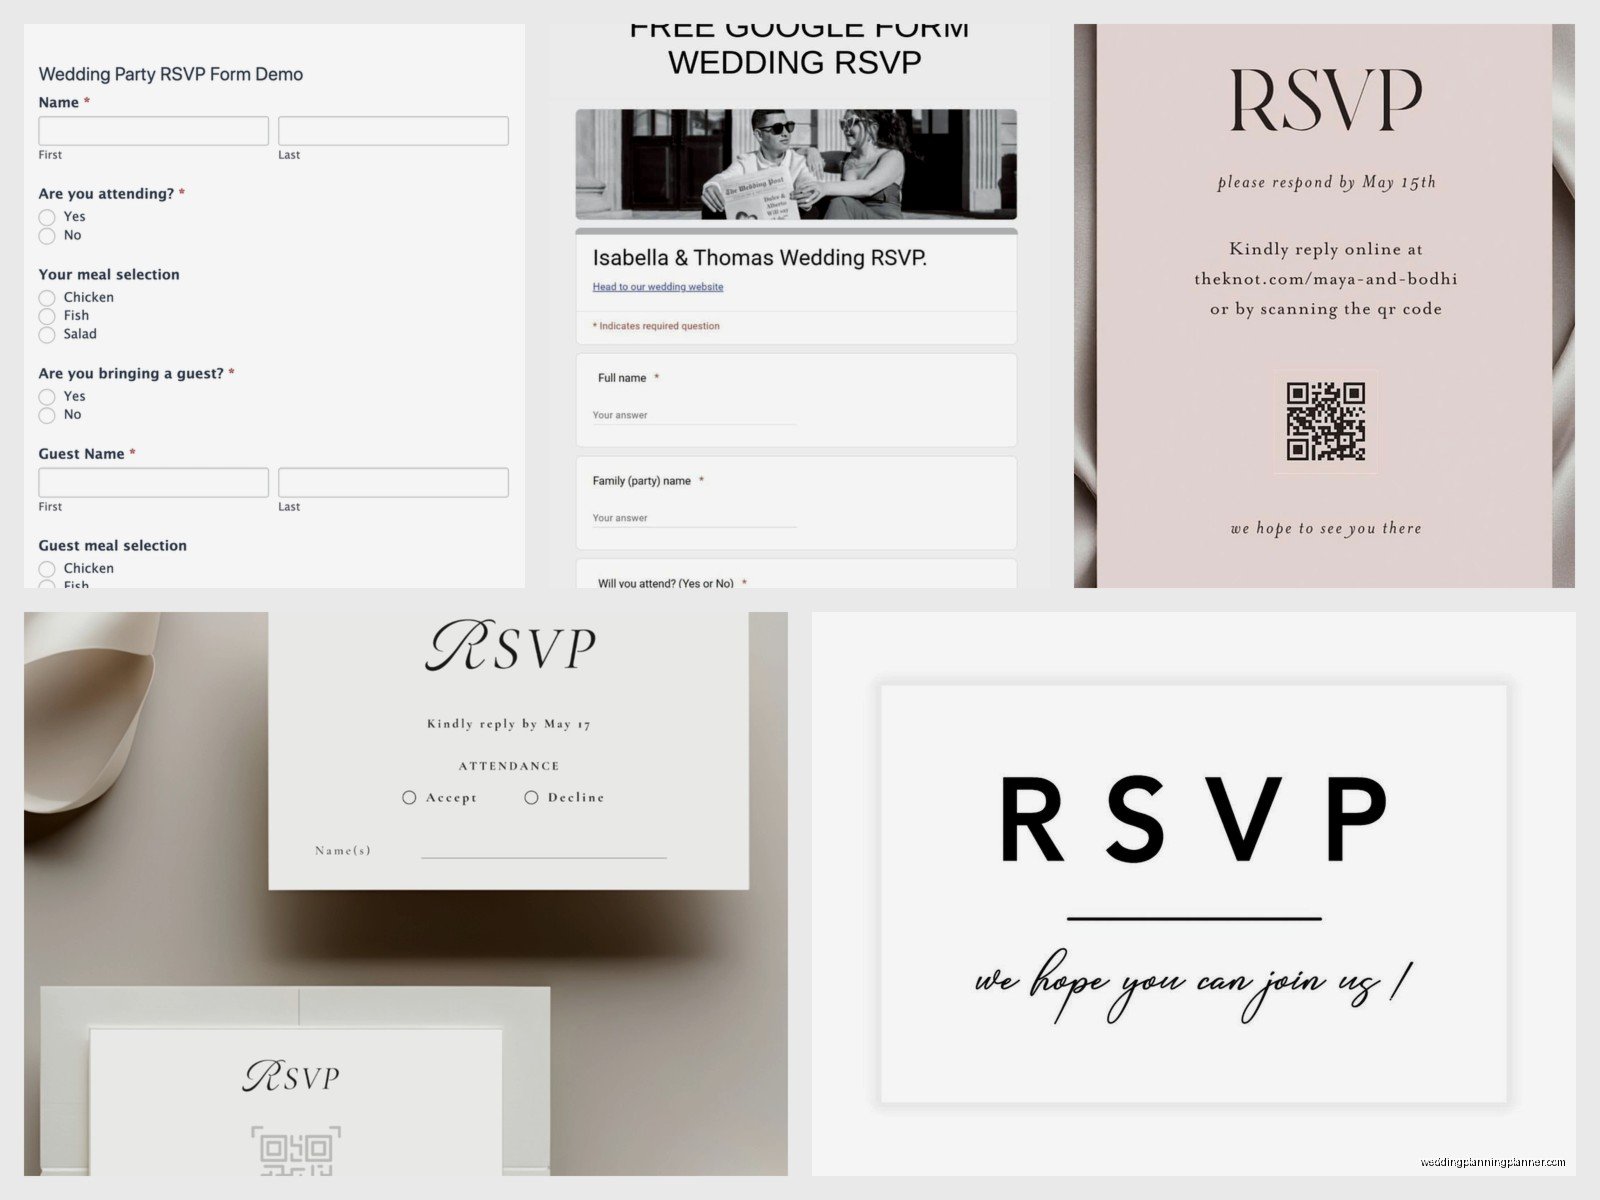
If you’re going digital, your response card in the invitation suite becomes a simple note directing people to your website. Something like “Please RSVP by June 1st at ourwedding.com” with maybe a cute little QR code if you’re feeling modern.
When you’re building the actual online form, you want it to be stupidly simple. I mean like, your great-uncle who still has a flip phone should be able to figure it out on his daughter’s smartphone that she’s helping him with. Each question should be clear and required fields should be marked.
My cat just knocked over my coffee while I’m writing this which feels very on-brand for how chaotic wedding planning can get, but anyway—
Your online form should ask for:
- Full name(s) of all guests in their party
- Attending yes/no for each person
- Meal selection (with descriptions! “Chicken” tells them nothing. “Herb-roasted chicken breast with lemon risotto” helps them decide)
- Dietary restrictions text box
- Any plus-one info if applicable
One thing that’s helped my couples a TON is setting up their online RSVP so that when someone enters their name, it auto-populates who’s invited from that household. Prevents the awkward “oh I didn’t know kids weren’t invited” situation because the system literally only shows the people you’ve allocated spots for.
Tracking Responses Without Losing Your Mind
Whether you do physical or digital, you need a spreadsheet. I don’t care if you’re tech-savvy or not, you NEED a master guest list that tracks:
- Guest names
- Number invited from that party
- RSVP received (yes/no)
- Number attending
- Meal choices
- Dietary restrictions
- Mailing address
- Plus-one status
Most wedding website platforms do this automatically for digital RSVPs which is beautiful. For physical cards, you’re manually entering data which is tedious but also kinda meditative? Like I had this couple in summer 2021 who insisted on physical RSVPs only (they were very traditional) and we set up a whole system where every Friday evening they’d pour some wine and input that week’s responses together. They said it was actually a nice ritual, though by week three they were definitely over it.
The Follow-Up Strategy
Here’s the truth: you will not get 100% of responses by your deadline. You’ll get maybe 70-80% if you’re lucky. The rest need reminders.
Send a gentle reminder email or text one week after your RSVP deadline to anyone who hasn’t responded. Keep it light: “Hey! Just finalizing numbers with our caterer—did you get a chance to RSVP? Let us know by this Friday!”
If they still don’t respond after that… honestly you might need to call them or have a family member call them because some people are just gonna be like that and there’s nothing you can do except account for it in your planning.
Common Response Card Mistakes
Let me save you from the errors I see constantly:
Not numbering your guest list: If you’re doing physical RSVPs, put a tiny number on the back of each card that corresponds to your guest list spreadsheet. That way when someone returns a card with illegible handwriting or just writes “The Smiths” when you invited three different Smith families, you can figure out who it’s from.
Making the deadline too close to the wedding: You need time to create a seating chart, finalize catering numbers, and handle the inevitable late responses. Four weeks before is ideal, three weeks minimum.
Unclear meal descriptions: “Beef, Chicken, or Fish” tells your guests nothing. Some people don’t eat red meat, some are pescatarian, some have texture issues with certain preparations. Give actual descriptions or at least protein + main component.
Not accounting for plus-ones properly: If someone gets a plus-one, the response card should have space for them to write that person’s name and meal choice. Don’t just put “and guest”—you need actual names for your seating chart and place cards.
Forgetting about kids: If children are invited, make sure there’s space for their names and meal choices (even if it’s just “kid’s meal”). If children aren’t invited, your envelope addressing should make that clear by only including adult names.
Design Tips From Someone Who’s Seen A Lot Of Response Cards
Your response card should match your invitation suite in style, color scheme, and formality level. If your invitation is elegant and minimal, don’t suddenly go whimsical and colorful on the RSVP card—it’s jarring.
Font size matters more than you think. I see people cram text into tiny spaces with 8pt font and wonder why their 70-year-old guests didn’t fill it out properly. Keep body text at least 10pt, preferably 11-12pt.
White space is your friend. A cluttered response card feels overwhelming. Give each element room to breathe. It’s better to have a slightly larger card with good spacing than a small card where everything’s crammed together.
If you’re doing physical cards, consider the paper quality because a flimsy card feels cheap and might get damaged in the mail, and then you’ve got… well you’ve got nothing because the guest can’t even read it anymore.
Budget Breakdown For Response Cards
Since we’re talking templates and DIY options, here’s roughly what you’re looking at cost-wise:
Ultra budget (under $50 for 100 guests): Free Canva template, print at home on cardstock from Amazon, regular stamps you already have. This works but requires time and a good printer.
Mid-range ($75-150 for 100 guests): Etsy template ($15), professional printing from Vistaprint or local shop ($60-100), stamps ($50ish for returns).
Higher end ($200-400 for 100 guests): Premium template or semi-custom design, high-quality printing from Minted or boutique printer, fancy cardstock, maybe some foil accents if you’re feeling it.
Going fully digital saves you basically all of these costs except maybe a premium website platform subscription, which is usually $20-80 total depending on the service.
Special Situations And How To Handle Them
Destination weddings need earlier RSVP deadlines—like 2-3 months before—because people need to book travel. Your response card should probably include a note about booking info or direct them to your wedding website for hotel blocks and travel details.
If you’re having a adults-only wedding, don’t put “adults only reception” on the response card because that’s kinda… it comes across harsh. Instead, address your envelopes only to the adults invited and if someone RSVPs with their kids included, you or your parents need to give them a call to clarify. It’s awkward but necessary.
For guests you’re giving plus-ones to, write “and guest” on the envelope and make sure the response card has a line for them to write their guest’s name. Don’t make them guess if they can bring someone—be explicit in your addressing.
The Reality Of Response Card Drama
I’m gonna be real with you—no matter how clear and perfect you make your response cards, someone will mess it up. Someone will check “accepts” and then write “so sorry can’t make it!” in the notes section. Someone will RSVP for six people when you only invited two. Someone will send back a blank card. Someone will fill it out in a language you don’t speak (this happened to me with a client once, we had to find a translator).
This is just part of wedding planning and you gotta roll with it. Have a sense of humor about it, maybe save the weirdest responses to laugh about later, and just… follow up with people when you need clarification. Most of the time they didn’t mean to be confusing, they just sorta weren’t paying attention or didn’t understand what you were asking for.
The response card is basically your data collection tool dressed up in pretty fonts and cardstock. Treat it like the functional piece it is while making it look nice enough that it fits with your wedding aesthetic, and you’ll be fine. Download a template that works for your style, customize it with your info, print or go digital, and then prepare yourself for the inevitable chaos of human beings trying to respond to things. That’s really all there is to it.
