
Planning Guides, Style Guide
Wedding RSVP Template: Response Card Free Downloads
Jul
Getting Your RSVP Cards Sorted Without Losing Your Mind
Okay so RSVP cards are honestly one of those things that seem super simple until you’re actually creating them and then you realize there’s like a million tiny decisions to make. I’ve been doing this for almost two decades now and I still see couples stress about response cards more than they stress about their actual vows sometimes.
The basic function is simple right? You need to know who’s coming to your wedding. But the execution… that’s where people get tangled up. Let me walk you through what actually works because I’ve seen what doesn’t work about a thousand times.
What Actually Needs to Be On Your RSVP Card
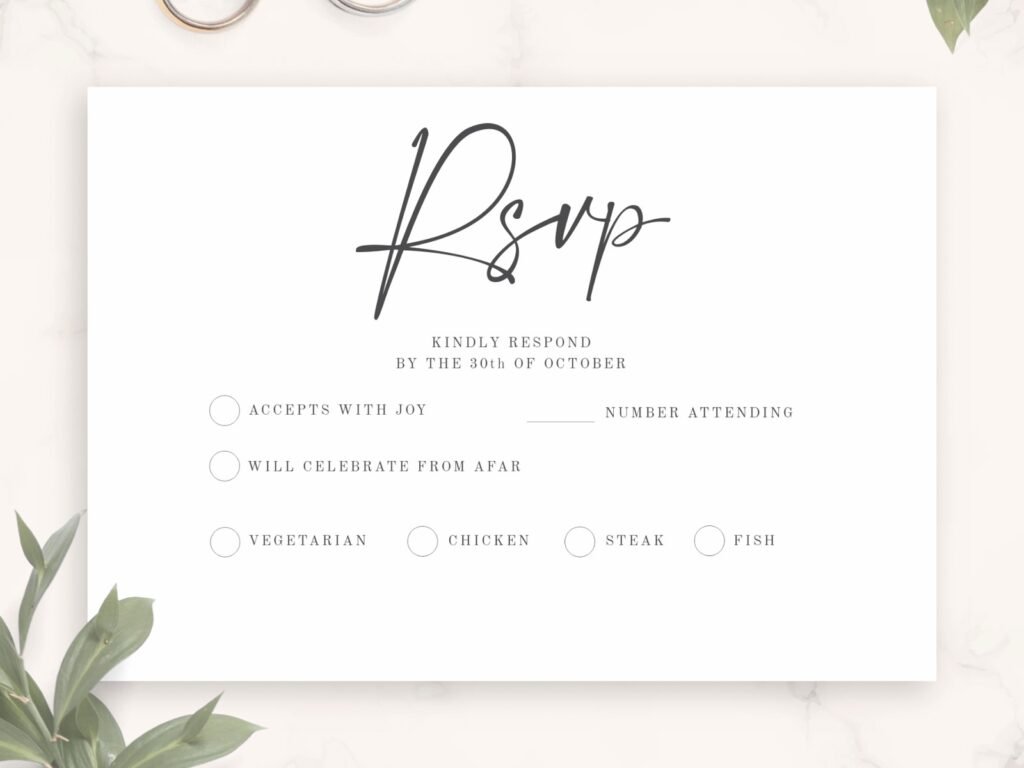
The essential elements are pretty straightforward but you’d be surprised how many templates out there are missing critical pieces. You need:
- A blank line for guests to write their names
- Accept/decline checkboxes or fill-in options
- Number of guests attending (this is crucial)
- Meal choices if you’re doing plated dinner
- The response deadline date
- Dietary restrictions space (optional but super helpful)
That’s it. Don’t overcomplicate it. I had this bride back in spring 2023 who wanted to include a whole questionnaire about song requests, drink preferences, and whether guests preferred indoor or outdoor ceremony seating and it was just… no. People won’t fill out a novel. They’ll skip questions or worse, not send it back at all.
The Free Template Situation
So there are tons of free RSVP templates out there and honestly most of them are totally usable. The trick is knowing where to look and what formats actually work for your situation.
Canva has probably the biggest selection of free wedding RSVP templates. You can customize colors, fonts, add your own wording. The free version gives you plenty of options and you can download as PDF or print-ready files. I use Canva templates for clients all the time when they’re on a tight budget.
Microsoft Word and Google Docs both have template galleries. They’re more basic looking but functional. If you’re not super design-oriented and just need something clean and simple, these work perfectly fine. You can find them by searching “RSVP card” in the template section.
Etsy has free templates too actually. Some sellers offer free versions as samples of their paid collections. You gotta search “free RSVP template” specifically and filter by price. The quality varies wildly though.
Pinterest links to a bunch of free downloads but be careful because like half of them lead to sites that want your email address and then send you spam forever. I learned this the hard way when I was trying to help a client in 2021 and ended up on seventeen different wedding vendor mailing lists.
What Size Should Your Response Cards Be
Standard RSVP cards are usually 5×3.5 inches or 4.25×5.5 inches. The smaller size fits in an A1 envelope, the larger in an A2. This matters because you’re gonna need to buy envelopes and if your card is a weird size, you’ll pay way more for custom envelopes or spend hours trying to find something that fits.
Most free templates come in standard sizes but double-check before you print 150 of them. I’ve seen people print custom sizes and then have a meltdown when they realize envelopes cost three times what they budgeted.
The Wording Part That Everyone Overthinks
You don’t need to be super formal unless your wedding is black-tie formal. Here are some options that work:
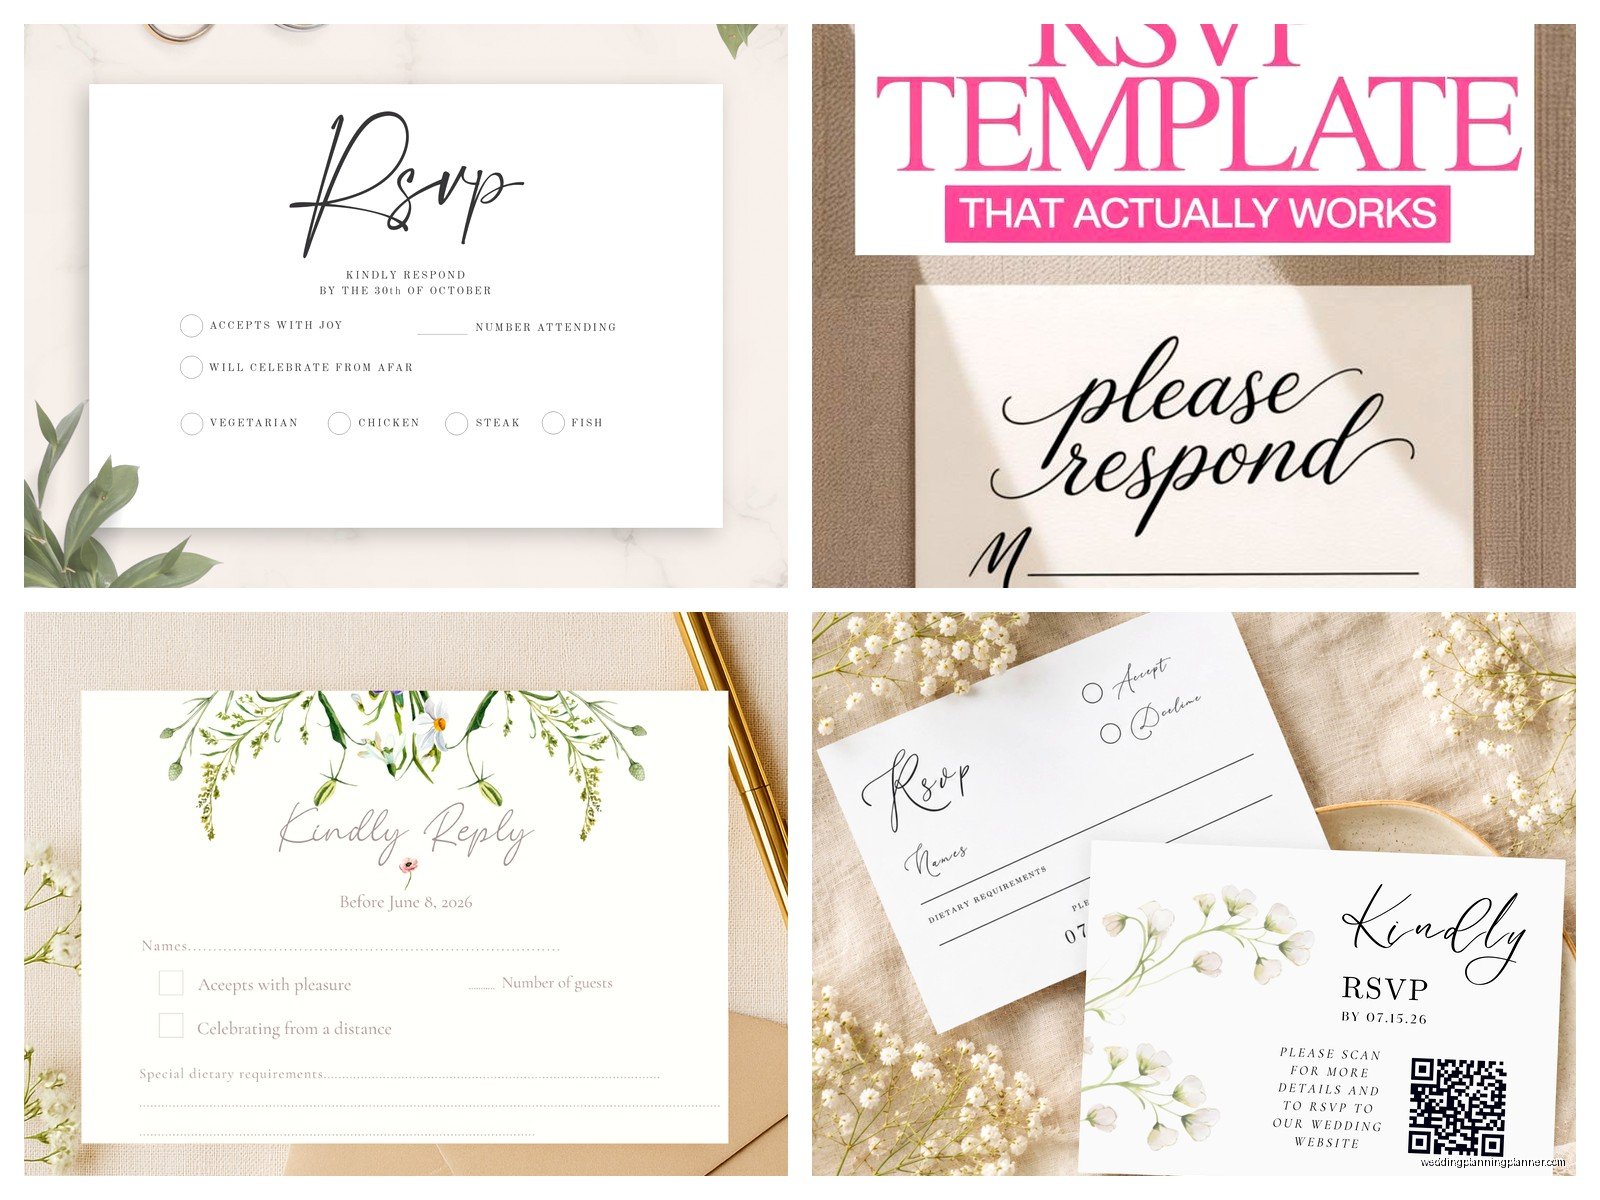
Traditional:
M_________________
____ accepts with pleasure
____ declines with regret
Casual:
Name(s): _______________
____ Can’t wait! I’ll/We’ll be there
____ Sorry, can’t make it
Straightforward:
Please respond by [date]
Name: _______________
Number attending: _____
____ Joyfully accepts ____ Regretfully declines
The “M____” line is kinda old-fashioned honestly. It’s meant for guests to write “Mr. and Mrs.” or “Ms.” but half the people don’t know what it means anymore and just write their first names. Which is fine! But if you want to avoid confusion just write “Name(s)” instead.
The Meal Choice Situation
If you’re doing a plated dinner you need meal choices on the card. This is non-negotiable. Your caterer needs counts and your venue needs to know who gets what.
Format it like this:
Please select one entrée per guest:
____ Chicken ____ Beef ____ Vegetarian
Guest 1: ____________ Selection: ______
Guest 2: ____________ Selection: ______
What drives me absolutely insane is when couples don’t include a space for guests to write WHICH person wants WHICH meal. Then you get a card back that says “2 attending, 1 chicken 1 beef” but you don’t know who wants what. Your caterer can’t exactly ask each guest at dinner what they ordered six weeks ago. So you need names connected to choices or you’ll have chaos.
The Response Deadline Date
Set your RSVP deadline for about 3-4 weeks before the wedding. This gives you time to track down the people who inevitably don’t respond (and there will be people who don’t respond, I promise you this).
Make the deadline super visible on the card. I usually put it at the top: “Kindly respond by June 15th” or whatever date. Don’t bury it in small text at the bottom.
Some templates have really elaborate wording like “The favor of your reply is requested by the fifteenth of June” which is fine if that matches your vibe but “Please respond by June 15” works just as well and is clearer.
Return Address Printing
You need to include a pre-addressed, pre-stamped envelope for the RSVP card. Yes, you pay for the stamp. Yes, even though you’re already spending a fortune on this wedding. Because if you don’t include the stamp, a bunch of people just won’t send it back.
Print your return address on the envelope or use a return address stamp. Don’t handwrite 100+ envelopes unless you have way more patience than I do or like really enjoy that sort of thing I guess.
You can get custom return address stamps on Amazon for like fifteen bucks. Game changer.
Digital RSVP Options
Okay so this is gonna be controversial maybe but… digital RSVPs are honestly easier for everyone. I know traditional paper is beautiful and I love a good printed invitation suite, but digital response collection is just more efficient.
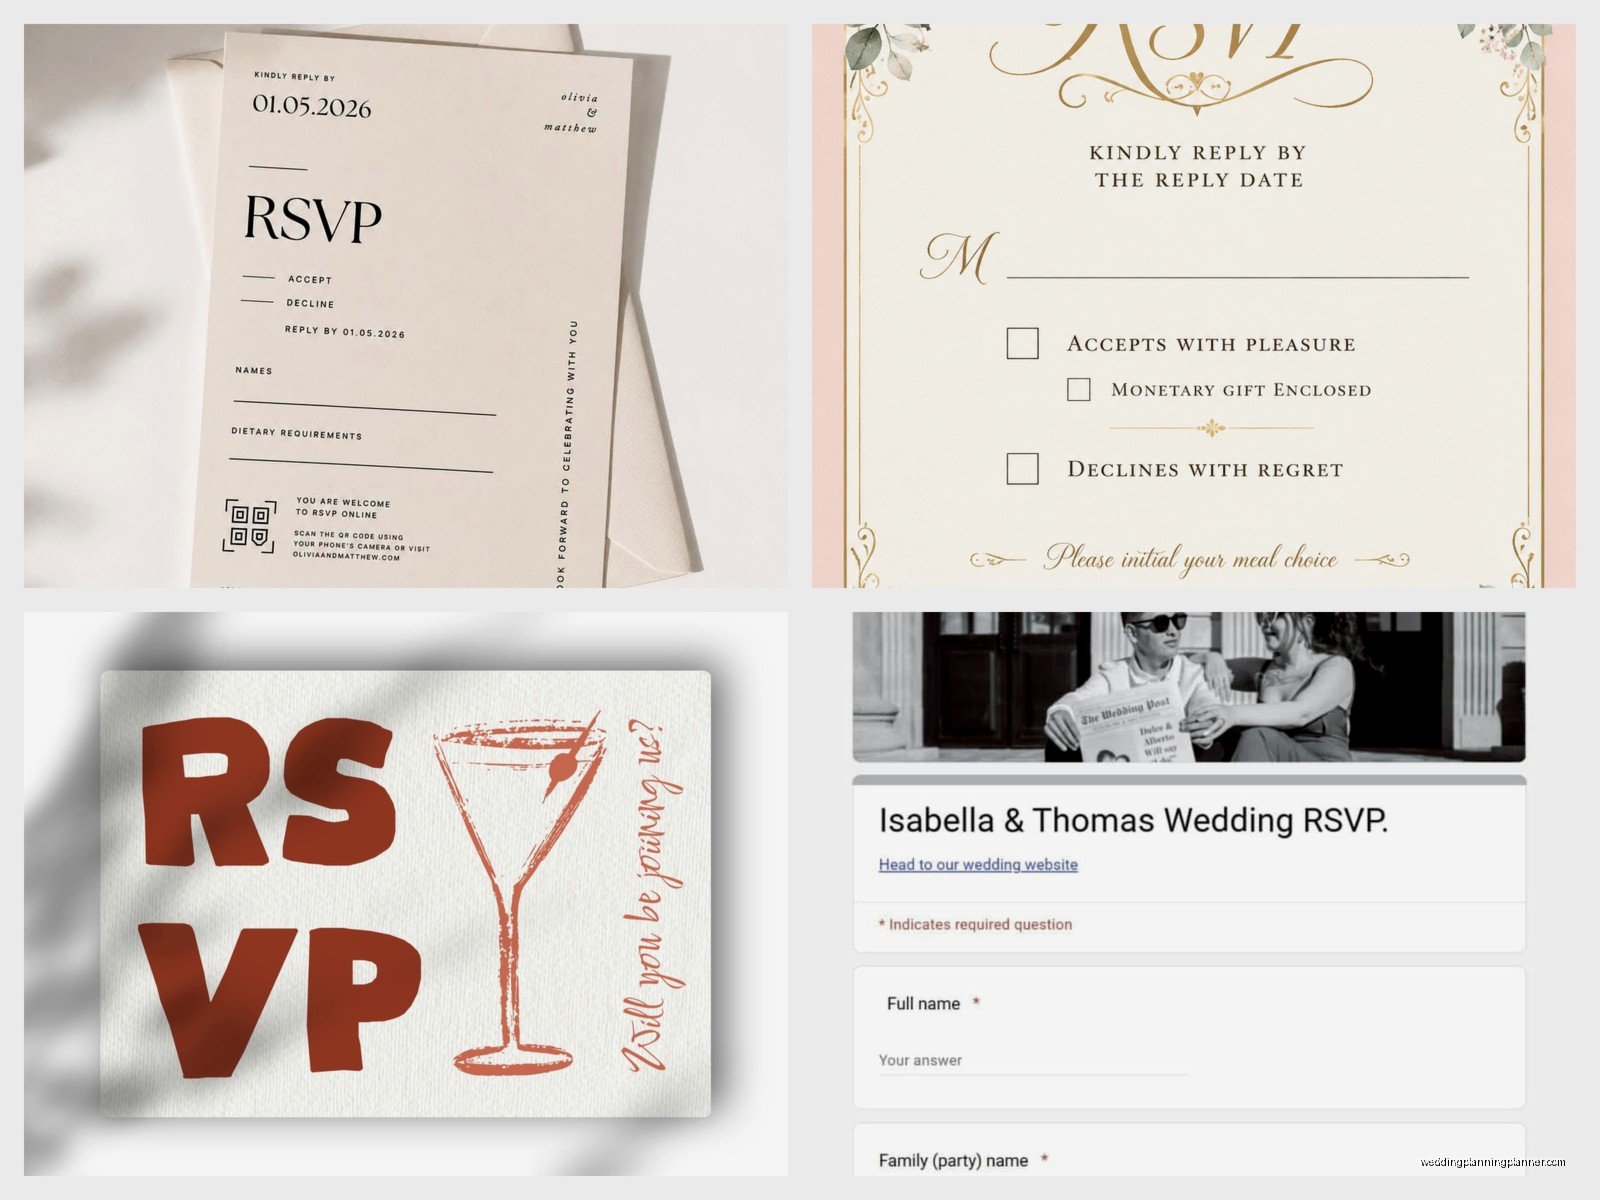
Sites like RSVPify, Withjoy, Minted, and Zola let you create free digital RSVP forms. Guests click a link, fill out their info, done. You can track responses in real-time, send automatic reminders, and don’t have to decipher anyone’s handwriting.
If you’re doing printed invitations you can still do digital RSVPs. Just include a card that says “Please RSVP online at [your website]” instead of a traditional response card. Saves you money on printing, envelopes, and stamps.
Some older guests might prefer paper though so you could offer both options. My cat just knocked over my coffee while I’m writing this, great timing buddy… anyway where was I, oh right, offering both options means printing some paper RSVPs for grandparents and relatives who aren’t computer people.
Customizing Free Templates
When you download a free template you’re probably gonna want to customize it to match your wedding colors and style. Most templates let you change:
- Colors and background
- Fonts (but keep it readable, fancy script fonts are hard to read in small sizes)
- Text and wording
- Layout and spacing
Don’t go too crazy with design elements. Your RSVP card needs to be functional first, pretty second. I’ve seen cards that were so covered in floral graphics and decorative fonts that guests couldn’t figure out where to write their names.
Keep adequate white space. Leave room for people to actually write. Some people have large handwriting and if you’ve got tiny little lines they’ll write outside the lines or cram it in and then you can’t read it.
Printing Your RSVP Cards
You’ve got a few options for printing:
Home printer: Fine for small weddings (under 50 guests). Buy cardstock, not regular paper. 80lb or 100lb cardstock works well. Cut them yourself with a paper cutter (you can get one for like twenty dollars).
Print shop: FedEx Office, Staples, local print shops. Bring your file on a USB drive or email it. They can print and cut for you. Costs more than home printing but looks more professional and saves you time.
Online printing services: Vistaprint, Moo, Catprint. Upload your file, they print and ship to you. Usually cheapest for quantities over 100. Quality is generally good and you don’t have to do any of the work yourself.
Whatever you do, print a test copy first. Check that everything fits, colors look right, text is readable. I had a couple once who printed 200 cards and then realized the response deadline date was wrong because they’d used an old template version. Had to reprint everything.
Matching Your Invitation Suite
Your RSVP card should coordinate with your main invitation obviously. This doesn’t mean it has to be identical but it should feel like they go together. Match the:
- Color scheme
- Font families (use the same fonts)
- Overall style (formal, casual, rustic, modern, whatever)
- Paper quality if you’re printing
A lot of free template sites offer complete invitation suites where the invitation, RSVP card, details card, and envelopes all match. This is the easiest route if you want a cohesive look without hiring a designer.
Information That Doesn’t Go On The RSVP Card
Keep your RSVP card focused on the response itself. Other information goes on separate cards or your wedding website:
- Hotel accommodation info – put this on a details card
- Registry information – never goes on any invitation piece, only on your website or by word of mouth
- Dress code – goes on the main invitation or details card
- Directions – put on details card or direct people to your website
- Wedding party names – doesn’t need to be anywhere in the invitation suite honestly
I see people trying to cram everything onto the RSVP card and it just gets cluttered and confusing. One purpose per card.
Tracking Responses
Whether you do paper or digital RSVPs you need a system to track who’s responded. I use a simple spreadsheet with columns for:
- Guest name
- Number invited
- Number attending
- Meal choices
- Dietary restrictions
- Response received date
Update it as responses come in. This makes it easy to see who hasn’t responded yet so you can follow up. And you’ll definitely need to follow up with people because there’s always that group who just… doesn’t send it back even though they’re planning to come.
Common RSVP Card Mistakes
Things I see people mess up all the time:
Not numbering your guest list: If you put a tiny number on the back of each RSVP card that corresponds to your guest list, you can identify who sent it even if they don’t write their name clearly or at all. Sounds paranoid but it happens more than you’d think.
Using “number of seats reserved in your honor” instead of being direct: Just say how many people are invited. If you invited John Smith and guest, write “2 seats” or “John Smith and guest” on the envelope. Don’t make people guess.
Not including a response option for declining: People need a way to say no. If you only have an “accepts” option, people who can’t come won’t know what to do and might not respond at all.
Making the deadline too close to the wedding: You need time to get final counts to vendors, make seating charts, and track down non-responders. Three to four weeks minimum.
Forgetting the stamp on the return envelope: Already mentioned this but it’s worth repeating because it’s such a common mistake.
Alternative RSVP Formats
The traditional card isn’t your only option. Some alternatives:
Postcard RSVPs: Save money on envelopes. The response info is on one side, your address on the other. Guests just add a stamp and mail it. Cheaper to mail too since postcards cost less than letters.
Tear-off RSVPs: The RSVP is attached to the invitation and guests tear it off and send it back. Kinda gimmicky but some people like it.
QR code on printed invitation: Print your invitation but include a QR code that links to your digital RSVP form. Good middle ground between traditional and digital.
When You’re Not Using Templates
If you wanna create something from scratch you can use programs like Photoshop, Illustrator, or even PowerPoint. Set up your document at the actual size you want (like 5×3.5 inches), design it however you want, export as PDF for printing.
This gives you complete control but takes more time and skill. For most people templates are honestly the better choice unless you really enjoy design work or have specific vision that templates can’t accommodate.
Budget Considerations
RSVP cards can range from basically free (digital) to several dollars per card (custom letterpress). Here’s roughly what you’re looking at:
Digital RSVPs: Free to maybe $50 if you use a premium website service
Home printed: $20-50 for cardstock, envelopes, stamps
Print shop: $100-300 depending on quantity and quality
Online printing service: $75-200 for 100 cards
Custom professional printing: $200-500+
Don’t forget to budget for return postage. If you’re inviting 100 guests that’s potentially 100 stamps you’re buying at current rates which adds up.
Timing For Sending RSVPs
Send your invitations (with RSVP cards) about 6-8 weeks before the wedding. For destination weddings send them 3-4 months out. This gives people time to make arrangements but isn’t so early that they forget about it or their plans change.
You’ll start getting responses pretty quickly, then there’ll be a lull, then you’ll get a bunch right at the deadline, then you’ll have to chase down the stragglers who missed the deadline completely. This is just how it goes every single time.
I usually tell couples to expect about 20% of invited guests to need a follow-up reminder. It’s not that they’re rude necessarily, people just forget or think they responded when they didn’t or the card got lost in the mail or whatever. Build in time for this follow-up phase.
