
Planning Guides, Style Guide
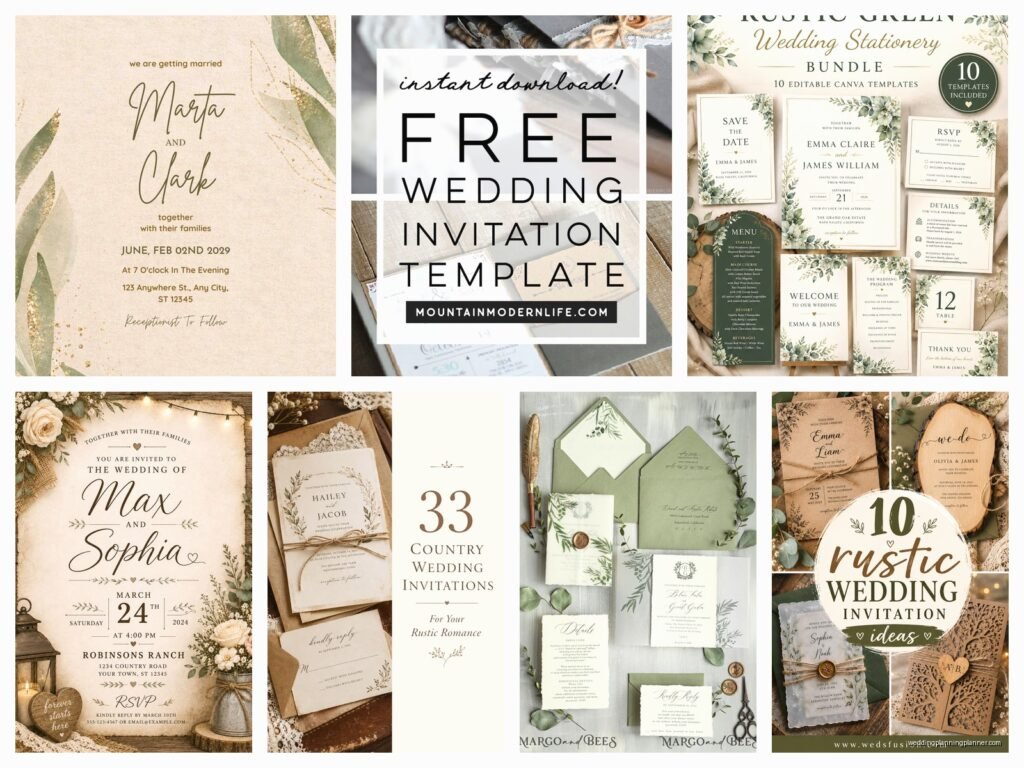
Rustic Wedding Invitation Templates: Country Downloads
Jul
Finding the Right Rustic Templates Without Losing Your Mind
So rustic wedding invitations are basically everywhere right now and honestly they’ve been popular for like the past decade but people still want them. The country vibe, the mason jars, the burlap texture in the background… you know what I’m talking about. When you’re looking for downloadable templates, you gotta know where to actually find quality ones because there’s SO much junk out there.
Start with Etsy because that’s where most of the good independent designers are selling their stuff. You can filter by “digital download” and “rustic wedding invitation” and boom, you’ll get like 10,000 results. I usually sort by reviews because back in spring 2023 I had this bride who bought a template from some random shop with no reviews and the files were completely corrupted. We spent three days going back and forth with the seller who barely spoke English and it was a nightmare. So yeah, check those reviews first.
What File Types You Actually Need
This is where people mess up constantly. You need to know what file format works for you before you download anything. Most templates come in PDF, which is easy to edit if they’re set up right in Adobe Acrobat or even Canva sometimes. Then there’s PSD files which are Photoshop files and honestly unless you know Photoshop or have someone who does, these can be annoying to work with.
The best ones I’ve found are Canva templates because you can edit them right in your browser without downloading any software. You just need a Canva account which is free for the basic version. The paid templates on Canva usually run between $8 and $25 and they’re super easy to customize. You click on the text boxes, change the names and dates and venue info, maybe swap out a color or two, and you’re done.
Word templates exist too but like… they’re kinda terrible? The formatting always gets weird when you try to print them and the fonts never look right. I had a client in summer 2021 who insisted on using a Word template her sister made and we literally spent four hours trying to get the margins correct for printing. Never again.
Design Elements That Actually Look Country Without Being Tacky
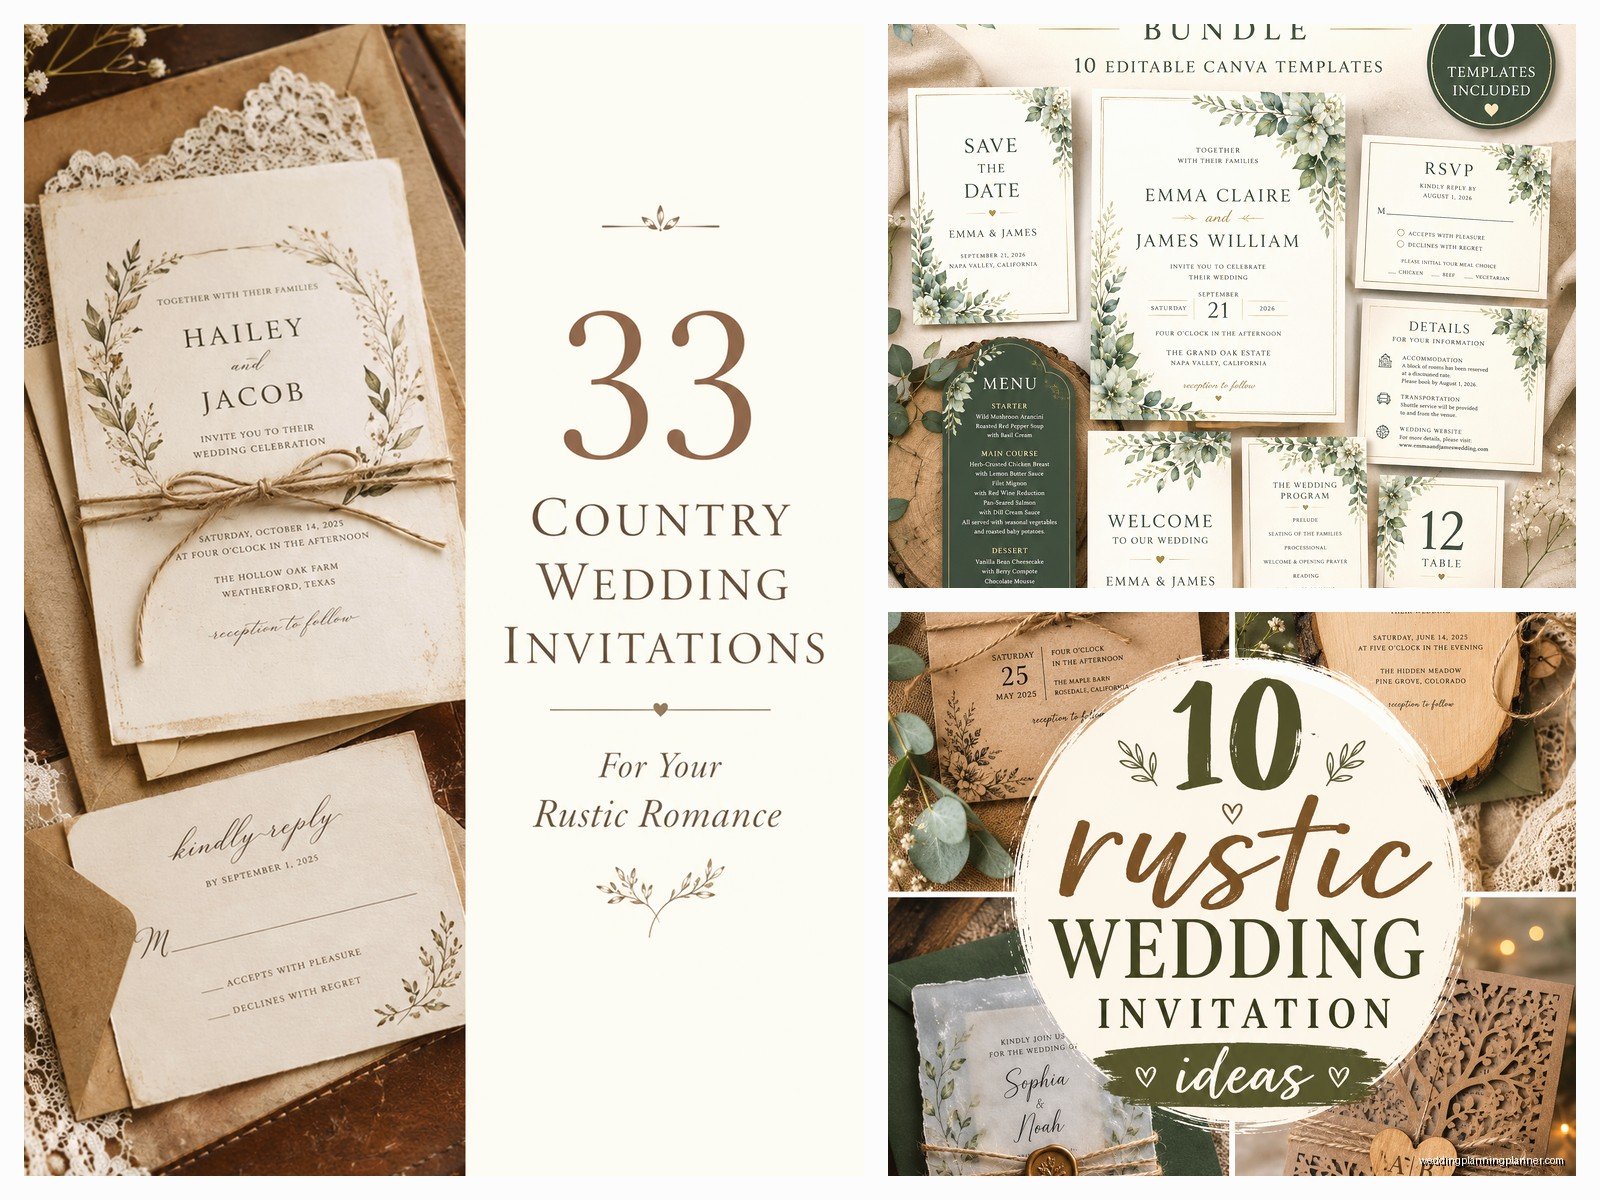
Okay so rustic doesn’t have to mean burlap and twine on everything even though that’s what a lot of templates default to. Look for designs that have:
- Wood grain textures or backgrounds that look like barn wood
- Wildflower illustrations – sunflowers, daisies, lavender sprigs
- Script fonts paired with simple sans-serif fonts
- Earth tones like sage green, dusty blue, terracotta, cream
- Subtle lace or doily patterns if you want something more vintage-rustic
- Antler or branch graphics if you’re going for a woodsy vibe
What really annoys me is when templates have like ten different fonts all competing with each other. A good rustic template should have maybe two or three fonts MAX. One fancy script for names, one clean font for details, and maybe an accent font for like “Save the Date” or whatever. When there’s too many fonts it just looks messy and chaotic.
Where to Download Templates For Free vs Paid
Free options exist but they’re limited. Canva has free rustic templates in their library that you can customize. They’re pretty basic but if you’re on a tight budget they work fine. Just search “rustic wedding invitation” in Canva’s template search and filter by free. You’ll probably get some options with flowers and wood backgrounds.
Creative Market is another spot where designers sell templates and they do “Free Goods” every Monday where you can download free design resources. I’ve gotten some decent invitation templates from there before. You have to sign up for their newsletter but it’s worth it if you’re gonna be browsing anyway.
For paid templates, Etsy is still my go-to. Prices range from like $5 for super simple ones to $40 for full invitation suites with RSVP cards, details cards, thank you cards, the whole package. The mid-range ones around $15-20 are usually the sweet spot for quality.
Minted and Zazzle also have downloadable templates but they’re more expensive and honestly you’re paying for the brand name. The actual designs aren’t necessarily better than what you’d find on Etsy from independent designers.
Customizing Your Template Without Breaking It
So you’ve downloaded your template and now you need to actually make it yours. First thing – MAKE A COPY of the original file before you start editing. I cannot stress this enough because if you mess something up, you want to be able to start over without having to re-download and potentially lose your purchase.
Most templates come with instructions from the designer. Actually read them. I know, revolutionary concept, but seriously they’ll tell you which layers you can edit, which fonts they used, what color codes they have in the design. This saves you so much time.
When you’re changing text, keep the same general length as what was there originally. If the template says “John and Jane” and your names are “Christopher and Alexandria,” the text might not fit the same way. You might need to adjust the font size or letter spacing to make it work. This is super common and nothing to panic about.
Font Substitutions That Won’t Ruin the Vibe
Sometimes the template uses a font you don’t have installed on your computer or isn’t available in Canva. You’ll need to find a substitute that matches the style. For rustic designs, some reliable fonts are:
- Great Vibes or Allura for fancy script
- Montserrat or Lato for clean sans-serif text
- Bebas Neue for bold header text
- Josefin Slab for a country-vintage feel
Google Fonts is free and has tons of options. Just search for the style you need like “handwriting fonts” or “serif fonts” and test a few until something looks right. My cat literally walked across my keyboard while I was font-testing last week and somehow selected the perfect font, so sometimes you just get lucky I guess.
Printing Your DIY Invitations
This is where things get real because you can have the most beautiful template in the world but if it prints weird, nobody’s gonna know. You need to think about paper weight and finish before you even download templates because some designs only look good on certain paper types.
Rustic invitations usually look best on matte cardstock, somewhere between 80lb and 110lb weight. The heavier the weight, the more premium it feels. Kraft paper is super popular for rustic themes – it’s that brown paper bag texture and it gives major country vibes. You can get kraft cardstock at any craft store or order it online.
For printing, you’ve got a few options. You can print at home if you have a decent printer that can handle cardstock. Most home printers can do 80lb cardstock but struggle with anything heavier. Make sure you do test prints on regular paper first to check margins and alignment before you waste your good cardstock.
Printing at a local print shop usually costs between $1-3 per invitation depending on paper quality and whether you want any special finishes. FedEx Office and Staples both do invitation printing and they’re pretty reliable. Just bring your file on a USB drive or email it to them.
Online printing services like Catprint or PrintPlace are cheaper if you’re doing large quantities – like 100+ invitations. They take a few days for shipping but the quality is usually really good and they have lots of paper options.
Common Download and File Issues
Okay so sometimes you download a template and it just… doesn’t work right. Here’s what usually goes wrong:
The colors look different on screen than when printed. This is because screens use RGB color and printers use CMYK color. If your template doesn’t specify CMYK values, your sage green might print as a weird gray-green. Most professional templates will include both RGB and CMYK versions or at least list the color codes.
The resolution is too low. You need at least 300 DPI (dots per inch) for print quality. If your template is only 72 DPI, it’ll look pixelated and blurry when printed. Check the file specifications before buying. This should be listed in the product description.
Fonts are missing or substituted. If you open a PSD file and don’t have the fonts installed, Photoshop will substitute them with system fonts and everything will look wrong. The designer should include a font list with the template. You’ll need to download and install those fonts before editing, or find similar alternatives.
The file won’t open. This usually means you don’t have the right software. PSD files need Photoshop or a program that can open PSD files like GIMP (which is free). AI files need Adobe Illustrator. PDF files can usually be edited in Adobe Acrobat Reader but not always – some PDFs are flattened and can’t be edited at all.
Creating a Full Suite From One Template
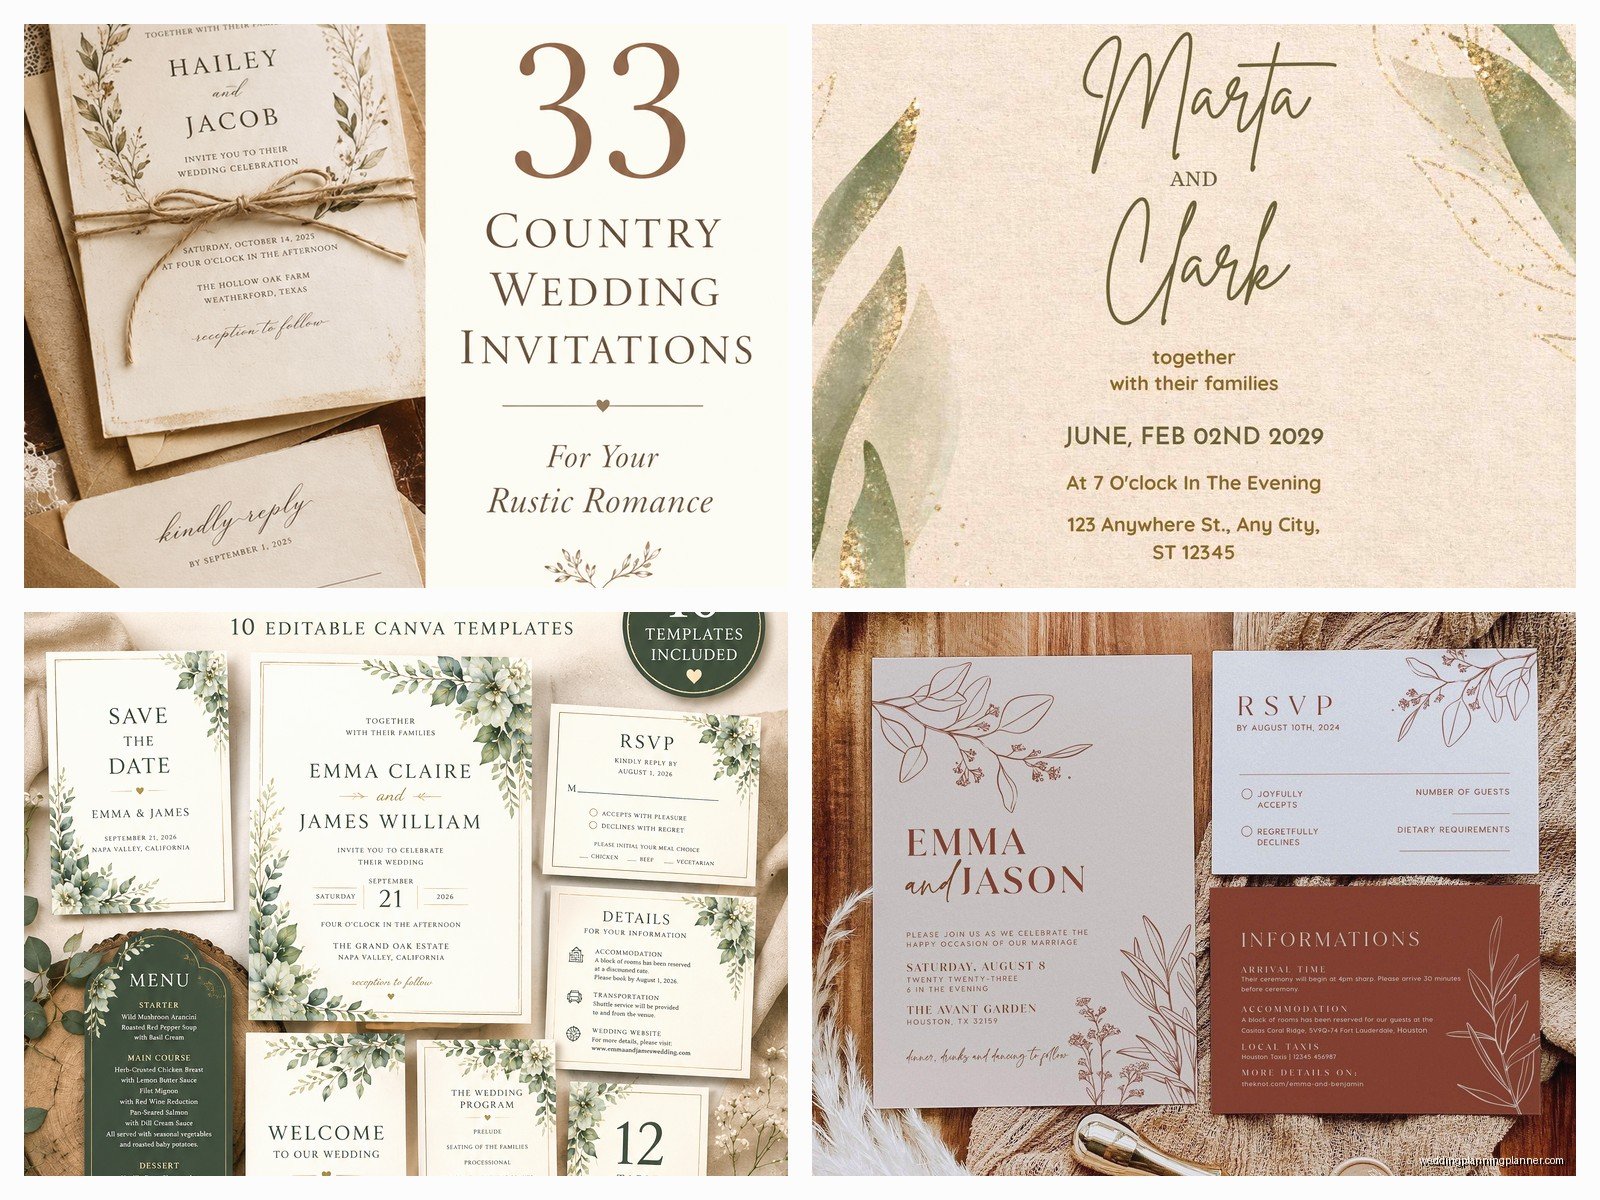
Most downloadable templates come as a suite with multiple pieces – the main invitation, RSVP card, details card, maybe a thank you card. If yours doesn’t and you want matching pieces, you can usually create them yourself using the same design elements from the main invitation.
Copy the background texture, the flower graphics, the fonts, and the color scheme. Then create new documents in the right sizes – RSVP cards are usually 4.25″ x 5.5″ or 5″ x 3.5″, details cards are similar. Just keep the same visual style and spacing and it’ll look cohesive.
I always tell clients to make sure their RSVP card actually includes all the info you need. Like, you need a line for names, meal choices if you’re doing a plated dinner, and a date by which they need to respond. Sounds obvious but I’ve seen so many RSVP cards that just say “Please respond by June 1st” with nowhere to actually write anything. Then people just… don’t respond because they don’t know how.
Envelope Addressing and Assembly
So you’ve got your printed invitations and now you need to address envelopes. You can hand-write them if you have nice handwriting, but honestly that takes forever. I did that for my own wedding and my hand cramped up after like twenty envelopes.
You can print addresses on envelopes using your home printer if it has an envelope feed. Most printers do. Just set up a mail merge in Word or use a template. Or you can print on labels and stick them on the envelopes, but that looks kinda cheap for wedding invitations in my opinion.
Better option is to find a calligrapher on Etsy or locally who does envelope addressing. Prices vary wildly from $1-5 per envelope depending on the style and… actually that might be out of budget for a lot of people who are going the DIY template route in the first place, so maybe just practice your handwriting or find a friend with good handwriting and bribe them with pizza.
For assembly, the traditional way is invitation on bottom, then any details cards or reception cards, then RSVP card with its envelope on top. Some people use a belly band (a strip of paper or ribbon around the middle) or a vellum overlay to hold everything together. Rustic weddings sometimes use twine or burlap ribbon which looks cute but is a pain to tie 150 times, just warning you.
Timeline for DIY Template Invitations
You need more time than you think for this whole process. Here’s a realistic timeline:
- 6-8 weeks before you need to mail them: Start looking for templates
- 5-6 weeks before: Purchase and customize your template
- 4-5 weeks before: Order paper and do test prints
- 3-4 weeks before: Print all invitations
- 2-3 weeks before: Assemble and address everything
- 2 weeks before the RSVP deadline: Mail them out
People always underestimate how long assembly takes. If you’re doing 100 invitations with multiple inserts and you’re tying them with ribbon, that’s gonna take you several hours minimum. Maybe have a invitation assembly party with your bridesmaids or family and make it fun rather than tedious.
One more thing – order extra paper and print extra invitations. You WILL mess some up. You’ll print on the wrong side, or the printer will jam and wrinkle one, or you’ll spill coffee on a stack (okay that might just be me but still). I always tell people to print 10-15% extra just in case. Extra invitations are also good to have for keepsakes or if you realize you forgot to invite someone.
