
Planning Guides, Style Guide
Wedding Planning Google Sheets: Cloud Spreadsheet Templates
Jul
Why Google Sheets Actually Works for Wedding Planning
So I switched to Google Sheets for wedding planning back in spring 2023 after one of my brides texted me at 11pm asking about the guest count and I was sitting on my couch with my laptop dead and I just… pulled up the sheet on my phone and had the answer in like 10 seconds. That’s when it clicked for me that cloud spreadsheets aren’t just convenient, they’re kinda essential now.
The whole point is that everything lives in the cloud. You can access it from your phone while you’re at the florist, your partner can update RSVPs from work, your mom can check the vendor list without calling you seventeen times. It’s all there, updating in real time, and nobody has to email anyone a new version with “FINAL_v3_ACTUAL_FINAL” in the filename.
Setting Up Your Master Wedding Planning Sheet
Start with one main spreadsheet file that has multiple tabs at the bottom. This is gonna be your wedding bible basically. I usually set up these tabs first:
- Budget tracker
- Guest list with meal choices and RSVPs
- Vendor contact info and payment schedules
- Timeline for the wedding day
- Task checklist with deadlines
- Seating chart
You don’t need all of these right away. Start with budget and guest list because those two drive literally every other decision you’ll make.
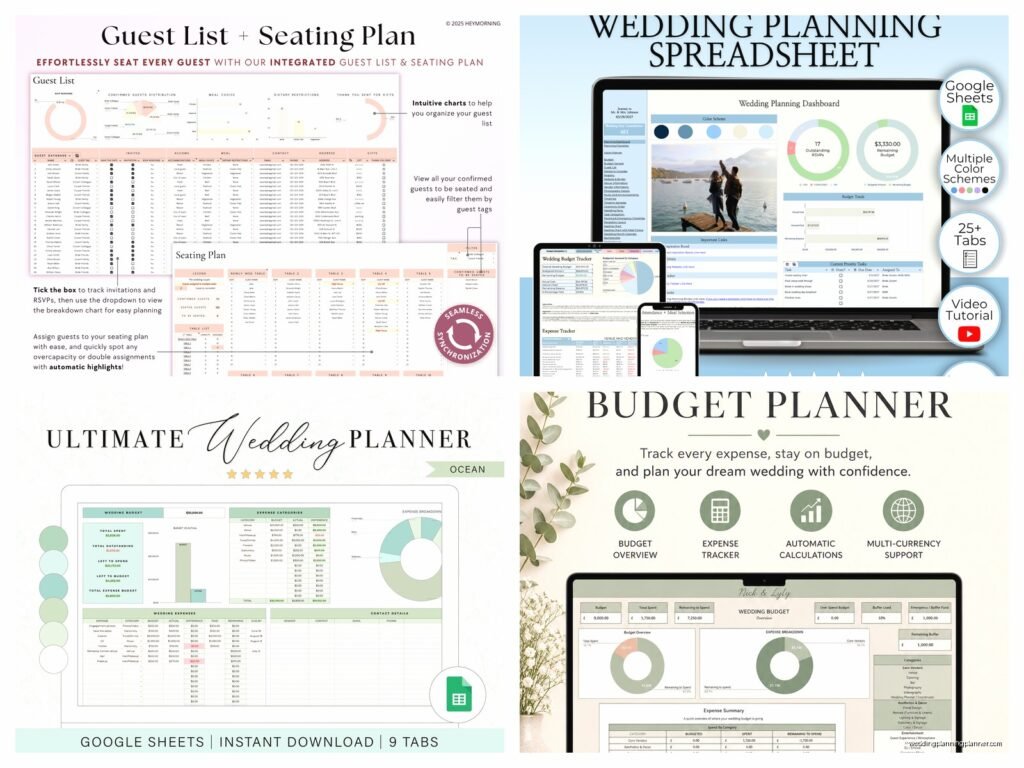
The Budget Tab Setup
Create columns for: Category, Item Description, Estimated Cost, Actual Cost, Deposit Paid, Balance Due, Due Date, and Notes. I know it sounds like a lot but trust me on this.
In the Category column, you’ll have things like Venue, Catering, Photography, Flowers, Attire, Music, Stationery (hey that’s my other specialty), Decor, Transportation, etc. Then under each category you break down the specific items.
The magic happens when you use formulas. At the top of your Estimated Cost column, use =SUM to add up everything. Same for Actual Cost. Then create a cell that shows the difference between your total budget and what you’ve actually spent. You can use conditional formatting to make that cell turn red if you’re over budget — which honestly stresses some people out but I find it helpful in a scary way.
What really annoyed me for years was couples who didn’t track their deposits separately from final payments. They’d think they had $5,000 left in their budget but actually they had already committed that money in deposits and just hadn’t paid the balance yet. So that Balance Due column? Super important.
Guest List Tab That Actually Works
This is where Google Sheets really shines over Excel or paper lists because multiple people need to access this constantly. Your columns should include:
- Guest Name
- Address (for invitations)
- Email and Phone
- Guest Category (his family, her family, friends, coworkers, etc.)
- Invited to (ceremony only, ceremony and reception, rehearsal dinner)
- Save the Date Sent (date)
- Invitation Sent (date)
- RSVP Status (no response, accepted, declined)
- Number of Guests (some people bring a plus-one)
- Meal Choice
- Dietary Restrictions
- Table Assignment
- Thank You Note Sent
I usually add a column for gifts received too, which sounds kinda transactional but you’ll want this when you’re writing thank you notes at 2am and can’t remember if Aunt Susan gave you the KitchenAid or if that was cousin Mike.
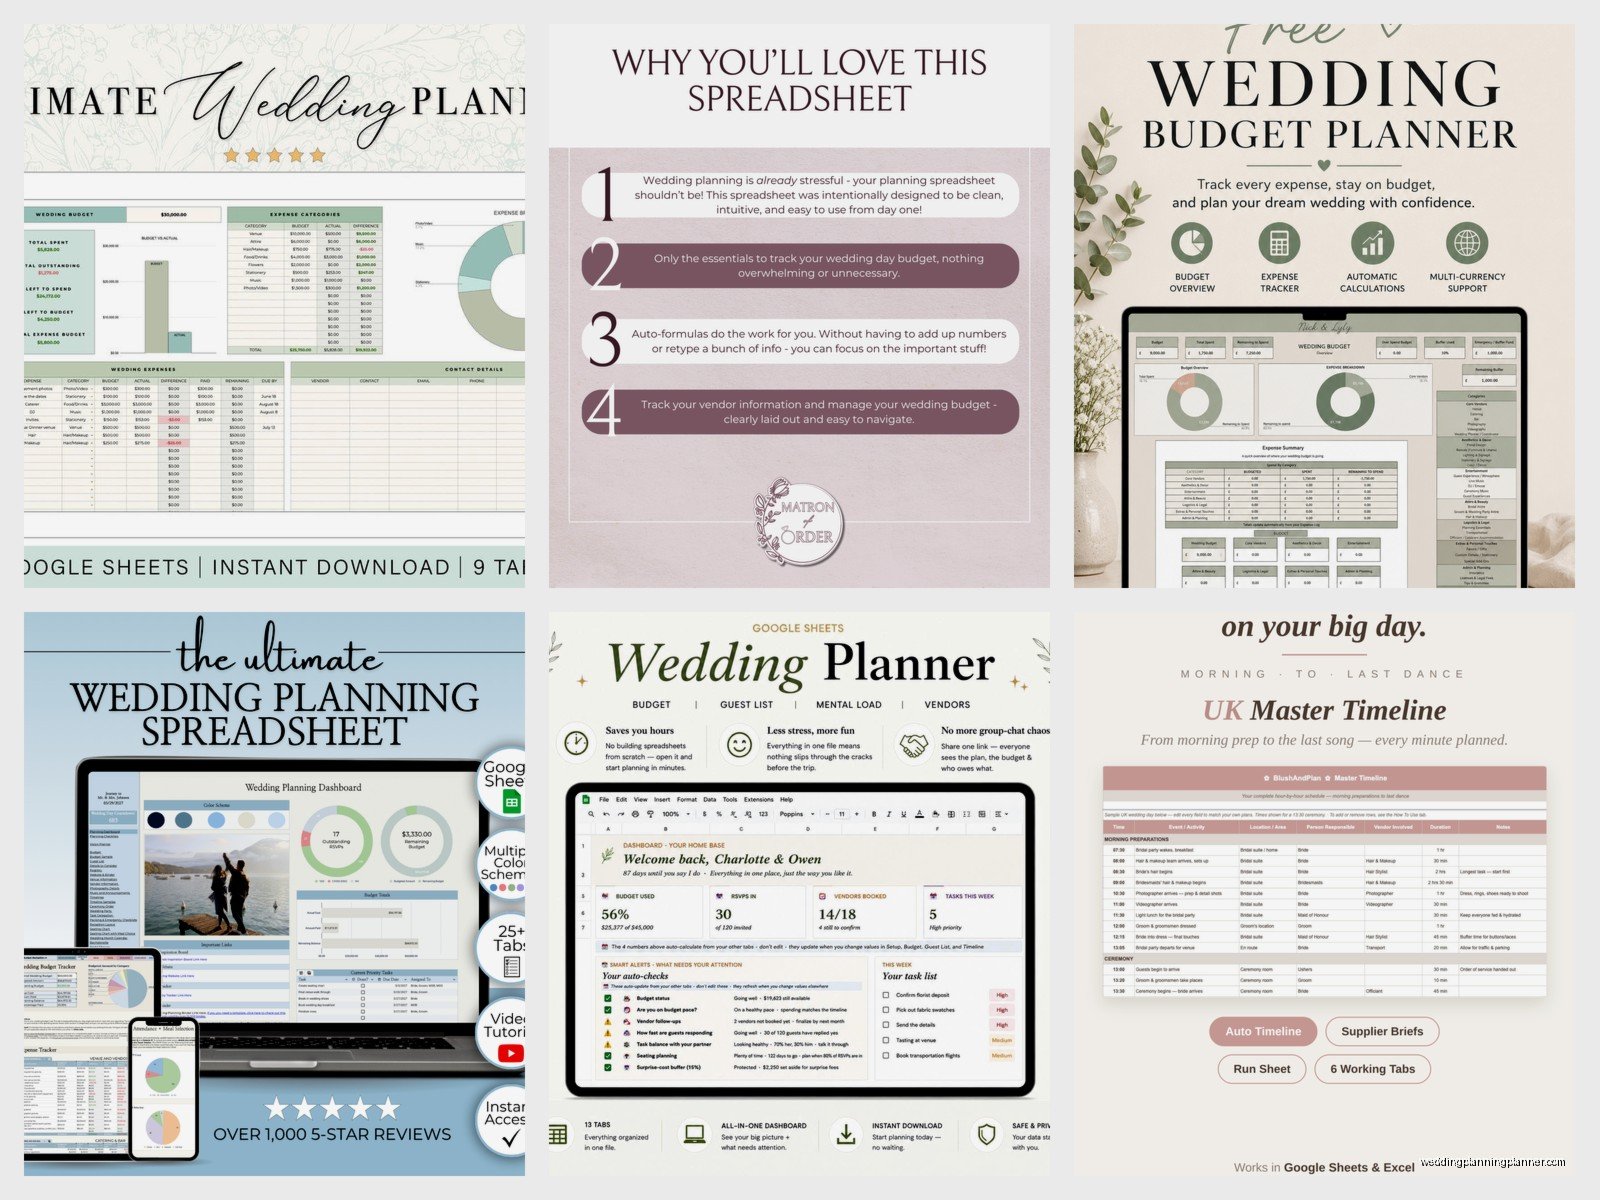
Use data validation for the RSVP Status column — click on the column, go to Data > Data Validation, and set it to a dropdown list with your options. This keeps everything consistent and you can filter by status later. Same thing for Meal Choice if you’re having options like chicken, fish, or vegetarian.
At the top of the sheet, use COUNT or COUNTA formulas to show total invited, total accepted, total declined, and awaiting response. Your caterer will need final counts and this makes it so easy.
Vendor Management Tab
This one’s pretty straightforward but saves so much time. Columns for: Vendor Category, Business Name, Contact Person, Phone, Email, Website, Contract Signed (yes/no), Total Cost, Deposit Amount, Deposit Paid Date, Balance Due, Balance Due Date, and Notes.
In the Notes column I put stuff like “needs final count 2 weeks before” or “only accepts checks” or “super responsive, usually replies within an hour” because that context matters when you’re in crunch time.
I had this moment during a rehearsal in summer 2021 where the string quartet didn’t show up and the bride was freaking out, and I pulled up my vendor sheet and had their number right there, called them, turned out they thought the rehearsal was the next day… anyway we sorted it but having all that info instantly accessible on my phone was the only thing that kept that situation from becoming a complete disaster.
Timeline and Task Management
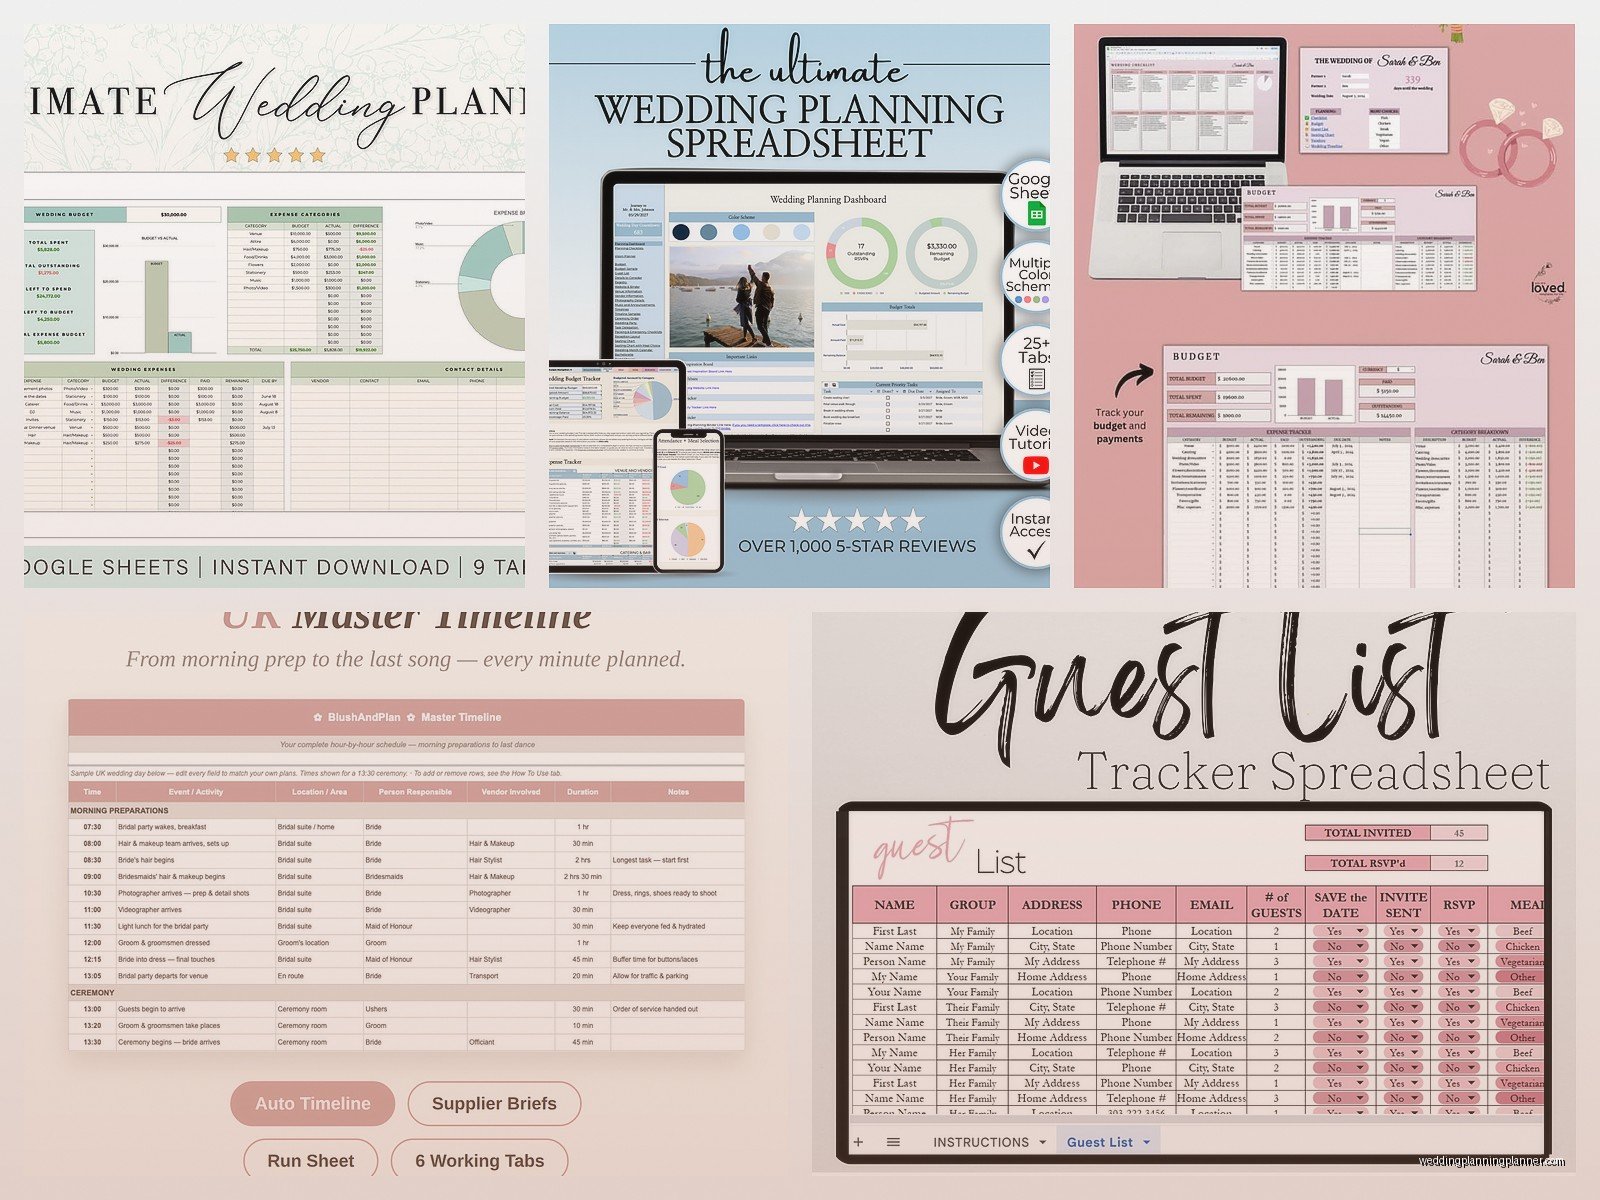
The timeline tab is for your actual wedding day schedule. I format it with columns for: Time, Duration, What’s Happening, Who’s Responsible, Location/Notes. Start from when vendors arrive for setup and go through the end of the reception.
Like: 2:00 PM – 30 min – Ceremony – Officiant/Wedding Party – Garden Area (make sure chairs are set up by 1:30). That level of detail.
For task management, you want: Task Description, Category, Assigned To, Deadline, Status (not started, in progress, completed), Priority (high, medium, low), and Notes. Use conditional formatting to highlight overdue tasks in red or yellow for upcoming deadlines.
Sort this by deadline so you always see what’s coming up next. I usually filter out completed tasks once they’re done so the list doesn’t get overwhelming, but you can always unfilter to see everything you’ve accomplished which feels good when you’re stressed.
The Seating Chart Situation
Okay so seating charts in Google Sheets are… they work but they’re not as visual as some people want. If you need something super visual with drag-and-drop, you might want a dedicated tool. But for tracking purposes, Sheets works fine.
I set it up with: Table Number, Guest Name, Meal Choice, Special Notes (needs accessible seating, should sit near dance floor, keep away from ex-husband, whatever). Then I create a separate summary section that shows each table number and how many seats are assigned versus total seats available.
Some people create a separate tab that’s literally laid out like their reception space with merged cells representing tables, and they type names into the cells. It’s not elegant but it works if you’re a visual person.
Templates You Can Actually Use
Google has a template gallery but honestly most of their wedding templates are super basic. You’re better off creating your own or finding one from a wedding planning blog and copying it into your own Google account.
To use someone else’s template: they’ll usually share a link, you click it, then go to File > Make a Copy. This creates your own version that you can edit. Never edit the original shared template because sometimes those are view-only anyway.
I have a template I’ve refined over like 50 weddings at this point and I just make a copy for each new client. Takes me maybe 10 minutes to customize it with their specific info versus building from scratch every time.
Sharing and Permissions
Click the Share button in the top right. You can share with specific email addresses or create a link that anyone with the link can access. For wedding planning, I usually give the couple “Editor” access so they can change anything, and I might give parents or the wedding party “Viewer” or “Commenter” access depending on how involved they are.
One thing that bit me once — I gave a bride’s mom editor access and she accidentally deleted an entire column of vendor contact info and didn’t realize it. Google Sheets has version history (File > Version History) so I restored it, but now I’m more careful about who gets full editing rights. Sometimes viewer access with commenting is enough because people can suggest changes without breaking stuff.
You can also protect specific sheets or ranges. Like if you want people to see the timeline but not edit it, go to Data > Protect Sheets and Ranges. Select what you want to protect and set permissions. This is useful for the budget if you don’t want everyone seeing financial details but you do want them accessing other tabs.
Formulas That’ll Save Your Life
You don’t need to be a spreadsheet expert but a few formulas make everything easier:
=SUM(A2:A50) adds up all numbers in cells A2 through A50. Use this for budget totals, guest counts, whatever.
=COUNTIF(B2:B200,”Accepted”) counts how many cells in that range say “Accepted” — perfect for RSVPs.
=IF(D2>E2,”Over Budget”,”Under Budget”) compares two cells and displays different text based on which is bigger. I use this to flag budget categories that went over.
=TODAY() shows today’s date and updates automatically. Useful for calculating how many days until the wedding or how overdue a task is.
=VLOOKUP is more advanced but incredibly useful if you’re pulling info from one tab into another… actually that might be too complicated for this guide, you can Google it if you need it.
Mobile App Tips
The Google Sheets app is honestly pretty good now. You can edit cells, add rows, use filters, everything. The screen is small obviously but for quick updates it’s perfect.
One trick: if you’re at a venue meeting and need to take notes, I add a Notes column to my vendor tab and just type directly in there from my phone. Way faster than paper notes that I have to transfer later.
You can also enable offline access in the app settings, which means you can view and edit even without internet, and it’ll sync when you’re back online. This saved me at a barn wedding venue that had zero cell service.
Stuff I Keep Forgetting But Shouldn’t
Freeze your header row so when you scroll down you can still see what each column is. Click View > Freeze > 1 row. Sounds obvious but I constantly see sheets where people are scrolling up and down trying to remember what column F is supposed to be.
Use color coding for different categories or status levels. Like maybe all your floral vendors are highlighted in light green, all your music vendors in light blue. Or tasks that are high priority get a red background. Right-click on cells and choose a fill color.
Add a Notes or Questions tab where you just dump random thoughts, questions for vendors, ideas you had at 3am. My cat walked across my keyboard once and created a tab called “jjjjjjjkkkkk” and I just renamed it Notes and started using it, so thanks Mochi for that contribution I guess.
Name your tabs clearly at the bottom. Don’t leave them as “Sheet1” and “Sheet2” because you’ll forget what’s what. Click on the tab name and rename it.
What Google Sheets Isn’t Great For
Look, it’s not perfect for everything. If you want a really beautiful visual mood board, use Pinterest or a design tool. If you need to create your actual invitations or signage, you’ll want Canva or actual design software. If you want to send automated email reminders to guests… well, you can kinda do that with Google Sheets and scripts but it’s complicated and probably not worth it.
Google Sheets is for tracking, organizing, calculating, and sharing information. It’s not for design work or communication or project management beyond basic task lists. It’s a spreadsheet, not a miracle worker.
But for the core organizational stuff that makes up like 80% of wedding planning logistics? It’s honestly hard to beat, especially since it’s free and most people already have a Google account anyway. I used to use specialized wedding planning software but I kept running into limitations or having to pay for premium features or… whatever, I just found myself coming back to good old spreadsheets because they’re flexible and I can make them work exactly how I need them to work.
The biggest thing is just to start using it early and keep it updated. A spreadsheet that’s three months out of date is worse than no spreadsheet at all because you’ll make decisions based on wrong information. Set a reminder to update it weekly, or get in the habit of updating it immediately when something changes. That’s the real secret — not the perfect template or the fanciest formulas, just actually maintaining the thing consistently so it stays useful throughout your whole planning process.
