
Planning Guides, Style Guide
Wedding Budget Template Google Sheets: Cloud Cost Tracker
Jul
Why Google Sheets Actually Works for Wedding Budgets
Okay so Google Sheets for wedding budgets is like… honestly one of the best decisions you can make and I’m gonna tell you exactly how to set this up because I’ve watched too many couples try to track everything in their Notes app or worse, just keeping receipts in a shoebox. In spring 2023 I had this couple who came to me three months before their wedding with literally no idea what they’d spent and we had to reconstruct their entire budget from credit card statements and it was a nightmare for everyone involved.
The thing about Google Sheets is it’s free, it’s in the cloud so both of you can access it from anywhere, and you can’t accidentally delete it when your phone dies. Which happens more than you’d think.
Setting Up Your Basic Template Structure
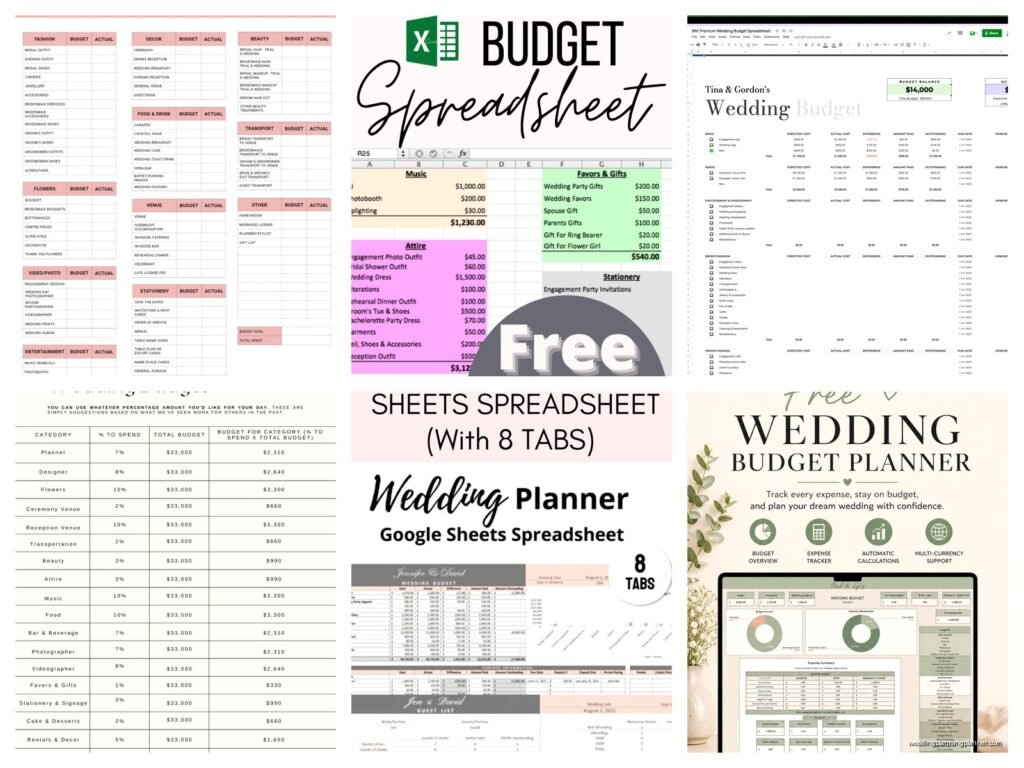
First thing you’re gonna do is open a new Google Sheet. I know that sounds obvious but you’d be surprised how many people overthink this part. Create these columns across the top row:
- Category
- Item/Vendor
- Estimated Cost
- Actual Cost
- Deposit Paid
- Balance Due
- Due Date
- Payment Status
- Notes
Now for the categories down the left side, you want to list out all the main expense areas. I typically use: Venue, Catering, Photography, Videography, Florals, Attire, Hair & Makeup, Music/Entertainment, Invitations & Stationery, Decorations, Transportation, Accommodations, Favors & Gifts, Rings, and Miscellaneous. That last one is critical because there’s always random stuff that pops up.
One thing that really annoyed me when I first started using budget templates was that most of them don’t account for the million little payments you make along the way. Like everyone talks about the big vendor contracts but nobody mentions the $47 you spent on extra ribbon or the emergency tablecloth order or…
The Formula Magic You Actually Need
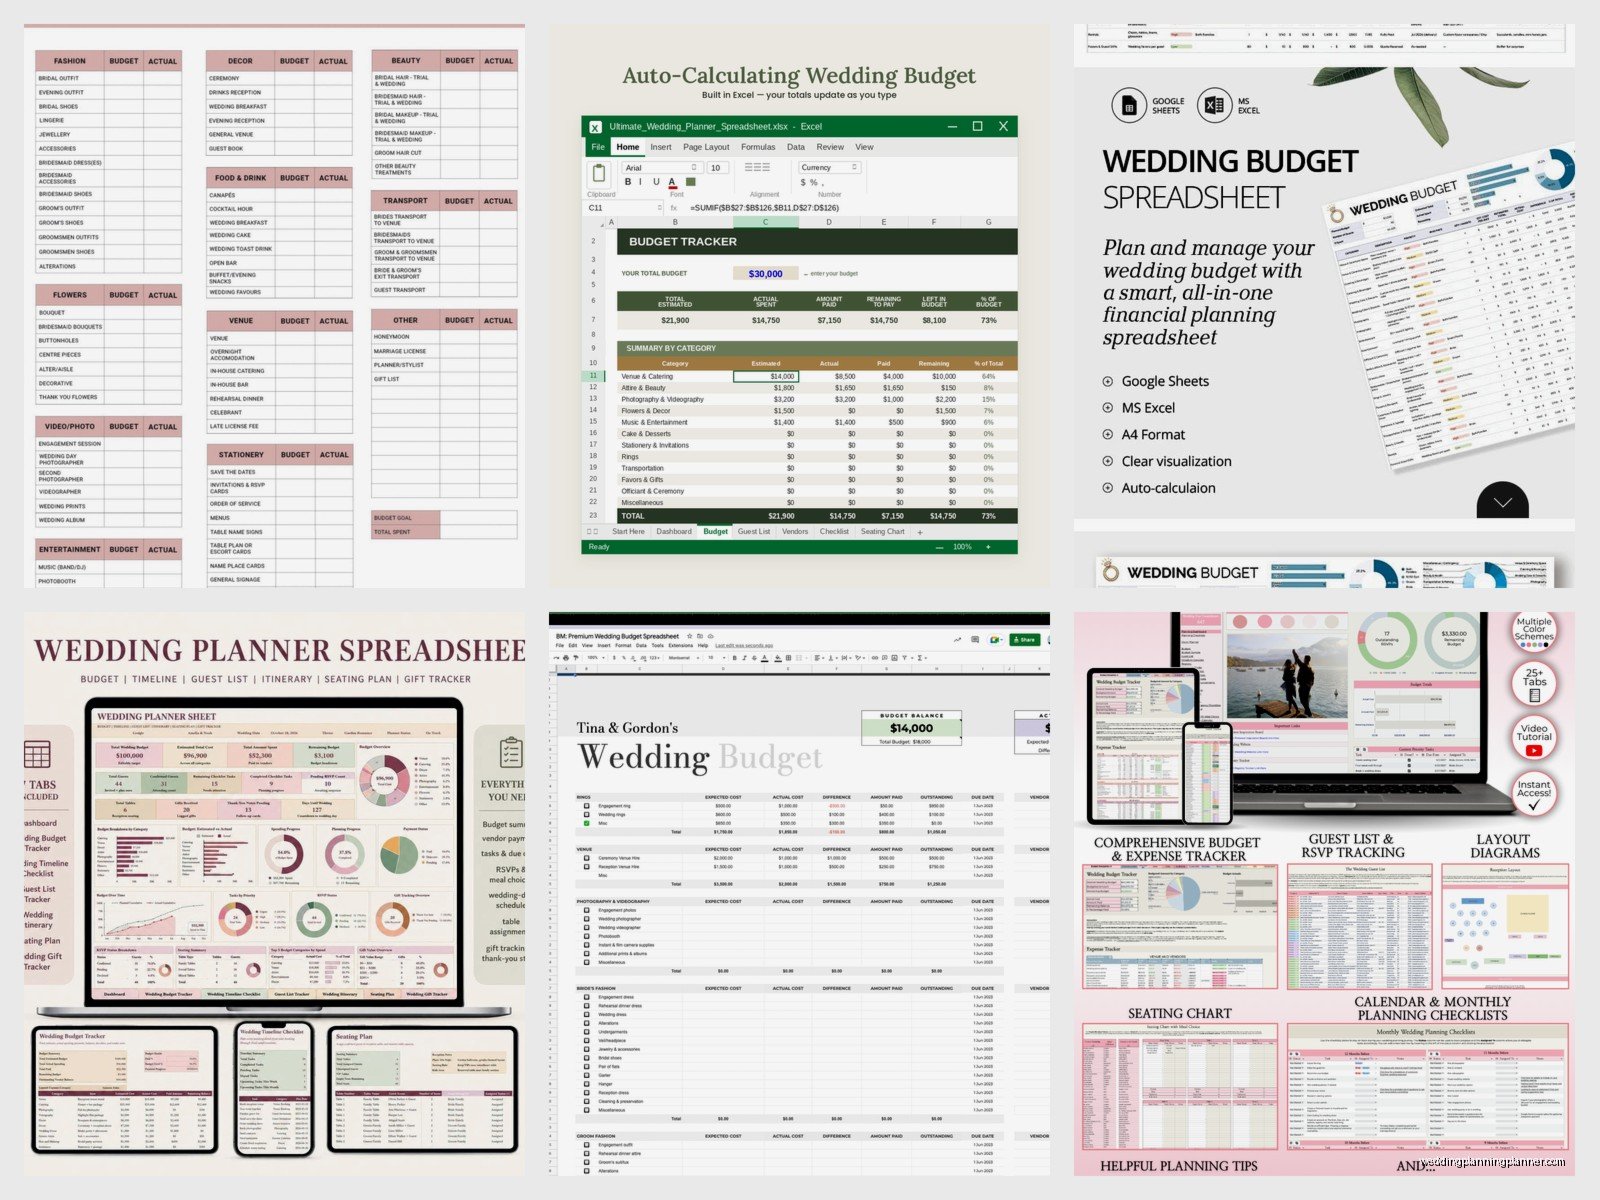
Alright so here’s where it gets kinda useful. In the Balance Due column, you want to set up a formula that automatically calculates what’s left to pay. The formula should be: =C2-E2 (that’s Actual Cost minus Deposit Paid). Drag that formula down the entire column and it’ll auto-update for each row.
At the bottom of your Estimated Cost column, add a SUM formula to total everything. Same for Actual Cost, Deposit Paid, and Balance Due. This gives you a real-time snapshot of where you stand financially.
For the Payment Status column, I just use a dropdown menu with options like: Paid in Full, Deposit Paid, Payment Plan, Not Yet Paid, and Overdue. To create the dropdown, highlight the cells in that column, go to Data > Data Validation, and under Criteria select “List of items” then type those options separated by commas.
Breaking Down Each Category With Sub-Items
Here’s what most basic templates miss – you need sub-items under each category. Like under Catering, you’re not just paying one lump sum. You’ve got the per-person cost, bar service, cake, late-night snacks, vendor meals, rentals that come through the caterer, service fees, and gratuity. Each of these should be its own row.
I learned this the hard way with a couple in summer 2021 who thought their catering was $8000 but didn’t realize that didn’t include the bar, cake, or the 22% service charge and suddenly they were $4000 over budget and had to cut their guest list by like 30 people which was… not a fun conversation.
So under each main category, indent the sub-items. You can do this by just adding a few spaces or a dash before the item name. It keeps things visually organized. For Photography, you might have: main package, engagement session, extra hours, additional photographer, photo booth, prints/albums, travel fees.
The Cloud Tracking Advantage
The reason I push Google Sheets over Excel or Numbers is the cloud aspect. You and your partner can both be in the sheet at the same time. I can’t tell you how many arguments I’ve prevented just by having couples share one live document instead of texting each other “did you pay the florist?” back and forth.
Plus you can access it from your phone when you’re meeting with vendors. I’ve sat in so many vendor meetings where the couple pulls up their budget on their phone right there to see if they can afford an upgrade or an add-on. Makes decision-making way faster.
Also if you’re working with a planner like me, you can share the sheet and give edit access so we can help you track things. Or if your mom is contributing financially and wants to see where things stand, you can give her view-only access. The permission settings are actually really useful here.
Adding Tracking Tabs for Different Views
Okay so this is where you can get a bit fancy if you want. Create multiple tabs at the bottom of your sheet for different tracking needs.
Tab 1 should be your main Master Budget that I just described. Tab 2 can be a Payment Schedule sorted by due date instead of category. This is super helpful when you’re looking at your calendar and need to know what payments are coming up. Just copy the data from Tab 1 but sort it differently.
Tab 3 could be a Vendor Contact Sheet with columns for vendor name, contact person, phone, email, website, contract signed (yes/no), and any important notes. I know this isn’t technically budget stuff but keeping it in the same file just makes sense because you’re gonna need to reference it constantly.
Tab 4 – and this is optional but I love it – is a visual breakdown using charts. Google Sheets has built-in chart functions. Select your category names and their actual costs, then Insert > Chart. A pie chart shows you at a glance where your money is actually going. Most couples are shocked to see that catering is like 40% of their budget but it is what it is.
The Percentage Allocation Method
Here’s a trick I use: add a column called “% of Total Budget” next to your Actual Cost column. The formula is: =C2/$C$50 (where C50 is the cell with your total budget sum – adjust the row number based on where your total actually is). Format that column as a percentage.
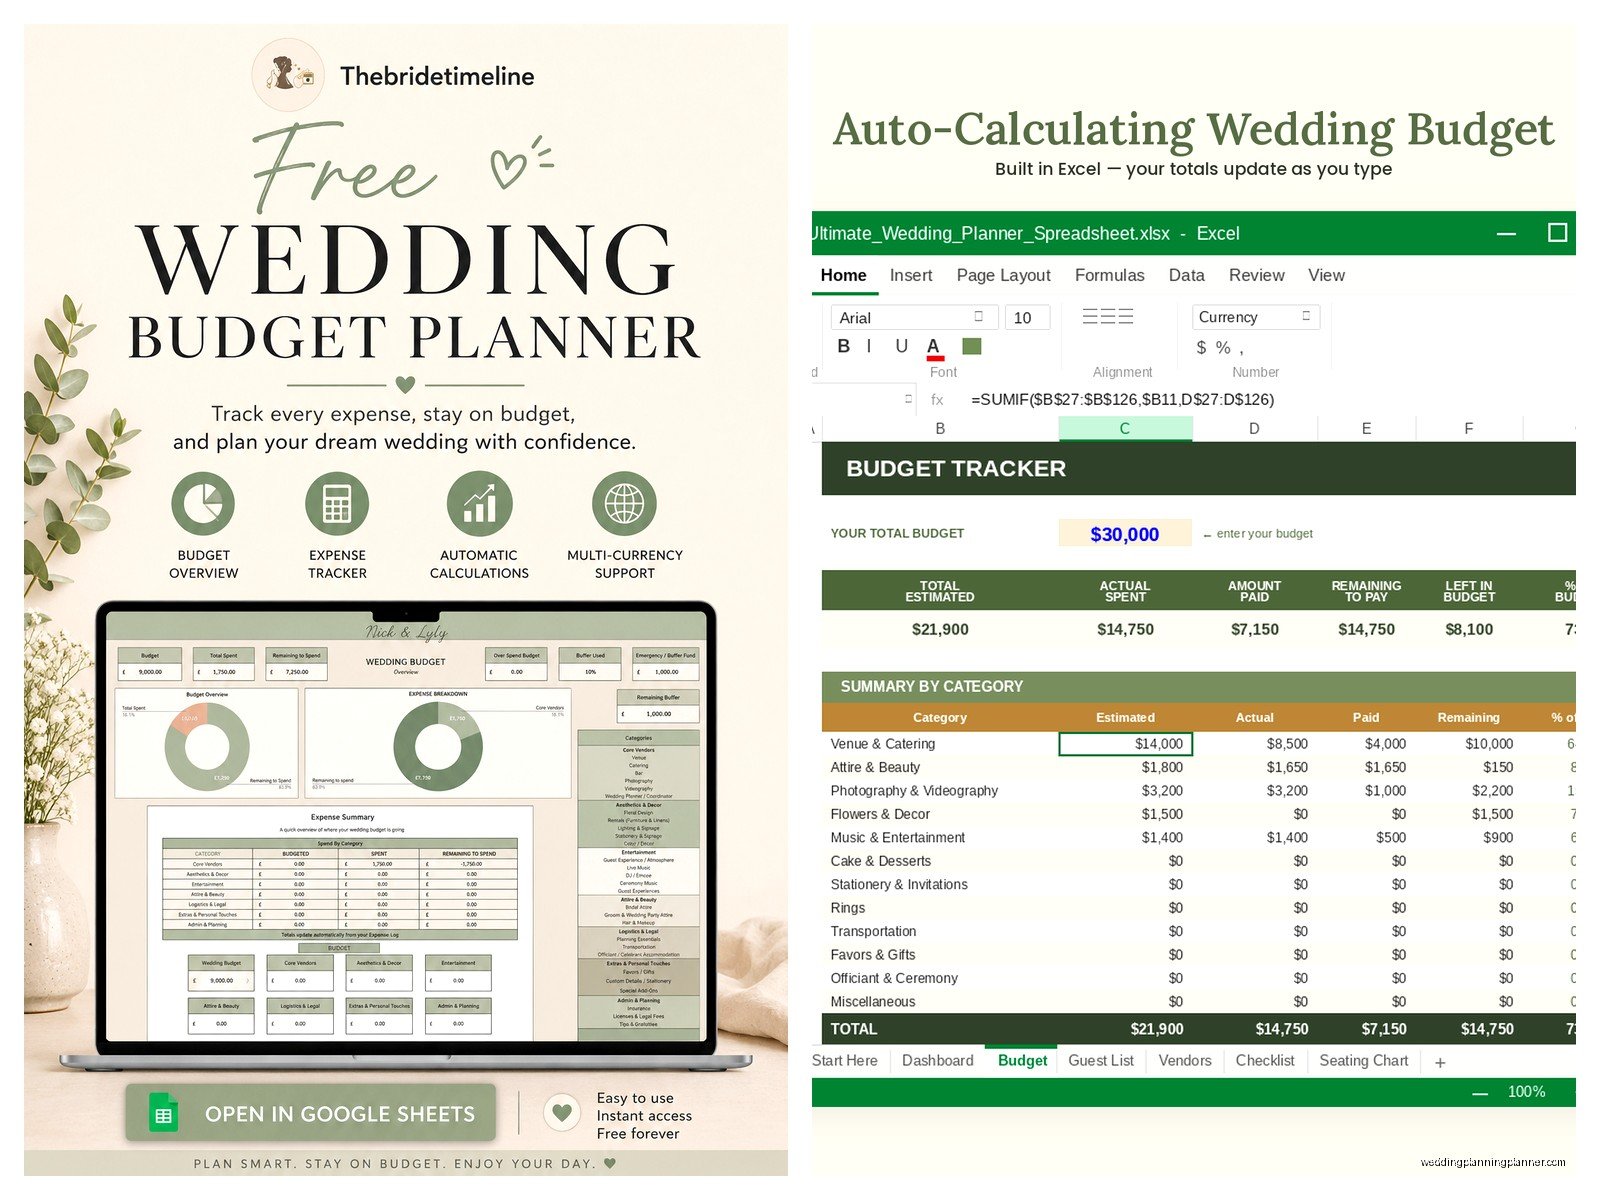
This shows you what percentage each category takes up. Standard industry recommendations are roughly: 50% for venue and catering, 10% for photography, 10% for florals and decor, 8% for entertainment, 8% for attire, and the rest divided among everything else. But honestly those percentages are kinda outdated and every wedding is different so don’t stress if yours doesn’t match.
My cat just knocked over my coffee while I was typing this and I had to clean that up but anyway…
Tracking Payments Over Time
Add a column for Payment Method (credit card, check, cash, Venmo, etc.) because you’ll need this for your records and possibly for taxes if you’re getting financial gifts from family that you’re using for the wedding. Also add a column for Confirmation Number or Receipt Number so you can reference it later if there’s a dispute.
For vendors with payment plans, I usually create separate rows for each payment. So like if your photographer requires a $500 deposit, then $1500 at 6 months out, then $1000 final payment, those are three separate line items with three different due dates. It sounds redundant but it prevents you from forgetting a payment.
In the Notes column, include stuff like: contract details, what’s included vs. what costs extra, cancellation policies, gratuity already included or not, and any special agreements you made. I’ve seen couples forget that they negotiated an extra hour of coverage or that champagne toast was included and they almost paid for it twice.
Contingency Fund (You NEED This)
Add a line item called Contingency or Emergency Fund and set it at 10-15% of your total budget. This isn’t optional. Something will go wrong or something will cost more than expected or you’ll decide you absolutely need that upgrade you didn’t think you wanted. Having this buffer built into your tracking keeps you from panicking.
I had a couple who didn’t include a contingency and then two weeks before the wedding their DJ had a medical emergency and cancelled. Finding a replacement last-minute cost them an extra $800 and they had to scramble to find the money. Don’t be that couple.
Conditional Formatting for Visual Alerts
Google Sheets has this feature called Conditional Formatting that’s gonna save your sanity. You can set cells to change color based on certain conditions.
For the Due Date column, set up formatting so dates within 30 days turn yellow and dates within 7 days turn red. This gives you a visual warning system. To do this: highlight the Due Date column, go to Format > Conditional Formatting, set the condition to “Date is before” and choose “Today + 30” for yellow, then add another rule for “Today + 7” for red.
For Payment Status, you can make “Overdue” turn red automatically and “Paid in Full” turn green. It’s satisfying to watch more and more cells turn green as you get closer to the wedding.
Shared vs. Personal Expenses
If you’re splitting costs with your partner or if parents are contributing, add a column for Who’s Paying. Options might be: us jointly, bride’s side, groom’s side, split 50/50, or specific names. This prevents confusion about who’s responsible for what payment.
Some couples create a separate tab for Contributions where they track money received from family members or their own savings transferred into their wedding fund. This helps you see your available cash vs. what you’ve committed to spending.
Linking to Your Actual Bank Accounts
Now Google Sheets doesn’t directly connect to your bank like Mint or YNAB does, but you can manually update a tab with your actual wedding account balance. I usually tell couples to open a separate checking account just for wedding expenses so everything’s in one place and not mixed with regular bills.
Create a simple tracker with columns for: Date, Description, Amount In, Amount Out, Running Balance. Update it weekly or after any wedding purchase. Compare this running balance to your Budget Balance Due total to make sure you have enough to cover what’s still owed.
Version History is Your Friend
One of the best cloud features is that Google Sheets automatically saves version history. If you accidentally delete something or your partner changes a number and you need to see what it was before, go to File > Version History > See Version History. You can restore any previous version of your sheet.
I’ve used this feature probably a dozen times when couples panic that they lost important information. It’s all still there, you just have to go back and grab it.
Monthly Review Process
Set a recurring calendar reminder to review your budget sheet together once a month. I know this sounds boring but it takes like 15 minutes and it keeps you both on the same page. During this review: update any estimated costs that became actual costs, add any new expenses that came up, check upcoming due dates, and make sure your actual spending aligns with your plan.
If you’re consistently going over budget in certain categories, you’ll catch it early and can make adjustments elsewhere. Maybe you splurged on photography so now you need to scale back on florals or maybe you’re way under budget on attire and can put that extra money toward better catering.
The couples who check their budget regularly are always way less stressed than the ones who avoid looking at it until a month before the wedding when suddenly everything is due at once and they realize they’re $5000 short. Just… check the spreadsheet. I promise it’s better than ignoring it.
Mobile App Access
Download the Google Sheets app on your phone because you’re gonna need to check this when you’re out and about. The app works pretty well for viewing and making quick updates. The interface is obviously smaller but for checking a number or updating a payment status, it’s totally fine.
I literally have couples text me screenshots from their budget sheets during vendor meetings asking if something fits in their budget and I can help them decide on the spot. That wouldn’t work if it was all on paper or in some complicated Excel file on their laptop at home.
Common Mistakes to Avoid
Don’t forget to include sales tax in your cost estimates. So many couples budget the base cost and forget their state charges 7% or whatever on services and suddenly everything costs more than they planned.
Don’t forget gratuity. Most vendors don’t include gratuity in their quotes. You should be tipping your caterers, bartenders, hair stylists, makeup artists, delivery people, musicians, and sometimes photographers. Budget 15-20% on top of service costs for this or you’ll be scrambling for cash the week of the wedding.
Don’t use super complicated formulas that you don’t understand. Keep it simple. If you can’t figure out what a formula does, you’re gonna break something and not know how to fix it. Basic SUM and subtraction formulas are all you really need.
And please please please don’t share edit access with everyone. I’ve seen sheets where like eight people had edit access and someone’s cousin went in and accidentally deleted half the budget. Keep edit access limited to you, your partner, and maybe your planner. Everyone else gets view-only.
