
Planning Guides, Style Guide
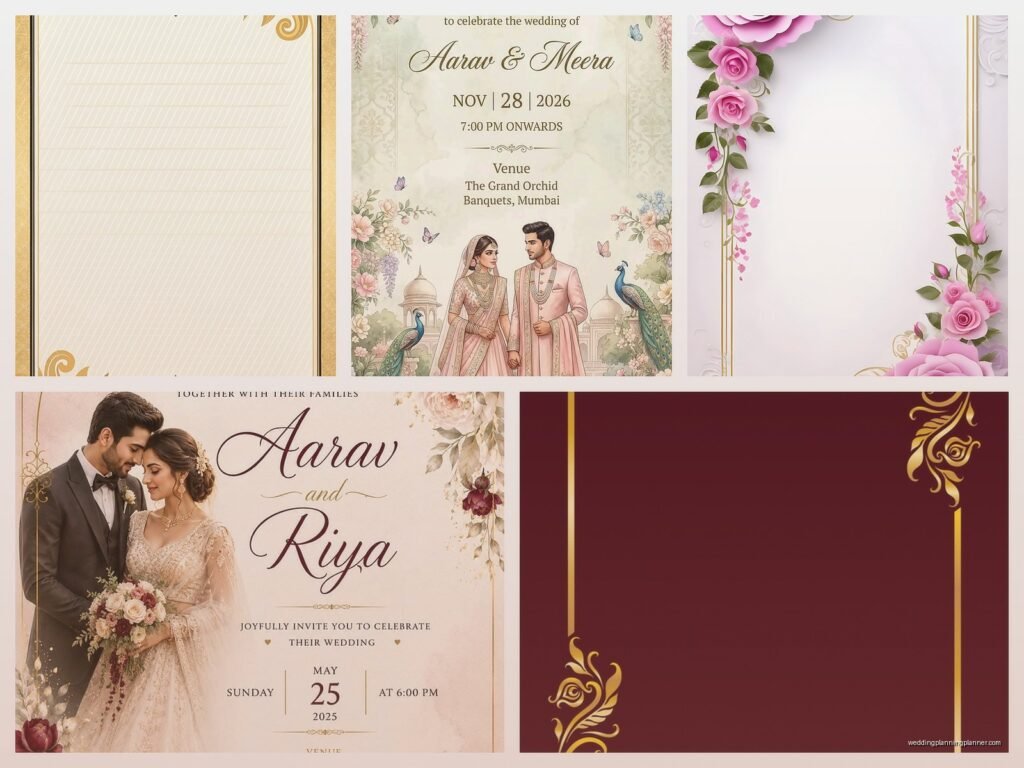
Wedding Card Design Template Free Download: Editable Files
Jul
Where to Actually Find Free Wedding Card Templates That Don’t Suck
Okay so you’re looking for free wedding card templates that you can actually edit and not just stare at longingly, right? Because I’ve been there and let me tell you, back in spring 2023 I had this bride who waited until THREE WEEKS before her wedding to realize she needed save-the-dates (I know, I know) and she had like zero budget left for stationery. We went on this wild hunt for decent free templates and honestly it was kinda exhausting but also I learned where all the good stuff actually lives.
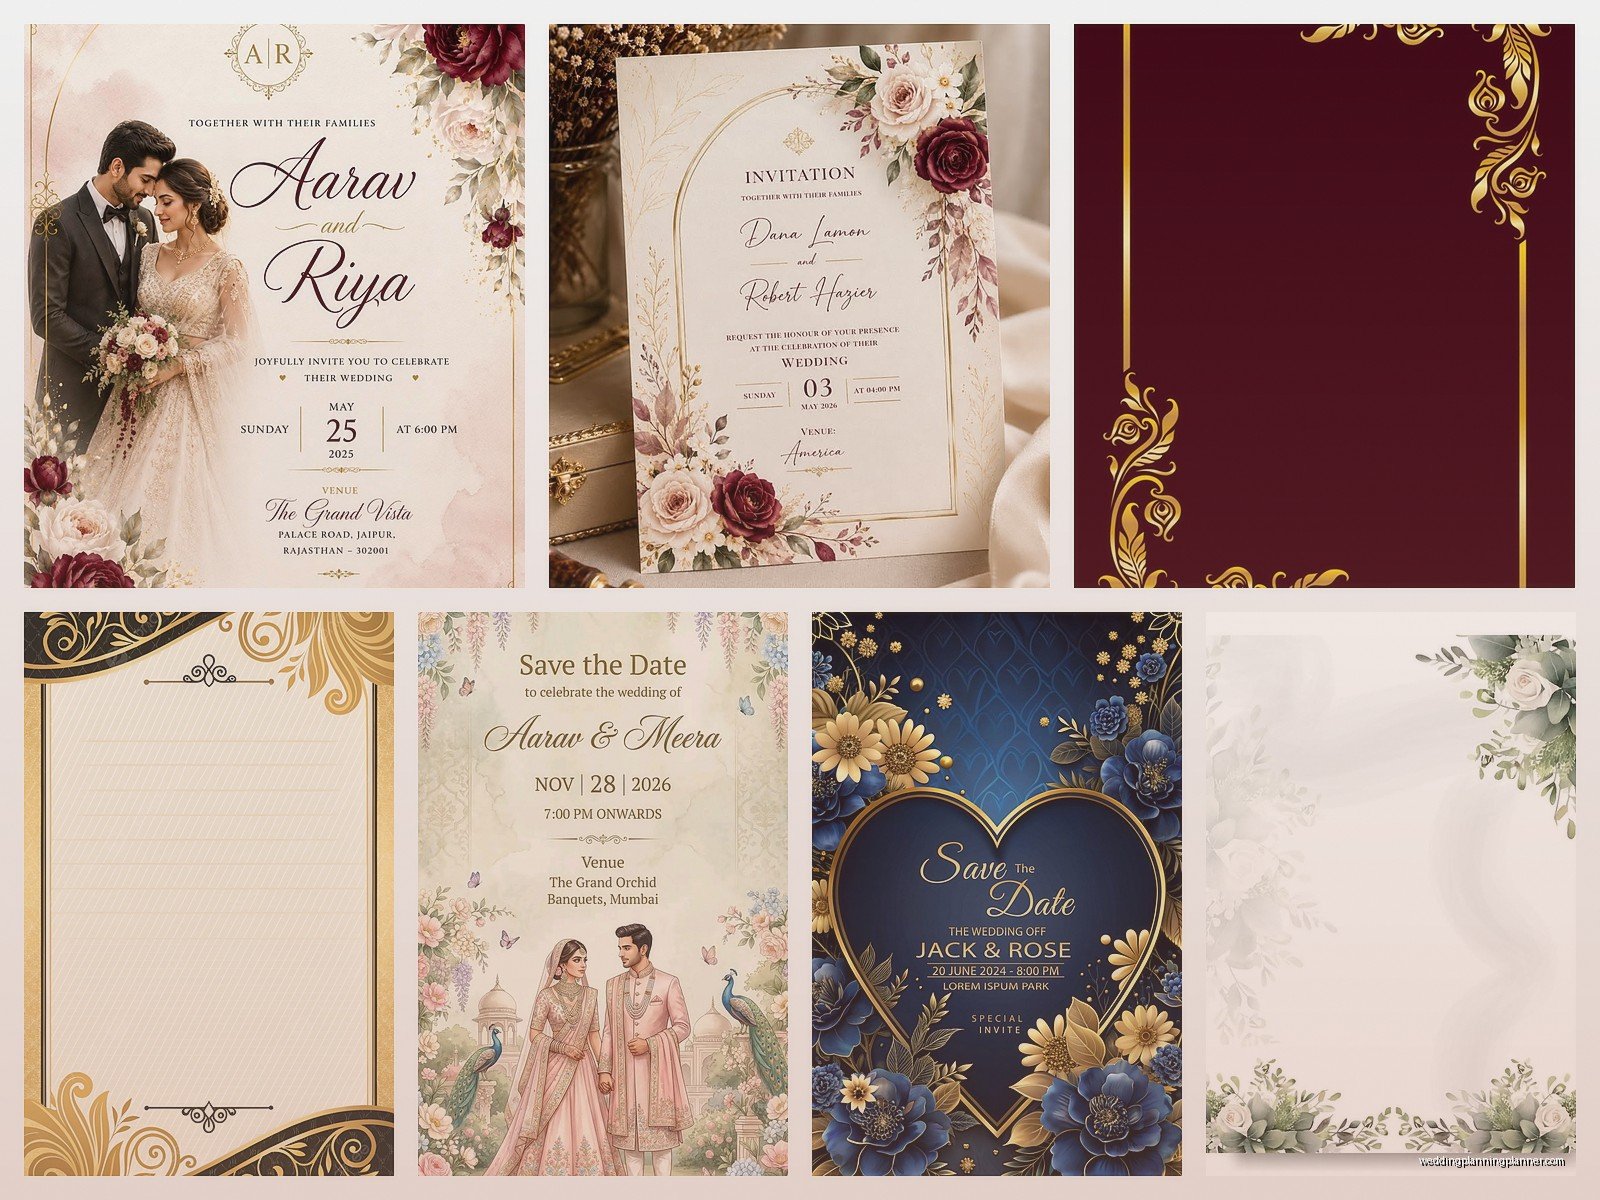
First thing – Canva is gonna be your best friend here. Like everyone says Canva but they’re not wrong. They have literally thousands of wedding card templates and while some require the Pro version, there are tons of genuinely free ones. You can edit everything – colors, fonts, add your photos, change the wording. The editable files download as PDFs or you can get PNG/JPG files. I use Canva probably for 40% of my client work now because it’s just so stupidly easy and clients can access it themselves if they need to make last-minute changes.
The annoying thing though? SO many websites claim to offer “free” templates but then you get there and it’s like “free with subscription” or “free trial” or they slap a huge watermark on everything. That drives me absolutely insane. Like just be upfront about it, you know?
The Actual Good Free Resources
Canva – Already mentioned but seriously. Go to canva.com, search “wedding invitation” or “wedding card” and filter by free. You’ll get save-the-dates, invitations, thank you cards, RSVP cards, programs, everything. The templates download as high-res PDFs which most print shops will accept. You can also order prints directly through Canva but that’s not free obviously.
Template.net – This site has a weird layout and honestly looks kinda sketchy at first but they have legitimate free wedding card templates in Word and Google Docs formats. These are super basic but if you or your couple are comfortable with Word formatting, you can customize them pretty extensively. I’ve used their RSVP card templates before when a client specifically wanted to DIY everything in Microsoft Word because that’s what she knew.
Greetings Island – This one’s specifically for cards and invitations. They have a decent selection of wedding stuff and you can personalize everything online then download. The free version has some limitations on fonts I think? But it works for basic designs.
Adobe Express (used to be Adobe Spark) – If you have an Adobe account you can access their free templates. They’re actually really well-designed because, well, Adobe. You can edit online and download. The interface is similar to Canva but I find it slightly less intuitive? That might just be me though.
File Formats You’ll Actually Get
So this is important because I see people download templates and then they’re like “wait how do I print this” or “my printer won’t accept this file.” Here’s what you’re usually working with:
PDF – This is the most common and honestly the most versatile. Any print shop will take a PDF. You can print it at home. You can email it. PDFs keep all your formatting intact which is crucial for card designs. When you’re downloading, try to get the highest resolution PDF available – look for 300 DPI or higher.
PNG or JPG – These are image files. They work fine for printing but they’re not editable once you download them. If you need to change something, you gotta go back to the editing platform. I usually recommend PNG over JPG for invitations because PNG handles text better without getting blurry.
Word/Google Docs – Some templates come as document files. These are super editable but honestly the formatting can get wonky when you print. You’ll need to play with margins and… okay I’m gonna be real, I’m not a huge fan of Word-based invitation templates unless they’re really simple text-only designs.
PSD (Photoshop) – If you find free PSD templates and you know Photoshop, great! But most people don’t, so these aren’t super practical for the average couple. I mention it because sometimes you’ll see “editable PSD” and people download it thinking they can edit it easily and then nope.
How to Actually Edit These Things
Alright so you found a template you like, now what? This part trips people up constantly.
For Canva templates, you literally just click on any element and change it. Click the text, type your text. Click a color, choose a new color. Want to add a photo? Click the image placeholder and upload. My cat walked across my keyboard while I was editing a client template once and somehow made the entire design lime green and I didn’t notice until I’d saved it… that was fun.
For Word/Google Docs templates, you’ll open the file and it should have placeholder text like “Bride Name” and “Groom Name” or whatever. Just highlight and replace. The tricky part is if you want to change fonts or colors – you gotta know how to use the formatting tools. Also watch your margins because printers often can’t print all the way to the edge of paper.
Here’s something nobody tells you – when you’re editing text, you need to think about text hierarchy. Your names should be the biggest text. The date and venue info should be medium. The RSVP details or website can be smaller. I see so many DIY invitations where everything is the same size and it’s just… hard to read? Like your eye doesn’t know where to go first.
Printing Your Free Templates
Okay this is where it gets real. You’ve got your beautiful edited template, now you need actual physical cards.
Home Printing – You can totally print at home if you have a decent printer. Get good cardstock paper (I recommend 80lb or heavier). Make sure your printer can handle thick paper – check the manual because some printers will jam with heavy cardstock. Do a test print on regular paper first to make sure everything lines up. Then do ONE test on your fancy cardstock before you print 100 copies and realize the margins are off.
Pro tip: buy more paper than you think you need. You will mess up some prints. It’s just gonna happen.
Print Shops – Places like FedEx Office, Staples, or local print shops can print your files. Just bring your PDF on a USB drive or email it to them. Tell them what paper you want (they’ll have samples). This costs money obviously but the quality is usually way better than home printing. A local print shop can also cut cards to size if your template is designed for multiple cards per sheet.
Online Print Services – Vistaprint, Moo, Printful, etc. Some accept custom uploads of your own designs. The turnaround time is usually like 5-10 business days so plan ahead. These can be surprisingly affordable, especially if you catch a sale. I had a client in summer 2021 who got 150 invitations printed through Vistaprint for like $60 or something ridiculous.
Common Mistakes People Make
I’ve seen it all at this point, so let me save you some headaches:
Not checking spelling – I cannot stress this enough. Read your invitation out loud. Have someone else read it. Check the date, the venue address, the time. I once had a couple print 200 invitations with the wrong month and they didn’t catch it until they were addressing envelopes. We fixed it with little printed stickers but still.
Wrong dimensions – Standard invitation size is 5×7 inches but there are other sizes too. Make sure your template matches your envelopes. Or buy envelopes that match your template. Either way, they gotta work together. You don’t wanna be trying to stuff a 5×7 card into a 4×6 envelope at 11pm the night before you need to mail them.
Low resolution downloads – If you download a 72 DPI file and try to print it, it’s gonna look pixelated and bad. You want 300 DPI minimum for printing. Most free platforms let you choose quality when downloading – always pick the highest option.
Forgetting about bleeds – If your design has color or images that go to the edge of the card, you need something called a “bleed” which is basically extra image beyond the cut line. Otherwise you get white edges when it’s trimmed. This is more technical and honestly if you’re using a free template it should already be set up correctly, but if you’re designing from scratch or modifying heavily, keep this in mind.
What to Include on Different Types of Cards
So you’ve got the template, you’re editing it, but what information actually needs to be on there?
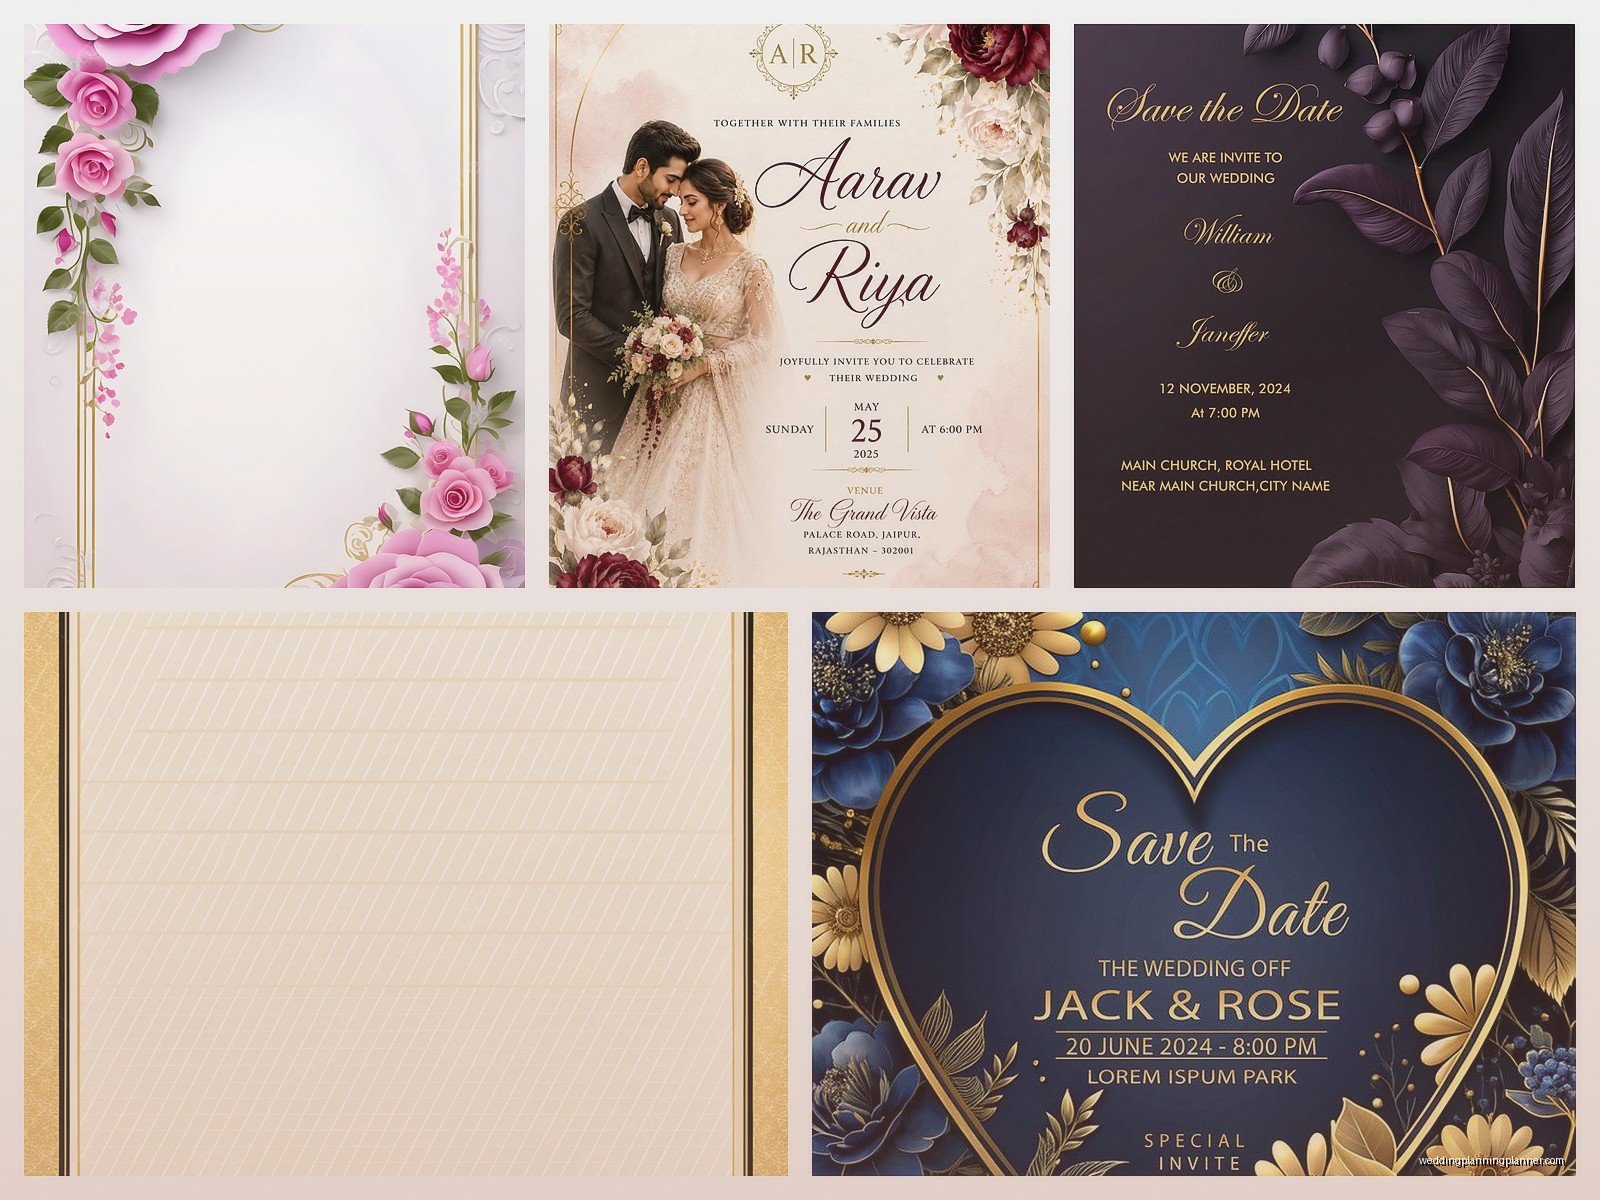
Save the Dates should have: your names, wedding date, city/location (not full address), and maybe a wedding website if you have one. That’s it. Don’t overload it. Oh and “save the date” or “save our date” somewhere obvious.
Invitations need more details: your names, parents’ names if you’re doing traditional wording, date, time, full venue address, dress code if there is one, and RSVP info. Some people put everything on one card, others use inserts for different info. Free templates usually show you the standard layout.
RSVP Cards should have: a place for guests to write their names, checkboxes for accepts/declines, maybe meal choices if you need that, and an “RSVP by” date. Also they need to include how to actually RSVP – a return address if it’s a physical card, or your wedding website if it’s online.
Thank You Cards are simple: “thank you” and space for a handwritten message. That’s really it. Some people put their names or new married name on there.
Customizing Beyond the Basics
Okay so the free templates are a starting point but you probably want them to feel more “you” right? Here’s how to customize without starting from scratch:
Change the color palette to match your wedding colors. Most editing platforms let you input hex codes for specific colors. If you don’t know your hex codes, just Google “color picker” and you can find them.
Swap in your own photos – engagement photos work great on save-the-dates. Make sure the photo is high quality though. That grainy iPhone pic from 2015 isn’t gonna look great printed large.
Play with fonts but don’t go crazy. Two or three fonts maximum. One fancy script font for names, one readable font for details. Mixing like six different fonts makes it look chaotic. Also make sure your fonts are actually readable – I’ve seen gorgeous script fonts that literally nobody could read the actual words.
Add personal touches like a meaningful quote, your wedding hashtag, a little illustration or icon that means something to you. Just don’t clutter it up too much.
The Reality of Free Templates
Look, I’m gonna be honest with you. Free templates are amazing and they’ve saved my butt multiple times when budgets are tight. But they’re not gonna look like a $2000 custom letterpress suite from a fancy stationer, and that’s okay. They’re gonna look nice and professional if you choose well and customize thoughtfully.
The biggest advantage is cost obviously, but also the flexibility. You can edit them yourself, make changes anytime, reprint if needed without going back to a designer. For couples who are crafty or detail-oriented, DIY invitations can actually be really fun. For couples who are stressed and busy… maybe less fun, but definitely doable.
One thing that’s kinda funny is sometimes couples will spend hours agonizing over their invitations and then realize half their guests barely look at them anyway. Like you’ll put all this work into getting the wording perfect and your aunt will still show up on the wrong day because she didn’t read it. But that’s weddings for you.
Stuff to Watch Out For
Some free template sites are actually trying to collect your email for marketing purposes. You’ll download a template and suddenly you’re on seventeen different wedding vendor email lists. It’s annoying but usually you can unsubscribe. Just be aware when you’re signing up for accounts.
Also some “free” templates are actually just previews and you can’t remove watermarks without paying. Read the fine print before you spend an hour customizing something.
Copyright stuff – most free templates for personal use are fine, you’re allowed to use them for your wedding. But technically you can’t resell them or use them commercially. Not that you would, but just so you know.
And here’s something that annoyed me recently – some platforms now limit how many downloads you get with a free account. So you might edit your template perfectly, download it, then realize you need to change one word, but you’ve used your free downloads for the month. Super frustrating. Canva does this with some features. So maybe keep your template editable in multiple places or make sure it’s absolutely perfect before that final download.
My Actual Workflow
When I’m helping a client with free templates, here’s usually how it goes: we browse templates together, pick 2-3 favorites, customize them with their info and colors, download test versions, print one or two samples, make adjustments, then do the final print. The whole process takes maybe 2-3 hours if we’re being efficient, longer if they’re super indecisive (which is totally fine, it’s their wedding).
I always recommend starting this process at least 8-10 weeks before you need to mail invitations. That gives you time to order paper, do test prints, fix any mistakes, and actually print everything without rushing. Save-the-dates should go out like 6-8 months before the wedding, invitations 6-8 weeks before.
The free template route works best for couples who are somewhat computer-savvy, have access to a decent printer or print shop, and have realistic expectations about what “free” means. If you want super elaborate designs with foil stamping and custom illustrations, you’re probably gonna need to hire a designer or at least pay for premium templates. But for nice, clean, personalized invitations that get the information across? Free templates are totally adequate and honestly sometimes they’re really beautiful.
I should probably also mention that envelope addressing is a whole separate thing that people forget about until the last minute, but that’s maybe a topic for another day because this is already getting long and I haven’t even talked about… wait, actually, you know what, if you’re printing your own cards definitely get a paper cutter or find someone with one because trying to cut 100 cards with scissors is not gonna go well, trust me on that one
