Planning Guides, Style Guide
Destination Wedding Invitations: Travel Theme Designs
Nov
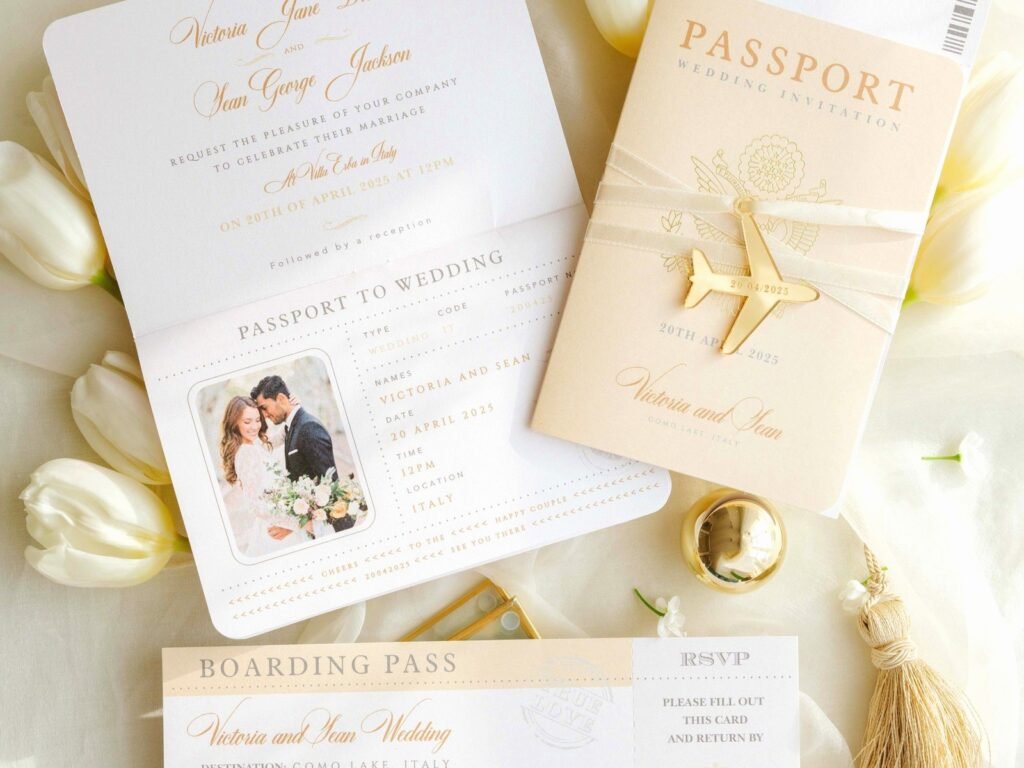
The Passport Invitation Thing Everyone Wants
Okay so passport invitations are literally everywhere right now and honestly they’re perfect for destination weddings but you gotta do them right. I had this couple last spring 2023 who wanted passport invites for their Cabo wedding and they ordered them off Etsy without telling me first and when they arrived the “departure time” said 3:00 PM but their ceremony was at 5:30 and it created SO much confusion with guests who booked flights thinking they needed to arrive by 3.
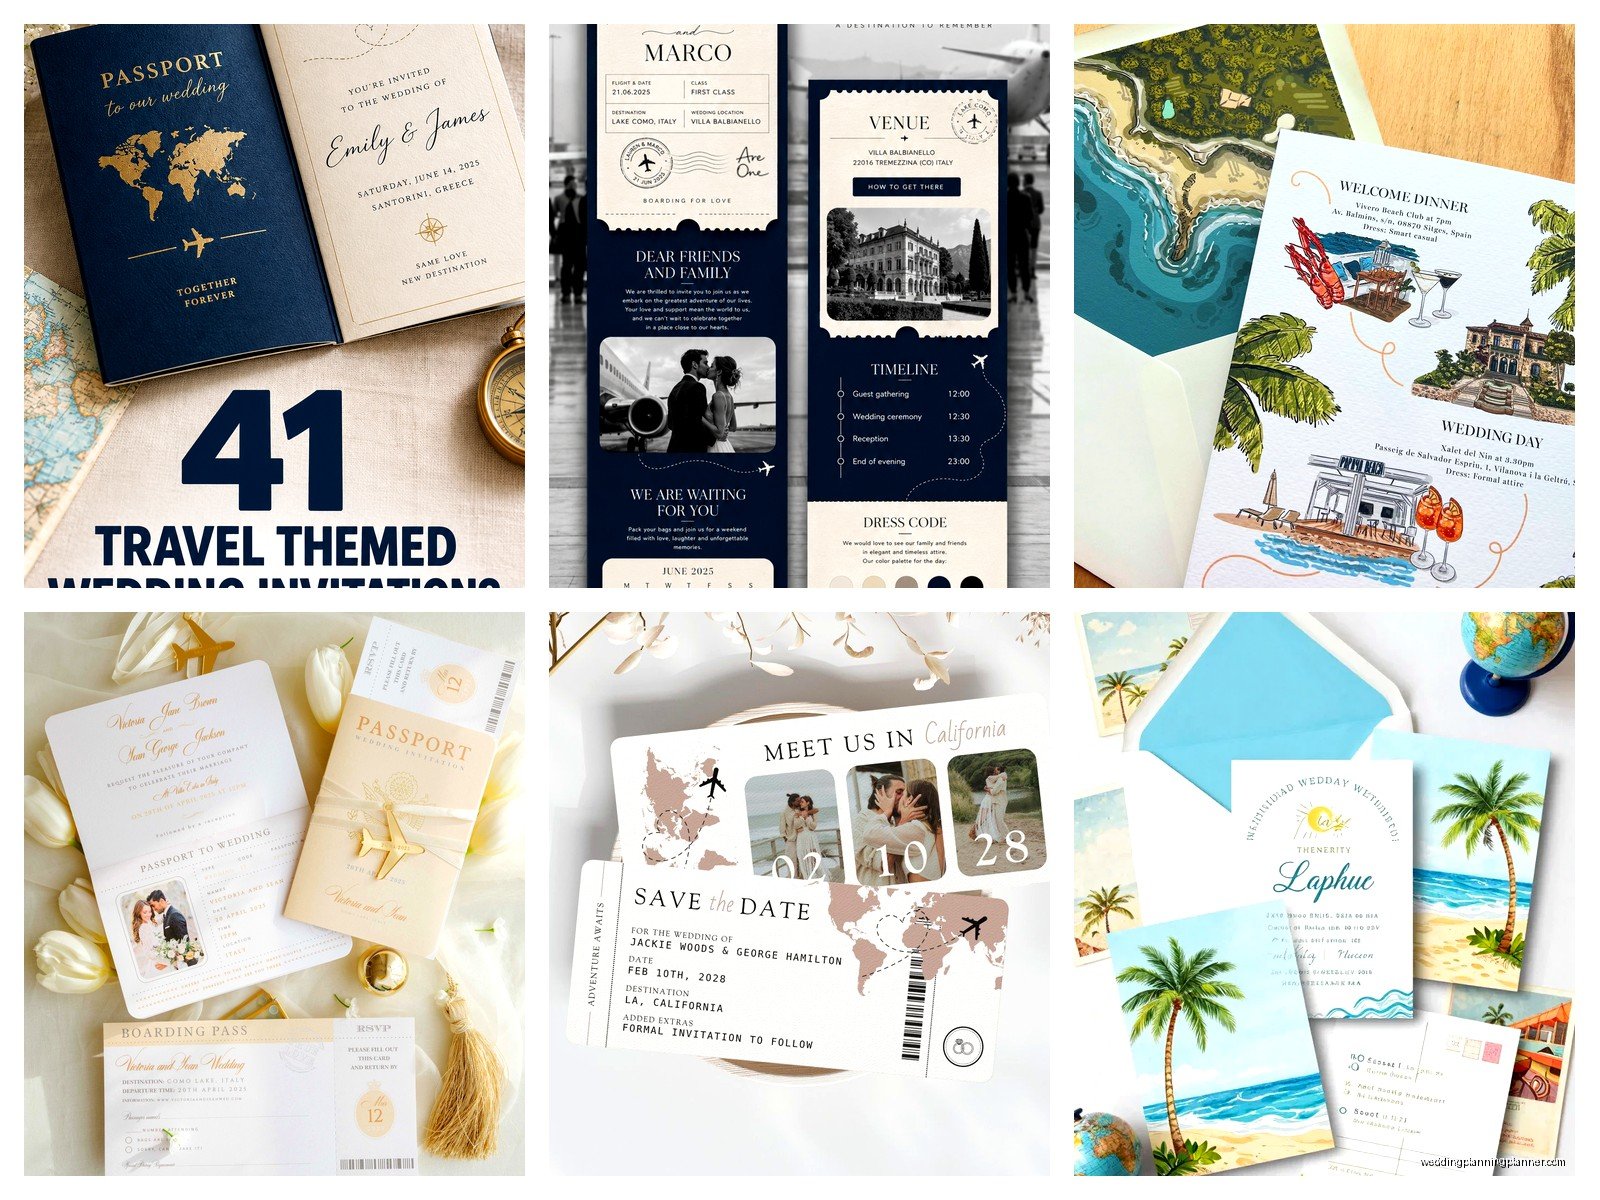
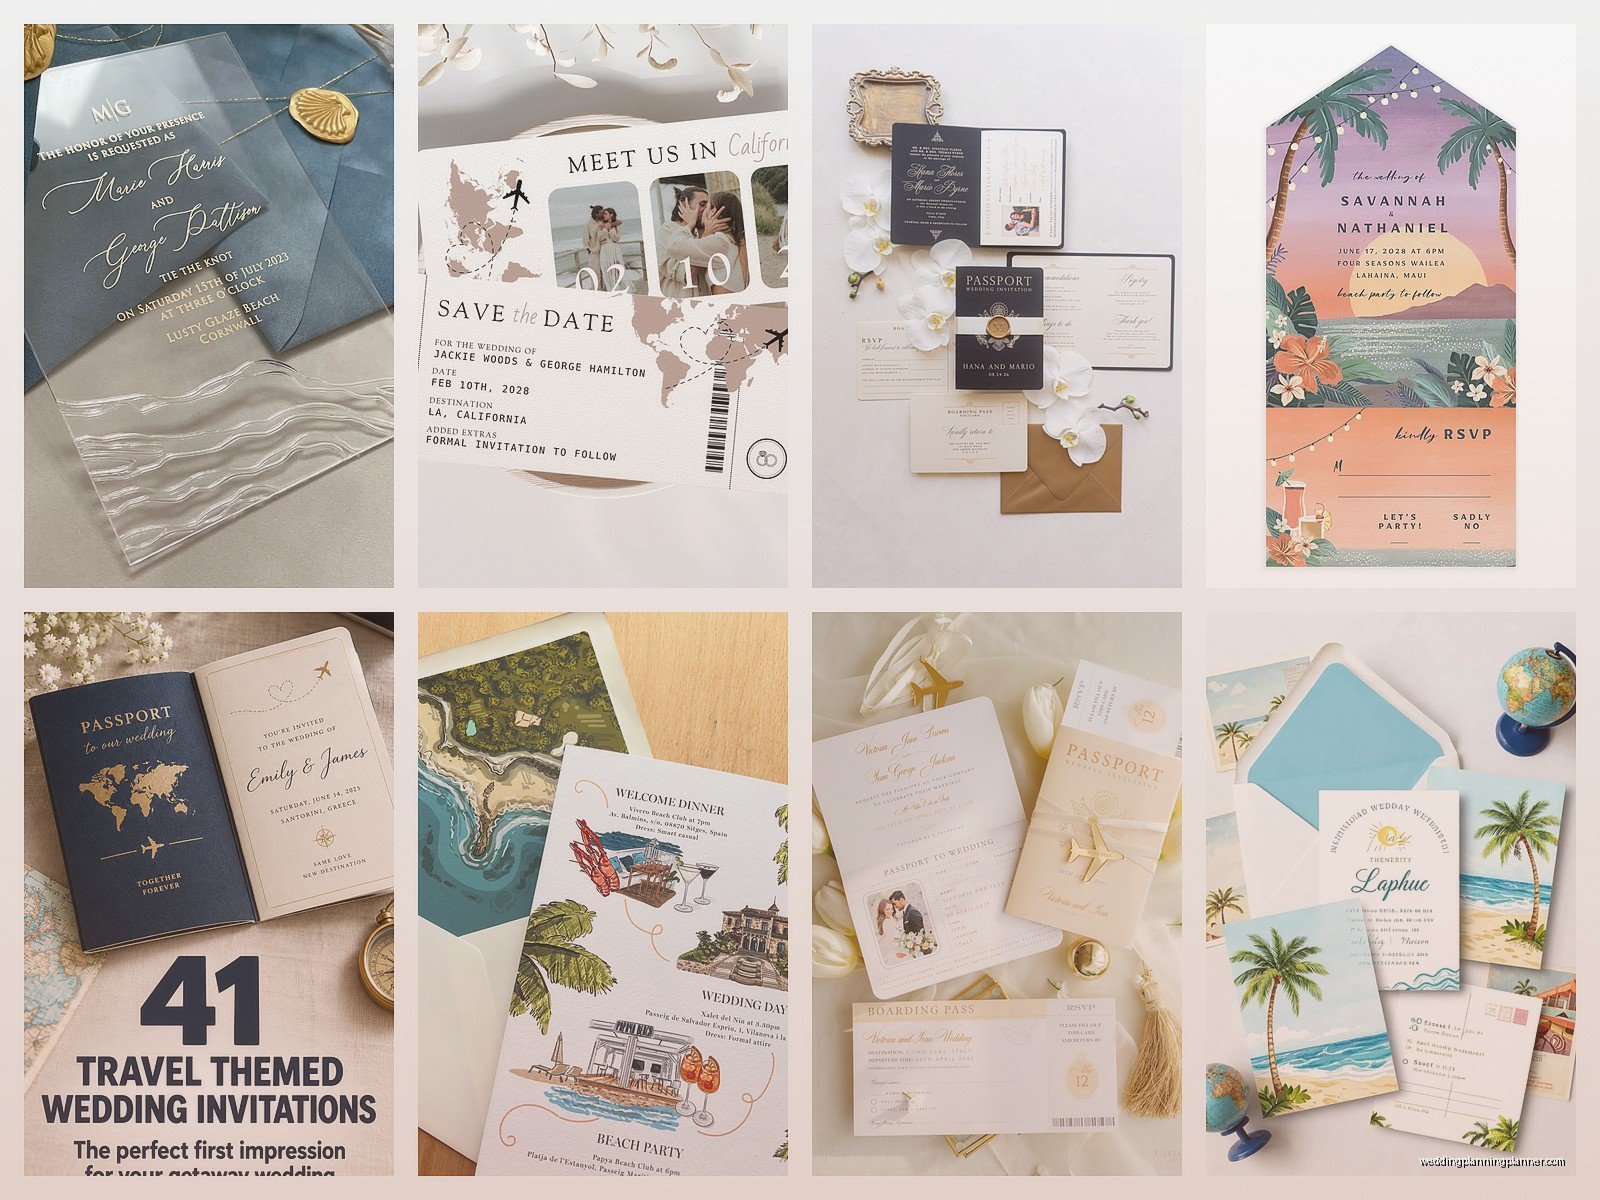
The passport format works because it immediately tells people “hey you’re gonna need to travel for this” without being too on the nose. You can design them to look like actual passport booklets with multiple pages – cover page with your names, inside pages with ceremony details, accommodation info, itinerary for the weekend, travel tips. But here’s the thing: if you’re doing a booklet style, you need to factor in printing costs because they’re way more expensive than flat invitations. Like we’re talking $8-12 per invitation versus $2-4 for standard ones.
The flat passport style is honestly just as cute and more budget-friendly. It’s a single card designed to look like a passport page with all your info laid out. You can add those little stamp graphics in the corners, use that burgundy-red color that passports have, include a photo of you two in the passport photo spot.
Boarding Pass Invites Are Tricky
Boarding passes seem like the obvious choice but they’re actually kinda limiting in terms of space. I’ve designed probably 50+ boarding pass invitations and the layout is really restrictive – you’ve got all these sections that need to mimic a real boarding pass (passenger name, flight number, gate, seat, boarding time) and then you’re trying to cram in actual wedding details and it gets cluttered fast.
What works better is using the boarding pass as a detail card, not the main invitation. Send a regular invitation with pretty script fonts and romantic wording, then include a boarding pass card that has the weekend itinerary or travel information. That way you get the cute travel theme without sacrificing readability.
But if you’re set on boarding pass invitations as the main thing, here’s what I tell clients: pick one airline aesthetic and commit. Don’t try to make it look like a generic boarding pass. Copy the exact layout from Delta or Southwest or whatever, use their color scheme, mimic their fonts. It looks so much more polished and people immediately recognize it as a boarding pass.
Map Designs That Don’t Look Cheesy
Vintage map invitations are having a moment and when they’re done well they’re gorgeous. When they’re done badly they look like a school project. The difference is in the details and the quality of the map image you use.
You want antique-style maps, not Google Maps screenshots (yes I’ve seen people try this). There are tons of public domain vintage maps you can download – look for ones from the 1800s or early 1900s. If your wedding is in Italy, find an old map of that specific region. If it’s in Mexico, same thing. The map should be the background element with your text printed over it in a clean, readable font.
I did this destination wedding in Tuscany back in summer 2021 and we found this incredible 1889 map of the region that showed all these tiny villages and old trade routes and we printed the invitation details in a deep wine color over the map with this beautiful cream cardstock and it was just… chef’s kiss. The couple framed one and it’s hanging in their house now.
What annoys me is when people use those cutesy illustrated maps with little drawings of landmarks and palm trees and whatever. They can work for really casual beach weddings but mostly they read as juvenile? Like if you’re asking people to spend thousands of dollars to come to your wedding in another country, the invitation should feel elegant and worth that investment.
Luggage Tag Save The Dates
These are SO fun and actually functional. You can order custom luggage tags printed with your save the date info and guests can actually use them when they travel to your wedding. I always suggest going with leather or thick vinyl ones, not the paper ones in plastic sleeves because those feel cheap.
The info should be minimal: your names, wedding date, location, and “invitation to follow” or “formal invitation coming soon.” That’s it. Don’t try to fit your whole wedding website URL on there or accommodation details or… I had a groom once who wanted to include his fantasy football league info on the luggage tags because “all the guys would be together that weekend anyway” and I had to be like, nah dude, that’s not the move.
Cost-wise you’re looking at $3-7 per tag depending on material and customization. They’re pricier than card save the dates but people actually keep them and use them so there’s value there.
Incorporating Actual Travel Elements
You can get really creative with adding physical travel-themed elements to your invitation suite. Twine wrapped around the invitation like luggage straps, small charms shaped like airplanes or compasses attached with ribbon, vintage-style postage stamps (actual ones, not printed images), wax seals with globe designs.
But and this is important every single thing you add increases the weight of your invitation and weight equals postage cost. I cannot tell you how many times I’ve had clients design these elaborate invitation suites with seven different inserts and charms and ribbons and then completely freak out when they realize they need $2.50 in postage per invitation instead of one regular stamp. Always take a fully assembled invitation to the post office and have them weigh it before you mail 150 of them.
Also if your invitation is lumpy or has stuff sticking out, it can’t go through the automated sorting machines and has to be hand-cancelled which sometimes costs extra and definitely increases the chance it’ll get damaged in transit. My cat actually knocked over a whole box of invitations once that had these delicate wax seals and like twenty of them broke off and we had to redo them and it was a whole thing.
Color Schemes That Actually Make Sense
Navy and gold screams travel theme without being too literal. It’s got that vintage travel poster vibe, feels sophisticated, works for basically any destination. Burgundy and cream is another good one – passport colors, wine country, romantic.
If your destination has a strong color association, use it. Turquoise for Caribbean weddings, terracotta for Mexico or Southwest vibes, deep greens for Ireland or Scotland. But don’t go overboard with like… bright yellow for an Italian wedding just because lemons or whatever. The invitation should feel cohesive with your overall wedding aesthetic.
I’m kinda obsessed with the dusty blue and rust color combo right now for destination weddings, it feels travel-y but also modern and unexpected. Works great with map designs or vintage postcard layouts.
The Postcard Format
Vintage postcard invitations are perfect for destination weddings and they’re usually less expensive to mail because they’re flat and lightweight. You design it to look like an old travel postcard from your destination – “Greetings from Santorini!” or whatever – with your wedding info on the back where the message would normally go.
The front can have vintage imagery of your location, or you can do a custom illustration, or even use a photo of you two at that destination if you’ve been there before. The back needs your ceremony details, the date formatted like a postmark, and maybe a little stamp graphic.
What I love about postcard invites is that they force you to be concise. You don’t have room for flowery language or excessive details, so you include what matters: who, what, when, where. Then you can direct people to your wedding website for everything else.
They’re also really easy for guests to stick on their fridge as a reminder, which sounds silly but I swear it actually helps with RSVPs and people showing up on the right day.
Printing Methods Matter More Than You Think
Digital printing is fine for most invitation designs and it’s definitely the most affordable option, but if you’re doing something with metallic elements or you want really rich colors, consider letterpress or foil stamping. Letterpress gives you that pressed-into-the-paper texture that feels expensive and special. Foil stamping in gold or rose gold or copper adds this travel-luxe vibe.
I had a couple doing a Thailand wedding and we did navy invitations with rose gold foil elephants and Thai-inspired borders and they were stunning. But foil stamping added like $4 per invitation to the cost so you gotta decide if it’s worth it for your budget.
For map designs, you really want high-quality printing because if the map image is pixelated or the colors are muddy it ruins the whole effect. I always order samples before committing to a full print run. Always. I’ve been burned too many times by proofs that looked great on screen but printed weird.
Wording For Destination Invitations
Your wording needs to make it immediately clear that this is a destination situation. Don’t bury the location at the bottom in tiny font. Lead with it or make it prominent. Something like “Join us in Tulum, Mexico” right at the top.
You also need to give people way more advance notice than a local wedding. I recommend sending save the dates 8-10 months out and invitations 4-5 months before the wedding date. People need time to request vacation days, save money, arrange pet care, all of it.
Include a line about where guests can find more information: “Travel and accommodation details at [website]” or whatever. Don’t try to fit hotel block info and flight suggestions and packing tips on the invitation itself. That’s what wedding websites are for.
Some couples like to acknowledge the travel ask directly: “We know it’s a journey to get there, and your presence would mean the world to us” or something. I think this is nice but not necessary – people know destination weddings require travel, you don’t need to state the obvious.
Detail Cards You Actually Need
For destination weddings you probably need more inserts than a local wedding. I usually recommend: main invitation, RSVP card with envelope, travel information card, itinerary card if you’re doing multiple events, and maybe an accommodations card if you have room blocks.
The travel info card should have the nearest airport code, whether you’re providing transportation from airport to venue (please do this if possible, it’s so helpful), any visa requirements, weather expectations for that time of year. Keep it factual and brief.
Itinerary cards are great for wedding weekends with welcome dinners, beach days, farewell brunches, whatever. Format it like an actual itinerary with times and locations. This helps guests plan and also gets them excited about the whole experience, not just the wedding itself.
Oh and if you’re doing a destination wedding you should probably include a pre-addressed, pre-stamped RSVP envelope because asking people to spend money traveling to your wedding AND buy a stamp feels… I dunno, just include the stamp.
DIY vs Professional For Travel Themes
Travel themed invitations are actually pretty DIY-friendly if you’re crafty and have time. You can buy blank passport booklet templates online, print your own designs at home or through an online printer, assemble everything yourself. It’s time-consuming but doable.
What’s harder to DIY is anything that requires special printing techniques – letterpress, foil, embossing. And if you’re doing 100+ invitations, the assembly time adds up quick. I watched a bride spend like three weekends assembling her passport booklet invitations with her bridesmaids and she said afterward she would’ve just paid someone to do it because it was so tedious.
There are tons of Etsy sellers who specialize in travel-themed wedding invitations and they’ll customize templates for you at pretty reasonable prices. You can also work with a stationer like me who’ll design something completely custom, but obviously that costs more. It depends on your budget and how specific your vision is and how much time you have because wedding planning is already overwhelming without adding invitation assembly parties.
The one thing I always tell people is don’t sacrifice quality to save money on invitations. They’re the first impression of your wedding, they set the tone, and if they look cheap or poorly designed it reflects on the whole event. Even if you’re going budget-friendly, make sure the design is clean and the printing is decent quality. There’s actually been studies about… wait no I’m thinking of something else, but you know what I mean. First impressions matter.