
Planning Guides, Style Guide
Wedding Cost Spreadsheet: Budget Tracking Template
Jul
Setting Up Your Wedding Budget Spreadsheet The Right Way
So the first thing you gotta do is actually open a spreadsheet and I know that sounds obvious but I’ve had brides tell me they’ve been “planning to start tracking” for like three months while deposits are flying out of their bank accounts. Just open Google Sheets or Excel right now, honestly doesn’t matter which one.
Create these column headers across the top: Category, Item Description, Estimated Cost, Actual Cost, Deposit Paid, Balance Due, Payment Due Date, Vendor Contact, and Notes. That last one is gonna save your sanity because you’ll remember weird details like “includes setup fee” or “25% gratuity already added” that matter later.
For your rows, break everything into major categories. I typically use: Venue, Catering, Photography, Videography, Flowers, Music/Entertainment, Attire, Beauty, Invitations/Stationery, Transportation, Rentals, Décor, Favors/Gifts, and Miscellaneous. That miscellaneous category always ends up bigger than people think it will be.
The Categories That Always Get Forgotten
Okay so this is where people mess up constantly and it drives me absolutely nuts when couples come to me in spring 2023… wait no it was actually summer 2023, I remember because my cat had just knocked over my iced coffee during the consultation… anyway, they come to me three months before the wedding having “stayed on budget” but then suddenly they’re $8,000 over and freaking out.
What they forgot: marriage license fees, vendor meals at the reception, alterations (which can run $300-800 easily), hotel room for the wedding night, tips and gratuities for vendors, postage for invitations (stamps are expensive when you’re mailing 150 invites), rehearsal dinner, day-of coordinator if your planner doesn’t include it, and emergency funds.
You need an emergency line item that’s literally 10% of your total budget. Just trust me on this. Something will happen. The tablecloth color gets discontinued. Your bridesmaid drops out and you need to reorder florals. The weather turns and you need last-minute heaters. Whatever.
How To Actually Track The Numbers
In the Estimated Cost column, put what you THINK things will cost based on your research. Be realistic here, not aspirational. I see so many spreadsheets where someone’s put “$2000” for photography because they saw it on Pinterest but they’re planning a wedding in a major city where photographers start at $4500. You’re just setting yourself up to feel defeated.
The Actual Cost column gets filled in once you get real quotes. This is usually when reality hits and you start making decisions about what actually matters to you versus what you thought you wanted.
Here’s what annoys me though – people don’t update their spreadsheets after the initial setup. You pay a deposit in March, forget to log it, pay another deposit in April, and by June you have no idea what you’ve actually spent versus what’s still coming. Update this thing weekly or at minimum after every single transaction.
Setting Up Formulas That Actually Help
You don’t need to be a spreadsheet wizard but a few basic formulas make this so much easier. At the bottom of your Estimated Cost column, use =SUM(C2:C50) or whatever your range is. Do the same for Actual Cost, Deposits Paid, and Balance Due.
Then create a row that shows the difference between your estimated total and actual total. This tells you if you’re over or under budget overall. I use conditional formatting to make this cell turn red if I’m over budget and green if I’m under, because visual cues help when you’re stressed and scanning quickly.
For the Balance Due column, you can set up a formula like =Actual Cost minus Deposit Paid. This automatically calculates what you still owe each vendor without having to do mental math when you’re already overwhelmed picking between ivory and cream linens.
The Payment Schedule Section
This is actually more important than people realize because it’s not just about the total cost, it’s about cash flow. You might have a $30,000 wedding that’s totally affordable over 18 months, but if $15,000 of that is due in the same month, you’ve got a problem.
In your Payment Due Date column, note when deposits are due, when second payments happen, and when final balances are due. Most vendors want the final payment 1-2 weeks before the wedding. Some want it 30 days out. Knowing this helps you plan when to move money around or when to… I don’t know, not take that vacation you were considering or whatever.
I create a separate tab in the same spreadsheet that’s just a calendar view showing what’s due each month. So like “March: photographer deposit $1000, venue deposit $3000, dress shopping budget $2000” and so on. When you can see the monthly breakdown, it’s way less scary than just looking at one giant number.
Tracking Payments And Receipts
Add a column for payment method and confirmation numbers. I’m serious about this. When a vendor says “we never received your deposit” in October and you KNOW you paid it in March, you need to be able to pull up that check number or transaction ID immediately.
Create a folder in your email called “Wedding Payments” and file every single receipt and confirmation. In your Notes column, you can write something like “receipt in email folder, confirmation #12847” so you know where to find backup documentation.
Also photograph or scan every check before you mail it. I had a situation where a stationer claimed they never received payment and my couple had no proof because they just… dropped the check in the mail and forgot about it. Caused a huge mess that could’ve been avoided.
The Vendor Contact Section
In that Vendor Contact column, put names, phone numbers, and email addresses. When you’re two weeks out from the wedding and need to confirm something quickly, you don’t want to be digging through 47 emails to find someone’s phone number.
I also add a column for contract status: Signed, Pending, or Not Started. You’d be surprised how many couples think they’ve booked a vendor but haven’t actually signed a contract yet. That’s not booked. That’s just a conversation you had.
Comparing Vendor Quotes
Before you commit to vendors, create a separate tab for comparing quotes. So if you’re looking at three photographers, make a comparison chart with what each package includes, the price, what you like and don’t like about their work, and their availability.
This stops you from making decisions based purely on price. Sometimes the $3500 photographer includes engagement photos and an album, while the $3000 one is just day-of coverage with digital files. When you break it down, the more expensive one might actually be the better value.
The Things You’ll Add Later
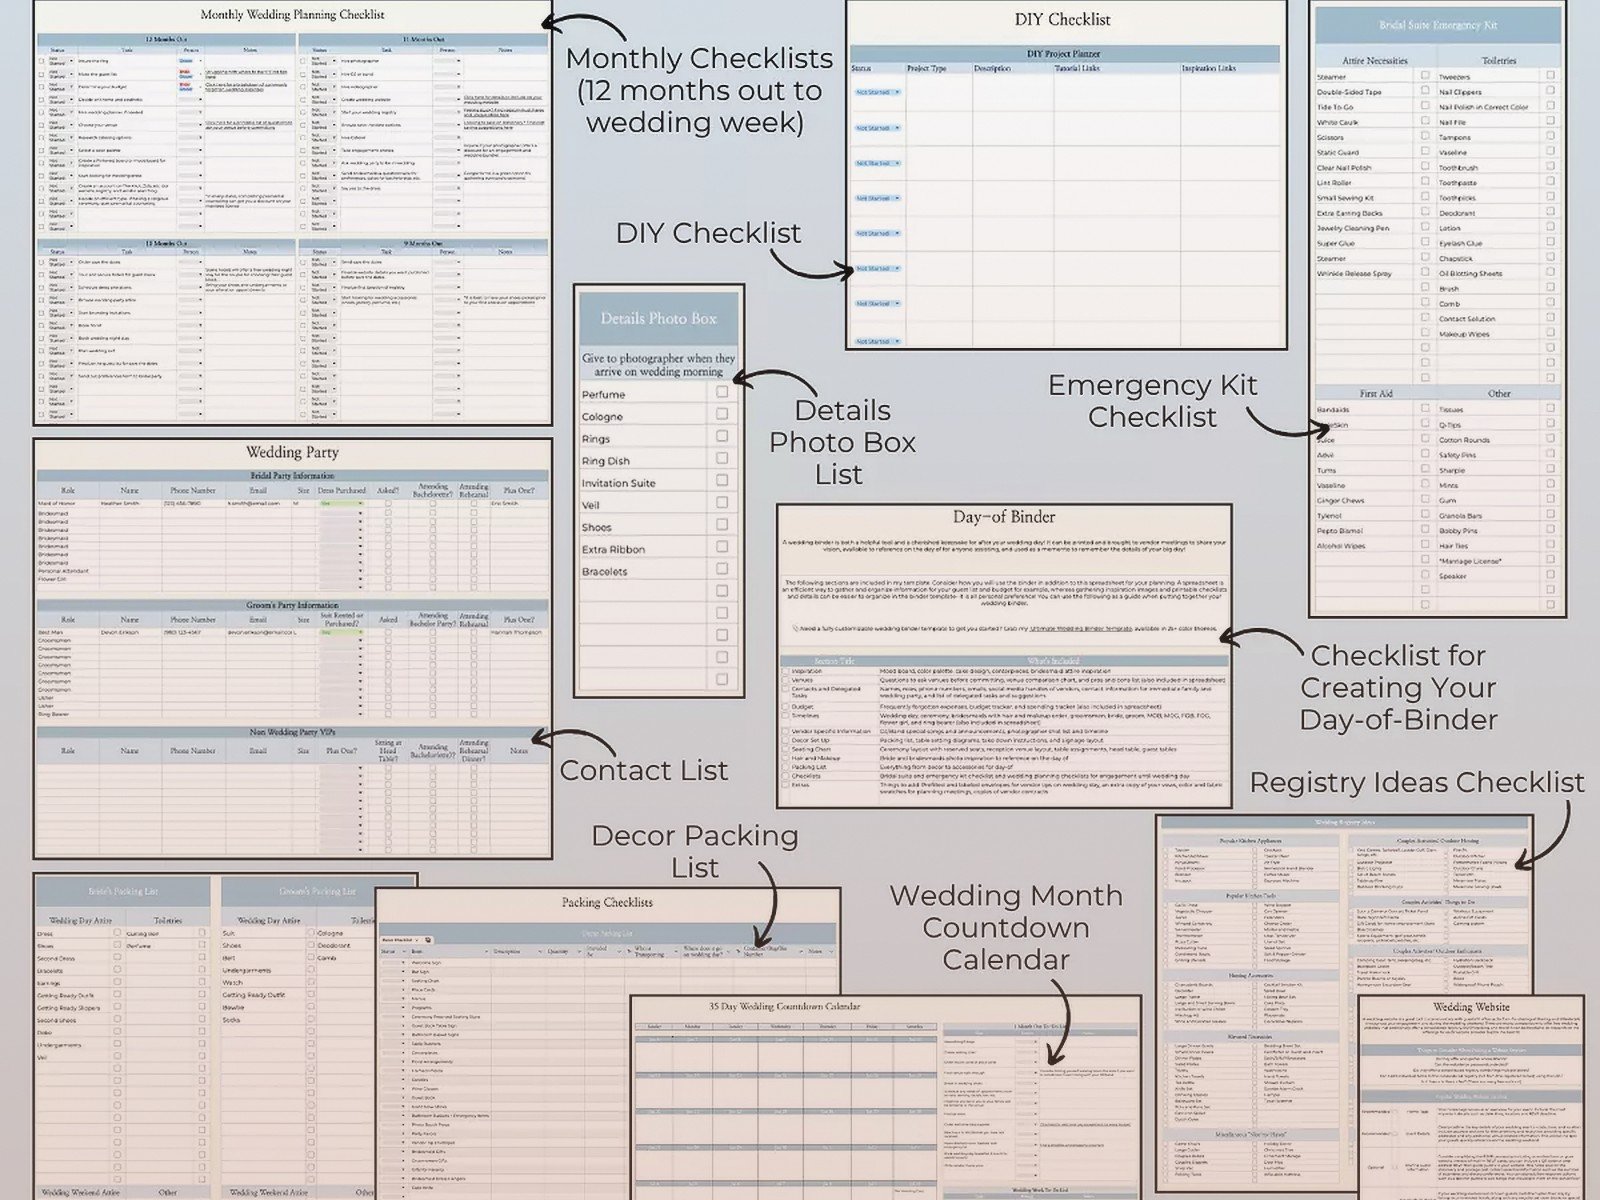
Your spreadsheet is gonna evolve and that’s fine. You’ll probably add tabs for guest list tracking (with meal choices and plus-ones), seating arrangements, and vendor timeline for the day-of. I usually end up with like 8 tabs by the time the wedding happens.
Some people create a tab for DIY projects with cost breakdowns. If you’re making your own centerpieces, track every single supply cost. Those little expenses add up fast and suddenly your “budget-friendly DIY” project cost more than just buying the damn things would have. Not that I’m bitter about discovering this with a bride who spent $600 on supplies for favors that would’ve cost $400 to order.
What To Do When You’re Going Over Budget
Okay so you’re tracking everything perfectly and you realize you’re $5,000 over budget. First, don’t panic. Second, look at your spreadsheet and highlight everything that’s already been paid or deposited. Those costs are sunk – you’re not getting that money back unless you’re willing to cancel and lose deposits.
Focus on the categories where you haven’t committed yet. Can you do simpler flowers? Less expensive favors or skip them entirely? Buffet instead of plated dinner? This is where having everything in one place helps because you can see exactly where you have flexibility left.
I also recommend adding a column for “priority level” – mark things as Must Have, Really Want, or Nice To Have. When you’re cutting budget, start with the Nice To Have items. Nobody’s gonna remember your custom cocktail napkins but everyone will remember if there wasn’t enough food.
Sharing The Spreadsheet
If someone else is contributing financially (parents, your partner, whoever), share the spreadsheet with view or edit access depending on how involved they want to be. Google Sheets is better for this than Excel because it updates in real-time and you don’t have to keep emailing versions back and forth.
Set permissions carefully though. You probably don’t want your future mother-in-law having edit access if she’s gonna go in and add comments about how you should spend more on flowers and less on photography, just saying.
The Weekly Check-In Habit
Pick a day each week (I like Sunday evenings but that’s just me) and spend 15 minutes updating your spreadsheet. Add any new quotes you received, update payment statuses, check upcoming due dates, and make sure everything’s accurate.
This prevents that thing where you suddenly realize you forgot to pay a vendor and now you’re scrambling to wire money the week of the wedding. Been there, seen it happen, it’s stressful for everyone involved and completely avoidable with basic organization.
Also during these check-ins, compare your spending to your original budget. Are you consistently over in certain categories? That’s information you need to know sooner rather than later so you can adjust other areas accordingly or have a conversation about increasing the overall budget if that’s an option.
Templates Versus Starting From Scratch
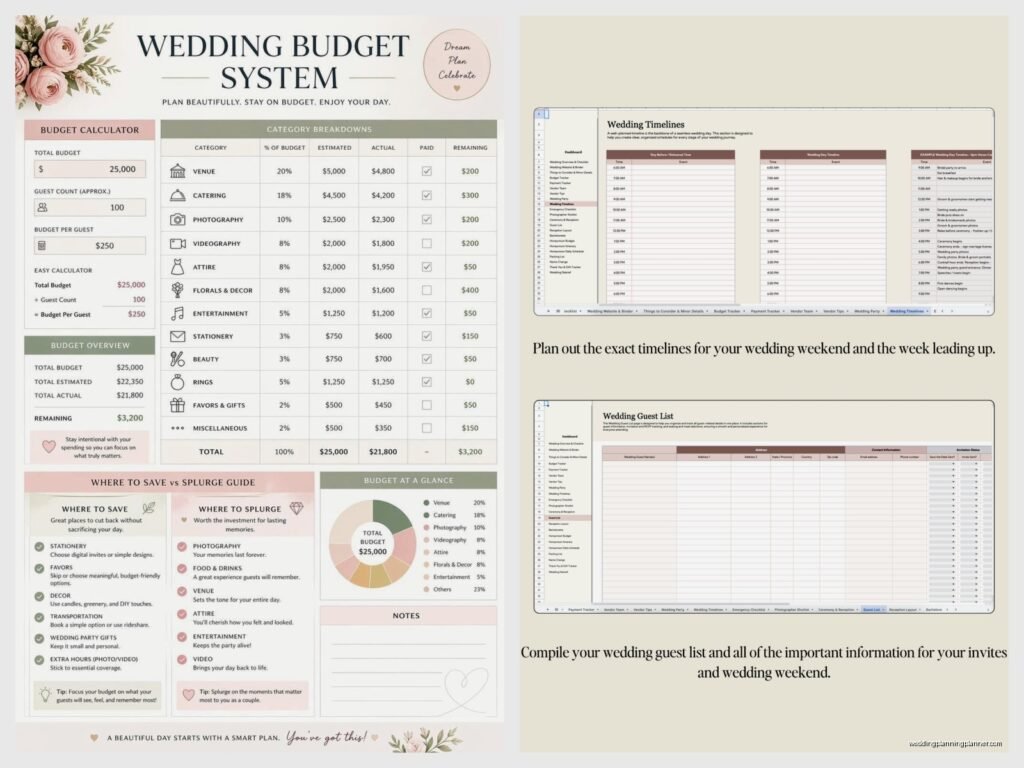
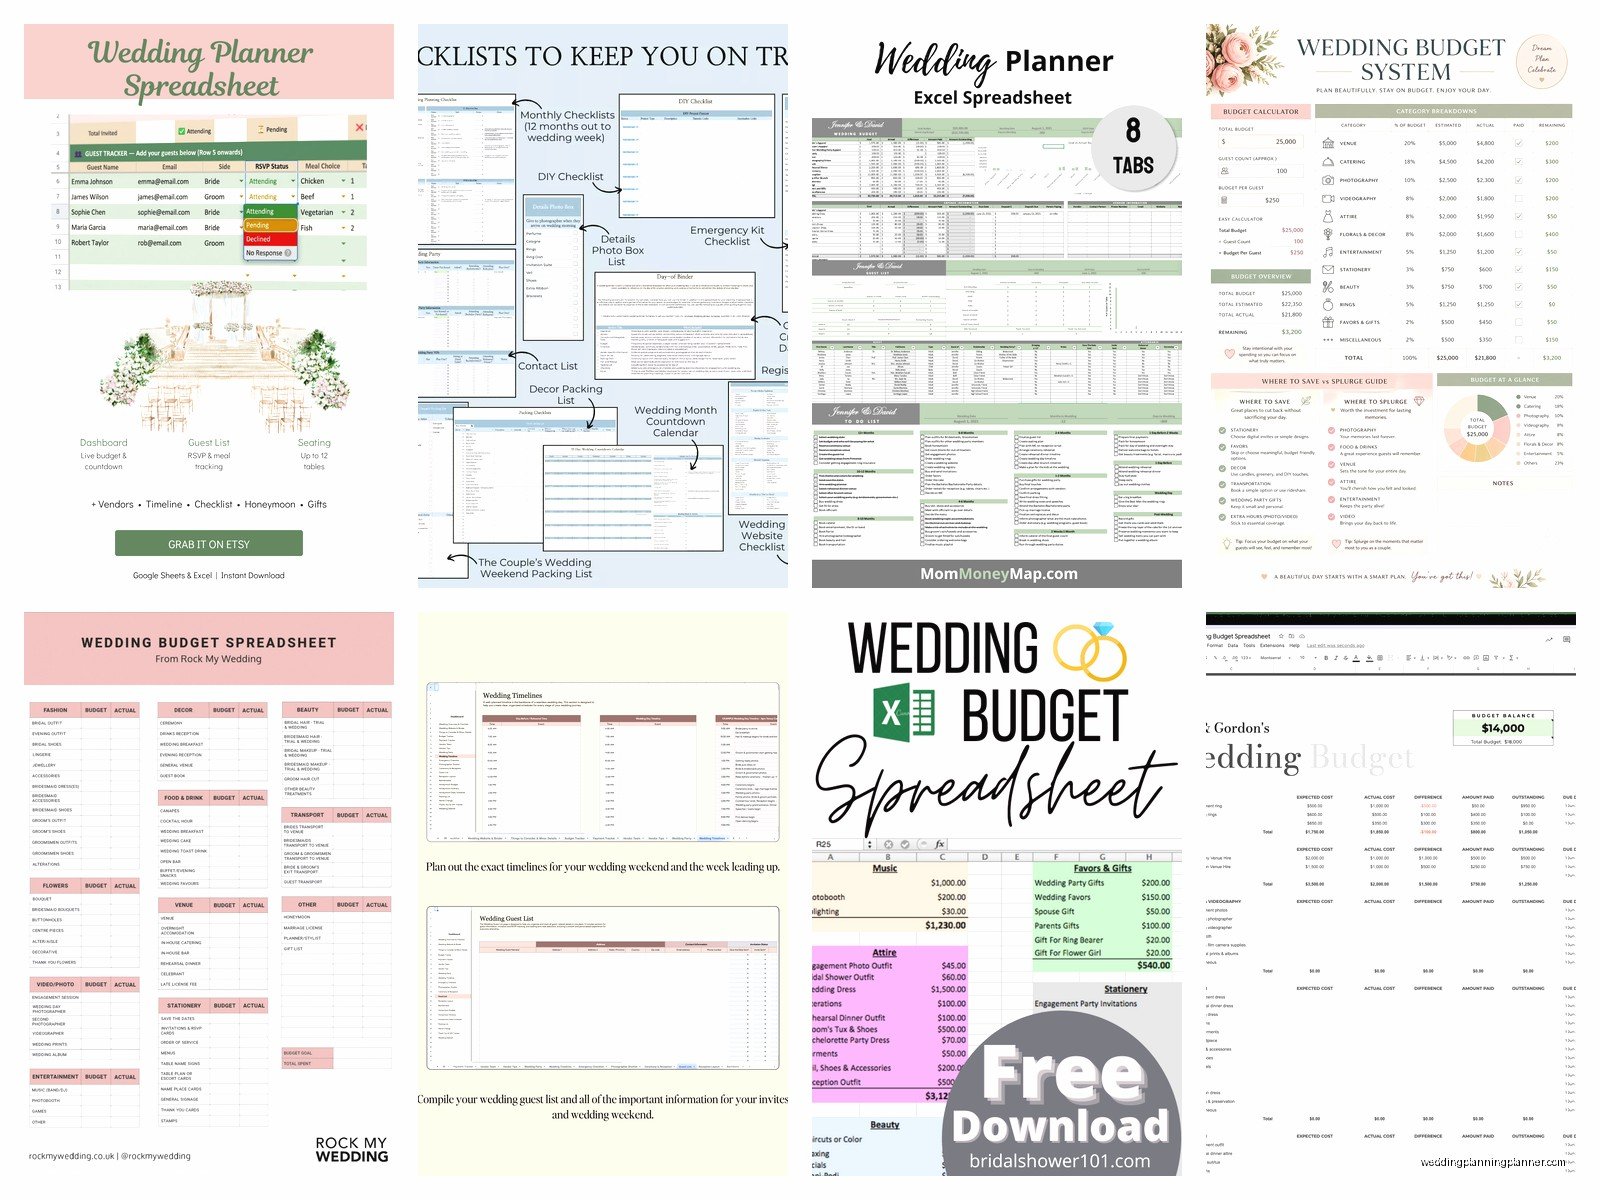
There are approximately eight million wedding budget templates online and some of them are actually pretty good. The Knot has one, WeddingWire has one, and there are fancy ones on Etsy with color coding and automatic calculations.
But honestly? I usually recommend people start from scratch because every wedding is different and templates often include categories you don’t need while missing ones you do. Like if you’re having a backyard wedding, you don’t need a venue line item but you probably need a tent rental category that isn’t in standard templates.
That said, if spreadsheets make you want to cry, grab a template and modify it. Something is better than nothing, and you can always adjust it as you go. Just make sure it has the basic columns I mentioned earlier – estimated cost, actual cost, deposits, balance due, and due dates at minimum.
Linking Your Spreadsheet To Your Bank Account
Some people use apps like Mint or YNAB that connect to their bank accounts and automatically categorize wedding expenses. This can work but it requires discipline in tagging transactions correctly, and personally I find it easier to just manually enter things in my spreadsheet because then I’m actually looking at the numbers regularly instead of letting an app do it in the background.
But if you’re someone who’s definitely not gonna update a spreadsheet manually, the automated option is better than nothing. Just make sure you’re reviewing it weekly so you actually know where your money’s going.
You can also create a separate checking account just for wedding expenses and funnel your wedding budget into it each month. Makes it super clear what’s wedding money versus regular life money, and your spreadsheet becomes a reflection of that account. When the account hits zero, you’re done spending. Pretty straightforward.
