
Planning Guides, Style Guide
Wedding Program Template Word: Microsoft Downloads
Jul
Finding Wedding Program Templates in Microsoft Word
Okay so Microsoft Word actually has built-in wedding program templates that most people don’t even know exist and honestly it’s kinda frustrating because I spent like three hours in spring 2023 designing a program from scratch for a client before I remembered these templates were sitting right there in the application. You can access them directly through Word or download them from Microsoft’s template website, and they’re completely free which is obviously the best part.
Open Word and instead of starting with a blank document, look for the template search bar at the top. Type “wedding program” and you’ll get maybe 15-20 options that show up. Some are bifold, some are single page, some have floral designs, others are minimalist. The selection changes sometimes because Microsoft rotates their featured templates but the core ones stay pretty consistent.
Downloading from Microsoft Office Templates Website
If you want more options than what shows up in Word itself, go to templates.office.com and search there. The website version usually has more choices and you can filter by category, color scheme, or event type. I always tell my clients to check both places because sometimes the website has updated versions that haven’t made it into the Word application yet.
When you find one you like, click it and then hit the “Download” button. It’ll open directly in Word on your computer. Save it immediately with a new name like “OurWeddingProgram_Draft1” or whatever because I cannot tell you how many times people have edited the template and then closed it without saving and lost everything. My cat literally walked across my keyboard once and closed a program I’d been working on for 45 minutes and I hadn’t saved it and I just… anyway, save your work.
What Makes Word Templates Actually Useful
The thing about Microsoft’s wedding program templates is they’re already formatted correctly for printing. The margins are set, the fold lines are marked if it’s a bifold design, and the text boxes are positioned where they should be. You’re not gonna have to mess with page orientation or figure out if it should be portrait or landscape because that’s already done.
Most templates come with placeholder text that shows you exactly what information goes where. You’ll see sections for:
- Ceremony order (processional, readings, vows, etc.)
- Wedding party names and roles
- Parents and family acknowledgments
- Special dedications or in memoriam sections
- Reception information or timeline
Just select the placeholder text and type over it with your actual information. The formatting stays intact which saves you so much time compared to building everything from scratch.
Customizing the Design Elements
Here’s where I see people get stuck – they think because it’s a template, they can’t change anything. Nah, you can modify basically everything. Click on any graphic element, any line, any decorative border and you can delete it, resize it, change the color, or move it around.
To change colors, select the element and go to the Format tab that appears. You’ll see options for Shape Fill or Text Fill depending on what you selected. If you’re trying to match your wedding colors, this is where you do it. One thing that annoyed me SO much is that Word’s color picker doesn’t always show RGB or hex codes clearly, so if you have specific brand colors from your wedding palette, you might need to click “More Colors” and then “Custom” to enter the exact values.
Fonts are easy to change – just highlight the text and pick a different font from the dropdown. But here’s something I learned the hard way: if you’re gonna print these programs at a professional print shop, stick with standard fonts that are widely available. I once designed programs using this gorgeous font called “Amalfi Coast” or something and when the client sent the file to their printer, the font didn’t transfer correctly and everything printed in Times New Roman. Disaster.
Setting Up for Different Program Styles
Most Word templates come in a few standard formats and you should pick based on how you’re actually using them at your ceremony.
Bifold programs are the most common – they’re one sheet of paper folded in half to create four panels. The template will show you front cover, inside left, inside right, and back cover. This style works great for traditional church ceremonies where you’ve got a longer order of service and multiple readings or musical pieces to list.
Single-page programs are basically flat cards, no folding. These work better for shorter ceremonies or outdoor weddings where people might be holding them while standing. Less information fits on these obviously but they’re simpler to print and assemble.
Trifold programs exist too but honestly I don’t see them as much anymore. They’re kinda awkward to hold during a ceremony and…
Adjusting the Layout for Your Content
The templates give you a starting structure but your ceremony might not fit that exact format. Maybe you have seven bridesmaids instead of four, or you’re including a unity ceremony that needs explanation, or you want to add song lyrics for a congregational hymn.
To add more space, you can click inside any text box and drag the borders to make it bigger. You can also delete entire sections you don’t need – like if the template has a “Reception Details” section but you’re putting that information on a separate card, just click the text box and hit delete.
Adding new text boxes is straightforward: go to Insert > Text Box and draw where you want it. The annoying part is getting it to match the formatting of the existing template text boxes, so sometimes it’s easier to copy an existing text box (Ctrl+C, Ctrl+V) and then just change the content and position.
Common Information to Include
Even though the templates guide you, it helps to know what typically goes in a wedding program. On the front cover you usually put:
- Couple’s names
- Wedding date
- Ceremony location
- Maybe a meaningful quote or verse
Inside is where you list the ceremony order. Be specific enough that guests understand what’s happening but you don’t need to write every single word. Like instead of typing out the entire Lord’s Prayer, just put “The Lord’s Prayer” as a line item. I had a client in summer 2021 who wanted to print the full text of THREE readings and two complete song lyrics and we literally ran out of space and had to cut the font down to like 8pt which nobody could read anyway.
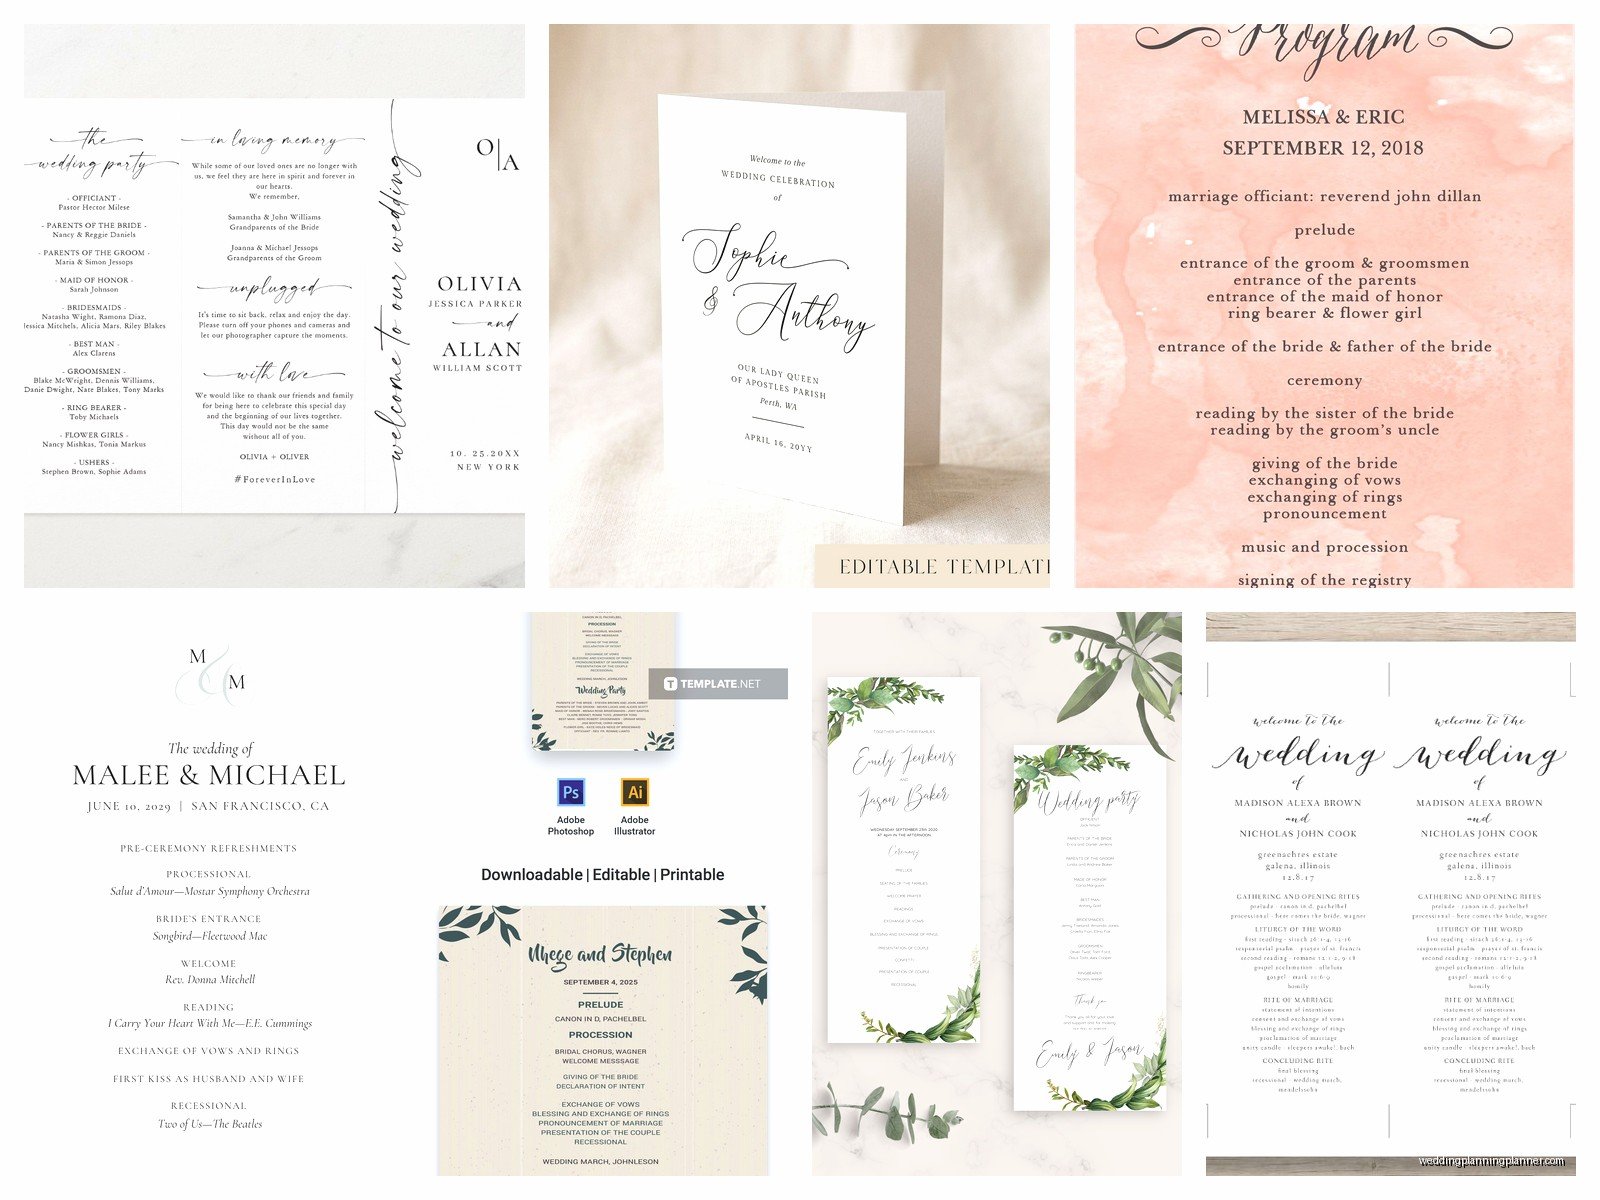
The wedding party section should include:
- Officiant name and title
- Maid/Matron of Honor and Best Man
- Bridesmaids and Groomsmen (you can list them individually or just by number if there’s a lot)
- Flower girl, ring bearer, ushers
- Musicians or soloists
Parents’ names usually go somewhere – either on the front “Jane and John Smith invite you to celebrate the marriage of their daughter” style or inside with a simple “Parents of the Bride/Groom” listing.
Proofreading and Double-Checking
This is gonna sound obvious but I’m saying it anyway because I’ve seen the mistakes: check every single name spelling at least twice. Check the date. Check the ceremony location address. I once caught a program that had the wrong church name literally the day before the wedding because someone had copied an old template from a friend’s wedding and forgot to update that field.
Read through the ceremony order with your officiant to make sure it matches what’s actually happening. Sometimes couples plan the ceremony months in advance and then make changes closer to the date but forget to update the program.
Printing Considerations for Word Templates
Before you print 150 copies, do a test print. Seriously, print just one, fold it if it’s a bifold, and look at it in actual paper form. What looks good on screen doesn’t always translate to paper. Colors might print darker, small fonts might be hard to read, or the fold line might cut through someone’s name.
For home printing, you’ll probably want to use cardstock instead of regular printer paper. It looks more substantial and holds up better during the ceremony. Get 110lb cardstock – it’s thick enough to feel nice but not so thick that it jams your printer. Check your printer settings and make sure it’s set to “cardstock” or “heavy paper” mode.
If you’re printing bifold programs at home, you’ll need to figure out which way to feed the paper for double-sided printing. Do another test print to figure this out because every printer is different and it’s confusing. Print the front, then flip the paper… wait, do you flip it horizontally or vertically? See, this is why you test it first.
Professional printing is honestly worth it if you’re doing more than like 50 programs. The cost isn’t that much higher and they’ll handle the paper selection, double-sided printing, cutting, and folding. Just save your Word file as a PDF before sending it to the printer – go to File > Save As > and choose PDF from the format dropdown. This preserves all your formatting and fonts exactly as you designed them.
File Management and Versions
Keep multiple versions saved as you make edits. I use a naming system like ProgramDraft1, ProgramDraft2, ProgramFINAL, ProgramFINAL_revised, ProgramFINAL_actualfinal… okay that last part is sorta a joke but also it happens. You want to be able to go back to an earlier version if you accidentally delete something or if someone decides they want to undo a change.
Save your file in multiple places – your computer, a USB drive, cloud storage like OneDrive or Google Drive. I watched The Office the other night and there’s that episode where they lose all their data and it reminded me that this actually happens to people with wedding files and it’s devastating.
Working with Template Limitations
Sometimes the template you love just doesn’t quite work for what you need. Maybe it’s formatted for a Catholic mass but you’re having a Jewish ceremony, or it’s got this formal vibe but your wedding is casual and outdoor. You can still use it as a starting point and modify heavily.
Delete all the sections that don’t apply to you. Change the language to match your ceremony style – instead of “Processional” maybe you say “Here Comes the Wedding Party” if that fits your vibe better. The template is a tool, not a rulebook.
If you need more design flexibility than Word offers, you could always use the Word template to figure out your content and layout, then recreate it in Canva or another design program. But honestly for most weddings, Word templates are perfectly fine and nobody’s gonna judge your program design as long as the information is clear and it looks neat.
Timing Your Program Creation
Don’t wait until the week before your wedding to start this. You need time for multiple rounds of edits, proofing, test printing, and actual printing. I’d say start working on your program content about 6-8 weeks before the wedding. Finalize it 3-4 weeks out, and get it printed 2 weeks before at the latest.
This gives you buffer time for mistakes – and there will be mistakes. Someone’s name will be spelled wrong, you’ll realize you forgot to list your grandmother who’s doing a reading, the printer will mess up the first batch, whatever. Build in time to fix problems.
Also confirm your wedding party lineup before you finalize the program because I’ve had situations where a groomsman dropped out last minute and had to be replaced and oops, the programs were already printed with the wrong name. Not the end of the world but kinda annoying to have printed materials that don’t match reality
