
Planning Guides, Style Guide
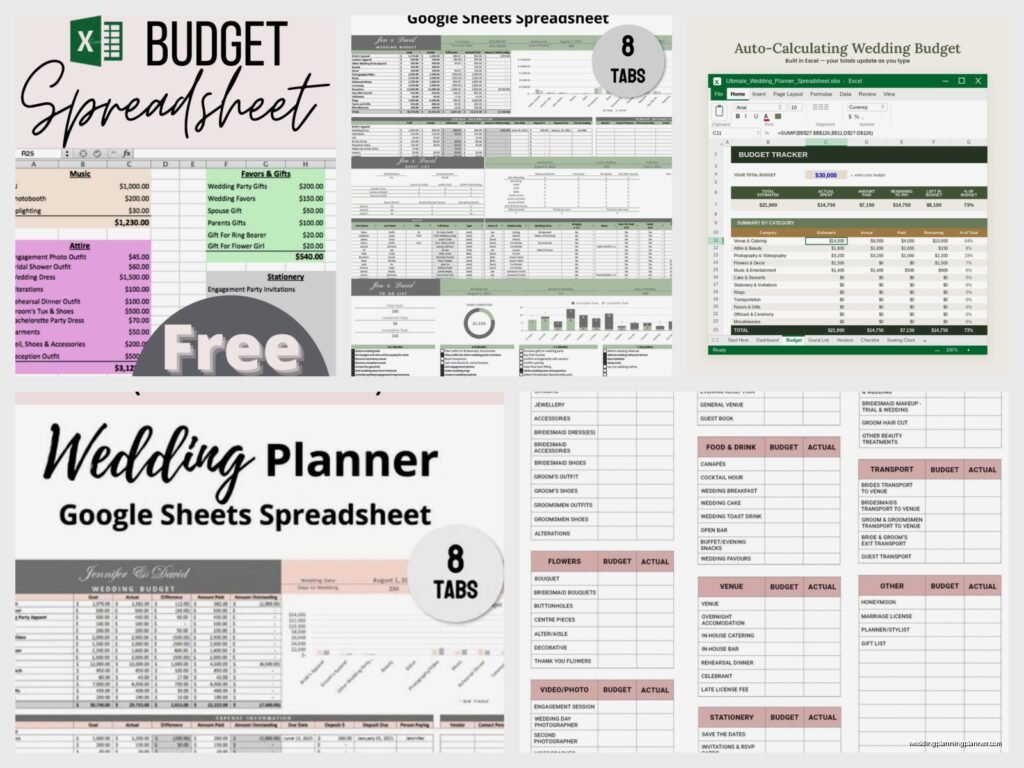
Wedding Budget Spreadsheet Google Sheets: Cloud Tracker
Jul
Setting Up Your Google Sheets Wedding Budget Tracker
Okay so first thing you’re gonna do is open Google Sheets and create a new spreadsheet. I always tell couples to name it something specific like “Smith-Johnson Wedding Budget 2025” because I had this moment back in spring 2023 where a bride had like seven different files all called “wedding planning” and we couldn’t figure out which one had the actual current numbers. It was a mess.
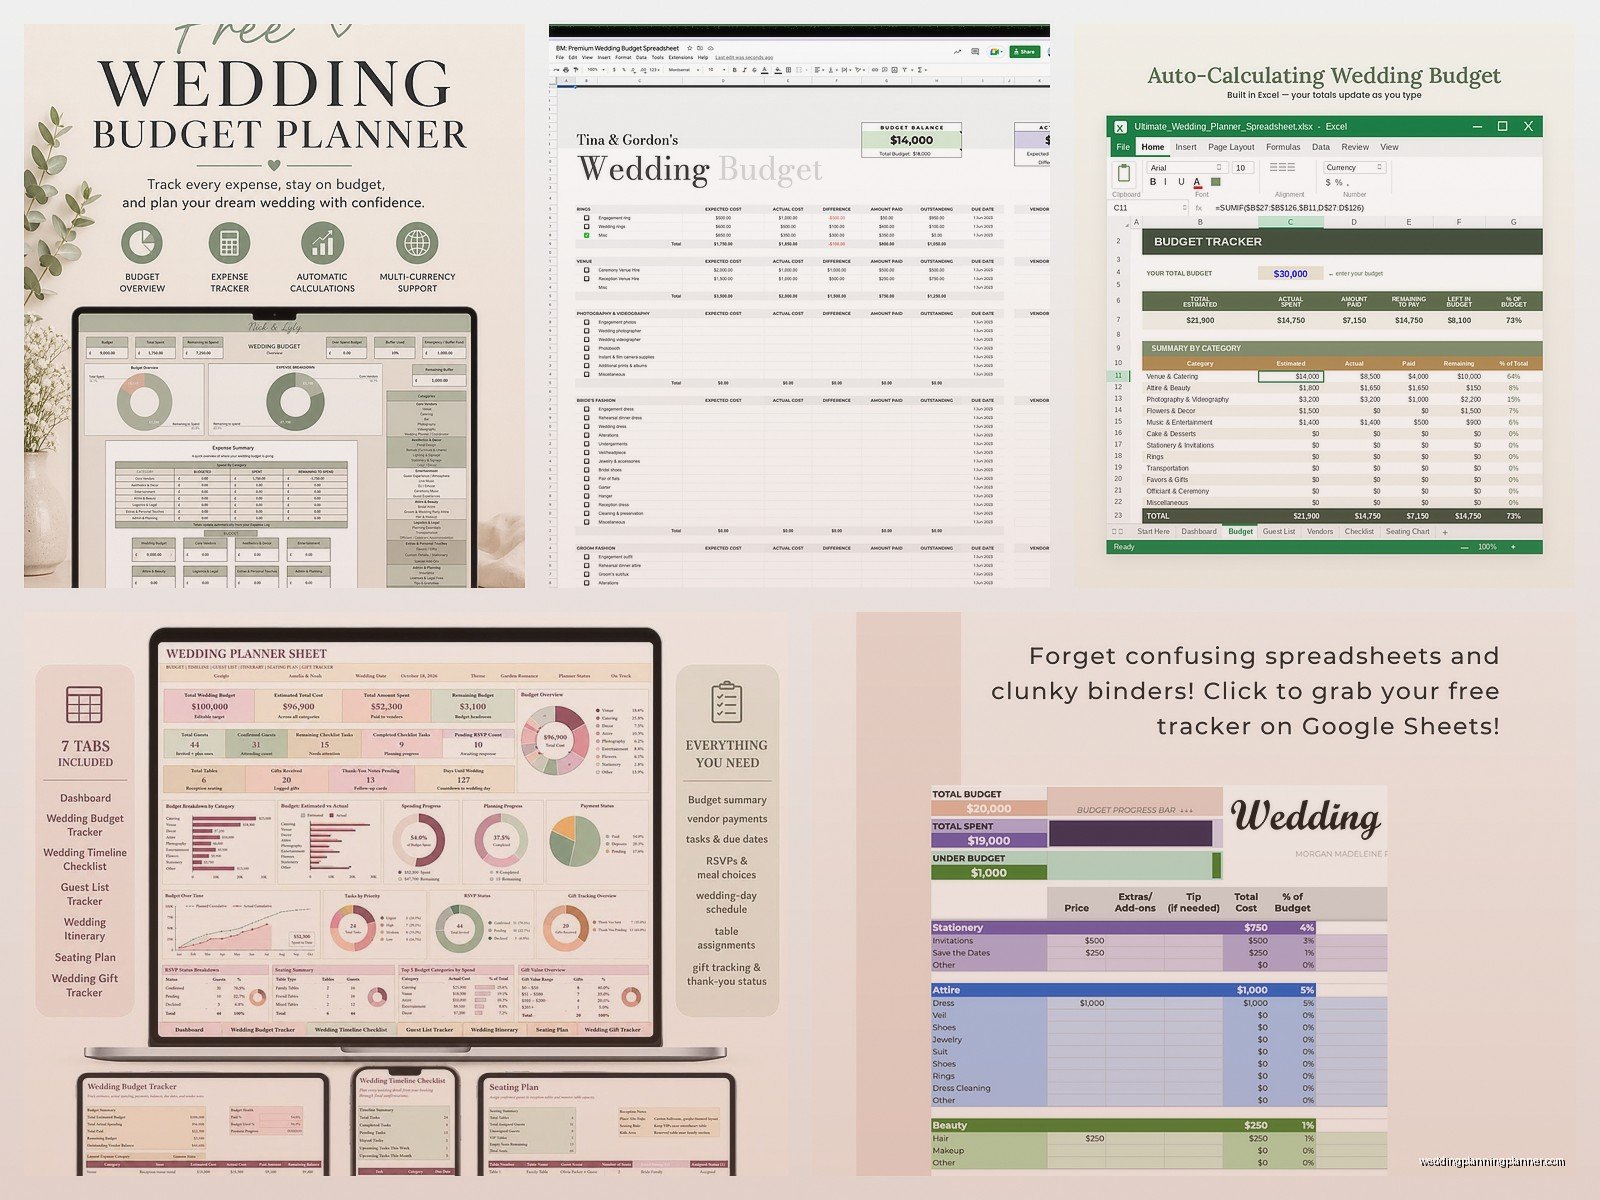
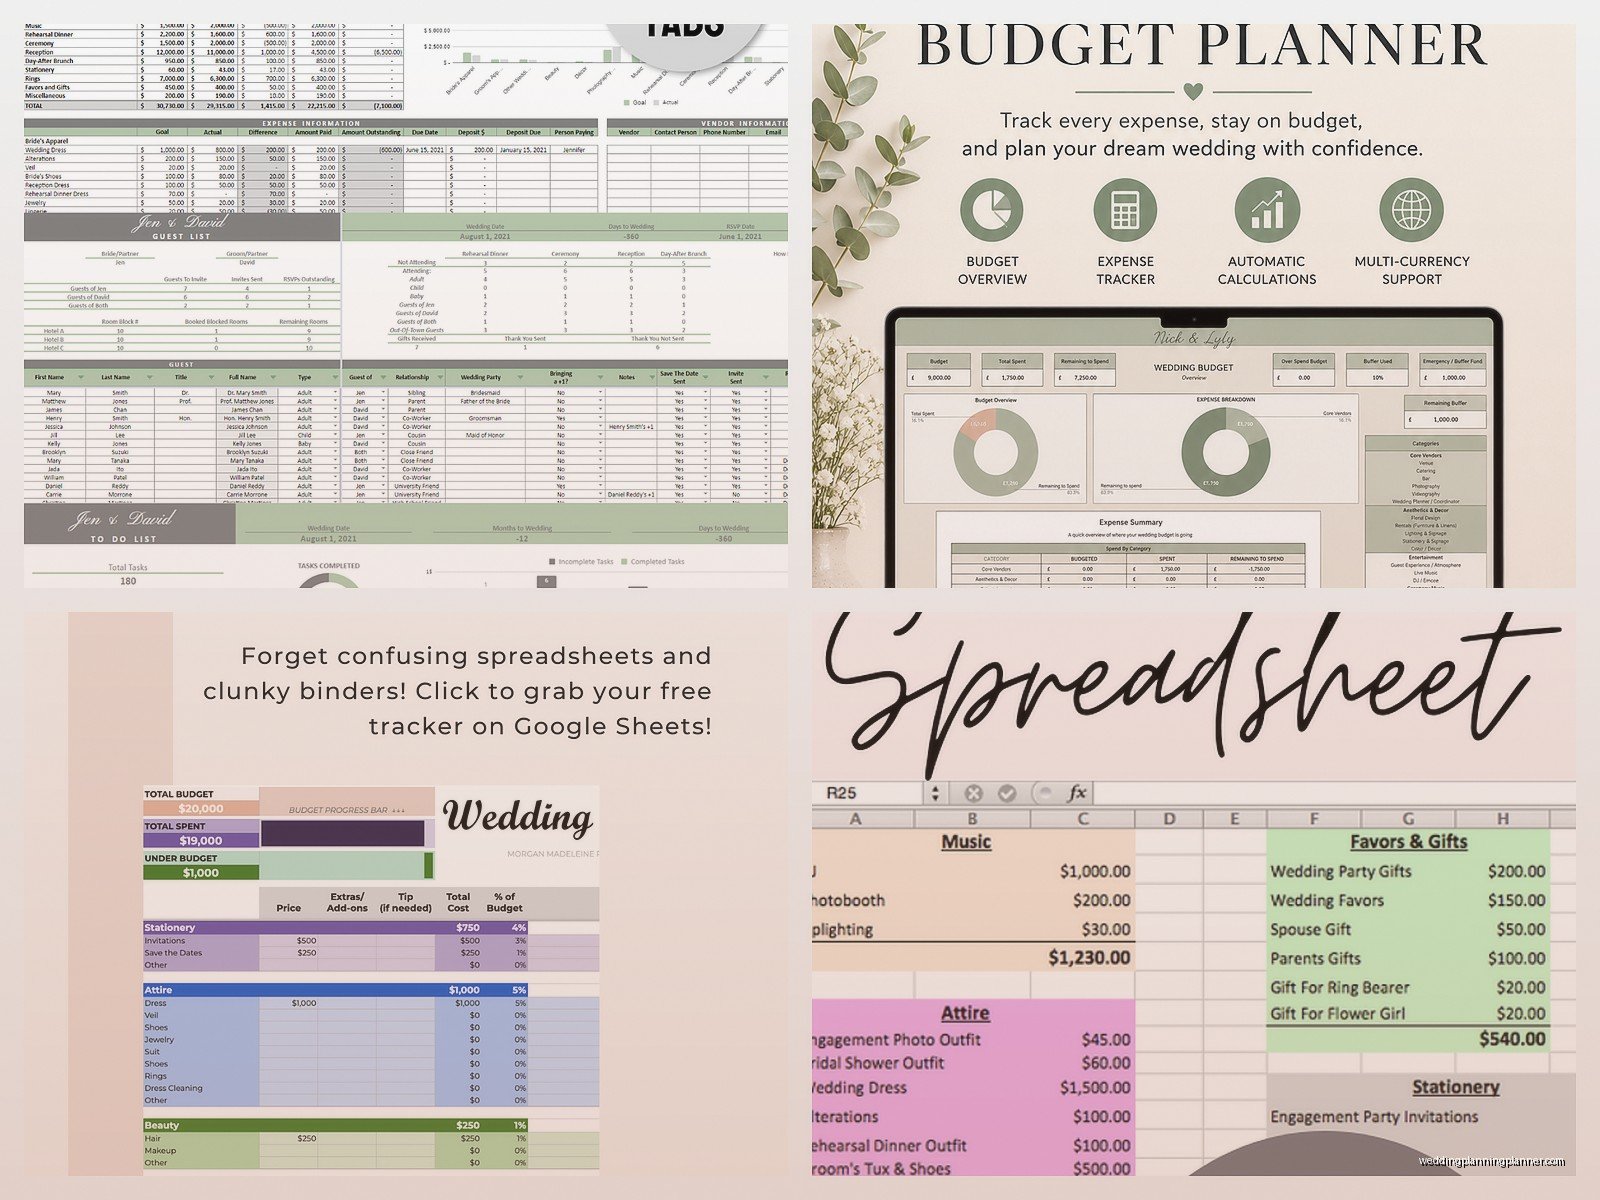
Start with your basic column headers in row 1. I usually do: Category, Item Description, Estimated Cost, Actual Cost, Deposit Paid, Balance Due, Payment Due Date, Vendor Name, Notes. You can add more or take some away but these are like the core ones you actually need to track money properly.
The beautiful thing about Google Sheets versus Excel or whatever is that you can literally access it from your phone while you’re at a venue tasting and the coordinator mentions an extra fee you weren’t expecting. I’ve done this so many times standing in reception halls, just pulling up the sheet right there to see if we have wiggle room in the budget.
Creating Your Budget Categories
So in that first column, you’re gonna list out all your categories. Start broad and then you’ll add specific items under each. My standard categories are:
- Venue and Catering
- Photography and Videography
- Flowers and Decor
- Attire (bride, groom, wedding party)
- Music and Entertainment
- Stationery (obviously my favorite section)
- Transportation
- Hair and Makeup
- Rings
- Gifts and Favors
- Miscellaneous (trust me, you need this)
Under each category, add rows for specific items. Like under Stationery, you’d have separate rows for save-the-dates, invitations, programs, menus, place cards, thank you cards, etc. This is where people usually underestimate costs which kinda annoys me because then they’re shocked when quality printing isn’t $50 total.
The Formulas You Actually Need
Here’s where Google Sheets becomes actually useful instead of just a fancy list. In your “Balance Due” column, you want a formula that calculates Actual Cost minus Deposit Paid. So if your Actual Cost is in column D and Deposit Paid is in column E, your formula in column F would be =D2-E2 (assuming row 2 is your first data row).
At the bottom of your Estimated Cost column, add a SUM formula to total everything. Same for Actual Cost, Deposit Paid, and Balance Due columns. These running totals are what you’ll be checking obsessively, I’m not gonna lie.
I also add a column that shows the difference between estimated and actual costs. Sometimes venues quote you one price and then the actual contract is different, or you decide to upgrade something. This formula would be =D2-C2 and you can use conditional formatting to make it turn red if you’re over budget on that item. Google Sheets has this built in – just select the cells, go to Format > Conditional formatting, and set it up so anything above zero turns red or whatever color freaks you out enough to pay attention.
Sharing and Permissions
The cloud aspect is honestly the best part. Click that Share button in the top right and add your partner, your wedding planner if you have one, maybe your parents if they’re contributing financially. But here’s the thing – set the permissions carefully.
You can give people “View only” access if you just want them to see the numbers but not change anything. Or “Comment” access if you want them to be able to add notes but not mess with your formulas. Or full “Edit” access if you trust them completely. I learned this the hard way when a groom’s dad who was helping pay for stuff accidentally deleted an entire category because he didn’t know how spreadsheets worked. It was… we got it back from version history but still.
Version history is actually really useful though. Go to File > Version history > See version history and you can see every change that’s been made and by who. You can restore old versions if someone messes something up. I’ve used this feature more times than I can count.
Adding Tracking Features That Actually Help
Create a separate tab (bottom of your sheet) for payment schedules. List out every vendor, when deposits are due, when final payments are due, and check them off as you go. I use a simple checkbox system – in Google Sheets you can actually insert checkboxes through Insert > Checkbox.
Another tab I always recommend is for guest count tracking because your catering costs directly tie to headcount. As RSVPs come in, you’re updating this and it affects your actual costs in your main budget tab. You can link these numbers using formulas so when you update guest count, it automatically adjusts your per-person costs.
Oh and create a tab for who’s contributing what money. If your parents are giving $10k and his parents are giving $8k and you’re covering the rest, track that separately. It helps you know what money you’re actually working with and… this gets awkward sometimes but it’s better to have it documented.
Color Coding Because We’re Visual Creatures
I’m big on color coding. Highlight your categories in one color, maybe a light gray. Highlight items that are fully paid in green. Items with deposits down but balance remaining in yellow. Items not yet booked or paid in red. You can do this manually or set up conditional formatting rules.
My cat just knocked over my coffee cup while I’m writing this which is exactly the kind of chaos that happens during wedding planning, so having everything in the cloud means even if your laptop gets coffee on it or whatever, your budget is safe in Google’s servers.
Also highlight any items where the actual cost came in significantly different from estimated. This helps you see patterns – like maybe you’re consistently underestimating decor costs, which means you need to adjust other categories to compensate.
The Contingency Fund Row
Add a category called Contingency or Emergency Fund and budget like 5-10% of your total budget here. Things go wrong or you decide last minute you want uplighting or the cake topper you ordered arrives broken and you need to overnight a replacement. This buffer has saved so many couples from total panic.
I had a wedding in summer 2021 where literally two days before the event, the florist’s cooler broke and half the flowers died. The couple had to order rush replacement flowers at almost double the cost. Because they had a contingency fund built into their budget, it was stressful but not financially devastating.
Mobile Access and Real-Time Updates
Download the Google Sheets app on your phone. Seriously. You’ll be at cake tastings, dress appointments, meeting with DJs, and you need to know immediately if you can afford the upgrade they’re offering or if you need to think about it.
When you’re at vendor meetings, you can update the sheet right there. They give you a quote, you plug it in, you see instantly how it affects your total. I’ve watched couples make decisions on the spot because they could see their numbers in real time instead of having to go home and calculate everything.
The sheets app also lets you add comments if you’re somewhere and think of something. Like you’re driving home from a venue tour and remember they mentioned an extra fee for chairs, you can add a comment to that line item to follow up on it.
Formulas for Percentages
Add a column that shows what percentage of your total budget each category represents. The formula would be something like =D2/D$50 (where D50 is your total budget cell – the dollar sign locks that reference). Format these cells as percentages.
This is super helpful because you can see if you’re spending 40% of your budget on the venue and only 5% on photography, and then you can decide if that allocation makes sense for your priorities. Some couples care way more about photos than flowers, others are the opposite.
Linking to Vendor Information
In your Notes column or in a separate Vendor Details tab, you can add links to vendor websites, contracts stored in Google Drive, email confirmations, whatever. Google Sheets lets you hyperlink stuff so everything related to your budget is accessible from one place.
I usually create a folder in Google Drive called “Wedding Planning” and inside it have subfolders for contracts, inspiration photos, vendor info, etc. Then link to those specific documents from your budget sheet. It’s all connected and cloud-based so you can access it anywhere which is honestly how I work with all my clients now.
What Annoys Me About Budget Tracking
Okay so the thing that really annoys me is when couples don’t update their actual costs as they go. They get quotes, they plug in estimates, and then they just… never update when they actually book and get real numbers. Then three months before the wedding they’re like “wait how much have we actually spent” and we have to go through every single email and contract to figure it out.
Update your sheet immediately when you book a vendor or make a payment. Don’t wait. Put it in your calendar as a task if you have to – “Update budget spreadsheet” right after “Pay photographer deposit.” Otherwise you lose track and that’s when people accidentally overspend.
Templates vs Starting From Scratch
Google Sheets has wedding budget templates you can use if you don’t want to build from scratch. Go to the template gallery and search for wedding budget. They’re fine, they give you a starting point, but I usually find them either too simple or weirdly complicated with features most people don’t need.
I prefer building your own because then you understand every cell and formula. Plus you can customize it to your specific situation. Having a destination wedding? Add categories for travel and accommodations. Having a tiny wedding? You don’t need half the categories a 200-person wedding needs.
But if you’re not comfortable with spreadsheets or you just want something quick, the templates work. Just make sure you understand how to modify them because you’ll definitely need to adjust stuff as your planning progresses.
Tracking Multiple Scenarios
Sometimes couples want to compare different options – like Venue A costs this much, Venue B costs that much, how does that affect the overall budget? Create duplicate tabs for different scenarios. You can have “Budget – Original Plan” and “Budget – If We Choose Venue B” and compare them side by side.
This is also useful for showing parents or whoever’s contributing money. You can literally show them “here’s what the wedding looks like at $30k versus $35k” with actual line items, not just vague concepts.
Protecting Your Data
Set up two-factor authentication on your Google account because this spreadsheet has a lot of personal financial information. Also be careful who you share edit access with. You don’t need your entire wedding party having access to your budget – that’s between you, your partner, and maybe whoever’s paying.
I also recommend downloading a copy of your spreadsheet monthly as a backup. Go to File > Download > Microsoft Excel or PDF, and save it somewhere. Google’s pretty reliable but it doesn’t hurt to have offline backups of important financial documents.
One more thing about formulas – if you’re not comfortable writing them yourself, there are tons of YouTube tutorials specifically for Google Sheets wedding budgets. I’m not gonna explain every possible formula here because honestly there are people who explain it better than I can with like screen recordings and everything.
The main thing is just start tracking early and update it consistently. Your budget spreadsheet is only useful if it’s accurate, and it’s only accurate if you’re maintaining it regularly. Set a weekly reminder on your phone to review and update it, especially in the heavy planning months when you’re booking multiple vendors and making lots of payments.
