
Planning Guides, Style Guide
Wedding Details Card Template: Information Insert Downloads
Jul
Wedding Details Card Templates Are Basically Your Save-the-Day Inserts
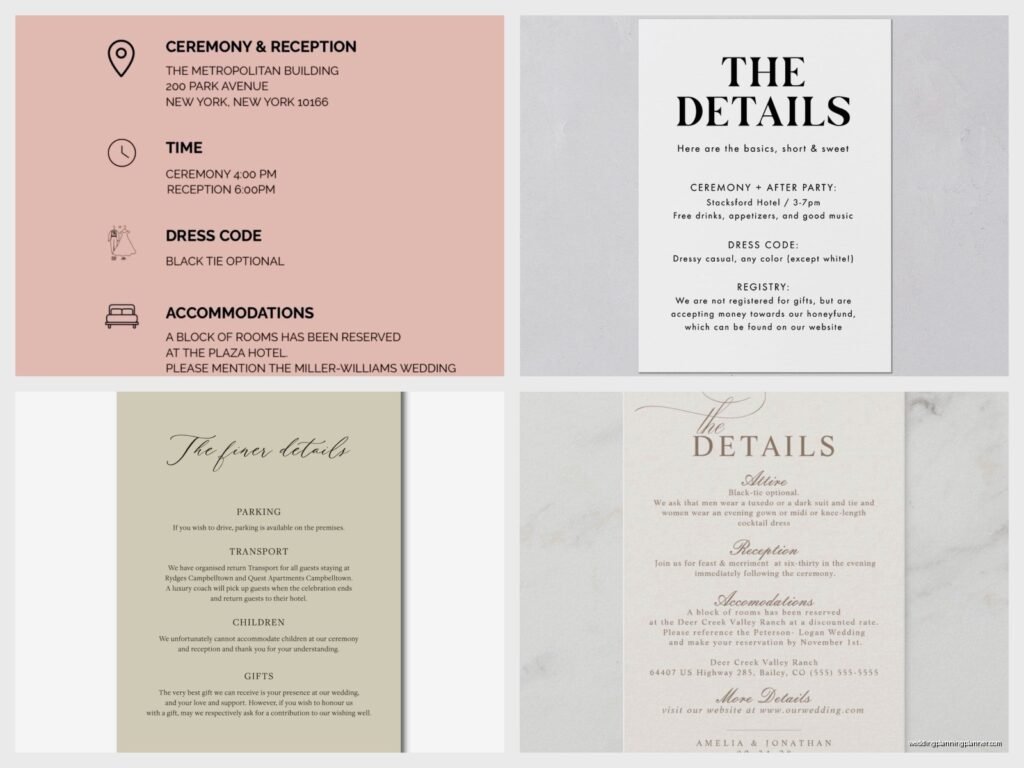
So wedding details cards—these are those little insert cards that go inside your invitation suite telling people the actual useful stuff they need to know. Like where to park, what time the ceremony actually starts (not when you want them to arrive because everyone shows up late anyway), your wedding website URL, dress code, all that jazz.
I started using downloadable templates for these back in spring 2023 when I had this bride who changed her accommodation block info literally four times and I was gonna lose my mind redoing custom designs. That’s when I realized having a solid template system saved my sanity and her money because we could just edit and reprint instead of starting from scratch each time.
What Actually Goes On These Cards
You’ve got options here but the most common details cards include:
- Reception information if it’s at a different venue than the ceremony
- Accommodation details with hotel block codes
- Transportation info or parking instructions
- Wedding website URL (this is kinda essential now)
- Dress code because people genuinely don’t know what “garden formal” means
- Timeline of events if you’re doing a whole weekend thing
- Dietary restriction instructions or meal choice options
- Registry information though some people think this is tacky on the insert itself
The thing that annoys me most is when couples try to cram literally everything onto one card in like 8-point font. Nobody’s reading that. Your guests are not gonna squint at tiny text—they’ll just show up confused and ask you the same questions 47 times.
Where To Find Good Templates
There are so many places to download these now. Etsy is obviously the big one—you can find templates from like $5 to $30 depending on how fancy the designer thinks they are. I usually tell clients to search for “editable details card template” or “wedding information insert template PDF” to find ones you can actually customize yourself without needing design software.
Canva has become huge for this too. They’ve got free templates and premium ones, and honestly the interface is so much easier than trying to figure out Adobe InDesign if you’re not a designer. You can edit everything right in your browser which is convenient when you’re making last-minute changes at 11pm because your aunt suddenly needs wheelchair accessibility info.
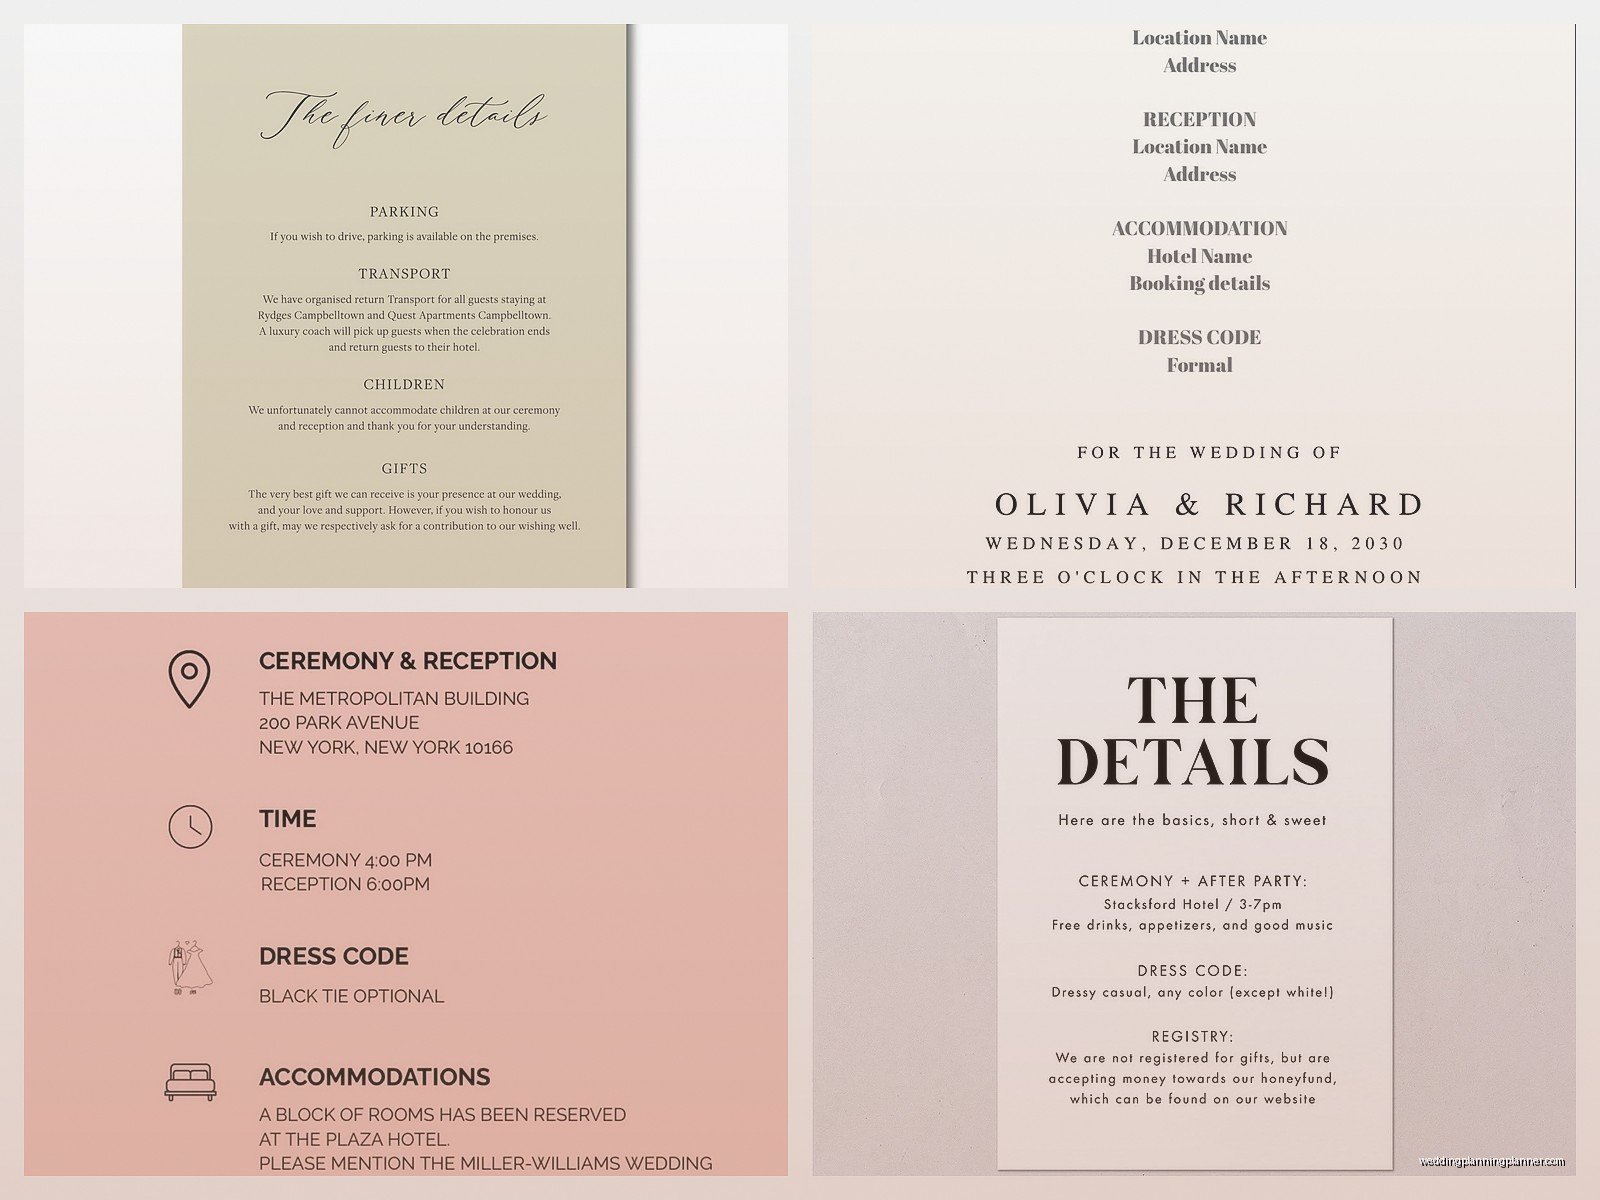
Template sites like Creative Market, Minted, and even some individual designer websites offer downloadable templates. The quality varies wildly though. Some are beautifully designed and super easy to edit, others are… well, you get what you pay for sometimes.
File Formats You’ll Actually Encounter
This gets technical but you need to know what you’re downloading:
PDF templates are the most common. Some are editable (you can type directly into them using Adobe Reader or other PDF software), some are just print-ready files that you’re supposed to send to a printer as-is. Make sure you’re getting an editable one unless you want to hire a designer to customize it.
Canva templates come as links usually. The seller gives you a link to duplicate their design into your own Canva account. Super user-friendly, works on any computer, you don’t need special software. I love these for clients who are DIY-ing everything.
Microsoft Word or Pages templates exist but honestly they’re often kind of clunky. The formatting goes wonky when you edit them, images shift around… it’s frustrating. But if you’re comfortable with Word and don’t want to learn new software, they work.
Adobe Illustrator or InDesign files are for people who actually know design software or have a designer friend helping them. Don’t buy these if you don’t have the programs—they won’t open on your regular computer and you’ll be annoyed that you spent money on something you can’t use.
Sizing Standards Because This Matters More Than You Think
Most details cards are either 4×6 inches or 5×7 inches because these are standard photo print sizes. That means you can print them literally anywhere—Costco, Walgreens, your local print shop, online services. It’s cheaper and faster when you use standard sizes.
Some people do 4.25×5.5 inches to match A2 invitation sizing, or even skinny cards like 4×9 inches for a modern look. These look cool but you’ll pay more for custom cutting at most print shops.
I had a bride once who designed these gorgeous 5.5×5.5 square cards and then was shocked when printing them cost three times more than she budgeted. We ended up redesigning everything as 5×7 rectangles and she was frustrated but also relieved to save like $400. Square is pretty but expensive—just know that going in.
Editing Your Template Without Losing Your Mind
Okay so you’ve downloaded your template. Now what? First thing—and I cannot stress this enough—save a backup copy before you start editing. Just duplicate the file and put it somewhere safe because you will accidentally delete something or mess up the formatting and you’ll want that original.
When you’re editing text, try to keep the same general length as the placeholder text. If the template says “Join us for cocktails and dancing” and you replace it with “Join us for cocktails, dinner, dancing, lawn games, a photo booth, sparkler exit, and late night snacks,” it’s gonna overflow the text box or shrink to unreadable size. You might need to edit your wording to fit the design rather than the other way around.
Font changes are tempting but be careful. The designer chose those fonts for a reason—they work together and they’re readable. If you swap in some super decorative script font for everything, your guests won’t be able to read critical information. Keep body text simple and clean. Save fancy fonts for headers or accents.
Colors should match your invitation suite obviously. Most templates come in multiple color options or let you customize. If you’re matching to specific wedding colors, you might need to know your hex codes or RGB values—these are the numbers that tell the computer exactly what shade of dusty rose you want. You can usually find these by googling your color palette or using a tool like Coolors.
What To Actually Write On These Things
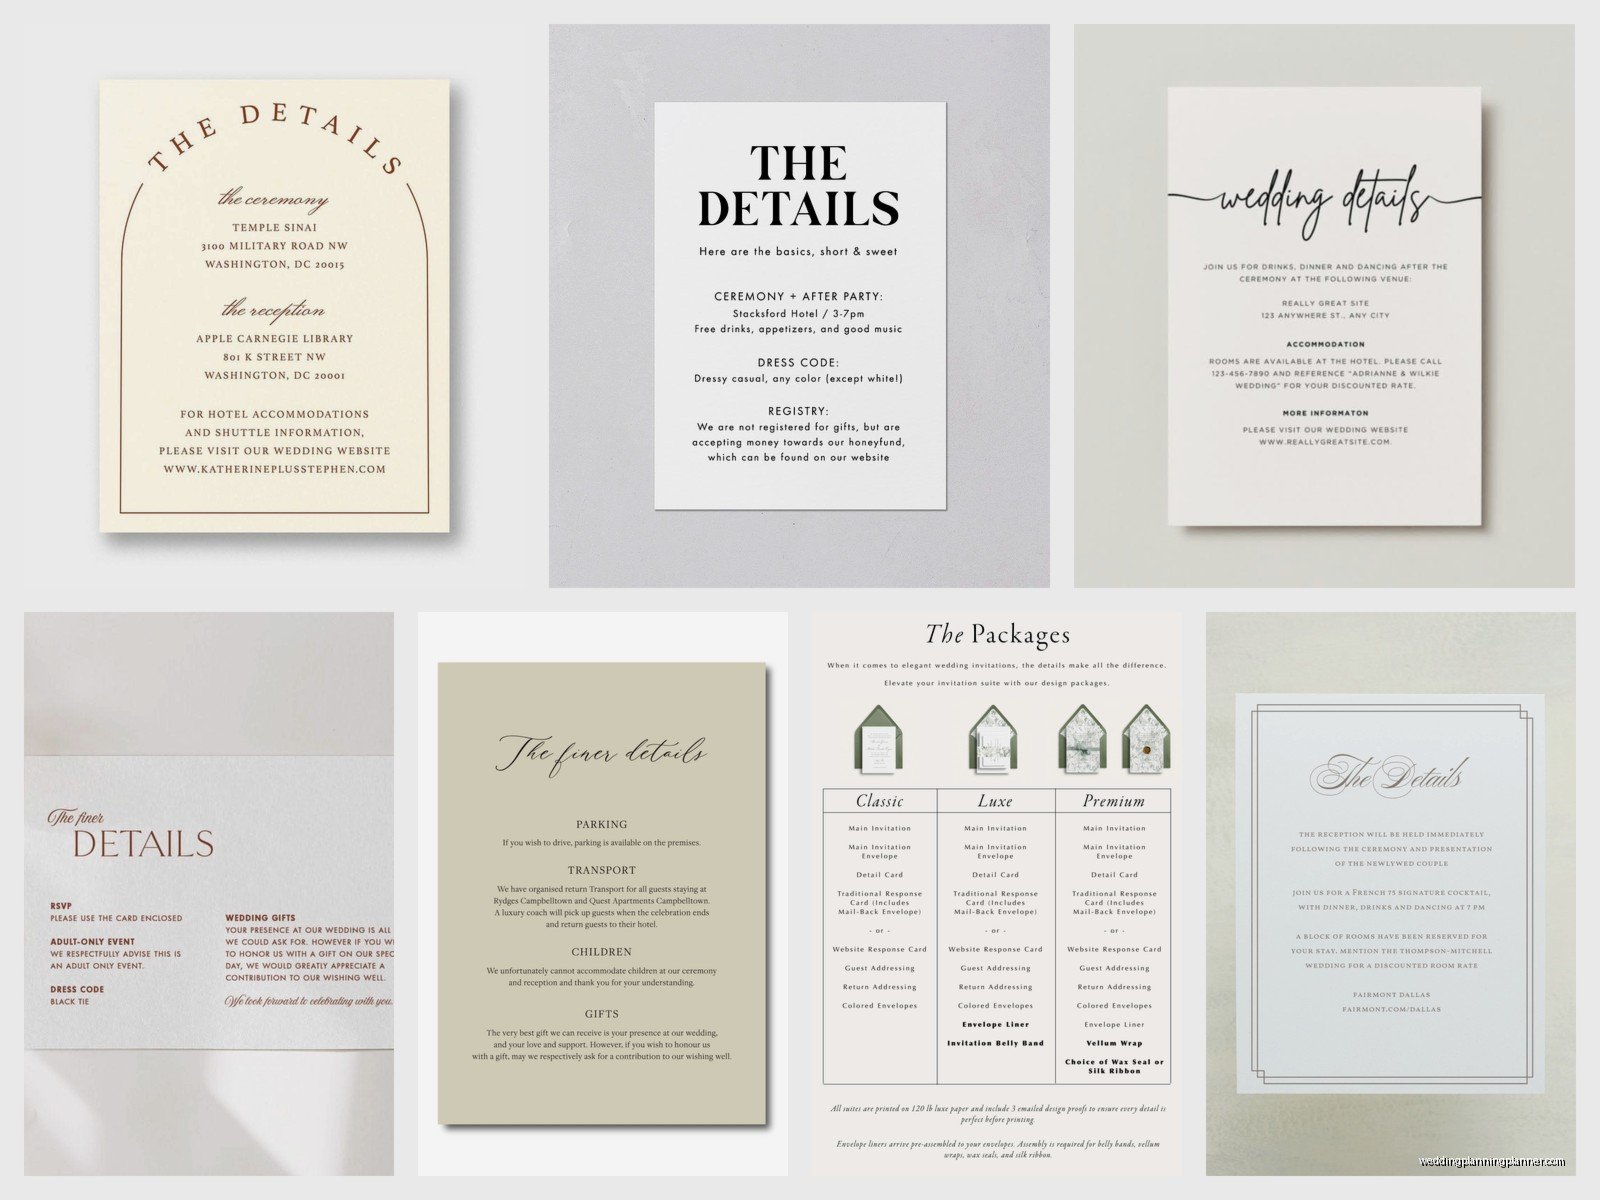
People overcomplicate this. Your details card should be helpful and clear, not poetic. Here’s what I usually recommend:
For reception details if it’s a different location: venue name, address, time. That’s it. “Reception to follow at The Grove at Williamson Place, 123 Main Street, at 6:00 PM.” Done.
For accommodation info: “Room blocks available at [Hotel Name]. Book by [date] and mention the [Your Names] wedding for our group rate. Visit our website for more options.” Don’t list every hotel in town—that’s what your website is for.
For dress code: Just say it clearly. “Cocktail Attire” or “Black Tie Optional” or “Garden Party—heels not recommended.” That last part is actually helpful unlike the vague “festive attire” I keep seeing that means absolutely nothing.
My cat just knocked over my coffee while I’m writing this which is very on-brand for her… anyway, for website URLs, make it short and readable. Use a custom domain or a shortened URL if your wedding website link is something like “theknot.com/us/firstname-lastname-and-firstname-lastname-october-2024-ceremony.” Nobody’s typing that correctly.
Printing Options That Won’t Destroy Your Budget
You’ve got your edited template, now you need actual physical cards. If your template is a standard size (remember, 4×6 or 5×7), you can literally upload it to Costco Photo, Walgreens, Shutterfly, Nations Photo Lab, or any online print service and order them as photo prints. This is the cheapest option—like $0.20-0.50 per card depending where you go.
The quality is good enough for inserts. It’s not the same premium cardstock as your main invitation, but for an info card that people are gonna glance at once and maybe throw away? Totally fine.
If you want fancier cardstock or a specific finish, local print shops or online services like Minted, Zazzle, or Vistaprint offer cardstock printing. You’ll pay more—maybe $1-3 per card—but you get nicer paper weight and finish options like matte or linen texture.
Professional print shops give you the most options and best quality but also the highest prices. This is where you go if you’re printing 300+ invitations and want everything to match perfectly. Expect to pay $2-5+ per card depending on paper, printing method, and finishes.
I always tell couples to order 10-20 extra cards beyond their guest count. You’ll have mistakes, last-minute additions, or you’ll want to keep one as a keepsake. It’s cheaper to order extras upfront than to do a tiny reprint later.
Common Mistakes I See All The Time
People forget to update placeholder text. I’ve seen details cards go out that still say “INSERT VENUE NAME HERE” because someone missed it. Proofread multiple times, have someone else proofread, then proofread again.
Wrong dates or times are surprisingly common. Double-check against your actual contracts and confirmations. I had a groom in summer 2021 who put the wrong ceremony time on 150 details cards because he was going off an old draft of the timeline. We caught it before mailing but barely.
Making the card too busy is probably the biggest design mistake. White space is your friend. Not every inch needs text or decorative elements. Let the information breathe so people can actually find what they need.
Forgetting to include critical info while including useless stuff. Yes, your wedding website is important. No, your childhood pet’s name is not relevant information for a details card (yes, I’ve seen people try to include this kind of stuff—it was meant to be cute but it just cluttered everything).
Matching Your Details Card To Your Invitation Suite
Your details card should look like it belongs with your invitations. This doesn’t mean identical, but they should share design elements—similar fonts, matching colors, coordinating graphics or borders.
Most template shops sell invitation suites where the details card, RSVP card, and main invitation are already designed to match. This is the easiest route. You download the whole set, everything coordinates automatically, you’re done.
If you’re mixing templates from different designers or creating your own, stick to 2-3 fonts maximum across all pieces. Use the same color palette. If your invitation has a floral border, maybe use a smaller version of similar florals on the details card. Consistency makes everything look intentional and professional instead of thrown together.
Digital vs Physical Details Cards
Some couples are skipping physical details cards entirely and just putting all this info on their wedding website. Honestly? I get it. It’s cheaper, you can update information easily, and it’s better for the environment or whatever.
But here’s the reality—not everyone checks wedding websites, especially older guests. You’ll still get questions. A physical details card in the invitation envelope means people have the key info right there when they open it. They can stick it on their fridge or in their planner.
The compromise I usually suggest is keeping the physical details card minimal—just the absolute essentials like timing and location—and directing people to the website for everything else. This keeps printing costs down while still giving guests something tangible to reference.
File Resolution And Why Your Template Might Print Blurry
Technical thing that trips people up: resolution. For printing, you need 300 DPI (dots per inch) minimum. If your template is 72 DPI or 150 DPI, it’ll look fine on your screen but print blurry and pixelated.
Before you buy a template, check the product description. It should specify 300 DPI or “print-ready resolution.” If it doesn’t mention resolution at all… that’s a red flag. Ask the seller before purchasing.
When you’re editing and saving your file, make sure you’re not accidentally reducing the resolution. Export or save as high-quality PDF, don’t just screenshot your design or save as a low-quality JPEG. Most template instructions will tell you the correct export settings—actually read those instructions even though it’s tempting to skip them.
Timing For Ordering And Printing
If you’re doing this yourself, give yourself more time than you think you need. Download and edit your template at least 2-3 months before you need to mail invitations. This gives you time to fix mistakes, wait for printing, and deal with any issues that come up.
Order a test print first. Seriously. Print one card at your chosen print shop before you order 200. Check the colors, the quality, the size, everything. Colors on screen never match printed colors exactly, and you want to catch any problems before you’ve spent $300 on printing.
Most online print services take 3-10 business days depending on shipping speed. Local print shops might be faster or slower depending how busy they are. Wedding season (May-October) means longer turnaround times because everyone’s printing invitations. Plan accordingly.
Specific Template Features Worth Paying For
Some templates are more expensive because they include extra features that are actually useful. Customizable color palettes where you can change every color element easily—worth it. Multiple layout options in one purchase so you can choose the version that fits your info best—also worth it.
Templates that include instruction videos or detailed guides are great if you’re not tech-savvy. Some designers offer email support if you get stuck, which can save you hours of frustration trying to figure out why the text won’t align properly.
Matching timeline cards, direction cards, or other coordinating pieces might be included or available as add-ons. If you need these anyway, buying a bundle is usually cheaper than purchasing everything separately.
What’s not worth paying extra for: super decorative designs that sacrifice readability, templates with 50 color variations when you only need one, or designs that are so trendy they’ll look dated by your wedding day. Simple and classic usually works better for information cards anyway.
Dealing With Multiple Events Or Complex Information
If you’re having a whole wedding weekend with multiple events, one details card might not be enough. You could do separate cards for different purposes—one for accommodation and travel, another for the weekend schedule, maybe a third for ceremony and reception specifics.
Just be aware that more cards = more printing costs and heavier invitations which might affect postage. Sometimes a folded card or a small accordion-style insert can include more information without adding bulk. Some templates are designed specifically for multi-day weddings and include space for everything.
The other option is keeping the physical card minimal and creating a detailed PDF schedule that you email to guests or post on your wedding website. People can save it to their phones and reference it throughout the weekend without carrying multiple paper cards around.
