
Planning Guides, Style Guide
Google Sheets Wedding Guest List: Cloud Tracking
Jul
Setting Up Your Google Sheets Wedding Guest List
Okay so first thing you’re gonna do is open Google Sheets and create a new spreadsheet. I know this sounds basic but you’d be surprised how many couples I’ve worked with who try to do this in Excel and then get annoyed when they can’t both edit it at the same time from different locations. Google Sheets is free, it’s cloud-based, and honestly it’s saved my butt more times than I can count.
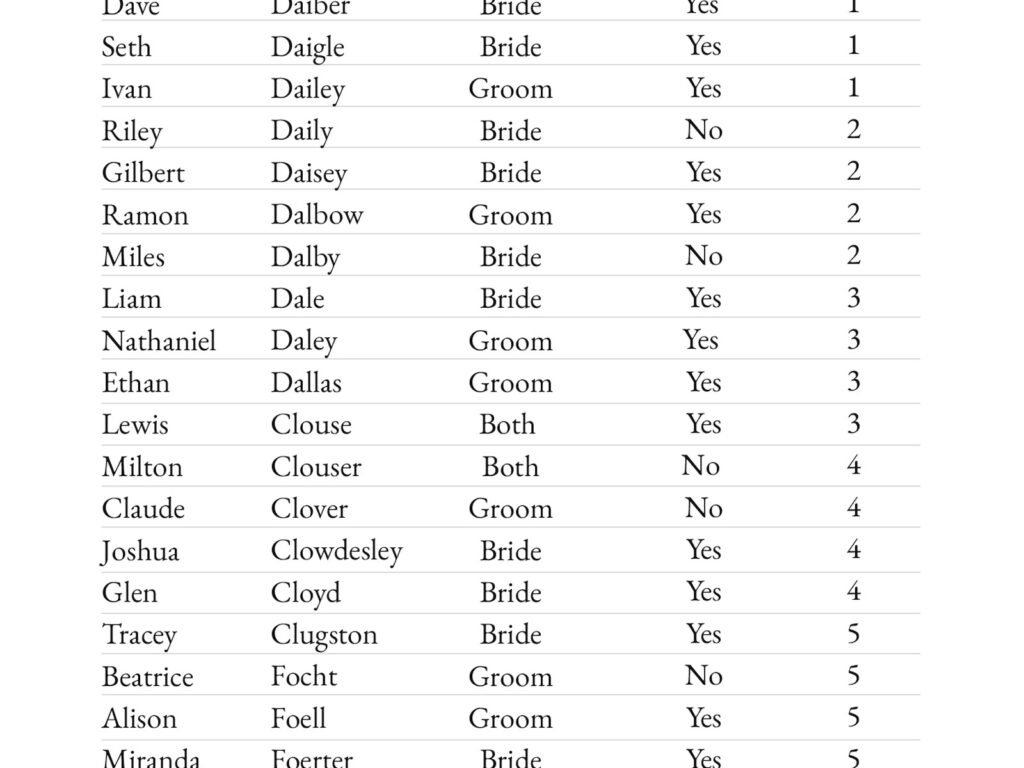
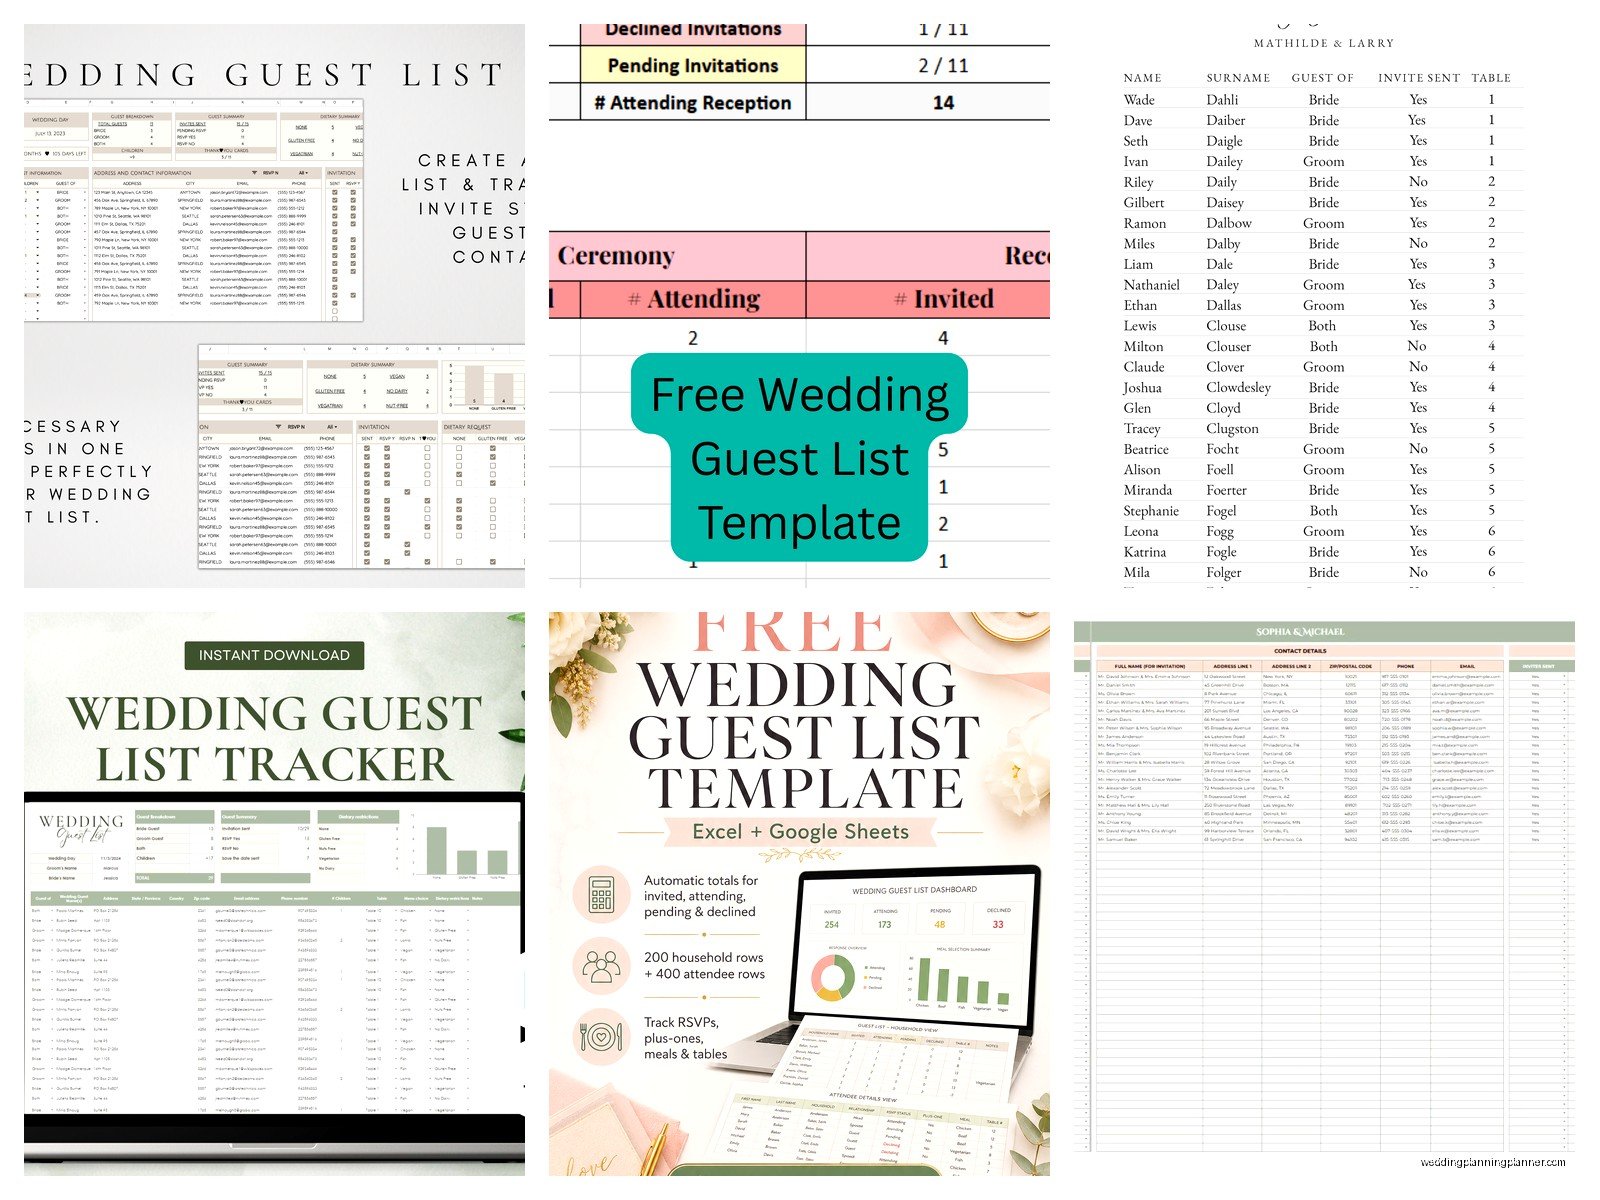
Start with these columns across the top: Guest Name, Category (like bride’s family, groom’s friends, coworkers, etc.), Address, Phone, Email, Invitation Sent, RSVP Status, Number of Guests, Meal Choice, Dietary Restrictions, Plus One, Gift Received, and Thank You Sent. You can always add more later but this is your foundation.
The thing that really annoyed me back in spring 2023 was when a couple insisted they didn’t need the Category column because they “knew everyone” and then three months later they’re frantically texting me at 10pm trying to figure out which guests were the groom’s college friends versus his work friends for seating arrangements. Just. Add. The. Category. Column.
Color Coding and Data Validation
Here’s where it gets kinda fun actually. Use the conditional formatting feature to color code your RSVP statuses. I usually do green for “Attending,” red for “Declined,” yellow for “No Response Yet,” and grey for “Invited But Not Sent.” To do this you click Format > Conditional Formatting and set up rules based on the text in your RSVP Status column.
For the RSVP Status column specifically, use data validation so you’re not typing different variations every time. Go to Data > Data Validation, select the column, and choose “List of items” then type: Attending, Declined, No Response, Not Yet Invited. This creates a dropdown menu and keeps everything consistent. Trust me, you don’t want some cells saying “yes” and others saying “attending” and others saying “coming” because then your formulas won’t work.
Same thing for Meal Choice if you’re doing a plated dinner. Set up data validation with your actual meal options like “Chicken, Beef, Fish, Vegetarian” or whatever you’re serving.
The Magic of Formulas
This is where Google Sheets really shines over a paper list or even a basic spreadsheet. At the bottom of your Number of Guests column, use =SUM to automatically count your total headcount. So if your guest data starts in row 2 and goes to row 200, you’d type =SUM(I2:I200) or whatever column your numbers are in.
But here’s what I do that’s even more useful—create a little dashboard area off to the side or at the top. I usually put this in columns O through R or something. Make labels like:
- Total Invited
- Total Attending
- Total Declined
- Awaiting Response
- Plus Ones Attending
Then use COUNTIF formulas to automatically calculate these. For example, =COUNTIF(G:G,”Attending”) will count how many cells in column G (your RSVP Status column) say “Attending.” This updates in real time as you get responses which is honestly so satisfying to watch.
For total headcount of people actually coming, you’d use =SUMIF(G:G,”Attending”,I:I) which means “sum up the numbers in column I wherever column G says Attending.” I had a bride in summer 2021 who would refresh this spreadsheet like twenty times a day just to watch the numbers go up and her fiancé thought she was obsessed but like… I get it.
Sharing and Permissions
The whole point of using Google Sheets is that multiple people can access it. Click the Share button in the top right. You’ll want to add your partner obviously, maybe your wedding planner (hi, that’s me usually), and possibly your parents if they’re helping manage their guest list portion.
Here’s the thing about permissions though—you can choose between Viewer, Commenter, and Editor. I usually recommend making your partner an Editor, your planner an Editor, and parents either Commenters or Editors depending on how much you trust them not to accidentally delete stuff. My own mom once deleted an entire sheet tab when I was helping my sister plan her wedding because she thought she was closing the window. Still love her but yeah.
You can also set it to “Anyone with the link can view” if you want to share a view-only version with your bridal party or something, but be careful with this because it means anyone who gets that link can see your entire list.
Version History Is Your Best Friend
One of the best features that people don’t use enough is version history. Go to File > Version History > See Version History and you can see every single change made to the spreadsheet, who made it, and when. You can restore old versions if someone accidentally deletes something important.
I had a situation where a groom’s brother was helping update RSVPs and he accidentally sorted just one column instead of the whole sheet, so all the names got mismatched with the wrong addresses and meal choices and… it was a mess. But because of version history we just restored it to 30 minutes earlier and problem solved.
Advanced Tracking Features
Once you’ve got the basics down, there’s some other columns you might wanna add. I always include a Notes column at the end for random stuff like “needs to sit near bathroom,” “doesn’t get along with Jane,” “arriving late from airport,” whatever comes up.
If you’re doing a destination wedding or have lots of out-of-town guests, add columns for Hotel Block, Travel Plans, Rehearsal Dinner, and Welcome Party. You can use the same data validation dropdown approach for these.
For the Gift Received column, some people just put “yes/no” but I actually recommend being more specific like “Kitchen Aid Mixer – Registry” or “$150 Cash” because it makes thank you notes SO much easier to write. You can be specific about what you’re thanking them for.
Creating Different Views with Filters
Filters are gonna change your life. Click on the top row and then click the filter icon (looks like a funnel). Now you can click the little dropdown arrows in each column header and filter your list.
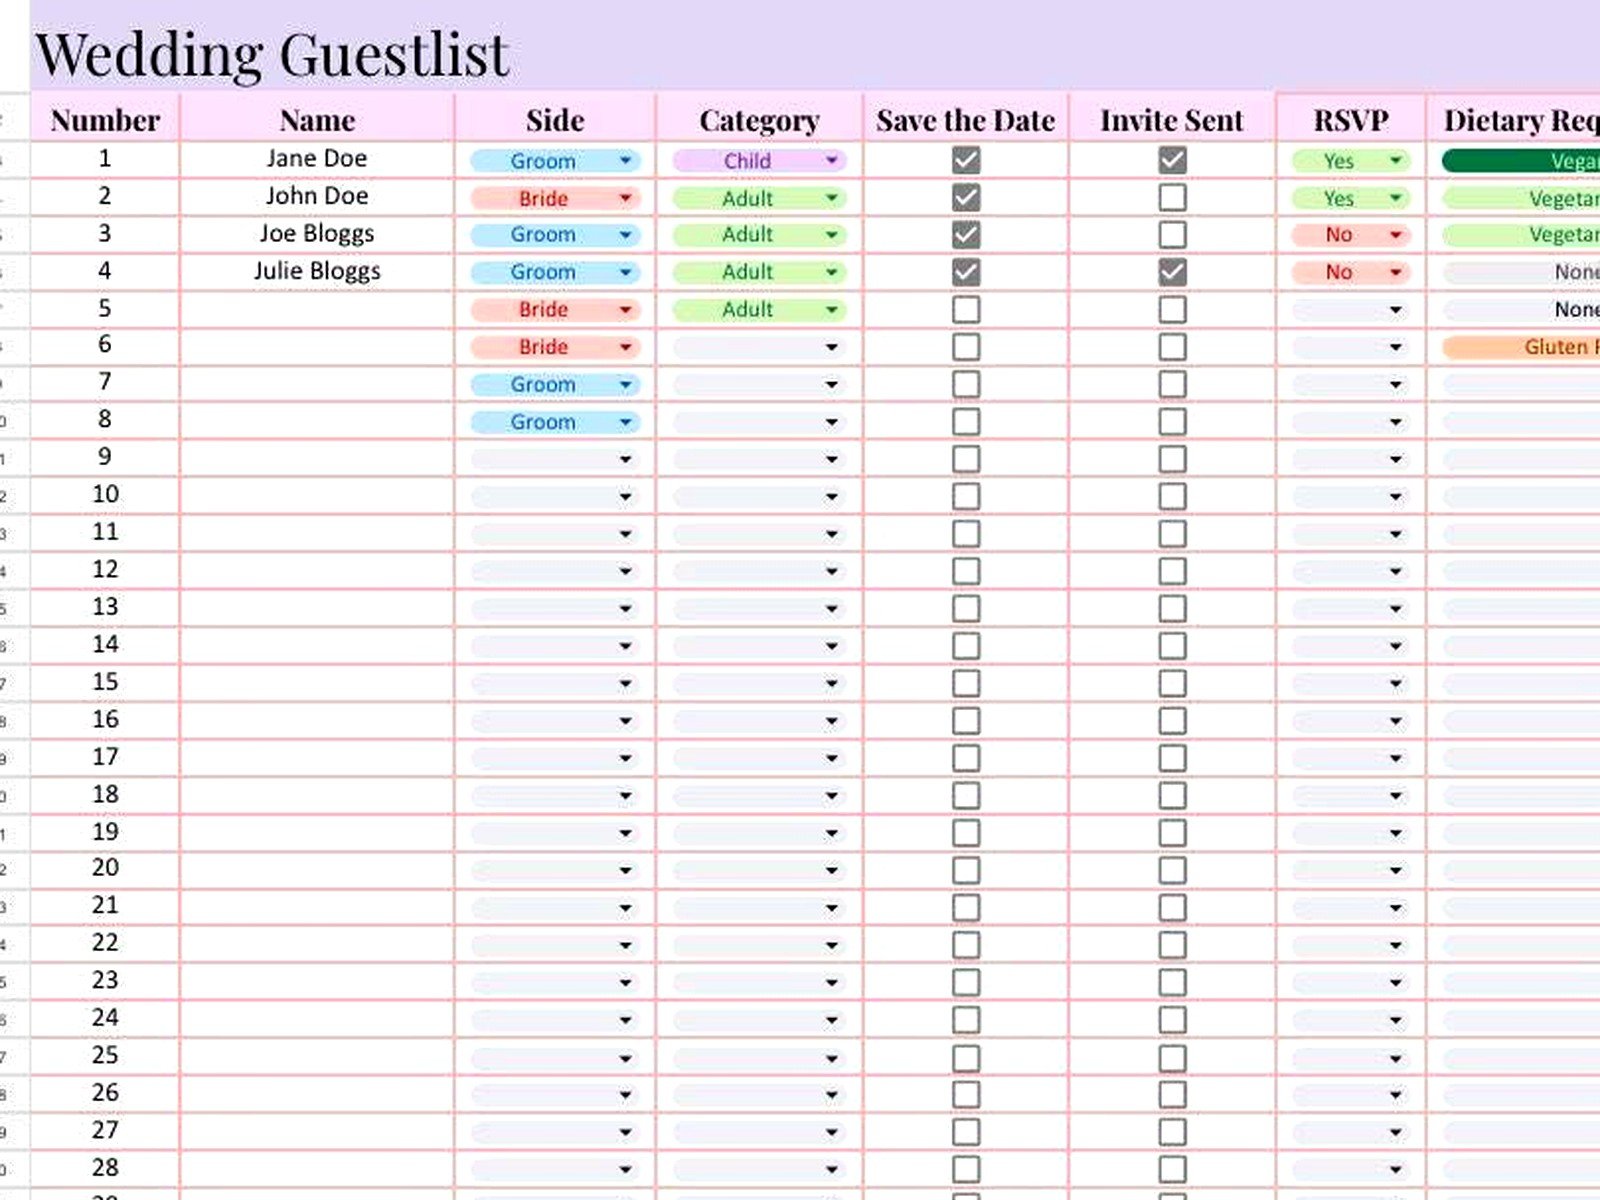
Want to see only people who haven’t responded yet? Filter the RSVP Status column to show only “No Response.” Need to see just your family members? Filter the Category column. This is super helpful when you’re doing specific tasks like addressing invitations to just one group or following up with non-responders.
You can also create Filter Views which are saved filters that don’t affect what other people see. So you could have a filter view called “Awaiting RSVPs” and one called “Vegetarian Meals” and one called “Out of Town Guests” and switch between them easily. Go to Data > Filter Views > Create New Filter View.
Mobile Access
Download the Google Sheets app on your phone because you’re gonna want to update this thing everywhere. I’ve had couples updating RSVPs from the grocery store, from a friend’s wedding (awkward but whatever), from vacation. The app works pretty well though honestly the mobile interface can be kinda cramped when you have a lot of columns.
What I usually do on mobile is freeze the first column (the names) so you can scroll horizontally through all the other info but still see who you’re looking at. To freeze columns on desktop, click View > Freeze > 1 Column. This stays frozen when you open it on mobile too.
Integrating with Other Tools
You can link your Google Sheets to other stuff you’re using. If you have a wedding website that collects RSVPs, many of them can export to CSV which you can then import into Google Sheets. Or if you’re using something like Zola or The Knot, they have their own systems but I always keep a master Google Sheet anyway because I don’t trust any platform to have everything I need.
Some couples use Zapier or other automation tools to automatically add form responses from Google Forms into their guest list sheet, but that’s getting kinda technical and honestly might be overkill unless you’re having like 300+ guests.
The Seating Chart Connection
Once you get closer to the wedding, you can create a second sheet tab (click the + at the bottom) for your seating chart. List your table numbers and then use your guest list tab as a reference. Some people get really fancy with this and use formulas to pull guest names into table assignments, but you can also just copy and paste.
I usually create columns for Table Number right in the main guest list too, so you can sort everyone by table and see who’s sitting where. Then you can filter by table to see if you’ve got the right mix of people or if you’ve accidentally put all the quiet people at one table and all the loud people at another or whatever.
Common Mistakes People Make
Don’t put couples on separate rows unless you really need to track their meal choices individually. It inflates your guest count and makes things confusing. Instead, put “John and Sarah Smith” in the name column and put “2” in the Number of Guests column. If they have different meal choices, you can note that in the Meal Choice column like “Chicken/Fish.”
Also don’t forget to account for kids. I had a couple who didn’t include children in their guest list tracking because they were having an adults-only wedding, but then they didn’t realize they needed to specifically communicate that on the invitations and… yeah, it was a whole thing with some offended relatives.
Another thing—and I’m gonna sound paranoid here but—make a backup copy every few weeks. Just duplicate the entire spreadsheet and save it with a date. Google is pretty reliable but I’ve heard horror stories of accounts getting hacked or accidentally deleted and you don’t want your entire guest list to disappear two weeks before the wedding. Actually this reminds me I need to back up my own client files, my cat just walked across my keyboard and I realized how easily things can go wrong…
Using Comments and Notes
If you and your partner are both updating the sheet, use the comment feature (right-click on a cell > Comment) to communicate about specific guests. Like if you’re not sure about someone’s address, leave a comment asking your partner to confirm. You’ll get notifications about comments which is helpful.
The Notes column I mentioned earlier is different—that’s for information you want to keep, while comments are more for questions or temporary communication that you’ll resolve and delete later.
Tracking STDs and Invitations
I always add columns for Save the Date Sent and Invitation Sent with dates. Use data validation to create a date picker (Data > Data Validation > Date) or just type dates in a consistent format like MM/DD/YYYY. This way you know who you’ve sent stuff to and who you haven’t.
Some people add a column for “Invitation Batch” if they’re sending invites in waves (like A-list gets invited first, then B-list after some declines). Just be careful with this approach because it can get messy and honestly a little obvious if someone finds out they were B-list but that’s a whole other conversation.
The Thank You Note System
After the wedding, that Thank You Sent column becomes crucial. Check it off as you send notes, and you can filter to see who you still need to write to. If you were specific about gifts in the Gift Received column, you can literally open the spreadsheet while writing thank you notes and reference exactly what each person gave you.
I had a bride who finished all her thank you notes within three weeks of the wedding because she had this system down, and honestly I was impressed because I’m pretty sure my own thank you notes took like four months… but anyway, the point is that having everything organized in one place makes it so much faster.
Sharing a Guest View
Some couples create a separate, simplified view that they share with vendors. Like your caterer doesn’t need to see addresses and gifts, they just need to see names, meal choices, and dietary restrictions. You can copy just those columns to a new sheet tab and share that specific tab with your caterer.
To share a specific tab, you’d actually need to publish it or copy it to a new spreadsheet, because Google Sheets permissions apply to the whole document. Or you can just manually send them a PDF export of the relevant columns. Click File > Download > PDF and choose “Selected cells” after highlighting what you want.
Honestly the whole guest list tracking thing can feel overwhelming at first but once you get your spreadsheet set up and start using it regularly, it becomes kinda addictive? Like you’ll find yourself updating it just because it feels productive and organized and like you’re actually making progress on wedding planning even when everything else feels chaotic
