Planning Guides, Style Guide
Zazzle Wedding Cards: Design & Ordering Guide

Mar
Getting Started with Zazzle’s Design Interface
Okay so Zazzle is honestly one of those platforms where you either get it immediately or you spend like twenty minutes clicking around confused. I had this bride back in spring 2023 who wanted super specific Art Deco invitations and we ended up using Zazzle because she needed like 75 cards with three different wording variations for different family situations and— anyway, the customization options are actually pretty incredible once you figure out where everything is.
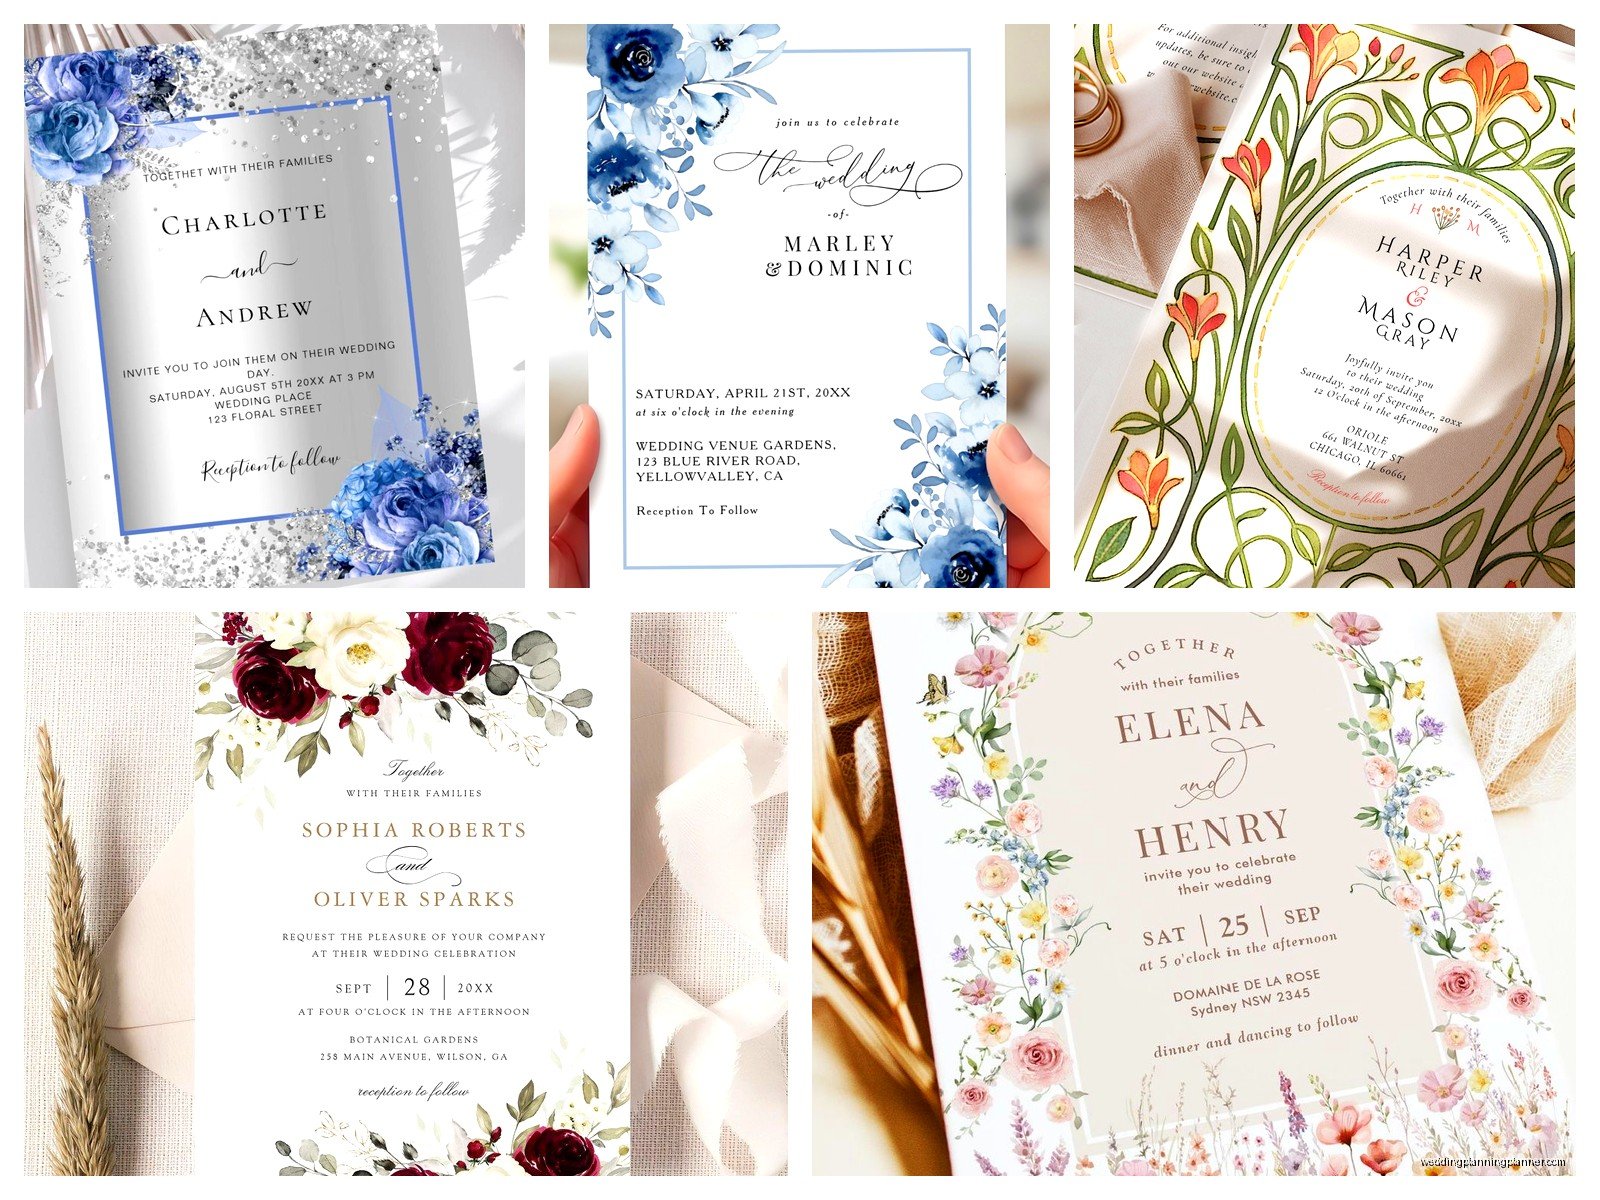
First thing: you can either start with a template or upload your own design. If you’re going the template route, their search function is kinda all over the place. You’ll type “elegant wedding invitation” and get everything from rustic barn themes to beach vibes mixed in there. I usually filter by color first, then style, because that narrows it down faster.
When you click on a template you like, you get thrown into their design tool. The text boxes are usually pre-set but moveable. You can change fonts, sizes, colors, all that. Here’s what annoyed me though: the font preview doesn’t always match what prints. I’ve had situations where a font looked perfectly crisp on screen and then came out slightly bolder in print. Not a huge deal, but you gotta account for it. Always order a sample. Always.
Understanding Paper Stock Options
So Zazzle offers different paper types and this is where it gets important. They’ve got standard, pearl, linen, and some premium options depending on the card style. Standard is fine for save-the-dates or casual events, but for actual wedding invitations? I usually push clients toward pearl or linen finish.
Pearl has this subtle shimmer that photographs really well. Linen has texture, which feels more expensive when someone opens the envelope. The weight matters too—their premium cardstock is 120lb, which feels substantial. Nobody wants a flimsy invitation that feels like it came from someone’s home printer.
You’ll see options for single-sided or double-sided printing. Double-sided costs more but if you’re doing a folded card design, you’re gonna need it. Some of their invitation formats come as flat cards, some as folded, some as tri-fold. Make sure you’re picking the right structure for your design before you get too far into customization.
Customizing Your Design
The customization interface lets you adjust pretty much everything, but there’s a learning curve. You can upload your own images—like engagement photos or custom monograms—and they’ll let you drag and drop them wherever. The resolution checker is actually helpful here. It’ll warn you if your image is too low-quality for print.
I had this moment once where my cat literally walked across my keyboard while I was adjusting text placement and somehow managed to change the entire color scheme to lime green. Took me a minute to figure out what happened because I thought the site was glitching.
Anyway, when you’re working with text, you can adjust leading (line spacing) and kerning (letter spacing) if you click into the advanced options. Most people don’t bother with this, but if you’re using script fonts or trying to achieve a specific elegant look, these tiny adjustments make a difference. Script fonts especially need breathing room or they look cramped and hard to read.
Color Matching Realities
Here’s the thing about color matching on Zazzle—or any online printer really. What you see on your screen is RGB (light-based color). What prints is CMYK (ink-based color). They’re never gonna match perfectly. That dusty blue you picked might print slightly more purple-ish. That blush pink might come out more peachy.
If you have specific wedding colors that absolutely must match, use their color picker tool and input the CMYK values directly if you know them. Or better yet, order samples in a few color variations. I usually tell brides to order three samples with slight color adjustments so we can see which one prints closest to what they want.
Zazzle does offer color proofs for an extra fee on some products, but honestly for most wedding cards it’s easier to just order the physical sample. Turnaround for samples is usually about a week, sometimes faster.
Sizing and Trim Considerations
Standard wedding invitation size is 5×7 inches, which fits perfectly in an A7 envelope. Zazzle has this size and a bunch of others. But here’s where people mess up: they forget about the bleed area.
Bleed is the extra space around the edges that gets trimmed off. If your design has a colored background or pattern that goes to the edge, you need to extend it into the bleed area. Otherwise you’ll get thin white lines around the edges where the cutting isn’t perfectly precise. Zazzle’s templates usually have bleed built in, but if you’re uploading your own design, make sure it’s at least 0.125 inches larger on all sides than the final trim size.
I learned this the hard way with save-the-dates in summer 2021 when a client wanted custom sizes. We did 4×9 skinny cards and didn’t account for bleed properly on the first order. Had weird white slivers on two edges. Had to reorder the whole batch.
Envelope Options and Addressing
Zazzle sells envelopes separately, which is kinda annoying because you’d think they’d bundle them, but whatever. They do have matching envelope options for most invitation designs, and you can customize those too. You can add return address printing, recipient addressing, or leave them blank.
The envelope addressing feature is actually pretty useful if you’ve got a big guest list. You upload a spreadsheet with names and addresses, and they’ll print directly on the envelopes. The fonts are limited compared to the invitation customization, but it saves so much time compared to hand-addressing or printing labels.
One thing: double-check your address formatting in the preview. I’ve seen situations where apartment numbers got bumped to a weird position or long street names got cut off. The preview shows you exactly what prints, so actually look at it carefully instead of just assuming it’ll work out.
Ordering Process and Quantities
Quantity discounts kick in at different levels depending on the product. Usually around 25, 50, 100, and 250. If you’re close to a threshold, it sometimes makes sense to round up because the per-unit price drops enough to make it worth it.
Shipping times vary. Standard is usually 5-7 business days after production, which takes another 2-3 days. Rush options are available but they’re expensive. If you’re ordering wedding invitations, you want them in hand at least 8-10 weeks before the wedding so you can mail them 6-8 weeks out. Don’t cut it close.
Zazzle has periodic sales—like 40% off cards or 50% off certain categories. If your timeline allows, wait for a sale. Sign up for their email list because they send codes pretty regularly. I’ve gotten clients 30-50% off just by waiting a week for a promotion.
Proofreading Before You Order
This should be obvious but I’m gonna say it anyway: proofread everything multiple times before ordering. Read it forward, read it backward, have someone else read it. Check dates, times, addresses, spelling of names, website URLs if you’re including those.
Zazzle doesn’t proofread for you. If you order 150 invitations with the wrong date, that’s on you. They’ll reprint if there’s a printing error on their end, but not for design mistakes you approved.
I always create a checklist: ceremony location spelled correctly, reception location spelled correctly, date in correct format, time including AM/PM, RSVP deadline, RSVP method (website, email, phone), dress code if mentioned, parents’ names if doing formal wording. You’d be surprised how often someone catches a mistake on the fifth read-through that everyone missed before.
Working with Zazzle Designers vs DIY
Some designs on Zazzle are from independent designers who sell through the platform. These are usually marked and sometimes you can request customization beyond what the standard tools allow. You’d contact the designer directly through Zazzle’s messaging system.
I’ve had mixed experiences with this. Some designers are super responsive and helpful, others take forever to reply or… don’t reply at all. If you’re on a tight timeline, maybe stick with fully customizable templates instead of trying to work with a designer through the platform.
The DIY route gives you the most control but also the most room for error. If you’re comfortable with design software like Canva or Adobe, you can create exactly what you want and upload it. Just make sure you’re working at the right resolution—300 DPI minimum for print—and in CMYK color mode if your software allows it.
Matching Your Invitation Suite
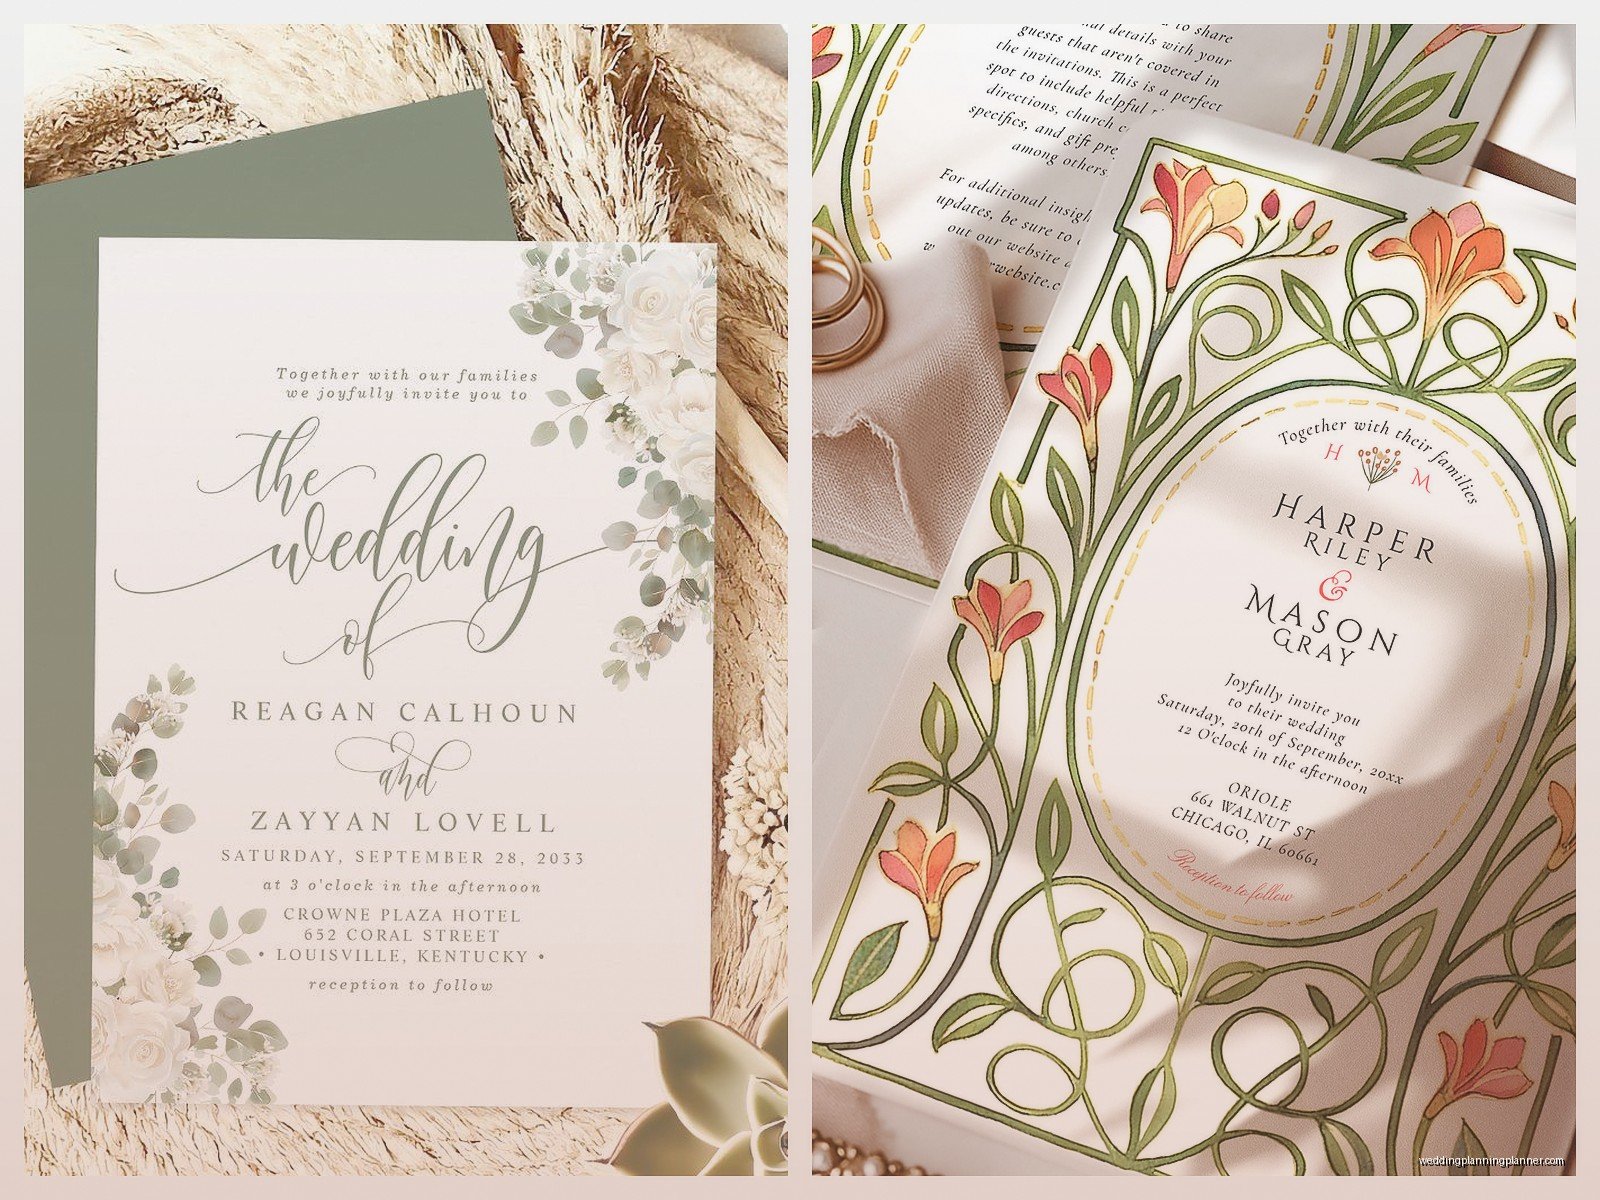
If you want everything to match—invitations, RSVP cards, details cards, thank you cards, programs, menus—Zazzle makes this relatively easy because you can save your design elements and reuse them. Once you’ve customized an invitation, you can often apply the same design to other products in the same collection.
The color consistency across products is generally good since they’re all printed by the same facility. But again, order samples of each item to make sure you’re happy with how everything looks together in person. What seems cohesive on screen might feel slightly off when you’re holding the physical items.
I usually recommend ordering invitations first, then once those arrive and you’ve confirmed you’re happy with them, order the rest of the suite. It’s more work timeline-wise but it prevents the disaster of ordering everything at once and then realizing the color is wrong across all your pieces.
Dealing with Issues and Customer Service
If something arrives damaged or misprinted, Zazzle’s customer service is generally pretty responsive. Take photos immediately—like before you even touch the damaged items—and contact them through their website. They’ll usually offer a reprint or refund.
The turnaround on reprints varies. I’ve seen them rush replacements in 3-4 days, and I’ve seen it take two weeks. If you’re dealing with wedding timeline pressure, be persistent. Call instead of just emailing if you need faster resolution.
One annoying thing: sometimes their quality control misses stuff. I had an order once where about 10 out of 100 cards had a weird printing streak across the bottom. Not terrible, but noticeable. They reprinted those 10, but it meant extra waiting and stress for the bride who was already anxious about everything.
Cost Breakdown Reality Check
Zazzle isn’t the cheapest option out there, but it’s not the most expensive either. You’re basically paying for convenience and customization options. For decent quality invitations with envelopes, you’re probably looking at like $2-4 per invitation depending on style and quantity, sometimes more for premium options.
That adds up fast. 100 invitations could be $200-400. Add in RSVP cards, details cards, envelopes for those, and you’re easily at $500-700 for a full suite. Which honestly isn’t crazy compared to custom letterpress or boutique stationery designers, but it’s also not nothing.
If budget is tight, prioritize the invitation itself and maybe skip the extra insert cards. Put your wedding website on the invitation and include all the details there. Or do a simpler design that costs less per unit. Nobody’s gonna remember your invitation design six months after your wedding anyway—they just need the information clearly presented so they know where to show up and when.