
Planning Guides, Style Guide
Free Print Wedding Invitation: Design & Ordering Guide
Sep
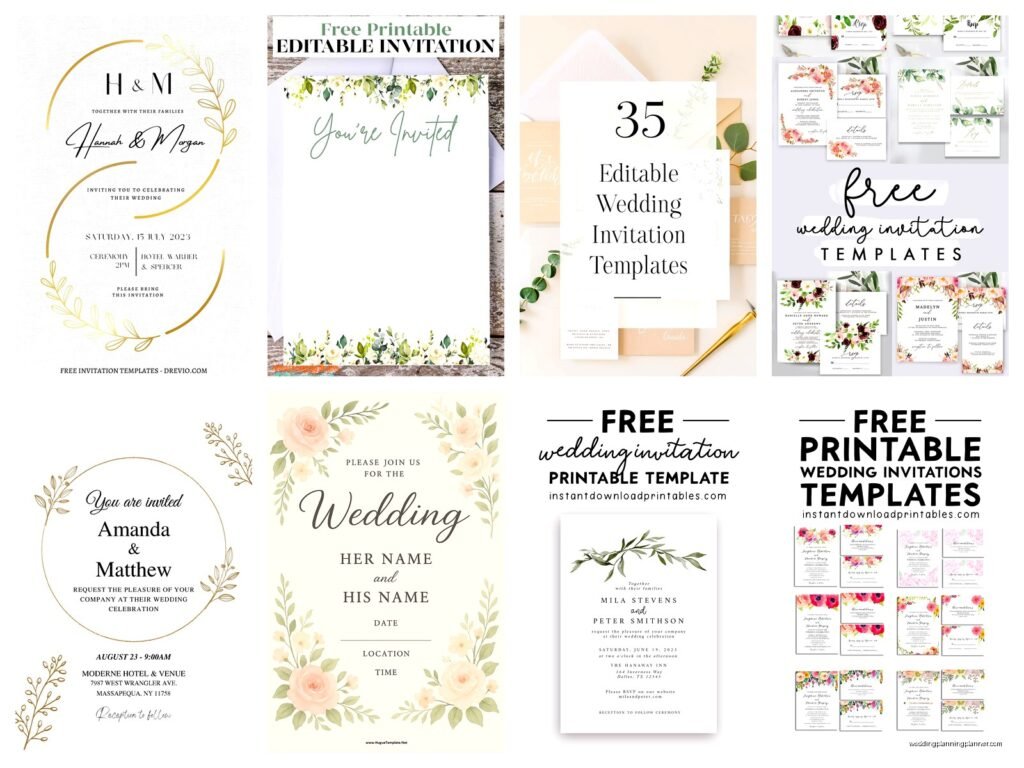
Free Printable Wedding Invitations Are Actually a Thing (And They Don’t Have to Look Cheap)
Okay so free printable wedding invitations are kinda having a moment and honestly I get why. Back in spring 2023 I had this couple who came to me after spending like $800 on invites they hated and wanted to start over but their budget was toast. We ended up doing the whole thing with free templates and a local print shop and nobody could tell the difference from the expensive ones their friends got.
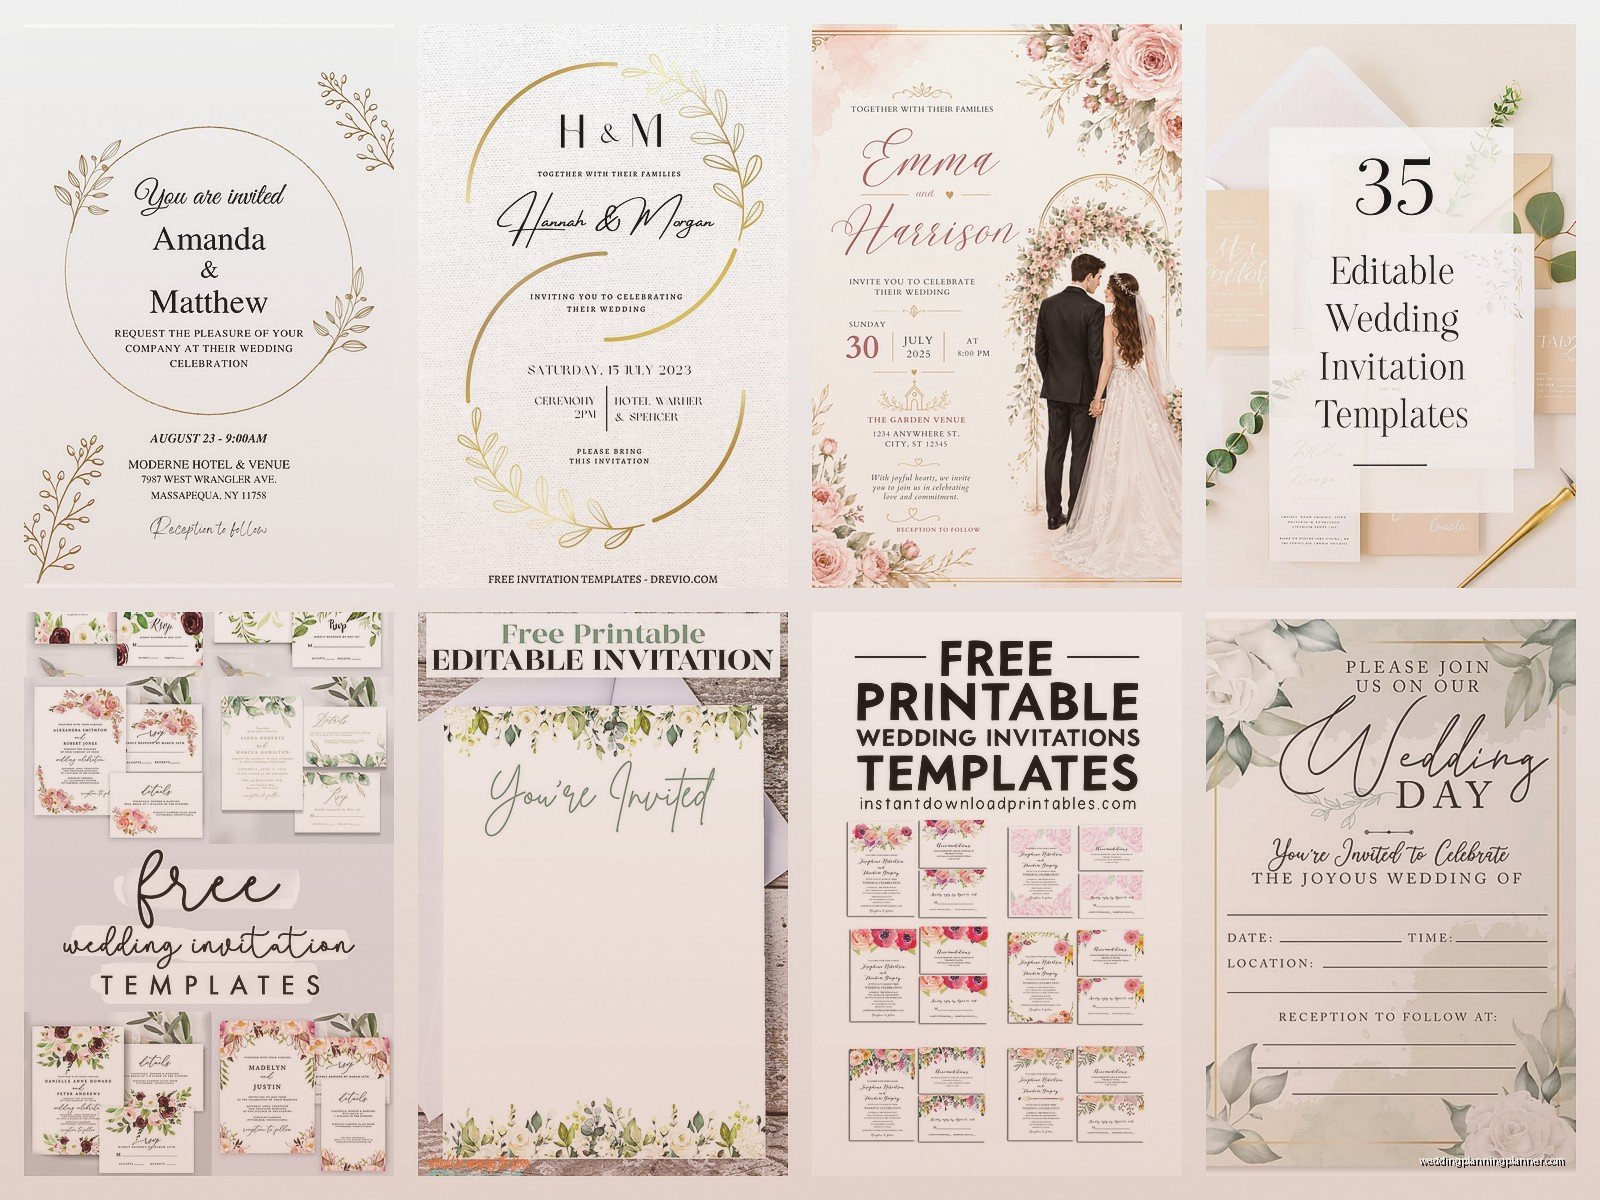
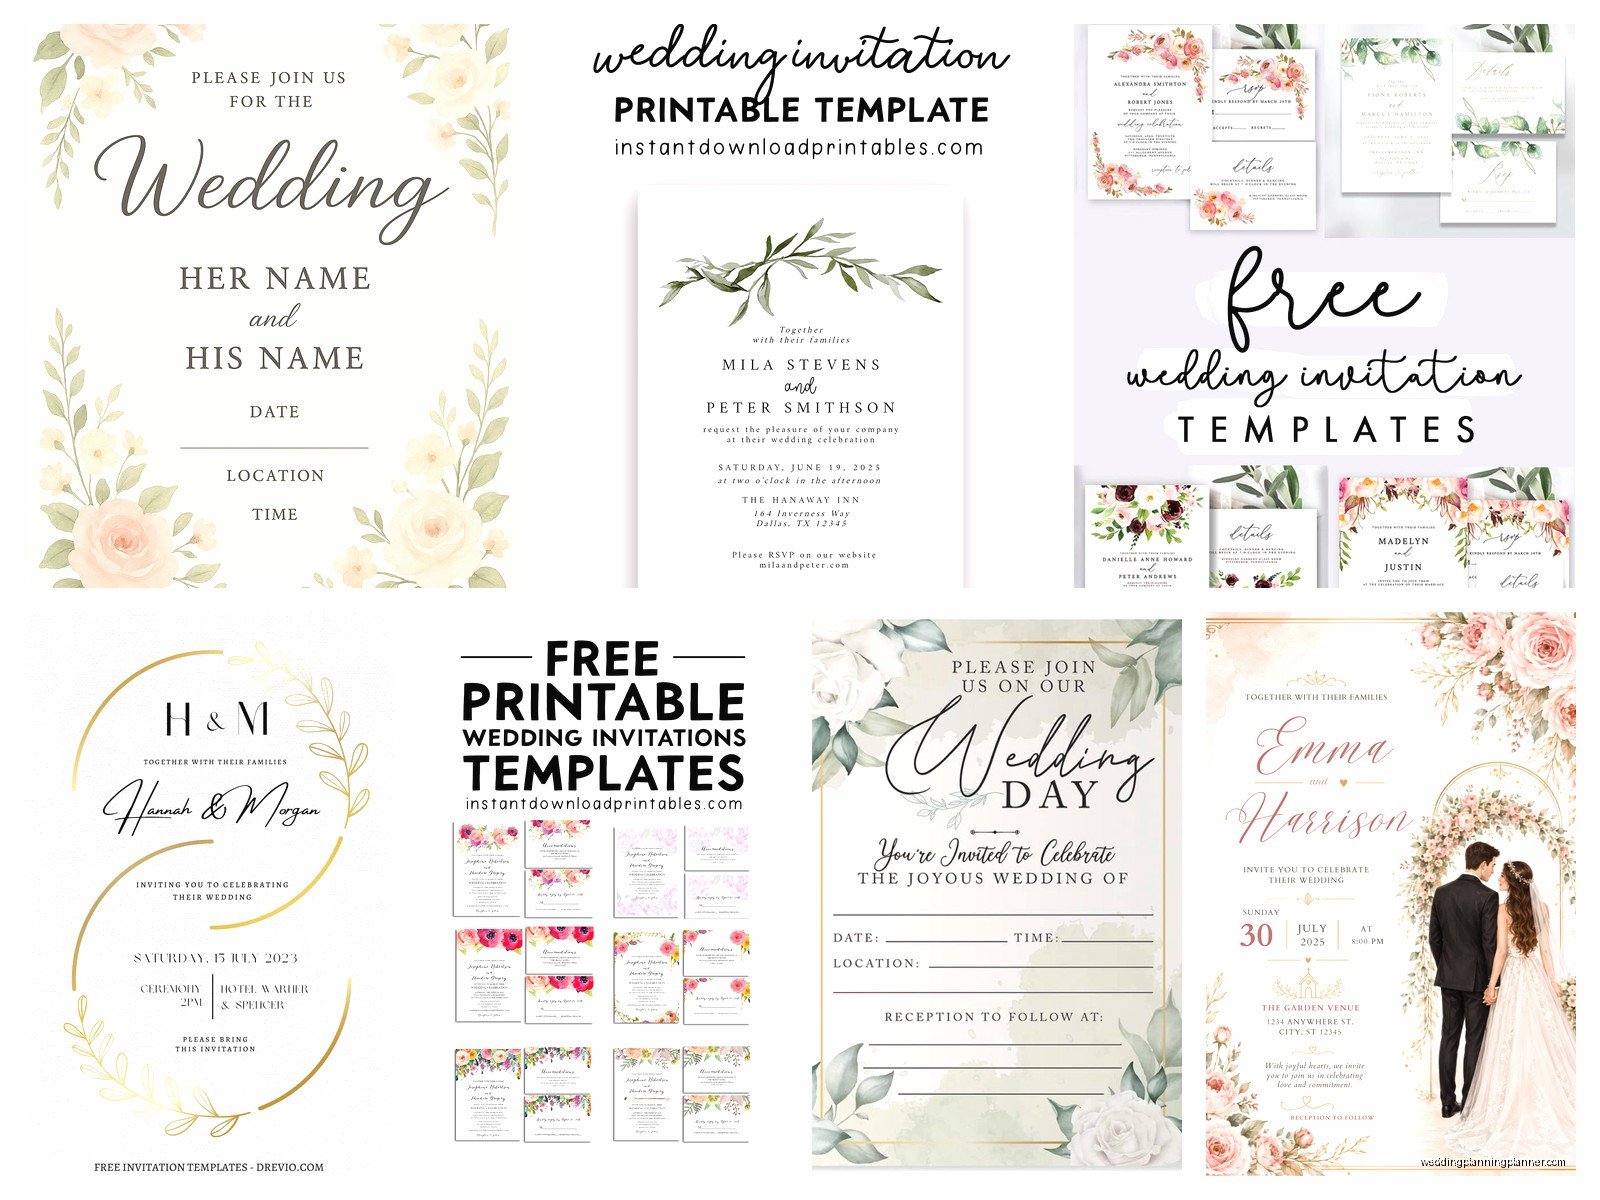
The main thing you gotta know is that “free” doesn’t mean you’re downloading some clipart disaster from 2004. There are actually legit free design resources now that wedding stationery companies offer as like loss leaders or whatever, hoping you’ll upgrade to paid versions. But you don’t have to.
Where to Actually Find Good Free Templates
Canva is gonna be your best friend here. They have a free tier that’s honestly pretty robust. You can search “wedding invitation” and filter by free templates only. The selection is huge and some of them are genuinely gorgeous. I’ve seen paid designers charge $300 for invites that look worse than some Canva freebies.
Greenvelope has free templates too but they’re more for digital invites. Still worth checking out if you want a backup option or doing save-the-dates digitally to save money there instead.
Template.net has a whole section of free printable wedding invitations. The interface is clunky and honestly kinda annoying to navigate but once you find something you like, the files are decent quality.
Adobe Express (used to be called Adobe Spark) has free wedding templates and the editing tools are more powerful than Canva in some ways. You’ll need an Adobe account but the free version works fine.
Design Specs You Need to Know Before You Start
This is where people mess up constantly and then get mad at me like I should’ve told them earlier (I did tell them earlier). Your invitation size matters for printing costs. Standard sizes are cheaper to print because print shops don’t have to do custom cuts.
The most common sizes are 5×7 inches and 4×6 inches. A 5×7 looks more formal and traditional. A 4×6 reads more casual but honestly nobody’s gonna judge you for it. Some people do 5.5×8.5 which is half a letter sheet and can be super cost effective if you’re printing at home.
You need 300 DPI minimum for print quality. This is non-negotiable. I don’t care what your cousin’s boyfriend who “knows design” says. Anything less than 300 DPI will look pixelated and blurry when printed. Most free templates are already set up at 300 DPI but double check before you spend hours customizing.
Bleed is this thing where… okay so if your design has color or images that go to the edge of the paper, you need to extend them about 0.125 inches past the trim line. Otherwise you get weird white borders when the printer cuts the paper. Not all free templates include bleed so you might need to add it yourself or just design with a border instead.
Actually Customizing Your Template
Once you pick a template you like, you’re gonna swap out the placeholder text with your actual wedding info. Seems obvious but I’ve seen people forget the year or put the wrong venue address because they were rushing.
Your invitation needs these elements at minimum: your names, wedding date, ceremony time, venue name and address, and RSVP instructions. You can add reception details if it’s at a different location. If you’re doing a wedding website (which you should because it saves so much printing), include that URL.
Font choices matter more than you think. Don’t use more than two or three different fonts or it looks chaotic. One fancy script font for names or headers, one clean sans-serif for body text. That’s the formula. I had a bride in 2021 who used seven different fonts and wondered why her invites looked like a ransom note.
Color wise, you want high contrast for readability. Light text on dark background or dark text on light background. That middle ground where you have like gray text on a beige background? Nah. Your 80-year-old grandma can’t read that.
The Printing Part Is Where Most People Panic
You have options here and they all have tradeoffs. Printing at home is the cheapest if you already own a decent printer. You need a printer that can handle cardstock though. Regular printer paper looks flimsy and cheap for wedding invitations. Go with 80lb or 100lb cardstock minimum. You can get this at any office supply store.
Home printing works best for smaller weddings. If you’re inviting like 40 people, totally doable. If you’re inviting 200 people, your printer will probably die halfway through and you’ll want to throw it out the window. Also your ink costs add up fast. Do the math on ink cartridges before you commit to home printing.
My cat knocked over my coffee onto a whole stack of invitations I was printing at home once and I almost cried. Just… keep beverages far away from your printing station.
Print Shops and Online Services
Local print shops are underrated honestly. Places like FedEx Office, Staples, or local mom-and-pop print shops can print your designs for pretty cheap. You upload your PDF, they print it, you pick it up same day usually. Cost is typically 50 cents to $2 per invitation depending on paper quality and whether you want fancy finishes.
Online print services like Catprint, PrintPlace, or GotPrint have good prices if you’re ordering in bulk. The catch is you gotta wait for shipping which can take a week or two. Plan ahead for this. Also order a sample first before you order 150 copies because sometimes colors print different than they look on screen and that’s super frustrating to discover after spending $200.
What really annoyed me recently was this whole thing with Vistaprint where they kept trying to upsell my client on rounded corners and glossy finish and foil accents and she kept saying no but their website made it really confusing to just get basic printing. Like I appreciate the business model but also read the room.
Paper Stock Options
Matte cardstock is your safe classic choice. It feels substantial, prints colors accurately, and you can write on it with any pen. This is what I recommend for most people.
Glossy cardstock makes colors pop more and photographs look really vibrant. But it shows fingerprints easily and some people think it looks less formal. Also it’s harder to write on if you’re hand-addressing envelopes or adding notes.
Textured or linen cardstock adds a fancy touch and hides printing imperfections better than smooth paper. Slightly more expensive but worth it if you want that elevated look.
Recycled paper is an option if you’re eco-conscious. It usually has a more natural, slightly off-white color. Some people love the look, others think it’s too casual for a wedding.
The Envelope Situation
You need envelopes obviously. Standard invitation envelopes come in A7 size (for 5×7 invites) or A6 size (for 4×6 invites). You can buy these at craft stores, office supply stores, or online in bulk.
White envelopes are classic and safe. Kraft envelopes give rustic vibes. Colored envelopes can match your wedding colors but make sure you can actually read the address when you write on them. I’ve seen navy envelopes where you literally couldn’t see black ink and the post office sent them back.
Some people do envelope liners which are decorative paper inserts that make your invitation look expensive when someone opens it. You can DIY these with wrapping paper or scrapbook paper cut to size. There are free templates for liner sizing online.
Printing Your Files Correctly
Export your design as a PDF for printing. This keeps all your fonts and formatting intact. In Canva you click Share, then Download, then select PDF Print. Make sure you’re downloading the print version not the standard PDF.
If you’re printing at home, do a test print on regular paper first. Check that everything’s positioned correctly and nothing’s cut off. Then print one on cardstock before you print all of them. I cannot stress this enough because I’ve watched people waste entire packs of expensive cardstock because they didn’t test first.
Print settings matter. Select “actual size” or “100% scale” not “fit to page” because fit to page will shrink your design slightly and mess up your measurements. Select the highest quality print setting your printer has. Turn off any auto-correction features.
Assembly Tips Nobody Tells You
If you’re doing multiple insert cards (like a details card, RSVP card, map card), you gotta figure out the order they go in the envelope. Traditional etiquette says invitation on bottom, then reception card, then other inserts, then RSVP card and envelope on top. But honestly arrange them however makes sense to you.
Some people use belly bands (those paper strips that wrap around the invitation suite) or vellum wraps to hold everything together. You can DIY these super cheap. Cut strips of cardstock or buy vellum sheets and cut them to size.
Addressing envelopes is its own whole thing. You can hand write them which looks personal but takes forever. You can print labels which is faster but some people think looks cheap. You can print directly on the envelopes if your printer can handle thick envelopes which many can’t. Or you can hire a calligrapher but that’s obviously not free anymore.
Timing and Quantities
Order or print about 10-15% more invitations than you think you need. You’ll mess some up during assembly or printing. Someone will spill coffee on theirs and need another one. Your mom will want extras for her scrapbook. Just trust me on this.
Mail invitations 6-8 weeks before your wedding date. Earlier if you have a lot of out-of-town guests or a holiday weekend wedding. This gives people time to arrange travel and actually mark their calendars.
Save-the-dates go out 4-6 months before the wedding. You can definitely do these as free printables too and honestly save-the-dates are even easier than invitations because they need less information.
Common Mistakes to Avoid
Don’t use photos that are too low resolution. Even if a photo looks fine on your phone, it might be like 72 DPI which will look terrible printed. Use high-res photos only or skip photos entirely.
Don’t forget to include an RSVP deadline. I recommend 3-4 weeks before the wedding so you have time to finalize catering counts and seating.
Don’t make your text too small. If you’re squinting at your computer screen to read it, it’s gonna be worse printed. Minimum 10pt font for body text, ideally 11 or 12pt.
Check your spelling like seventeen times. Then have someone else check it. Then check it again. Misspelling your venue name or getting the date wrong is the kind of mistake that haunts you.
Making Free Look Expensive
The secret is really in the details and presentation. High quality paper stock makes a massive difference. A simple design on nice thick cardstock looks way better than an elaborate design on flimsy paper.
Clean, minimal designs tend to photograph better and look more expensive than designs with tons of elements. Sometimes less is actually more which sounds cliche but it’s true for wedding invitations.
Hand write something personal on each invitation if you have time. Even just the guest’s name in the envelope in nice handwriting makes it feel special. Or add a wax seal which you can get cheap seal kits online and they look super fancy.
Consider doing a unique size or shape if you’re feeling creative. Square invitations stand out or you could do a folded card style. Just remember weird sizes cost more to mail because they can’t go through standard postal machines.
The Postage Thing Everyone Forgets
Take a fully assembled invitation to the post office and have them weigh it before you buy stamps. Invitations are usually heavier than standard letters especially if you have multiple inserts or thick cardstock. You might need extra postage.
Square envelopes cost more to mail even if they’re under an ounce because they’re considered irregular. Same with super thick invitations. Budget for this.
If you’re doing anything with wax seals or ribbons or bulky embellishments, those definitely need hand-canceling at the post office which costs extra. Otherwise the postal machines might destroy your carefully assembled invitations which would be devastating.
You can request hand-canceling even without fancy embellishments to prevent the post office from putting those black wavy cancellation marks across your pretty envelopes. Some postal workers are cool about it, some charge extra, depends on your local office.
Digital Hybrid Options
Some couples do printed invitations for older relatives and digital for everyone else. This saves money and is honestly more practical since most people under 40 prefer digital anyway. You can use your free printable design and just email it as a PDF or upload it to your wedding website.
There are free digital invitation services like Paperless Post’s free tier or Evite (though Evite looks kinda dated honestly). You could also just create a nice graphic and email it which works fine and costs literally nothing.
QR codes on printed invitations that link to your wedding website are becoming super common. You can generate free QR codes online and add them to your design. Makes it easy for guests to access all the details without cramming everything on the printed invite.
