
Planning Guides, Style Guide
Free Printable Bridal Shower Cards: Design & Ordering Guide
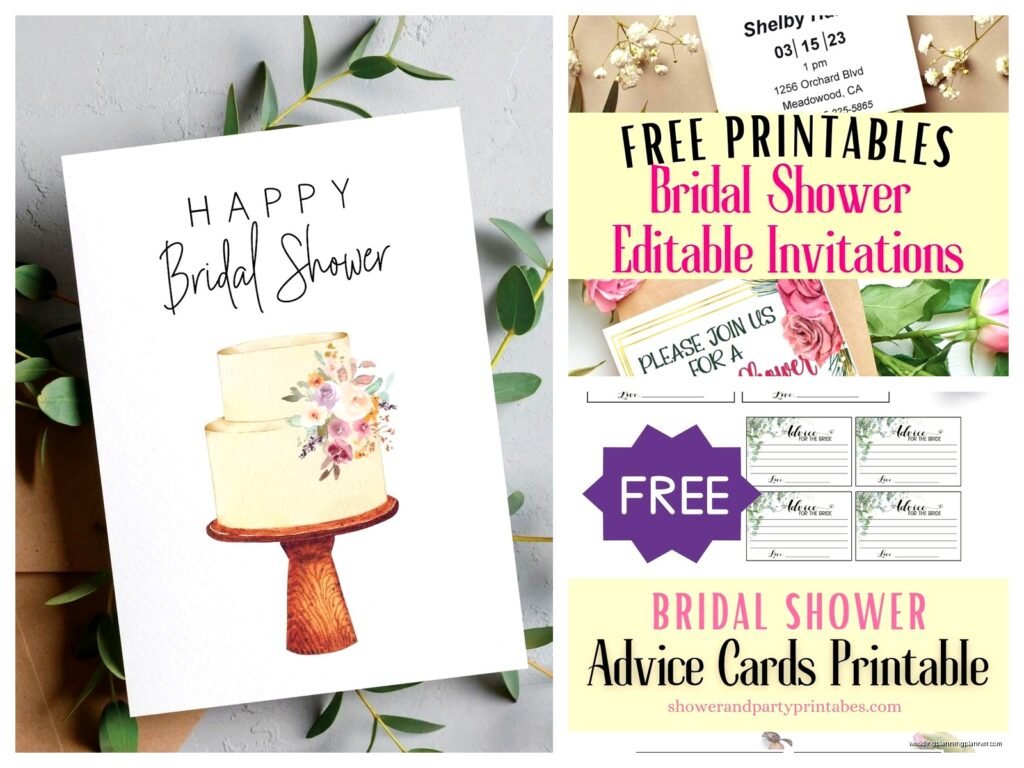
Sep
The Free Printable Bridal Shower Card Thing Everyone Gets Wrong
So you want free printable bridal shower cards but don’t know where to start or how to make them not look cheap, right? I’ve been designing and ordering these for clients since like 2015 and honestly the whole process is way more straightforward than wedding planners make it sound, but there ARE some tricks you gotta know.
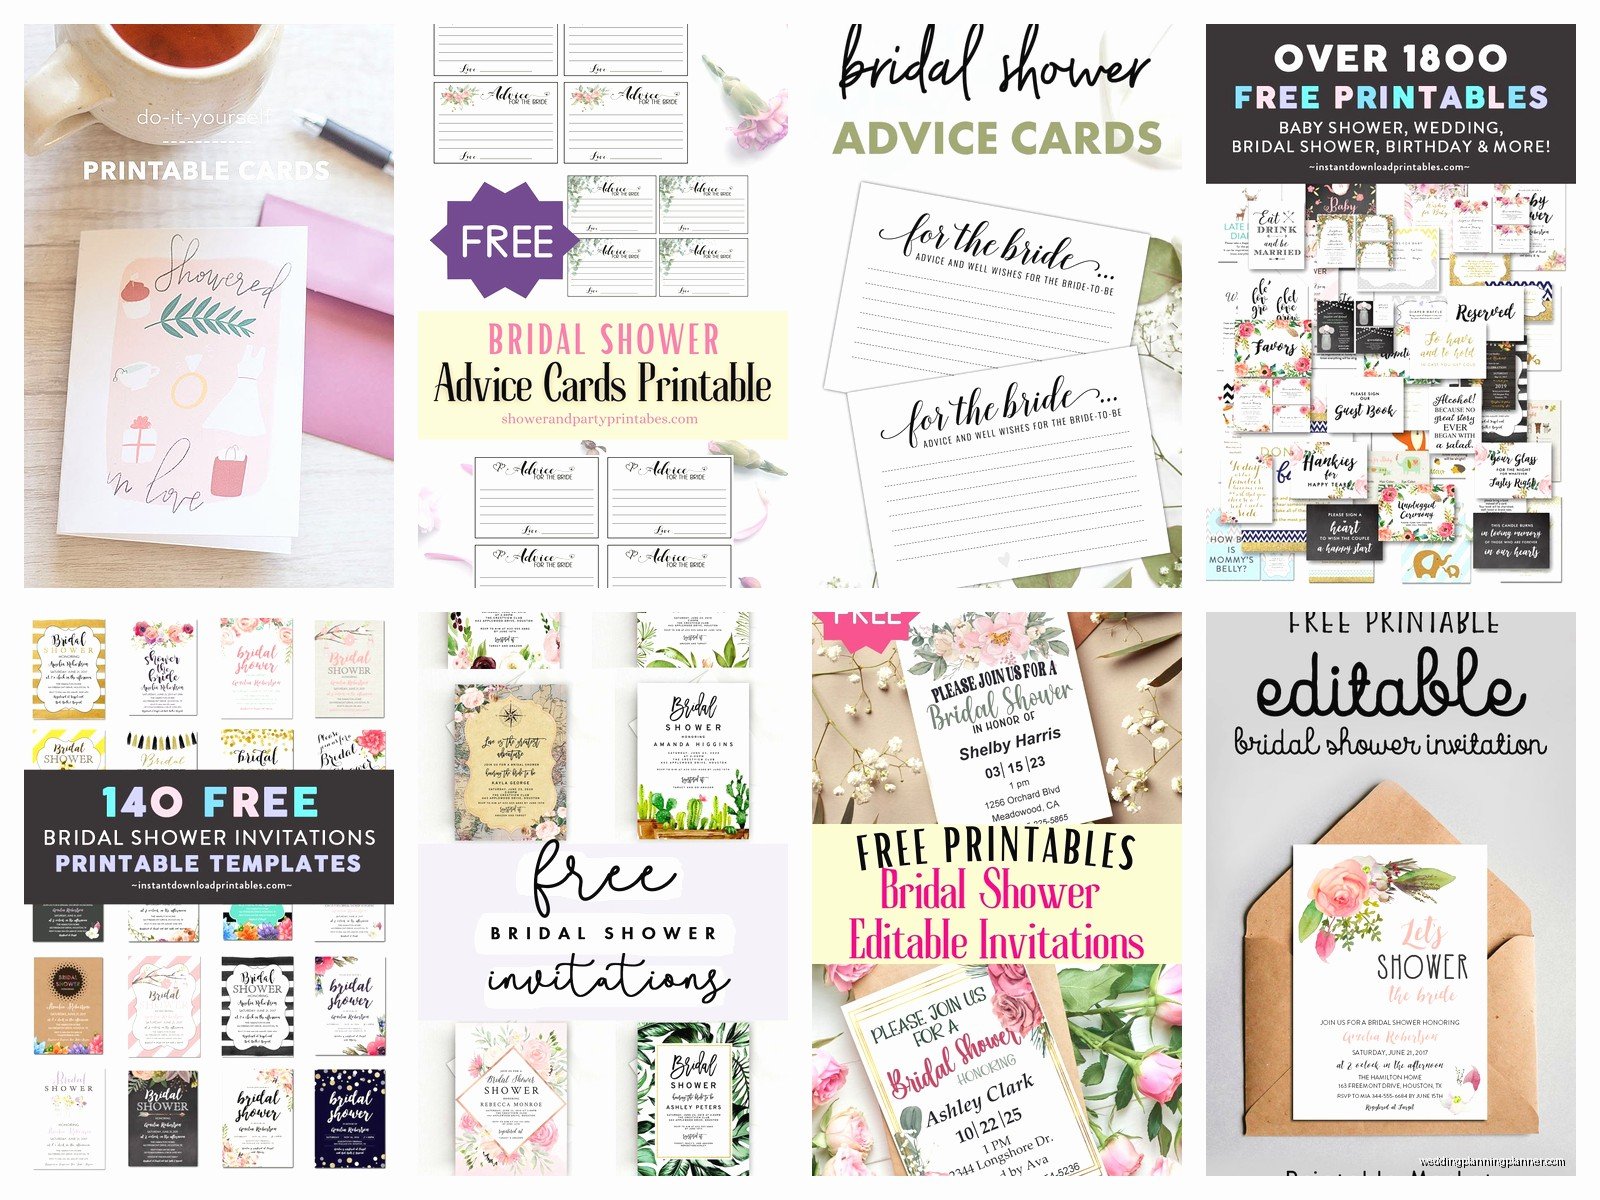
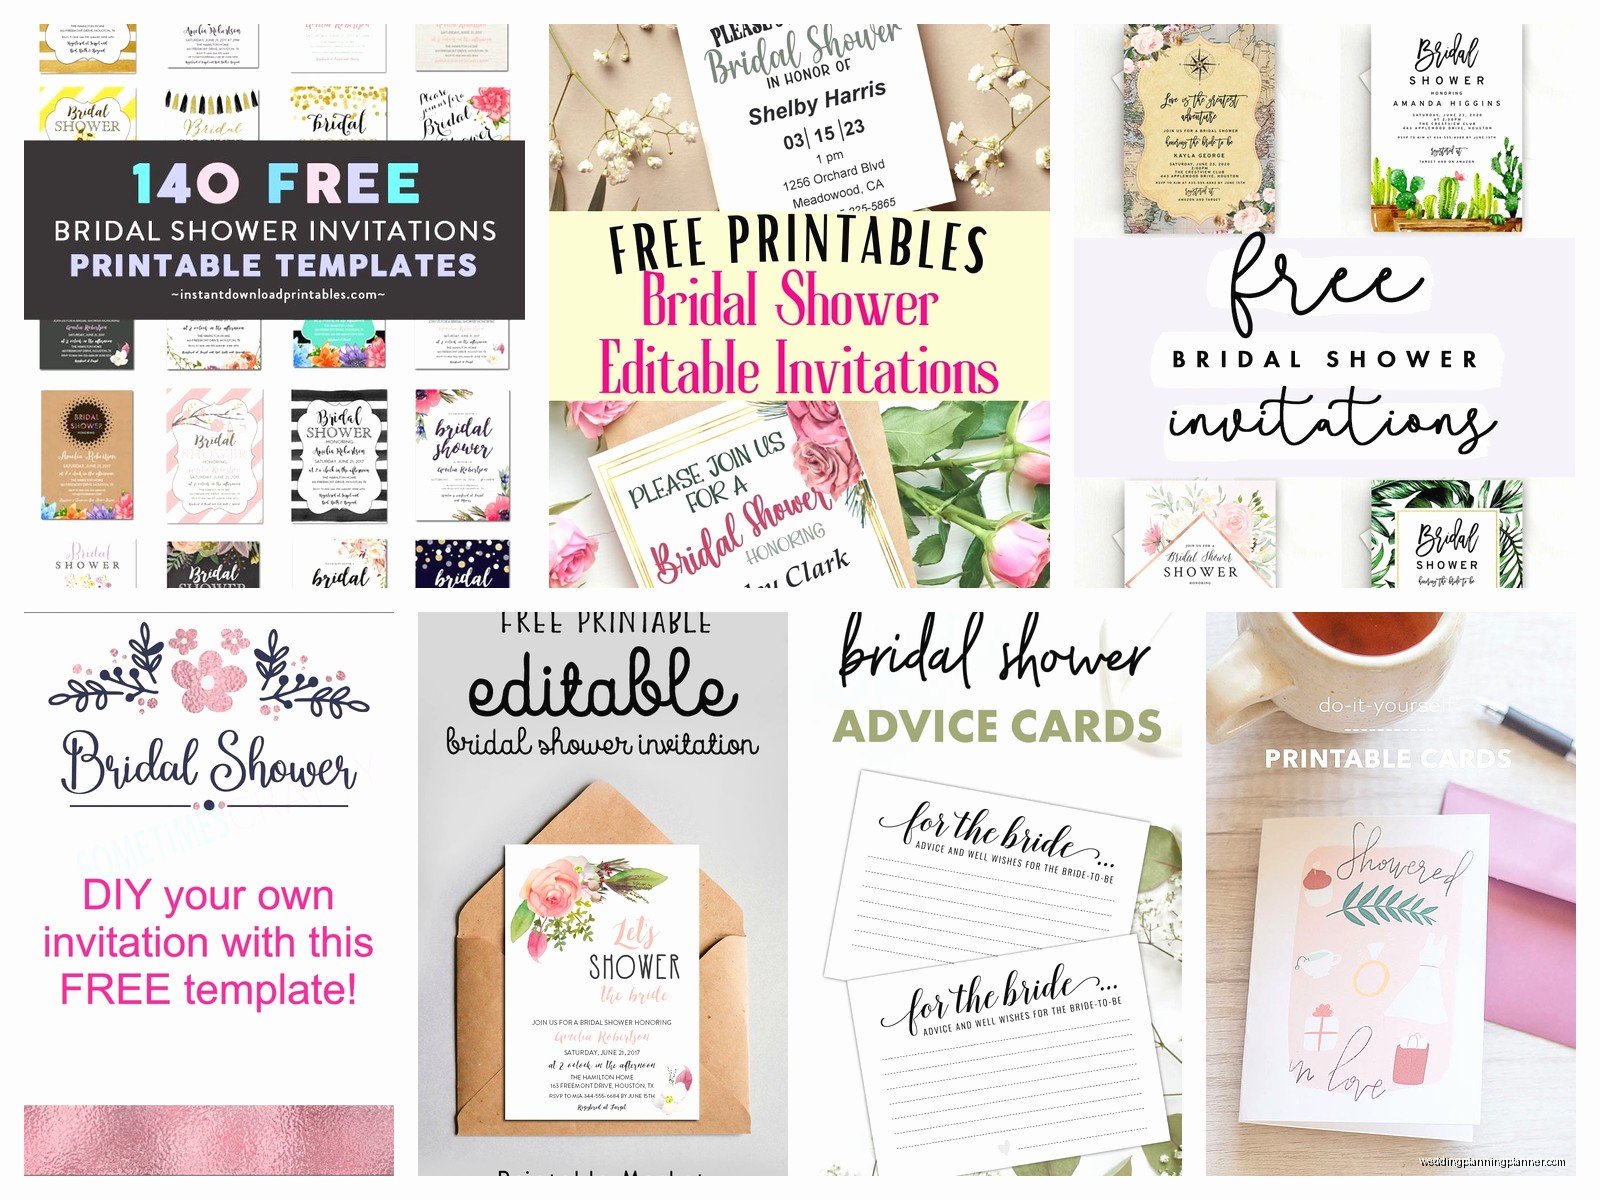
First thing – free printable templates are everywhere but most of them are garbage. I’m talking pixelated images, weird fonts that don’t download properly, and designs that look like they were made in 2003. You want to start with actually decent sites: Canva has a free tier that’s surprisingly good, Greetings Island is solid for traditional stuff, and I always check Etsy because some designers offer freebies to get you hooked on their paid templates.
Where To Actually Find Good Free Templates
Canva is gonna be your best friend here. Create a free account and search “bridal shower card” – you’ll see thousands of options. The free ones have a little “Free” label and honestly some of them are better than the paid ones I’ve seen brides spend $50 on. You can customize colors, text, add photos, whatever.
Greetings Island lets you personalize cards online and then download them as PDFs. The selection isn’t huge but what they have is clean and prints well. I used them for a client in spring 2023 who had literally two weeks before her sister’s shower and no budget – turned out perfect.
Etsy sellers sometimes offer free samples or have “freebie” sections. Search “free bridal shower card printable” and filter by price (free). You’ll find some gems, though you gotta watch out because some are really just trying to get your email for their newsletter.
Design Stuff That Actually Matters
Okay so here’s what I learned the hard way: resolution matters SO much more than you think. You need at least 300 DPI (dots per inch) for printing. Anything less will look blurry and cheap. When you’re downloading from Canva or wherever, look for the highest quality option. Canva’s free tier gives you PNG or PDF – always choose PDF for printing.
Size is the other thing people mess up constantly. Standard greeting card size is 5×7 inches when folded, which means you’re printing on 10×7 inch cardstock. Some templates come as A2 size (4.25 x 5.5 inches) which is also fine but smaller. Just make sure you know what size you’re downloading so you buy the right cardstock.
Color profiles – and this is gonna sound technical but bear with me – you want CMYK for printing, not RGB. RGB is for screens. Most free templates are in RGB which is fine for home printing but if you’re using a professional printer they might give you grief about it. For home printing though? Don’t stress about it too much.
Customizing Without Making It Look Homemade
The thing that annoys me MOST about free printables is when people don’t customize them at all and you can tell it’s a template that 5000 other people used. Like… it takes five minutes to change the colors to match the shower theme.
In Canva you can click on any element and change it. The bride’s name should obviously be on there. The shower date, time, location if there’s space. I usually add a small personal touch – maybe an inside joke or a favorite quote of the bride’s. Summer 2021 I did cards for my cousin’s shower and added a tiny illustration of her dog in the corner because that dog is literally her personality, and people went CRAZY for that detail.
Font choices matter more than you think. Stick to two fonts maximum – one fancy script for names or headlines, one clean sans-serif for details. Mixing three or four fonts looks chaotic. And please, PLEASE don’t use Papyrus or Comic Sans. I’ve seen it happen and it physically hurt me.
Printing At Home vs Professional Printing
Home printing is cheaper obviously but there’s a quality difference. For home printing you need decent cardstock – I like the 110lb weight from Neenah or Hammermill. You can get it at Staples, Office Depot, or Amazon. White is classic, cream is elegant, and colored cardstock can be fun if it matches the theme.
Your home printer matters too. Inkjet printers give you better color but can smudge if the ink isn’t dry. Laser printers are crisp and don’t smudge but sometimes the colors aren’t as vibrant. I have a Canon inkjet that I’ve used for years and it works fine for cardstock up to 110lb weight.
Print a test copy first on regular paper. Check that everything fits, text isn’t cut off, colors look right. Then print one on cardstock before you print all 30 or whatever you need. Nothing worse than wasting expensive cardstock on a mistake.
Professional printing – places like FedEx Office, Staples Print Center, or local print shops – will give you better quality but you’re paying for it. Usually runs about $1-3 per card depending on size and quantity. You upload your PDF, they print it, sometimes they’ll even cut and fold for you. This is worth it if you need like 50+ cards or if you’re just not confident in your home printing skills.
The Ordering Process If You Go Professional
Most print shops have online portals now. You upload your PDF, select cardstock type and weight, choose quantity, and pick matte or glossy finish. I always go matte for cards because glossy can look too… I dunno, corporate?
Turnaround time is usually 24-48 hours but during wedding season (May through October) give yourself extra time. I learned this the hard way when a client needed cards for a Saturday shower and the print shop was backed up – we barely got them in time.
Some places offer folding services, some don’t. If they don’t fold them, you’ll need to fold them yourself which is actually kinda meditative if you have a glass of wine and a good podcast on. My cat usually tries to help by sitting on the cards which is… less helpful.
Envelopes Are Their Own Whole Thing
Free printable templates usually don’t come with matching envelopes which is annoying. You gotta buy envelopes separately. For 5×7 cards you need A7 envelopes (5.25 x 7.25 inches). For A2 cards you need… A2 envelopes (4.375 x 5.75 inches). I know, very creative naming system.
You can get plain white or cream envelopes cheap at any office supply store. If you want colored or patterned envelopes to match your cards, check Paper Source, Michael’s, or Amazon. They run anywhere from $0.20 to $1 each depending on how fancy you get.
Some people print envelope liners too which looks really polished. There are free templates for those as well – same sites as the cards. You print them on regular paper, cut them out, and glue them inside the envelope. It’s an extra step but makes a big difference in presentation.
The Actual Folding and Assembling Part
If your cards aren’t pre-folded you need to fold them yourself. Use a ruler or bone folder (it’s a bookbinding tool, you can get one for like $5) to score the fold line first. This gives you a crisp fold instead of a wonky crooked one.
Fold away from the printed side so the design is on the outside. Press firmly along the fold. If you’re doing a bunch of them, stack them under some heavy books for a few hours to really set the creases.
For cards with multiple panels or inserts, assemble them in order before you start folding everything. I usually lay out all the pieces first, make sure I have the right quantities, then assembly-line the whole process.
Common Mistakes I See All The Time
Printing too close to the edge – most home printers can’t print all the way to the edge of the paper. Leave at least a quarter inch margin or you’ll get cut-off text.
Using thin paper – regular printer paper (20lb) is too flimsy for cards. You need at least 80lb, preferably 110lb cardstock. The weight refers to how thick it is and trust me, it matters.
Not checking spelling – I’ve seen “Bridle Shower” on printed cards. BRIDLE. Like for a horse. Proofread everything twice, then have someone else look at it.
Forgetting about bleed – if your design has color that goes to the edge, you need to extend it past the trim line. This is called bleed and it prevents white edges when you cut. Most templates handle this automatically but double-check.
Making Them Feel More Personal
Even with a free template you can make cards feel custom and special. Add a handwritten note inside each one – just a sentence or two. Include a favorite memory with the bride or why you’re excited for her wedding.
If you’re crafty, add embellishments. A ribbon tied around the card, a small pressed flower, a wax seal on the envelope. I’m not super crafty myself but I’ve seen brides and bridesmaids do this and it looks really sweet.
Photo cards are another option – some templates have spots for photos. Use a picture of the bride and groom, or the bridal party, or even a throwback photo from when the bride was little. People love that stuff.
Budget Breakdown So You Know What You’re Getting Into
If you’re doing everything at home with free templates: cardstock costs about $10-15 for 50 sheets, envelopes are $10-20 for 50, ink is whatever you already have. So you’re looking at maybe $25-35 for 50 cards.
Professional printing with free templates: $1-3 per card depending on where you go, plus envelopes. So 50 cards might run you $75-175.
Fully custom designed cards from a stationer (not what we’re talking about here but for comparison): $3-8 per card, sometimes more. So yeah, free printables are a significant savings.
Time Investment Reality Check
Customizing a free template: 30 minutes to 2 hours depending on how picky you are.
Home printing and assembling 50 cards: 2-4 hours including test prints and fixing mistakes.
Ordering from a print shop: 15 minutes to upload and place order, then you just wait.
I usually tell people to plan on spending an afternoon if they’re DIYing the whole thing. Put on Netflix, pour some coffee or wine depending on time of day, and make it a little project. I actually kinda enjoy it when I’m not under deadline pressure… which is rare in my line of work but whatever.
File Format Stuff You Should Probably Know
PDF is best for printing – it preserves everything and any printer can handle it. PNG is okay for home printing but files are huge. JPEG works but can lose quality. Never use Word documents or PowerPoint files for professional printing, they’ll hate you.
When you export from Canva, choose PDF Print for the highest quality. There’s also PDF Standard which is fine but PDF Print is specifically optimized for printing. If you’re just printing at home on your inkjet, PNG works fine and is actually sometimes easier.
Keep your original editable file saved somewhere. You might need to make changes or reprint later. I have folders and folders of old card designs from past clients because someone always wants to reprint something or use a similar design later.
What To Do If Your Printer Hates Cardstock
Some home printers just refuse to cooperate with thick cardstock. If yours is jamming or smearing, try these things: feed one sheet at a time instead of loading the tray, use the rear feed slot if your printer has one (it’s usually a straighter paper path), or adjust your printer settings to “cardstock” or “thick paper” mode.
If your printer absolutely won’t work, you can print on regular paper and glue it onto cardstock. It’s not ideal but it works in a pinch. Use a glue stick or spray adhesive, smooth out any bubbles, and trim the edges.
Or just admit defeat and take your files to a print shop. Not every battle is worth fighting, and sometimes the $30 to have someone else deal with it is money well spent. I learned this during a particularly stressful client situation where her printer died the night before we needed cards and I literally drove to FedEx at 10pm because they’re open late.
The main thing with free printable bridal shower cards is that they’re totally viable and can look really professional if you do them right. Don’t overthink it but also don’t completely wing it – find a good template, customize it enough to make it personal, print on decent paper, and you’re golden. I’ve seen expensive custom cards that looked worse than well-executed free printables, so price definitely doesn’t equal quality in this situation
