Planning Guides, Style Guide
Canva Wedding: Brand Review & Guide
Mar
Okay So Canva for Weddings Is Actually Pretty Decent Now
Look, I resisted Canva for literally years because I thought it was gonna cheapen my brand as a wedding planner and stationery consultant. Like, I spent all this time learning proper design principles and then here comes this drag-and-drop platform that anyone with a laptop can use. But then in spring 2023 I had three brides all cancel their graphic designer contracts within the same week because of budget cuts and I had to find solutions FAST, and honestly? Canva saved those weddings from having zero cohesive branding.
The thing about Canva is that it’s simultaneously the best and worst thing that’s happened to DIY wedding design. Best because it democratizes design and makes beautiful materials accessible to couples on tight budgets. Worst because… well, we’ll get to that.
What Canva Actually Offers for Weddings
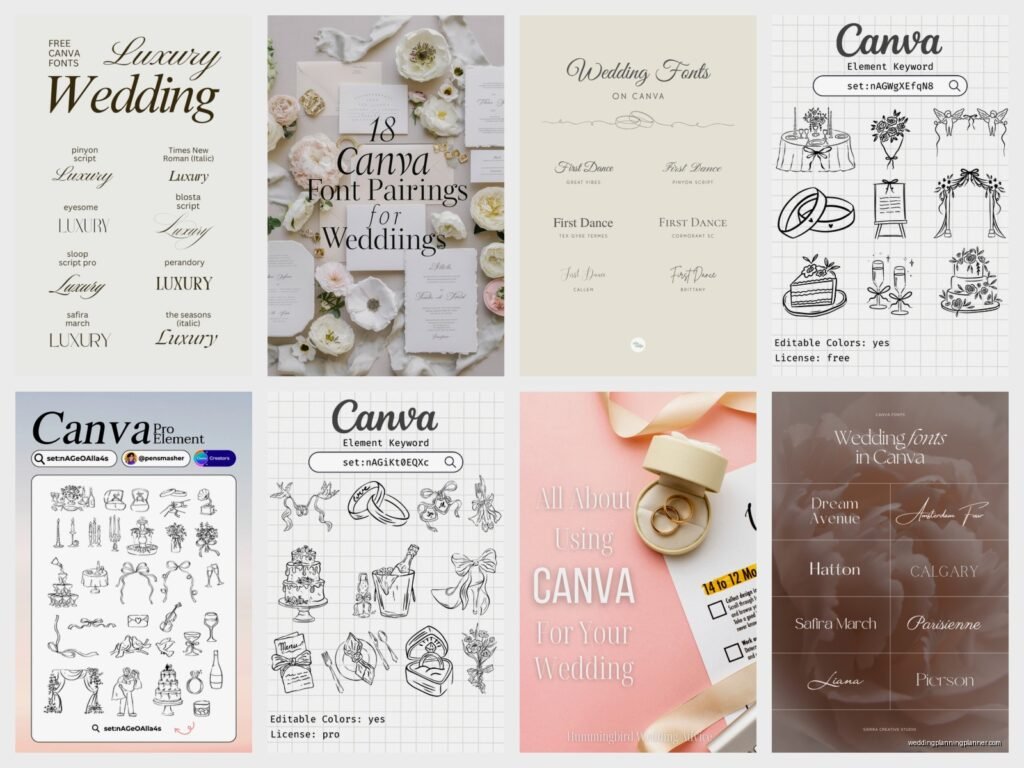
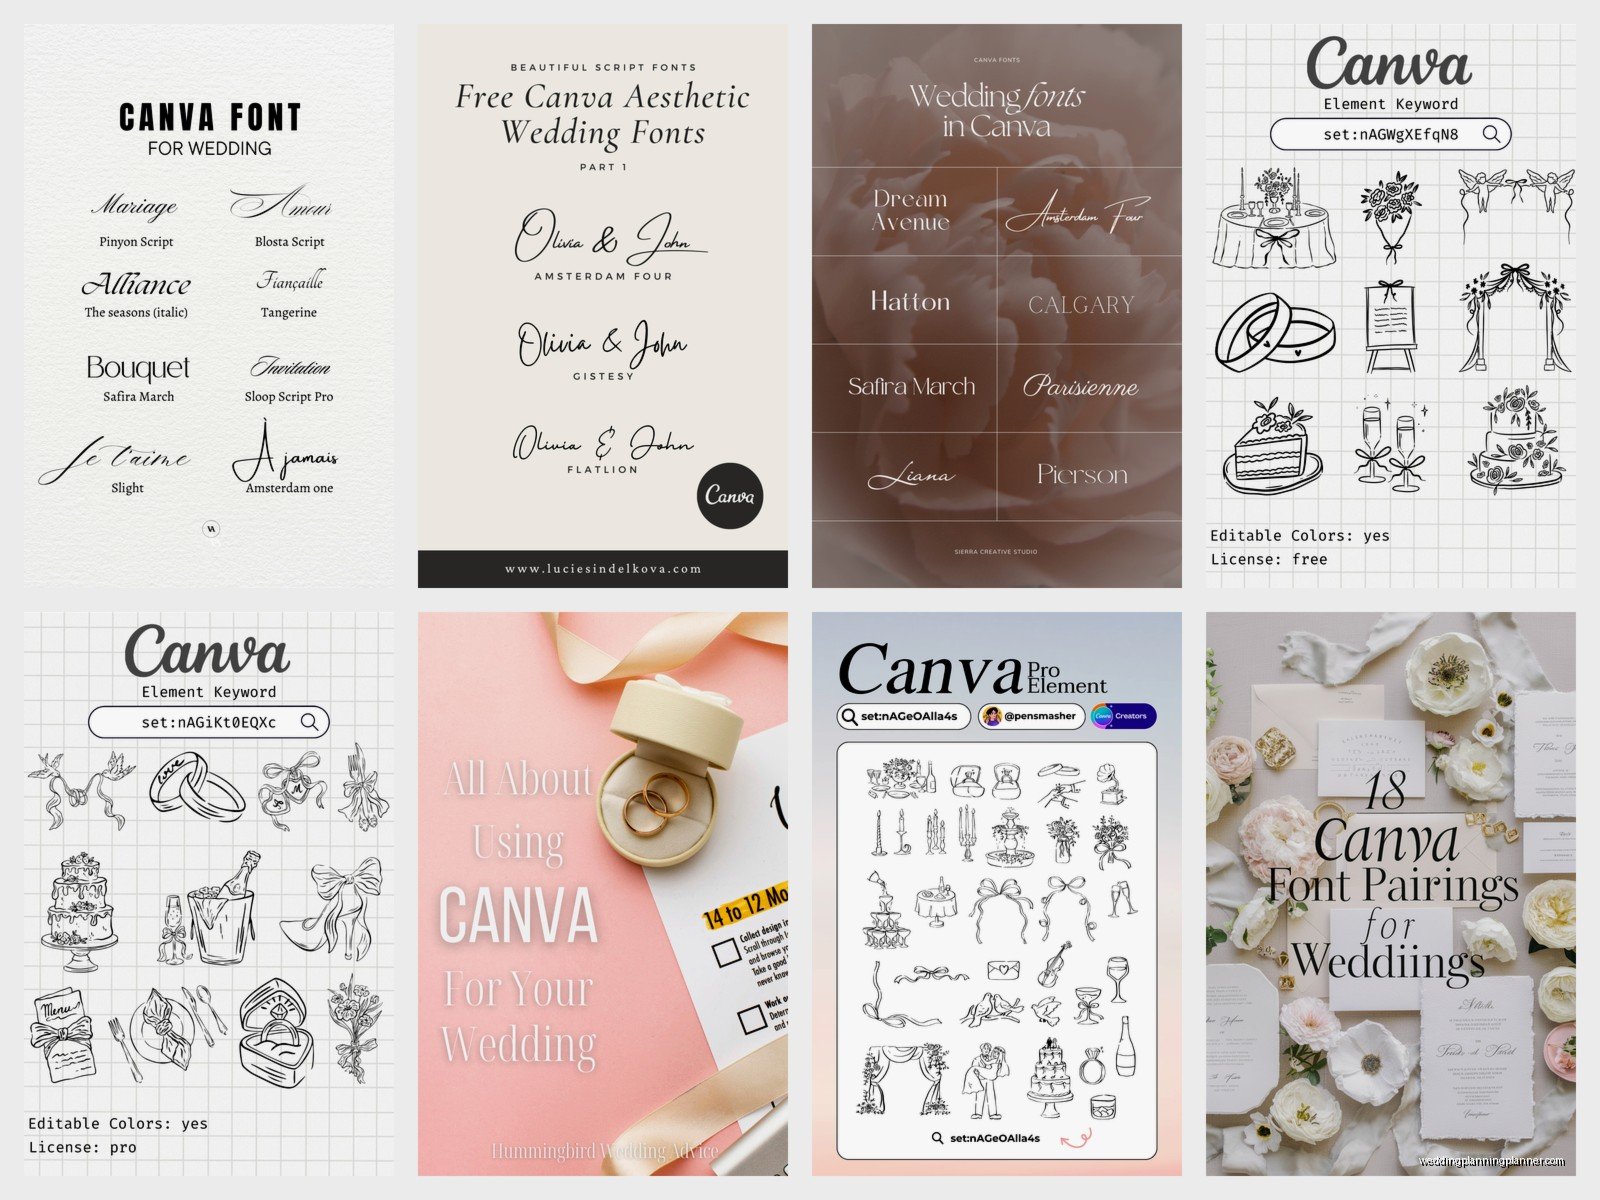
So Canva has this whole wedding section with templates for basically everything. I’m talking save-the-dates, invitations, programs, menus, place cards, thank you cards, welcome signs, seating charts, those Instagram story templates that everyone uses now. They’ve got thousands of templates and honestly some of them are really well-designed.
The free version gives you access to a ton of templates but you’ll hit paywalls on certain elements, fonts, and photos. Canva Pro costs around $120 annually (sometimes they run deals) and that’s where you get the good stuff. You can upload custom fonts, remove backgrounds from photos with one click, resize designs instantly, and access their entire library of stock photos and elements.
For weddings specifically, you want Pro. Trust me on this because you’re gonna need to resize that invitation to match the envelope size you actually bought, not the standard size Canva assumes everyone uses.
The Template Situation
Their wedding templates range from minimalist and modern to… well, to stuff that looks like it was designed in 2015 with too many swirls and that weird calligraphy font everyone overuses. You gotta be picky. I always tell my clients to search by their actual wedding aesthetic—like type “minimalist wedding invitation” or “boho wedding menu” rather than just browsing the general wedding category.
One thing that really annoyed me is that Canva doesn’t always label their templates clearly by size or format. You’ll think you’re working on a 5×7 invitation and then realize it’s actually sized for A4 or some random dimension. Always check the dimensions before you start customizing because I’ve had brides spend hours on a design only to discover it won’t fit their envelopes.
Brand Consistency Across Your Wedding Materials
This is where Canva actually shines if you use it right. You can create a Brand Kit (Pro feature) where you save your wedding colors, fonts, and logos. So like, if you’re doing sage green, terracotta, and cream with Cormorant Garamond and Montserrat fonts, you save all that and then every template you customize can pull from those exact colors and fonts with one click.
I had this bride in summer 2021 who was SO organized—she sent me her exact Pantone codes, font names, even the specific textures she wanted. We set up her Brand Kit in Canva and she was able to create her entire paper suite, signage, and even her bridesmaids proposal boxes with perfect consistency. It looked like a professional designer did everything when really she did 80% of it herself during her lunch breaks.
Setting Up Your Wedding Brand Kit
Go to Brand Kit in your Canva account and add your colors as hex codes. If you don’t have hex codes, you can use a color picker tool or just grab them from inspiration photos. Add at least three colors—usually a main color, an accent, and a neutral.
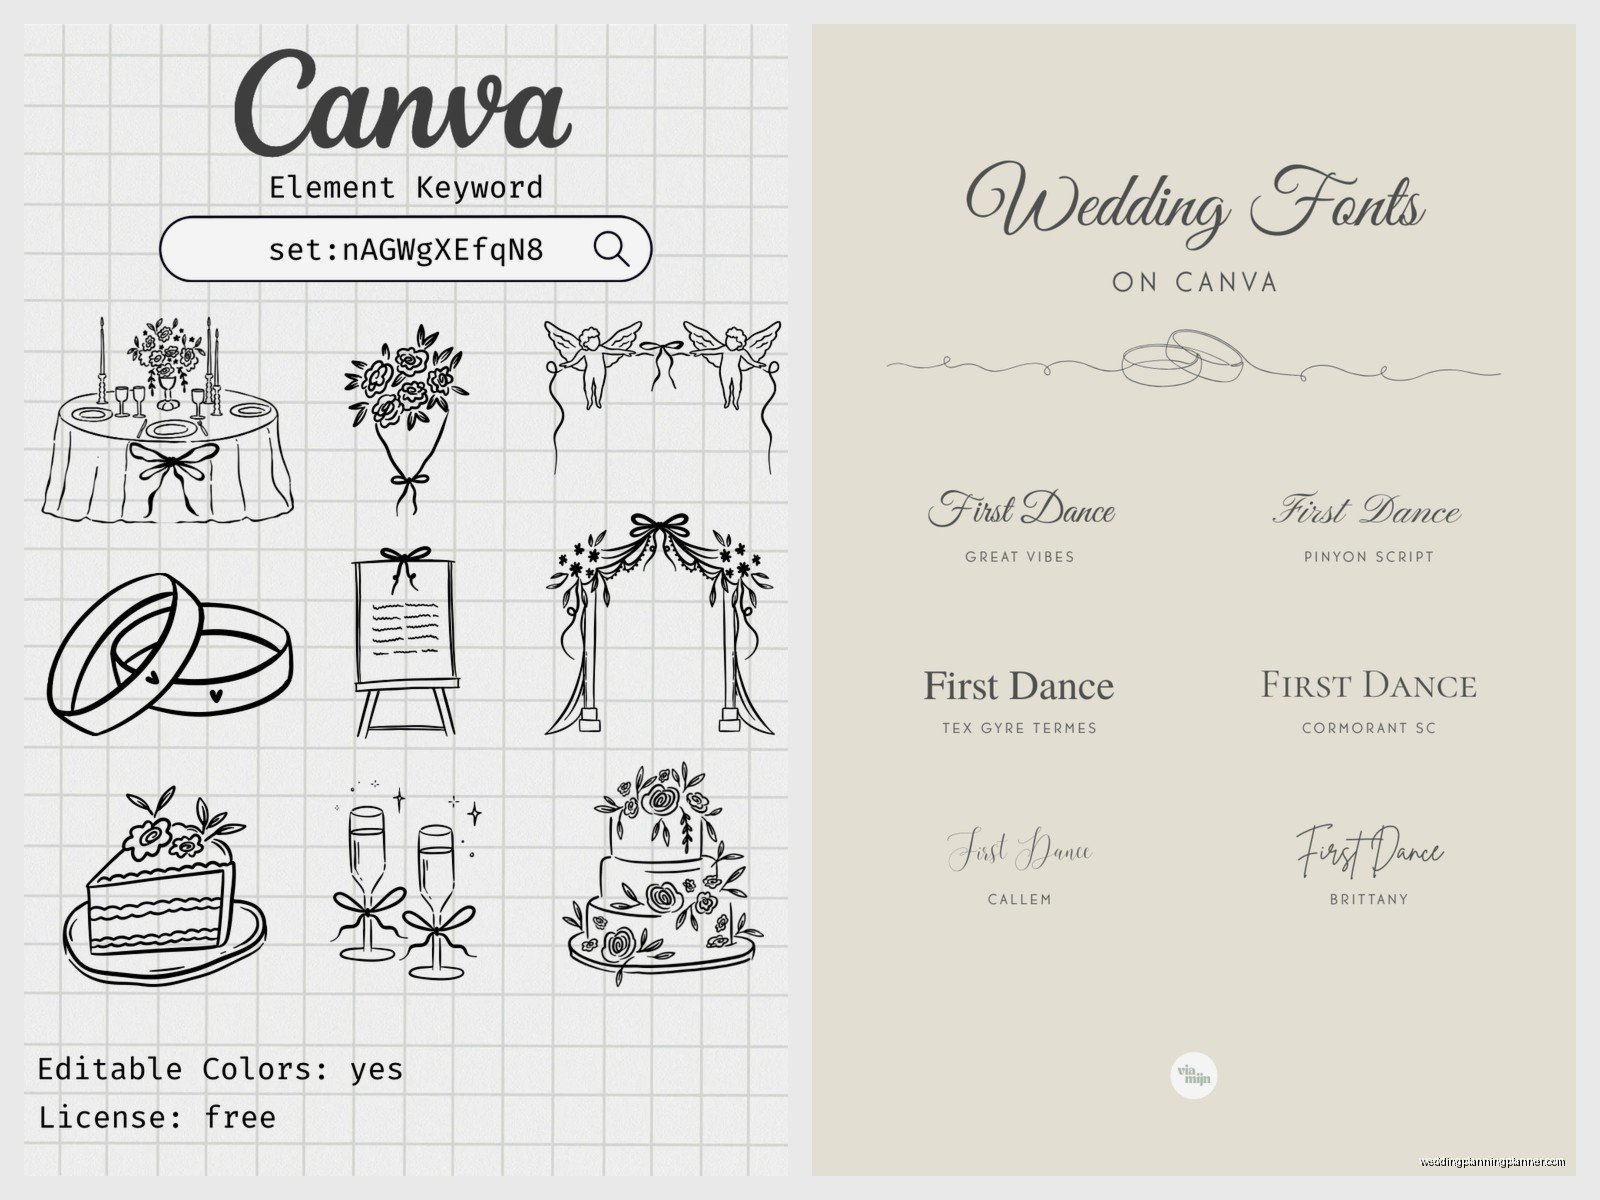
For fonts, you’ll want a primary font (usually something elegant for headings and names) and a secondary font (something readable for body text and details). You can upload custom fonts if you bought any from Creative Market or whatever, or use Canva’s library. Just… please don’t use more than three fonts total across all your materials because it starts looking chaotic.
If you designed a monogram or wedding logo, upload that too. Then it’s accessible across all your designs.
What Works Really Well in Canva
Digital stuff is where Canva absolutely kills it. Instagram announcements, digital save-the-dates, wedding website graphics, email signatures—anything that stays on a screen looks great. The quality is perfect for digital and you can export as PNG or PDF.
Simple printed materials also work well. Programs, menus, place cards, table numbers. Anything that’s relatively small and doesn’t require super fancy printing techniques. I’ve used Canva designs printed through Catprint, Printique, and even local print shops and they turn out nice if you export correctly (always PDF Print, high quality, with bleed and crop marks if your printer needs them).
Signage is another win. Welcome signs, bar menus, hashtag signs, all that stuff. You can design an 18×24 poster in Canva and send it to Staples or FedEx for printing and it looks totally professional.
The Social Media Templates Are Honestly Great
If you’re doing a wedding hashtag or want to share updates with guests, Canva’s Instagram templates are really helpful. They have these matching sets where you can announce your engagement, share wedding details, do countdowns, all in a cohesive style. My cat literally walked across my keyboard while I was designing one of these for a client and somehow made it better by accidentally adding a random element, but anyway.
You can also create Instagram Story templates for your guests to use during the wedding, which is kinda cute. Like a frame that says “Sarah & Mike’s Wedding” that people can add to their photos.
What Doesn’t Work So Well
Formal invitations are tricky. If you’re having a black-tie wedding or want something that feels really luxe and expensive, Canva has limitations. The templates can start to look… template-y. You know what I mean? Like you can spot a Canva invitation from across the room sometimes because certain design elements and fonts get overused.
Also, Canva can’t do fancy printing techniques. No letterpress, no foil stamping, no embossing. You’re limited to flat digital printing. So if those details matter to you or match your wedding vibe, you’ll need to either work with a professional stationer or use a service like Minted that offers those upgrades.
The customization can also feel limiting once you know what you’re doing. You can’t fine-tune spacing and alignment the way you can in InDesign or Illustrator. Sometimes elements snap to grids in annoying ways and you can’t get things positioned exactly where you want them. I’ve definitely spent twenty minutes trying to move something two pixels to the left and… yeah, it’s frustrating when you have a specific vision.
Printing Your Canva Designs
This is where people mess up constantly. You cannot just export whatever Canva gives you and expect it to print well. Here’s what you gotta do:
Export as PDF Print, not PDF Standard. The Print version has higher quality and better color profiles for professional printing. If you’re just printing at home on your inkjet, PNG works fine at 300 DPI.
Always include bleed if your printer requires it (most professional printers do). Bleed is the extra space around the edges that gets trimmed off. Canva has a checkbox for this when you export. If you skip it, you might get white borders or elements cut off.
Check your colors on an actual printed sample before you order 150 invitations. Colors look different on screen versus paper, and Canva uses RGB color mode which doesn’t always translate perfectly to CMYK printing. Order one sample from your printer first.
Where to Print Canva Designs
For invitations and formal stuff, I like Catprint and Printique. They’re affordable and the quality is solid. You can upload your Canva PDF directly. For signage and posters, Staples and FedEx work great and you can often pick up same-day.
If you want something fancier, Minted lets you upload custom designs (there’s a fee) and they’ll print them with their premium paper and optional upgrades. Zazzle is another option that’s super easy—you can upload Canva designs and they have tons of product options.
Avoid printing invitations on your home printer unless you’re really committed to the DIY look. The quality just doesn’t compare and it’s actually more expensive when you factor in ink costs and wasted paper from test prints.
Common Mistakes I See All The Time
Using too many different templates. I get it, there are so many pretty options, but your save-the-date, invitation, and other materials should feel like they belong together. Pick one template style and adapt it for different pieces rather than using completely different designs for each item.
Not customizing enough. If you just swap out names and dates but keep everything else exactly like the template, it’s gonna look generic. Change colors to match your palette, swap in your own photos, adjust the layout a bit. Make it yours.
Ignoring hierarchy and readability. Just because you can use a fancy script font doesn’t mean you should use it for all your text. Important details like time, location, and RSVP info need to be in readable fonts. I’ve seen invitations where you literally cannot figure out what time the ceremony starts because it’s in 10-point calligraphy font.
Not proofreading. Canva makes it so easy to edit that people forget to actually proofread their final designs. I’ve caught typos in venue addresses, wrong dates, misspelled names—all because people rushed through the final check. Have someone else read it before you print.
My Actual Process for Wedding Branding in Canva
When I’m helping a client create their wedding brand in Canva, here’s sorta how I approach it. First, we nail down the aesthetic and collect inspiration. I have them create a Pinterest board or send me examples of invitations and designs they love.
Then we establish the Brand Kit—colors, fonts, any logos or monograms. This is the foundation for everything else. Once that’s set, I have them start with their invitation because it’s usually the most important piece and sets the tone for everything else.
We pick a template that’s close to what they want but not exactly it, then customize the hell out of it. Change colors, swap fonts, rearrange elements, add personal touches. The goal is that someone couldn’t find the exact template we started with because we’ve changed it so much.
After the invitation is finalized, we create the other materials using the same design elements—same color blocks, same graphic elements, same font combinations. Everything should feel cohesive even if the layouts are different.
Timeline for DIY Canva Wedding Materials
If you’re doing this yourself, budget way more time than you think you need. Designing a save-the-date might take 30 minutes, but then you’ll spend three hours tweaking it, getting feedback, making changes, and second-guessing your font choices.
Start your save-the-dates at least 4 months before you want to send them (6-8 months before the wedding). Invitations should be designed at least 3 months before your wedding so you have time for printing, addressing, and mailing 6-8 weeks before the event.
Day-of materials like programs and menus can wait until closer to the wedding, but I recommend having them designed at least a month out so you’re not scrambling the week before.
When You Should Skip Canva
If you’re having a super formal wedding—like country club, black tie, traditional affair—you might want to invest in custom stationery from a real designer or use a high-end service like Bella Figura. Canva works best for modern, casual to semi-formal weddings where perfection isn’t the goal.
Also if you have zero design sense and you know it, Canva might actually make things worse because you’ll have too many options and no idea what looks good. In that case, stick with a service like Minted or Zola where you just fill in information on pre-designed templates without much customization.
And honestly if your wedding budget allows for professional stationery and it’s important to you, spend the money there. Supporting small businesses and artists is valuable and you’ll get something truly unique. Canva is a tool for budget-conscious couples or specific DIY elements, not necessarily a replacement for professional design across the board.
Real Talk About Canva’s Limitations
The thing is, Canva is designed for non-designers, which means it has guardrails that can feel restrictive if you actually know what you’re doing or have a really specific vision. You can’t do everything you could do in professional design software, and sometimes those limitations show in the final product.
But for most couples? Those limitations actually help. They prevent you from making designs that are too chaotic or poorly structured. The templates provide a good foundation and the tools are intuitive enough that you won’t get lost in technical details.
I think the key is knowing what Canva is good for and what it’s not. It’s excellent for creating cohesive, attractive wedding materials on a budget. It’s not gonna give you the same result as hiring a professional designer, but it’s also like 10% of the cost, so… you gotta be realistic about expectations.
Just remember to export everything correctly, order samples before bulk printing, and don’t be afraid to spend time customizing templates until they actually reflect your wedding vibe. And maybe don’t tell your guests you designed everything in Canva unless they specifically ask—not because it’s something to hide, but because part of the magic is people thinking you hired a designer when you totally didn’t.