Planning Guides, Style Guide
Canva Wedding Templates: Free Download Files
Mar
Okay So Canva Has Free Wedding Templates and Here’s What You Need to Know
Look, I’m gonna be straight with you about Canva wedding templates because I’ve been down this road so many times with clients and honestly some of them are amazing and some are… well, we’ll get to that. But first, if you’re planning a wedding and you’re on a budget or you just don’t wanna spend $500 on a graphic designer for save-the-dates, Canva is kinda your best friend right now.
The whole free download thing works like this: you sign up for a free Canva account (takes like two minutes), search for wedding templates, and boom—you’ve got access to thousands of designs. Some are totally free, some have this little crown icon which means you need Canva Pro, but honestly the free ones are pretty solid if you know what to look for.
What’s Actually Free vs What Costs Money
This is where it gets annoying and I gotta vent for a second. Canva will show you these gorgeous templates in your search results, and you’ll click on one all excited, start customizing it with your wedding colors and names, spend like 20 minutes getting everything perfect, and THEN you go to download it and suddenly there’s a paywall because one tiny element in the design is Pro-only. This happened to me in spring 2023 when I was helping my cousin with her invitations and I almost threw my laptop across the room.
Here’s how to avoid that nightmare: before you start editing anything, click on the template and look carefully at the elements. If you see that little crown symbol on ANY part of it, you’ll need to either pay for Canva Pro (which is like $13/month I think?) or replace those elements with free alternatives. Sometimes it’s just a specific font or a photo that’s premium, and you can swap it out super easily.
The Types of Wedding Templates You Can Get
Canva has templates for basically everything wedding-related. I’m talking:
- Save-the-dates (digital and printable)
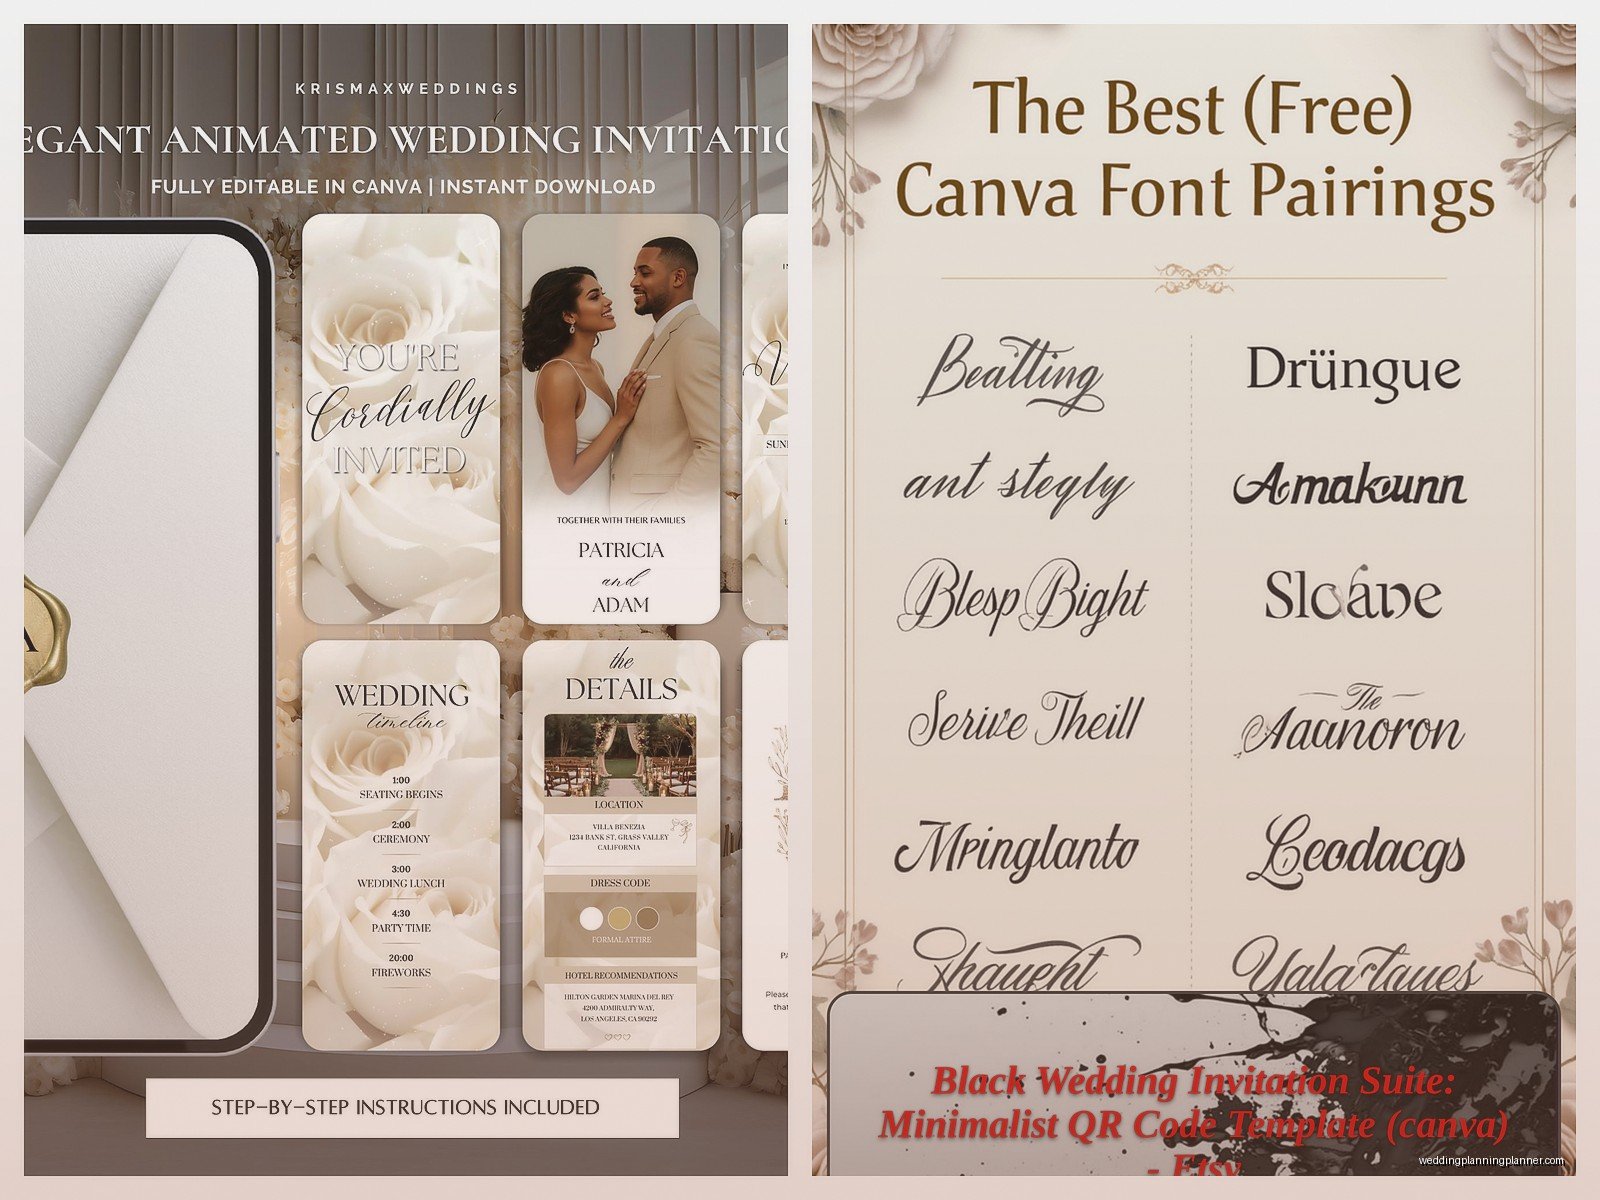
- Wedding invitations (formal, casual, rustic, modern, you name it)
- RSVP cards
- Thank you cards
- Wedding programs
- Seating charts
- Menu cards
- Place cards
- Welcome signs
- Instagram story templates for announcements
- Wedding websites (wait, they added this recently and it’s actually pretty cool)
The quality varies wildly though. Some look like they were designed by an actual professional, and others look like… well, like someone discovered WordArt for the first time. You gotta be selective.
How to Actually Download the Files
Alright so once you’ve customized your template (changed the names, dates, colors, fonts, whatever), here’s the download process. Click that “Share” button in the top right corner, then select “Download.” You’ll get options for file type—usually PNG, JPG, PDF Standard, or PDF Print.
Here’s what I recommend based on what you’re making:
- For printing professionally: Use PDF Print. It’s got the right resolution and color settings (CMYK instead of RGB, if you care about that stuff).
- For printing at home: PDF Standard works fine, or high-quality PNG.
- For digital invitations you’re emailing or texting: PNG or JPG, keeps the file size manageable.
- For posting on social media: PNG usually looks sharper than JPG.
One thing that’s super handy—if you’re making multiple items like invitations AND thank you cards, you can create a “brand kit” in Canva with your wedding colors and fonts. Even on the free version, you can save your color palette so you don’t have to remember that specific shade of dusty rose you picked out. Game changer.
The Customization Part (This Is Where You Make It Actually Yours)
So you’ve picked a template, now what? Don’t just slap your names on there and call it done. I’ve seen so many couples do this and the result looks… generic. Which I guess is fine if you don’t care, but you’re putting in the effort to DIY this stuff so might as well make it look intentional.
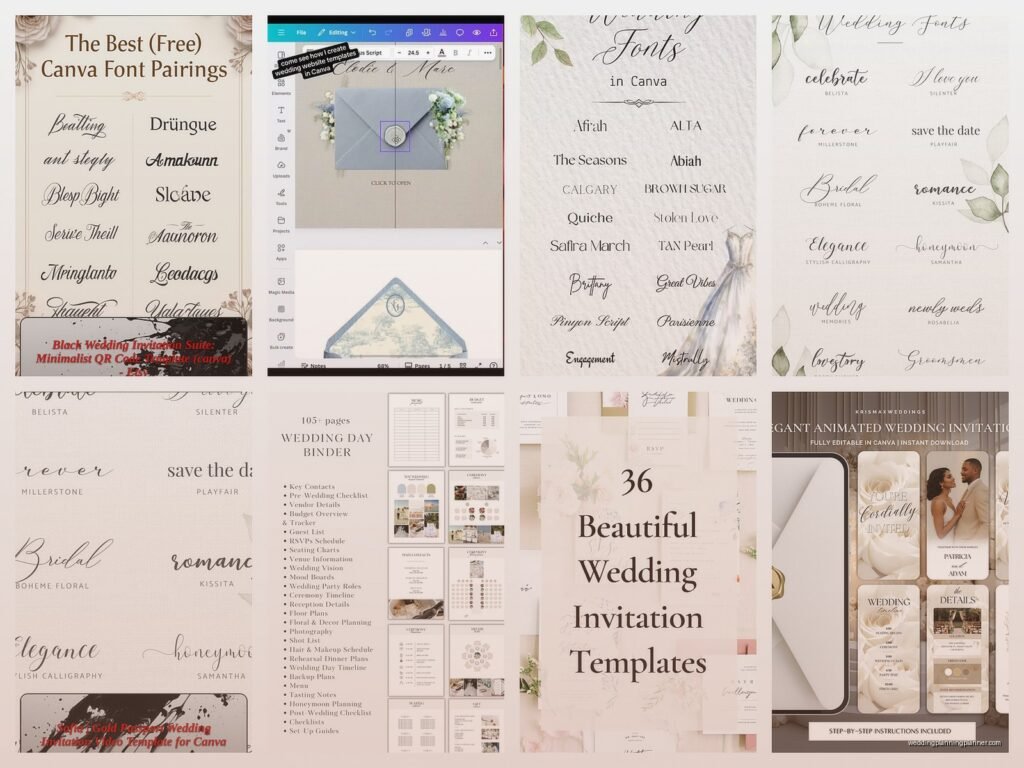
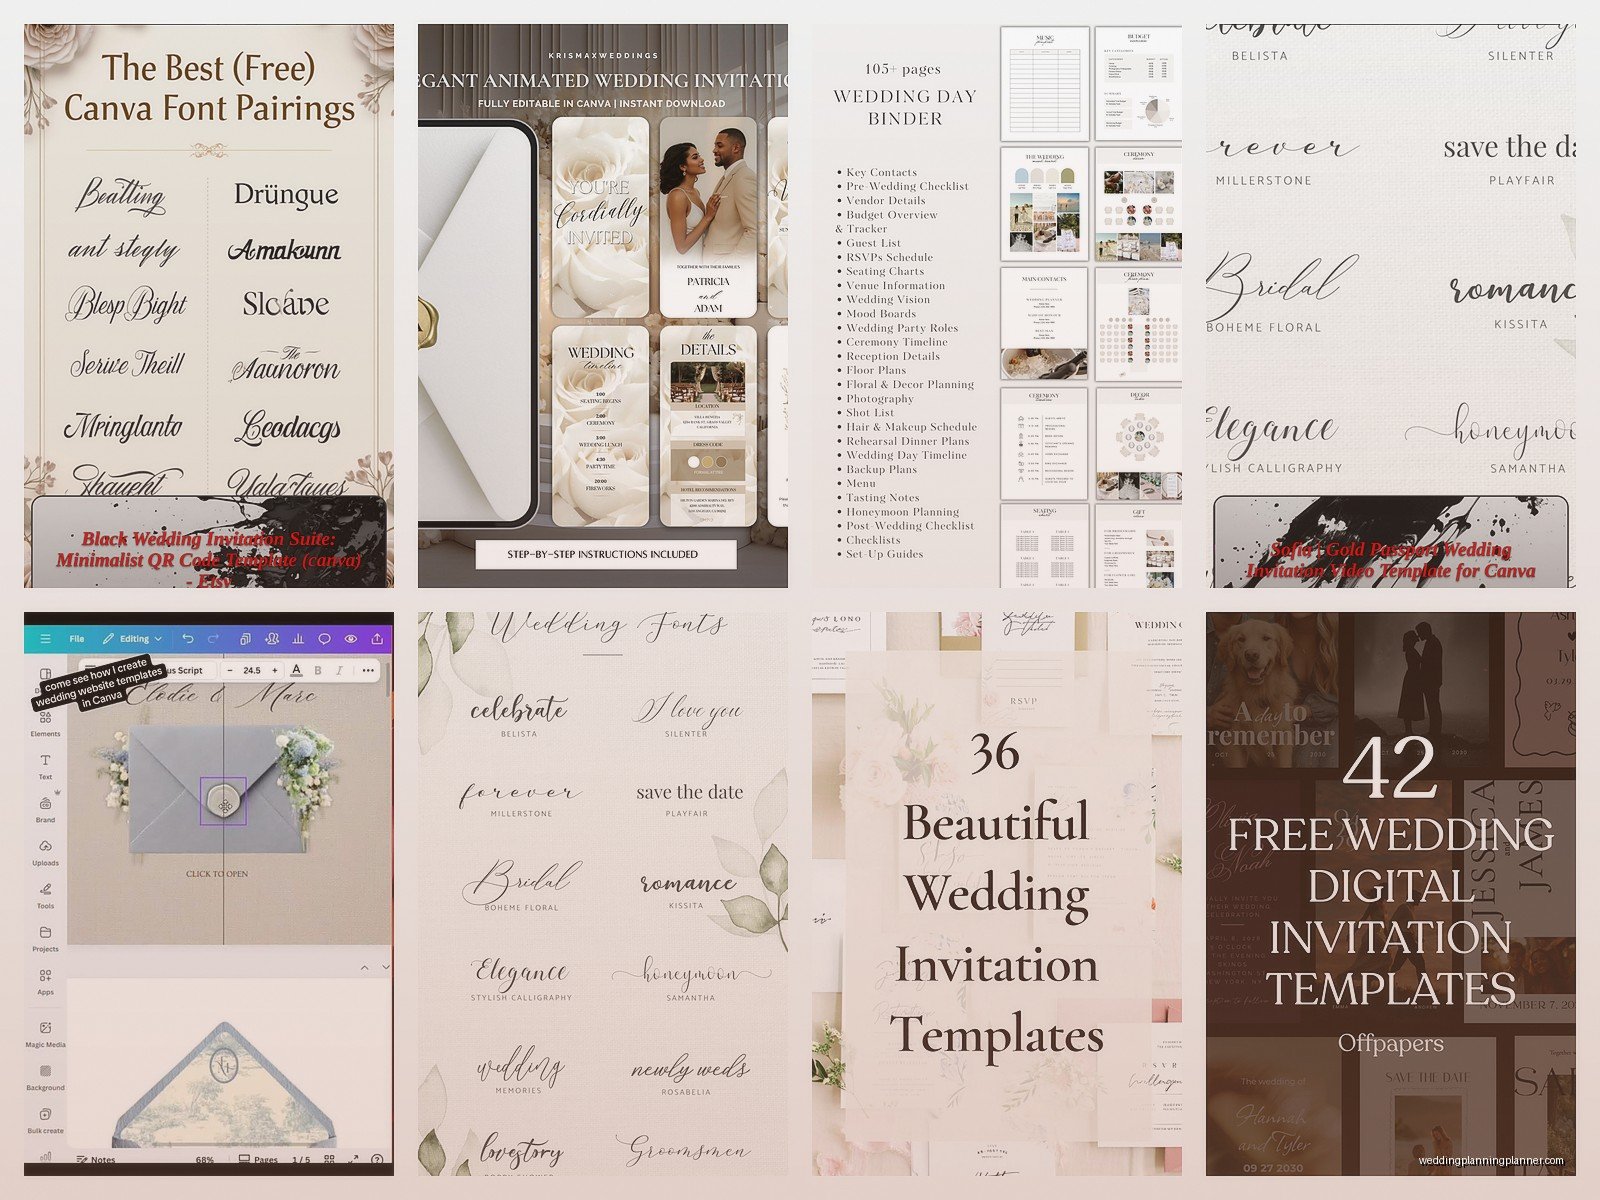
Change the fonts to match your vibe. Canva has a ton of free fonts and honestly some of them are really elegant. My go-to combinations for weddings are usually something like a script font for names (Playlist Script or Bright Samantha) paired with a clean sans-serif for the details (Montserrat or Poppins). But that’s just my taste, you do you.
Colors are huge. The template might come in blush pink and gold, but if your wedding colors are sage green and cream, swap everything. You can click on any element and change its color. Canva also lets you upload your own color codes if you’re that organized (I am, my cat knocked over my color swatch book once and I almost cried because I had everything labeled).
The Print Quality Issue Nobody Warns You About
Okay this is important. Canva templates are designed at specific dimensions, and if you’re planning to print them, you need to make sure the size is correct for your printer or print shop. Most Canva wedding invitation templates are sized for 5×7 inches, which is standard, but always double-check.
If you’re printing at home, do a test print first on regular paper. I cannot stress this enough. I had a bride in summer 2021 who printed 150 invitations on expensive cardstock without testing, and the colors came out completely wrong—her “ivory” background printed as straight-up yellow. We had to reorder everything and she was so stressed.
Also, home printers and professional printers handle colors differently. What looks perfect on your screen might print darker or lighter. Most print shops (like a local printer or even FedEx Office) can show you a proof before they run the full order.
Free vs Pro: Is It Worth Upgrading?
Look, I don’t work for Canva so I’m not gonna tell you that you NEED Pro, but here’s when it actually makes sense. If you’re designing a lot of wedding stuff—invitations, programs, signage, thank yous, menus—the Pro version gives you access to way more templates, photos, and elements. You also get the background remover tool which is super useful if you wanna put a photo of you and your partner on your invitations but need to remove the messy background.
The Brand Kit feature on Pro is also more robust. You can save multiple color palettes, upload your own fonts (if you bought a specific wedding font from somewhere else), and save your logo if you made one.
But honestly? For most couples doing basic invitations and maybe a few signs, the free version is totally sufficient. You just gotta be more patient with finding elements and templates that don’t have that premium lock on them.
Where People Usually Mess Up
I’ve seen the same mistakes over and over, so lemme save you the trouble:
Using too many fonts. Stick to two, maybe three max. When you use like five different fonts, it looks chaotic and kinda unprofessional.
Not leaving enough white space. I know you wanna include all the information, but cramming everything together makes it hard to read. Let the design breathe a little.
Forgetting to proofread. Spell-check your wedding date, your venue address, your names (you’d be surprised), and the RSVP deadline. Have someone else look at it too because you’ll probably miss your own typos after staring at it for hours.
Ignoring the bleed area. If you’re printing something that goes to the edge of the paper, you need a bleed (extra space around the edges). Most Canva templates don’t have this built in, so you might need to adjust or talk to your printer about it.
Using low-resolution photos. If you upload your own engagement photo or whatever, make sure it’s high quality. Pixelated photos look terrible on printed invitations.
My Actual Workflow for Wedding Stationery on Canva
When I’m working with a couple who wants to use Canva (or when I’m just doing it myself for smaller projects), here’s my process and maybe it’ll help you:
First, I gather all the info I need. Wedding date, time, venue name and address, RSVP date, wedding website if there is one, registry info if they’re including it (some people do, some don’t). I put this all in a Google Doc so I can copy-paste and not worry about typos.
Then I search for templates based on the wedding style. Is it formal? Rustic? Beachy? Modern minimalist? Canva’s search filters are actually pretty good for this. I’ll usually favorite like 5-10 templates that could work.
Next, I start customizing one. I change the colors first to match the wedding palette, then swap out fonts, then add the actual information. I usually create the invitation first, then use that as a template for the other pieces (thank you cards, programs, etc.) so everything matches. Canva lets you duplicate pages which makes this way easier.
Once everything looks good on screen, I download a PDF Print version and take it to my local print shop to get a sample printed. This costs like $2 but saves so much headache later. I look at the colors, the spacing, how the paper quality affects the design… or if you’re printing at home, just print one on your regular paper to check alignment and stuff.
After I approve the sample, then I do the full print run. And honestly, sometimes I just send the digital files to guests via email or through a wedding website because not everything needs to be printed these days. Save-the-dates especially work great as digital files.
Some Random Tips That Don’t Fit Anywhere Else
You can share your Canva design with your partner or your MOH or whoever by clicking the Share button and sending them a link. They can edit it too if you give them permission, which is helpful if you’re collaborative… or a nightmare if they have terrible design taste, just saying.
Canva saves your work automatically so you don’t have to worry about losing everything if your computer crashes. I learned this the hard way when my power went out during a thunderstorm and I thought I’d lost three hours of work, but nope, it was all there when I logged back in.
If you’re making place cards or anything you need multiples of with different names, Canva has a bulk create feature but I think it’s only on Pro. For free accounts, you’ll have to manually duplicate and edit each one which is tedious but doable if you’re only making like 50.
The Canva app on your phone is surprisingly functional. I’ve edited wedding templates from my phone while sitting in a waiting room or whatever. It’s not as precise as the desktop version but it works in a pinch.
What to Do With Your Downloaded Files
Once you’ve downloaded everything, organize your files properly. I create a folder structure like “Wedding Stationery” with subfolders for “Invitations,” “Programs,” “Thank Yous,” etc. Name your files something clear like “SaveTheDate_Final_PrintVersion.pdf” so you know exactly what you’re looking at.
Keep the high-resolution versions even after you print. You might need them later for reprints if you messed up the count or if Aunt Carol never got hers in the mail or whatever.
If you’re sending files to a professional printer, ask them what format they prefer. Most want PDF Print, but some have specific requirements about color profiles or file setup. Just ask before you send stuff over.
The Reality Check Part
Canva wedding templates are great for DIY-ing your stationery on a budget, but they’re not gonna look exactly like those $15-per-invitation custom designs from a professional stationer. And that’s okay. They’ll look good, they’ll be personal, and you’ll save a ton of money. But if you’re expecting them to look like they came from a high-end boutique… maybe adjust expectations a bit or be prepared to spend a lot of time customizing.
Also, DIY takes time. Like, more time than you think. If you’re already stressed about wedding planning and you have the budget to hire someone, maybe that’s worth considering. But if you enjoy this kind of thing or you’re crafty or you just really wanna save that money for the honeymoon, go for it. Just don’t start designing your invitations the week before they need to go out because you’ll hate yourself.
I think the biggest advantage of Canva is the flexibility. You can try out different styles, change things easily, and you’re not locked into one design until you actually print or send. That’s huge when you’re making decisions about something that represents your wedding aesthetic. Plus you can coordinate all your paper goods to match which looks really pulled-together when everything from the invitation to the program to the thank you card has the same vibe and colors