Planning Guides, Style Guide
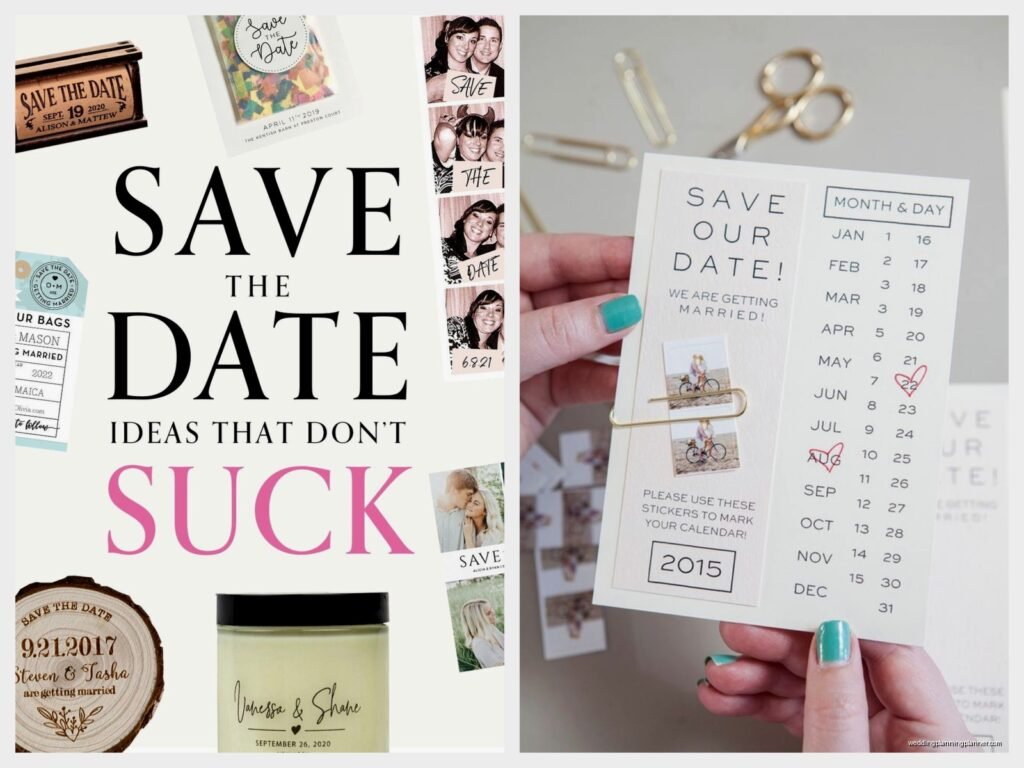
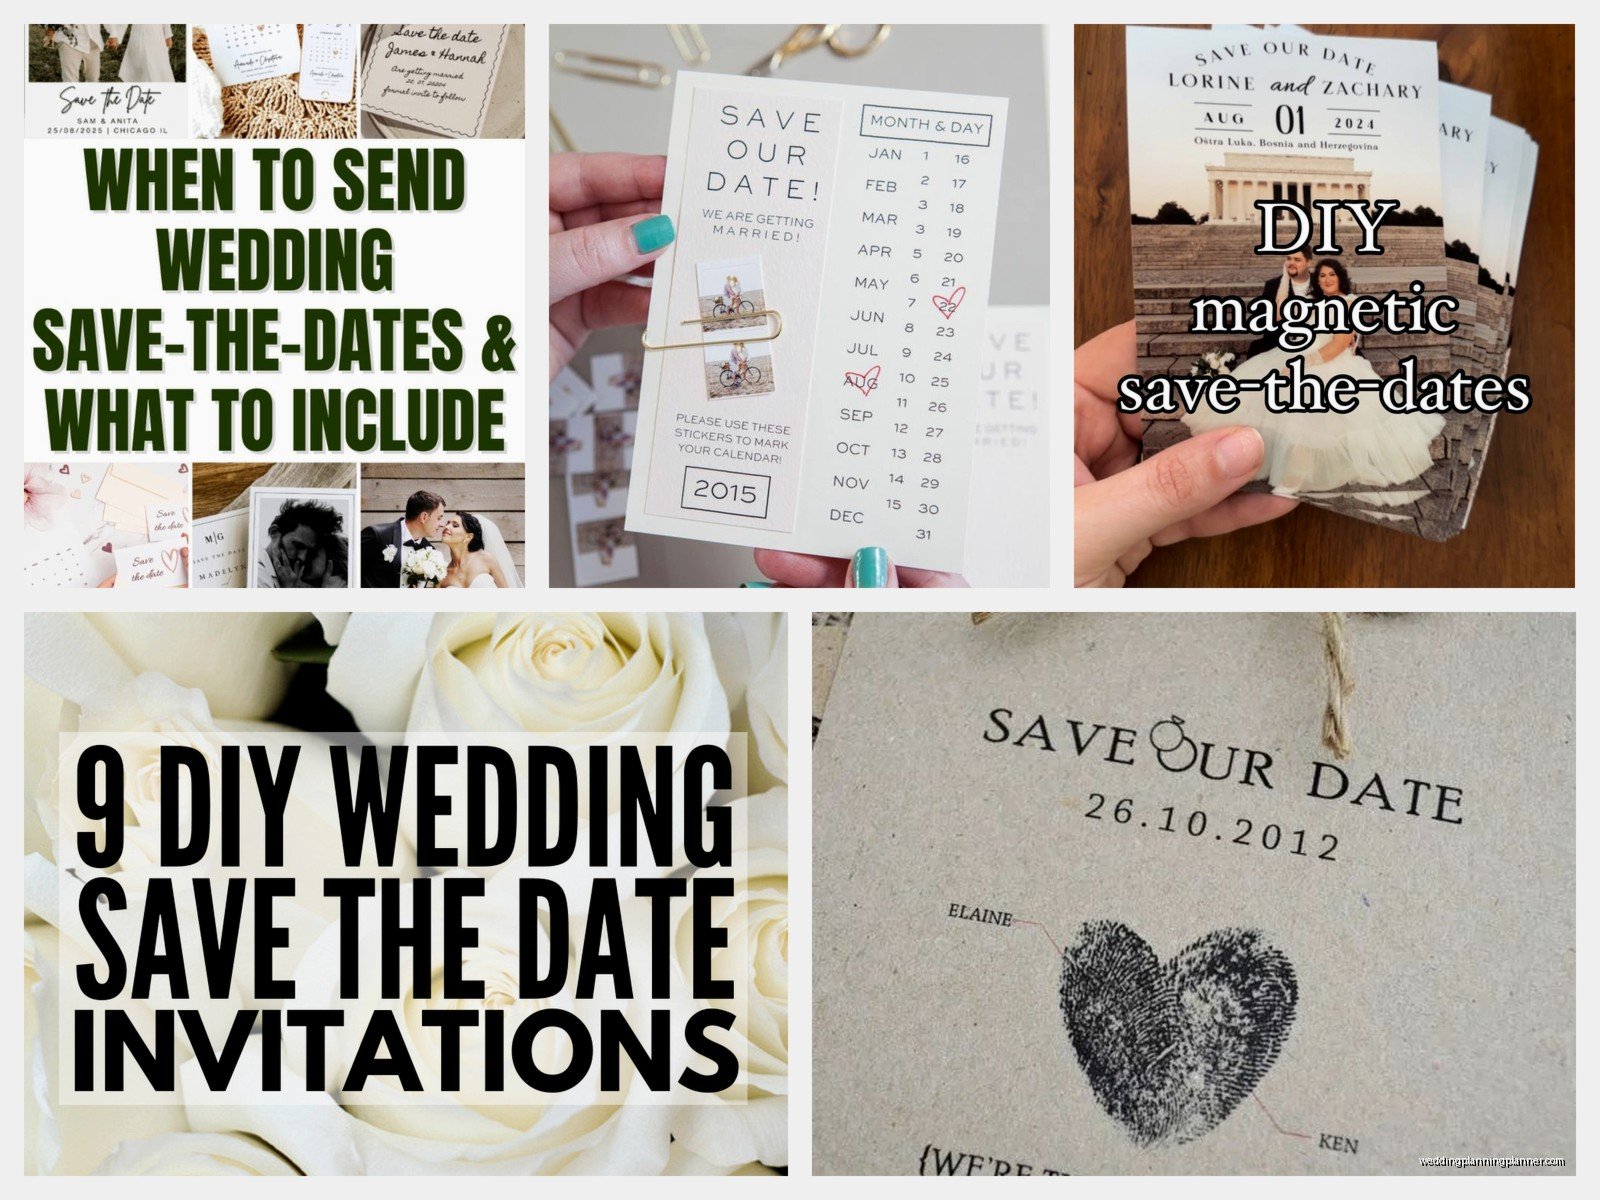
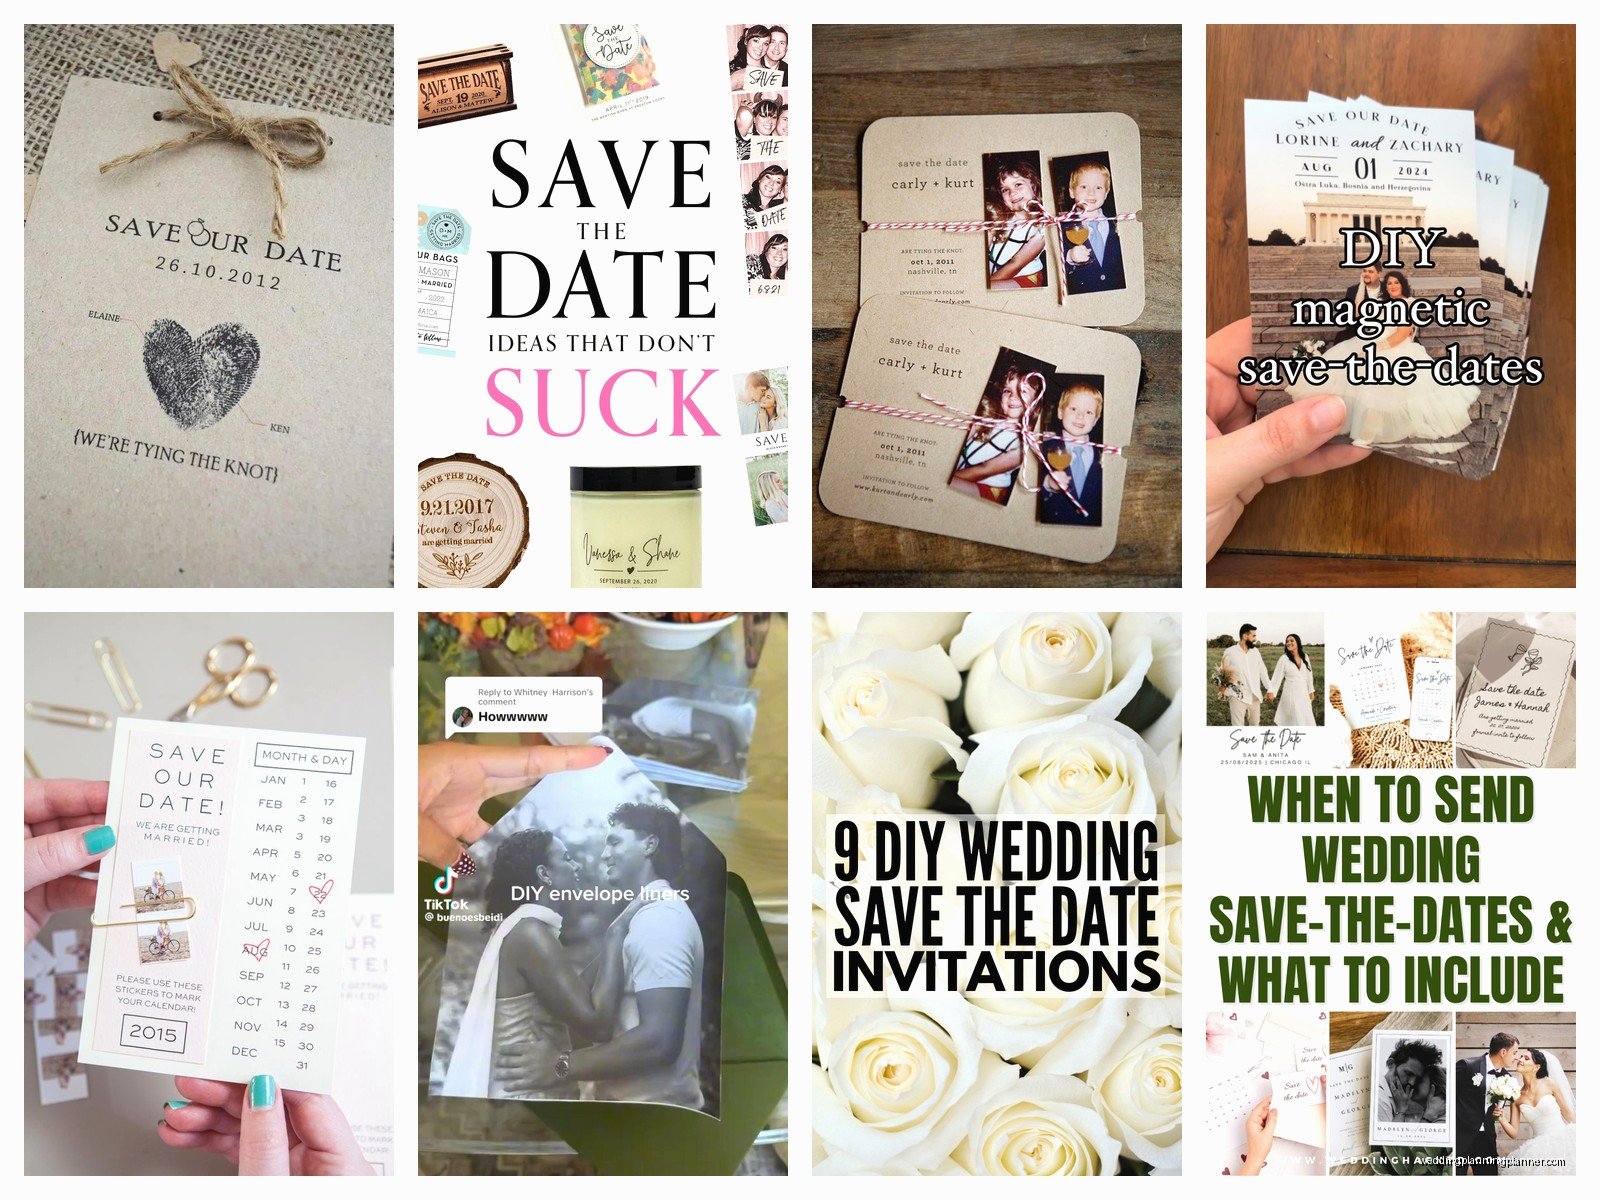
DIY Save the Dates: Handmade Announcement Tutorial
Mar
Getting Your Materials Together First
So the biggest mistake I see people make is jumping straight into designing without actually touching the paper first. Like in spring 2023 I had this couple who ordered all these supplies online and when everything arrived the cardstock was completely wrong for what they wanted to do with stamps and they had to reorder everything. Cost them an extra two weeks and like $80.
You’re gonna need cardstock as your base. I usually go with 5×7 inches because it fits standard envelopes and doesn’t require extra postage. Get 110lb cardstock minimum—anything lighter feels cheap and will curl if you’re doing any wet techniques. You can find good packs at craft stores but honestly I order from Paper Source or even Amazon when I’m lazy.
For the actual announcement part you need to decide if you’re printing or handwriting. Most people do a combo. You’ll want a printer that can handle cardstock if you’re going that route, and let me tell you, not all printers can. I killed my old HP trying to force thick paper through it and had to explain to my husband why we needed a new printer right before the holidays.
Other supplies depend on your style but here’s what I keep stocked:
- Rubber stamps or clear stamps with an acrylic block
- Ink pads in your wedding colors (Versafine is great for detail)
- Embossing powder if you want that raised effect
- Heat gun for embossing—don’t use your hair dryer it doesn’t get hot enough
- Bone folder for creasing
- Paper trimmer with a scoring blade
- Adhesive runner or double-sided tape
- Envelopes that actually fit your cards
- Washi tape, twine, or ribbon for embellishments
Design Layout Options That Actually Work
Okay so you need to figure out what information goes on these things. At minimum you need your names, wedding date, location (city/state is fine), and some indication that a formal invitation will follow. I get so annoyed when people try to cram their entire wedding website URL in huge letters across the front—like that’s what the back is for or you can include a separate details card.
Here are layouts that I’ve done a million times:
The Classic Centered: Everything stacked in the middle, lots of white space. This works if you have a monogram or simple graphic at the top. Names in the biggest font, date below, location below that, “invitation to follow” or “save the date” at the bottom in smaller text.
The Postcard Style: Treat the front like a postcard with a photo or illustration taking up most of the space, then put text overlay on it. Back has your details and space for address/stamp. This is probably the easiest for beginners honestly.
The Split Design: Divide your card vertically or horizontally. One section has decorative elements, the other has text. I like this because you can go heavy on the decoration without overwhelming the information.
The Belly Band: You create a card and then wrap a band around the middle with the date on it. Sounds complicated but it’s just a strip of paper you wrap around and secure. Adds dimension.
Actually Making Them Step By Step
Alright so let’s say you’re doing a stamped design with printed text because that’s what most people end up doing. First thing is you gotta test everything. And I mean everything. Print one card, stamp on it, see how it looks. The amount of times I’ve watched people print 100 cards and then realize the stamp bleeds on that paper type… it’s a lot.
Start by designing your text layout in whatever program you’re comfortable with. I use Canva because it’s easy and has tons of fonts, but Word works fine too. Set up your document to match your card size with margins. Print alignment is gonna be your enemy here so do test prints on regular paper first to make sure everything’s positioned right.
Once you’ve got your layout figured out, print on your cardstock. Let the ink dry for like 10 minutes at least. I usually print all of mine and let them sit overnight because I’m paranoid about smudging, but you don’t have to wait that long probably.
Adding Stamped Elements
This is where it gets fun but also where you can mess up real quick. Set up a little assembly line situation. I usually work at my dining table with my cat trying to sit on everything which is super helpful obviously.
Press your stamp into the ink pad evenly. Don’t like mash it, just press firmly. Then position it on your card and press down evenly again without rocking it. The rocking thing is what makes stamps look blurry. Lift straight up.
If you’re doing embossing (which looks really professional), you gotta work fast. Stamp with embossing ink, pour embossing powder over it immediately, tap off the excess, then heat it with your heat gun until it melts and gets shiny. It takes like 30 seconds once you get the rhythm down. Pro tip: do this over a paper plate so you can fold it and pour the excess powder back into the container.
I did stamps on like 150 save the dates one weekend in summer 2021 and my hand cramped so bad I couldn’t hold a pen for two days so maybe… pace yourself or get someone to help you.
Adding Layers and Texture
If you want your save the dates to look more expensive, layers are your friend. Cut a slightly smaller piece of contrasting cardstock or patterned paper and mount your printed piece on top of it. Even just a quarter inch border makes a huge difference.
Use your adhesive runner or double-sided tape for this. Glue sticks are terrible and will make your paper warp. I learned this the hard way and had to remake 40 invitations for a client because I thought I could save money with glue sticks. Nah.
You can also add:
- A small piece of lace or fabric in one corner
- Twine wrapped around with a tag
- Washi tape along one edge
- A small dried flower tucked into a corner
- A wax seal if you’re feeling fancy
Just don’t go overboard. I see people add like seven different elements and it starts looking like a Pinterest board exploded. Pick one or two accent pieces max.
The Assembly Line Method
Here’s what I tell everyone: you cannot make these one at a time start to finish. You will lose your mind. Set up stations and do each step for all cards before moving to the next step.
Station 1: Print all cards or cut all your base cardstock to size
Station 2: Add stamps or decorative elements to all cards
Station 3: Attach any layers or embellishments to all cards
Station 4: Address all envelopes
Station 5: Insert cards and seal envelopes
This method is so much faster and also helps you catch mistakes before you’ve done all of them. Like if your stamp is positioned weird on the first one, you’ll notice before you’ve stamped all 80.
Get a friend to help if you can. Put on a show in the background—I rewatched all of Schitt’s Creek while doing a huge batch of invitations once and it made the time go so much faster. Just don’t watch anything too engaging or you’ll mess up your spacing.
Envelope Addressing Without Dying Inside
So you’ve made beautiful save the dates and now you need to address envelopes and this is where a lot of people give up and just print labels. Which is fine! But if you want them to look handmade, you gotta address them by hand.
I can’t do calligraphy to save my life so I just use a nice pen and print neatly. Get a Pigma Micron pen or a Tombow Fudenosuke brush pen if you want your writing to look fancier without actually learning calligraphy. Practice on scratch paper first to get your spacing right.
Use a light pencil to draw guidelines inside the envelope if you need them. You can erase them after or just leave them since they’re inside. Address format is:
Guest names on line 1
Street address on line 2
City, State ZIP on line 3
Return address goes on the back flap or upper left corner depending on your preference. I like back flap because it looks cleaner but it’s harder to write on the curved surface so… pick your battle.
Postage Considerations
This is the thing that annoys me most actually—people spend hours making beautiful save the dates and then slap a regular flag stamp on them. Get pretty stamps! The post office has so many nice options or you can order custom stamps online with your photo on them.
Weigh your finished save the date with the envelope before you buy stamps. If you’ve added layers or embellishments you might need extra postage. Take one to the post office and have them weigh it. Nothing worse than having 50 save the dates returned for insufficient postage.
Also those wax seals everyone loves? They usually require hand-canceling at the post office which means you gotta take them to the counter instead of just dropping them in a mailbox. And it might cost extra. Just FYI.
Time Management Reality Check
People always ask me how long this takes and I’m gonna be real with you—longer than you think. For 100 save the dates with moderate embellishment (printed text plus stamping plus envelope addressing), you’re looking at:
- Design and testing: 2-3 hours
- Printing: 1 hour including setup and troubleshooting
- Stamping/embellishing: 3-4 hours
- Assembly: 1-2 hours
- Envelope addressing: 4-5 hours (this is the longest part)
- Stuffing and sealing: 1 hour
So like 12-16 hours total for 100 pieces. Spread this over several days or weekends. Don’t try to do it all in one sitting unless you enjoy hand cramps and existential dread.
Common Problems and Quick Fixes
Stamps coming out blotchy: You’re either pressing too hard or not hard enough, or your paper is too textured. Try smoother cardstock or a different ink.
Printer jamming on cardstock: Feed one sheet at a time and make sure you’ve selected the right paper type in your printer settings. Some printers have a rear feed tray that works better for thick paper.
Embossing powder sticking where it shouldn’t: Use an anti-static bag or dryer sheet to wipe your paper before stamping. Static makes the powder stick everywhere.
Running out of supplies mid-project: Always buy 20% more than you need. You will mess some up, it’s just gonna happen.
Text printing off-center: Your paper might be feeding crooked. Adjust the paper guides in your tray and do another test print.
Budget Breakdown
Since people always want to know if DIY actually saves money, here’s what you’re looking at for 100 save the dates:
- Cardstock: $20-30
- Envelopes: $15-25
- Stamps and ink: $20-40 (but you’ll use them for other projects)
- Embellishments: $10-30
- Postage: $60-100 depending on weight
Total: roughly $125-225 for supplies plus your time. Ordering basic save the dates online usually runs $100-200 for 100, so you’re not saving a ton of money honestly. The value is in having something totally custom and handmade. And also in the stress of making them yourself which is… well it’s a trade-off.
Variations Worth Trying
If the standard card format feels boring there are other options that are still manageable for DIY. Magnets are actually easier than you’d think—you just print on magnetic sheets instead of cardstock and cut them out. People love them because they stick them on their fridge and actually remember your date.
Postcards save you money on envelopes and postage. Design one side with your photo or graphics, other side has the text and address space. You can order blank postcards or make them from heavy cardstock.
Bookmarks are cute if you’re both readers or having a library wedding or something. Long narrow format, maybe add a ribbon at the top. Less conventional but memorable.
Photo cards where your picture is the main focus and text is minimal. These work great if you have good engagement photos. You can print these at home if you have a good photo printer or order prints and just add text with a stamp or sticker.