Planning Guides, Style Guide
Print Save the Date Cards: DIY Home Printing Guide
Mar
Getting Your Printer Ready and Choosing the Right Paper
Okay so first thing you gotta do is figure out if your home printer can actually handle this because not all printers are created equal and I learned this the hard way in spring 2023 when a bride called me panicking because her save the dates looked like a watercolor disaster. She’d used an inkjet printer with regular copy paper and humidity was like 80% that week.
If you’ve got an inkjet printer, you need to check the DPI settings—aim for at least 300 DPI, preferably higher. Laser printers are honestly better for cardstock but they’re pricier upfront. I’ve used both and laser gives you that crisp professional look without smudging, but inkjet can work if you’re careful about paper choice and drying time.
For paper, this is where people mess up constantly. You can’t just grab any cardstock from the store. Check your printer’s manual for the maximum paper weight it can handle—most home printers max out around 80lb to 110lb cardstock. I usually tell people to stay around 80lb cover stock because it feeds through easier and you’re less likely to get jams every third card which is… incredibly annoying when you’re printing 150 save the dates on a Sunday afternoon.
The paper finish matters too. Matte cardstock works with both inkjet and laser, but glossy or pearl finishes can be tricky with inkjet because the ink sits on top instead of absorbing and you’ll get smears if you touch them too soon.
Designing Your Save the Dates
You’ve got options here—Canva, Adobe Illustrator, even Microsoft Word if you’re feeling basic about it. Canva’s honestly the easiest for most people because the templates are already sized correctly and you don’t need design experience. Just make sure you’re working with the actual dimensions of your cardstock, not just guessing.
Standard save the date sizes are 5×7 inches or 4×6 inches. The 5×7 feels more formal and wedding-y, while 4×6 is cheaper to mail because it’s postcard size. I always design with bleed in mind—that’s the extra 0.125 inches around the edges in case your printer doesn’t align perfectly. Nothing’s worse than a white border on one side and text getting cut off on the other.
Keep important text at least 0.25 inches away from the edges. Your printer has something called a non-printable area and if you put text too close to the edge it’ll just… disappear. Or get cut off. Trust me on this.
Color-wise, remember that what you see on screen won’t match what prints exactly. Screens use RGB color but printers use CMYK, so that bright coral you love might print more like salmon. Do a test print before you commit to printing all of them, and I mean this seriously because I’ve seen people waste entire paper packs.
Design Elements That Print Well at Home
Solid colors and clean fonts work best. Super thin script fonts can look gorgeous on screen but print all blobby and unreadable, especially with inkjet printers. Stick with fonts that have a bit of weight to them.
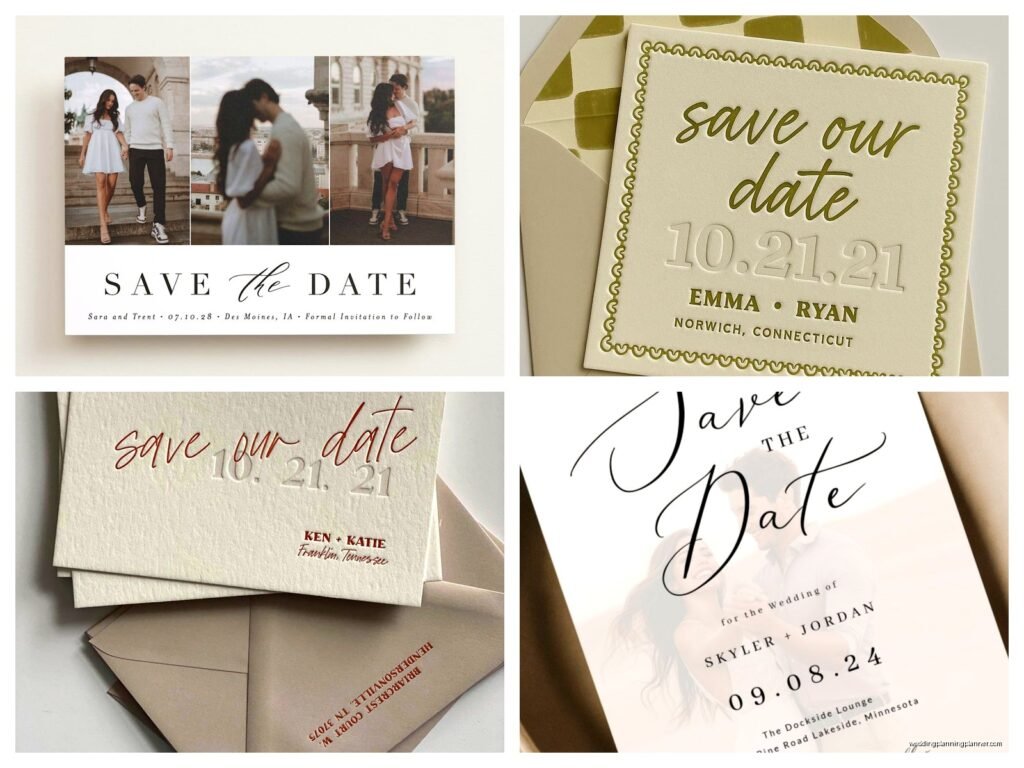
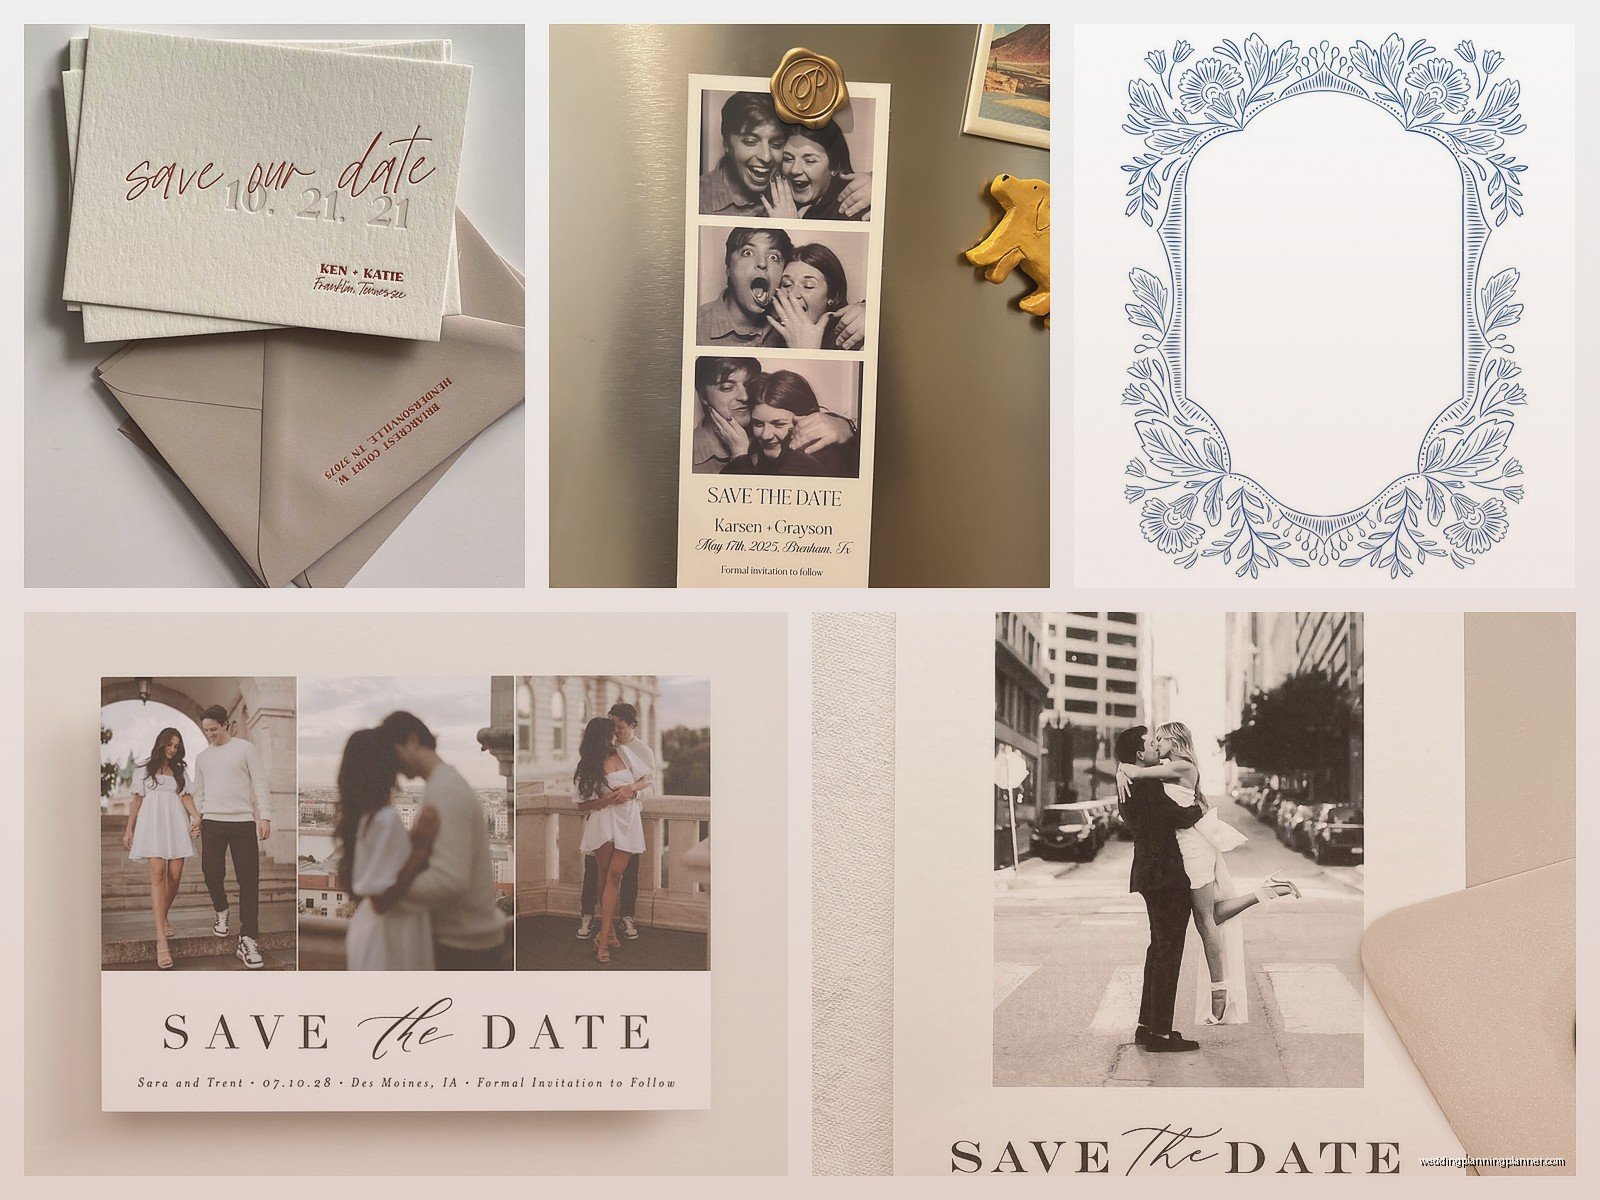
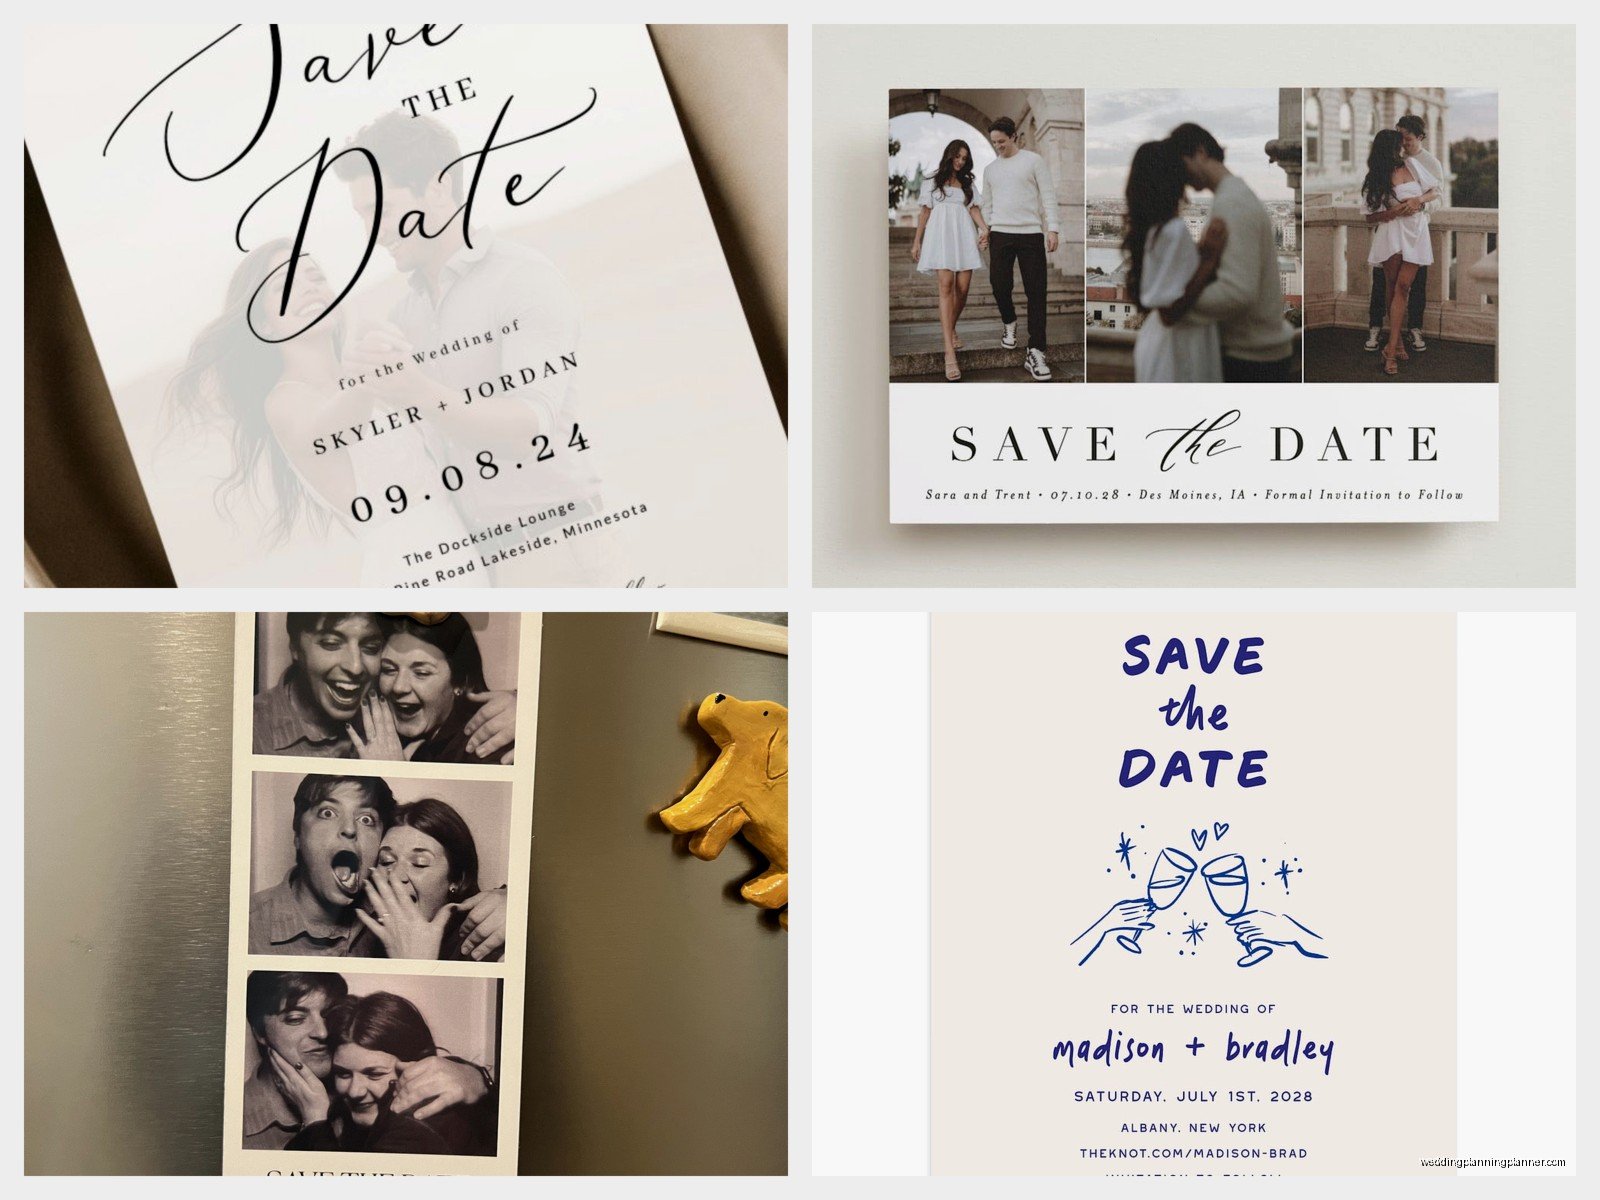
Photos are fine but they eat up ink like crazy. If you’re doing a photo save the date, consider making it black and white or sepia tone to save on color ink. Also photos need to be high resolution—at least 300 DPI at the size you’re printing them or they’ll look pixelated and grainy.
Actually Printing These Things
Alright so you’ve got your design ready and your paper loaded. Before you print all 100 cards, print ONE test card on regular paper first. Check the alignment, the colors, the spacing. Then print one on your actual cardstock. I cannot stress this enough because cardstock is expensive and wasting even 10 sheets adds up.
Load your cardstock into the printer correctly—most printers have a specific way they want paper fed. Usually print side down for top-loading trays, print side up for rear-feed trays. Check your printer manual or you’re gonna have blank cards and a lot of regret.
Print in small batches, maybe 10-20 at a time. This prevents jamming and lets you catch any issues early. My cat jumped on my printer once during a batch job and shifted something, and I didn’t notice until I’d printed 30 crooked cards, so… yeah. Small batches.
Settings That Actually Matter
In your print dialog box, select the paper type correctly—choose cardstock or heavyweight paper, not plain paper. This adjusts how much ink the printer uses and how it feeds the paper. Use the highest quality print setting available even though it’s slower because you want these to look good.
For inkjet printers, turn off any “fast draft” modes. For laser printers, make sure the fuser temperature is appropriate for cardstock—some printers let you adjust this in advanced settings.
If you’re printing double-sided (which I don’t usually recommend for save the dates but some people do it), let the first side dry completely before flipping and printing the second side. With inkjet this means waiting at least 15-20 minutes, sometimes longer depending on humidity.
The Drying and Handling Process
This part is kinda boring but necessary. After printing, lay each card flat to dry. Don’t stack them immediately or they’ll stick together or transfer ink between cards. I use a folding table and just spread them out, which takes up my entire dining room but whatever.
Inkjet prints need at least 30 minutes to fully dry, sometimes an hour if you’ve got heavy ink coverage. Laser prints are basically dry immediately but they’re hot when they come out so let them cool for a minute.
The thing that annoyed me most when I started helping clients with DIY printing was how many people would rush this step and then wonder why their cards looked smudged or had fingerprints all over them. Patience isn’t exciting but it’s necessary here.
Cutting and Trimming
If you’re printing multiple cards per sheet to save money—like printing two 5×7 cards on an 8.5×11 sheet—you’ll need to cut them. A paper trimmer with a ruler guide is essential. Those little scissors aren’t gonna cut it, literally and figuratively.
I use a 12-inch paper trimmer that I got for like $25 and it’s been worth every penny. Mark your cut lines lightly with pencil first if you’re nervous about measuring. Cut slowly and carefully because cardstock can shift.
Some people use a craft knife and metal ruler, which works but takes forever and your hand will cramp. Been there during wedding season when I was helping three different brides print their own stuff because they were all on tight budgets.
Dealing With Common Printing Problems
Paper jams are gonna happen, just accept it now. When they do, don’t yank the paper out aggressively. Open the printer properly and remove the jammed sheet carefully or you’ll end up with torn paper stuck inside that’s even harder to remove.
If your prints look faded, you probably need new ink or toner cartridges. Check your levels before starting a big print job because running out halfway through is… well, it’s a special kind of frustration.
Banding or lines across your print usually means your print heads need cleaning. Most printers have an automatic cleaning cycle you can run from the settings menu. Run it once, print a test page, run it again if needed.
Colors looking wrong? Make sure you’re using the right color profile and that your design is in CMYK mode, not RGB. Also check that you’re not using “economy” or “ink saving” mode because that reduces color saturation.
When Your Printer Just Won’t Cooperate
Sometimes printers are just temperamental, like that one Canon printer I had that decided it hated cardstock over 90lb for no apparent reason. If you’re having consistent issues, try a different paper brand or weight. Some printers are pickier than others about paper texture and thickness.
Make sure your printer drivers are updated too because outdated drivers can cause weird printing issues that don’t make any sense until you update and suddenly everything works fine.
Envelopes and Assembly
You can print addresses directly on envelopes but it’s trickier than printing cards. Envelopes are thicker and shaped differently so they jam more easily. I honestly recommend printing on labels and sticking them on envelopes or doing calligraphy by hand if you’ve got nice handwriting.
If you do print on envelopes, load them one at a time and use the rear feed tray if your printer has one. Set the paper type to “envelope” in your print settings.
For assembly, keep it simple. Your save the dates don’t need ribbons and wax seals and seventeen layers of vellum. A nice cardstock save the date in an envelope is perfectly fine and actually gets mailed more reliably because it’s not lumpy or oversized.
How Much This Actually Costs
Let’s talk money because that’s usually why people want to DIY in the first place. Cardstock runs about $15-30 for 50 sheets depending on quality. Ink cartridges are maybe $40-60 for a set, and you’ll probably go through one set for every 80-100 cards depending on your design.
So for 100 save the dates you’re looking at roughly $60-90 total, plus envelopes which are another $15-20. Compare that to ordering from a print shop at $150-300 for the same quantity, and yeah, you’re saving money. But you’re also spending several hours of your time printing, trimming, and assembling.
Whether it’s worth it depends on how much you value your time and how crafty you are. Some people find it meditative and enjoyable, other people want to throw their printer out the window by card number 40.
Timing and Planning
Don’t wait until the last minute to print these. Give yourself at least two weeks before you need to mail them because problems will happen. Your printer will jam, you’ll run out of ink at 9pm on a Sunday, your design will need tweaking after you see the first print.
Save the dates should go out 6-8 months before your wedding, or 8-12 months if it’s a destination wedding. Factor in printing time, assembly time, and mailing time when you’re planning your timeline.
I usually block out a whole weekend for a printing project—Saturday for test prints and starting the batch, Sunday for finishing up and assembly. Trying to cram it all into one evening is a recipe for stress and mistakes or maybe that’s just me but I doubt it.
Storing Your Finished Cards
Once everything’s printed and dry, store your finished save the dates flat in a box or large envelope. Don’t rubber band them or the corners will bend. Keep them somewhere climate controlled because humidity can make cardstock warp and extreme dryness can make it brittle.
If you’re not mailing them right away, keep them away from direct sunlight because inkjet prints especially can fade over time with sun exposure. Just stack them neatly in a box and forget about them until you’re ready to address and mail.