Planning Guides, Style Guide
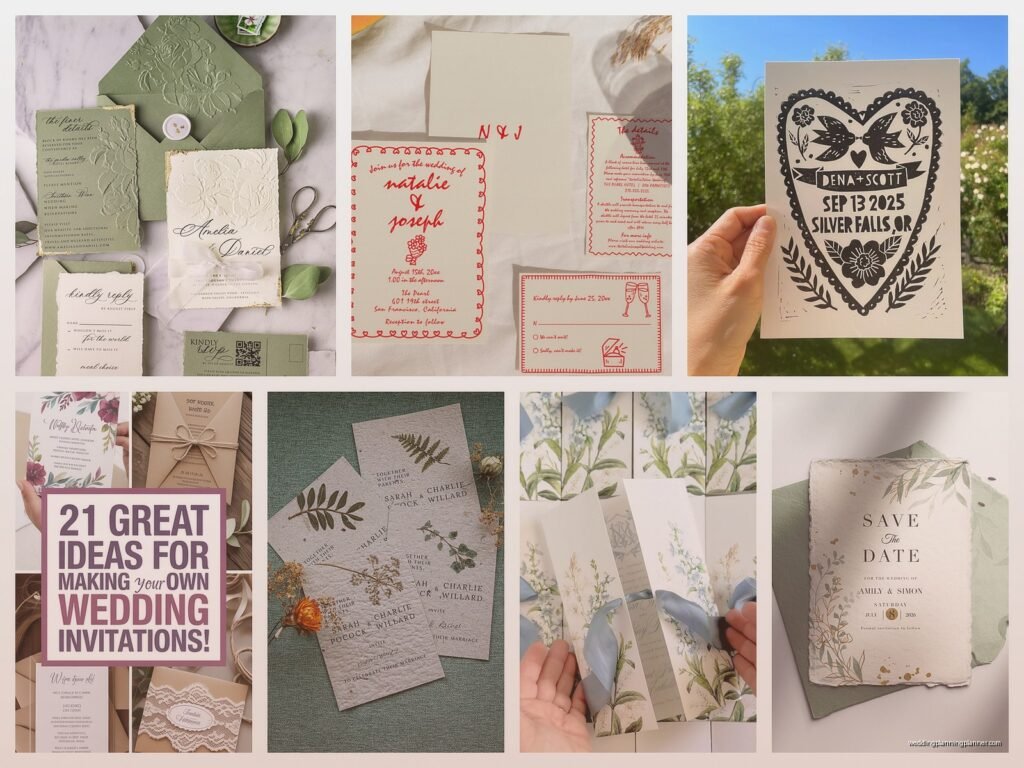
Handmade Wedding Invitations: DIY Craft Tutorial Guide
Mar
So You Wanna Make Your Own Wedding Invitations
Okay look, handmade invitations are absolutely doable but they’re also way more time-consuming than anyone thinks at first. I had this couple in spring 2023 who insisted they’d knock out 150 invitations in two weekends and I just… I didn’t have the heart to tell them they were delusional. Spoiler: it took them six weeks and they were texting me at midnight asking if hot glue would ruin cardstock.
First thing you gotta figure out is your actual design concept. Don’t just start buying supplies because the floral paper looked pretty at the craft store. Trust me on this. Sit down and sketch out what you want—even if it’s just stick figures and rectangles. Think about your wedding theme, your colors, whether you want formal or casual vibes. I always tell people to look at their venue photos first because that usually clarifies things real quick.
Materials You’ll Actually Need
The supply list depends on your design but here’s the basic stuff:
- Cardstock in your main color (100lb or 110lb weight works best)
- Envelopes—buy these FIRST and design around the size, not the other way around
- A paper cutter or really good scissors and patience
- Adhesive (I prefer double-sided tape runners over glue sticks because less warping)
- Ruler and pencil
- Whatever decorative elements you want—ribbon, wax seals, dried flowers, whatever
One thing that annoyed me so much is when craft stores label cardstock as “invitation weight” but it’s actually like 65lb paper that feels flimsy and cheap. You want substantial cardstock. Go to an actual paper store if you can, or order samples online before committing to 200 sheets.
Printing Your Text
You’ve got options here. You can do full DIY and print at home, or you can have a print shop do the text portions and you assemble everything. Honestly? For more than like 50 invitations, I’d recommend the hybrid approach because home printers are gonna make you want to throw something.
If you’re printing at home, test print on regular paper first. Then test on your actual cardstock. Then test again. I cannot stress this enough—you will waste expensive paper if you don’t test. Make sure your printer can handle the cardstock weight. Most home printers max out around 80lb, some can do 110lb if you feed it through the manual tray.
For fonts, keep it readable. I know that super swirly calligraphy font looks romantic but your grandma shouldn’t need a magnifying glass to read when the ceremony starts. Mix a fancy font for names with a clean sans-serif for details.
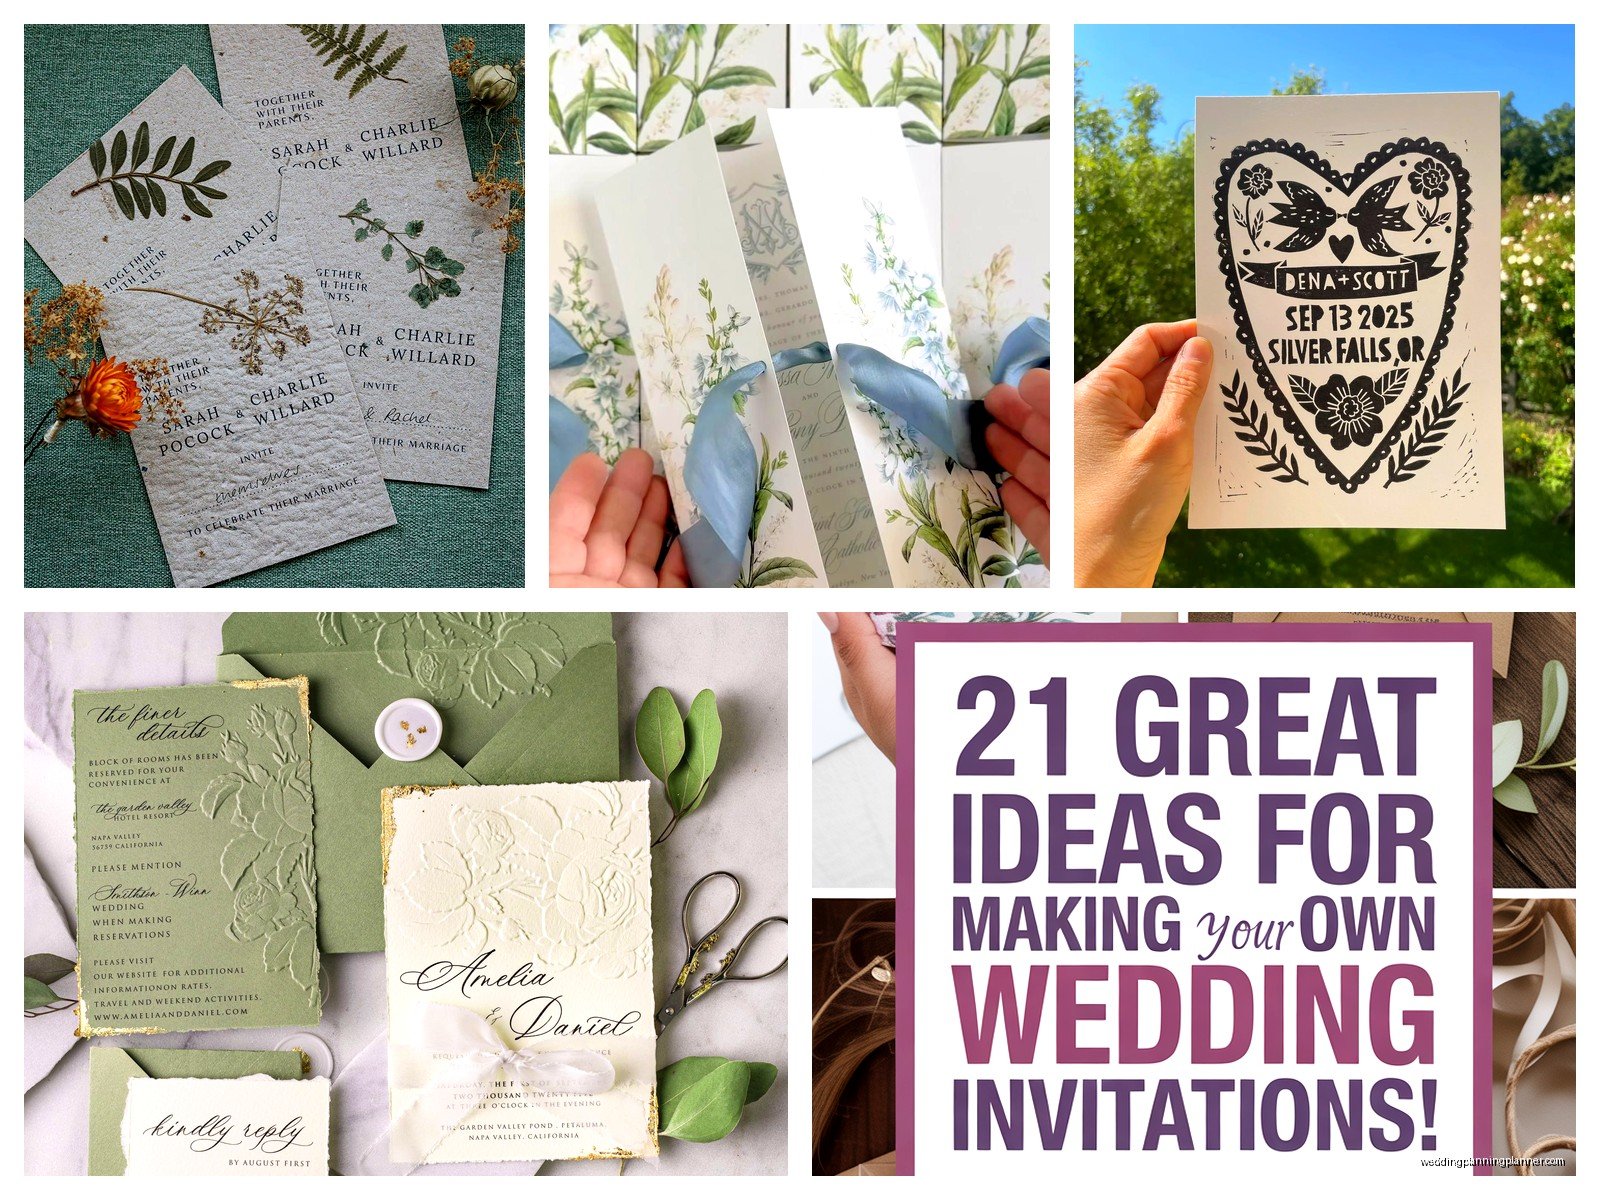
Basic Layered Invitation Design
This is like the most popular DIY style and it’s pretty forgiving for beginners. You’re basically stacking different sized pieces of cardstock to create dimension.
Here’s a standard setup:
- Bottom layer (backing): 5×7 inches in your accent color
- Middle layer: 4.75×6.75 inches in white or cream with your printed text
- Optional top layer: A belly band, ribbon, or decorative element
Cut all your pieces first. Like, all of them. Production line style. Don’t cut one invitation, assemble it, then cut the next. You’ll be there forever and they won’t look consistent. Set up a workspace where you can spread out—I took over my entire dining room table for three weeks once and my cat kept sitting on the cardstock which was… not helpful.
Use your paper cutter to trim everything to size. Measure twice, cut once, all that stuff your dad probably told you about woodworking applies here too.
Assembly Process
This is where it gets real. Pour yourself some coffee or wine depending on time of day and put on a podcast or something because you’re gonna be here awhile.
Lay out all your bottom layer pieces. Then go through and add adhesive to each one—I do like 20 at a time. Then place your middle layer on all 20. Then move to the next batch. It’s more efficient than doing one complete invitation at a time, even though that seems like it would make more sense.
For ribbons, cut them all to the same length first. If you’re tying bows, good luck keeping them consistent—I usually cheat and use pre-made bows or make one perfect bow and then try to copy it over and over. If you’re doing a belly band (that’s the strip that wraps around the invitation), cut a piece of cardstock about 1.5 inches wide and long enough to wrap around with a small overlap. Secure with a glue dot on the back.
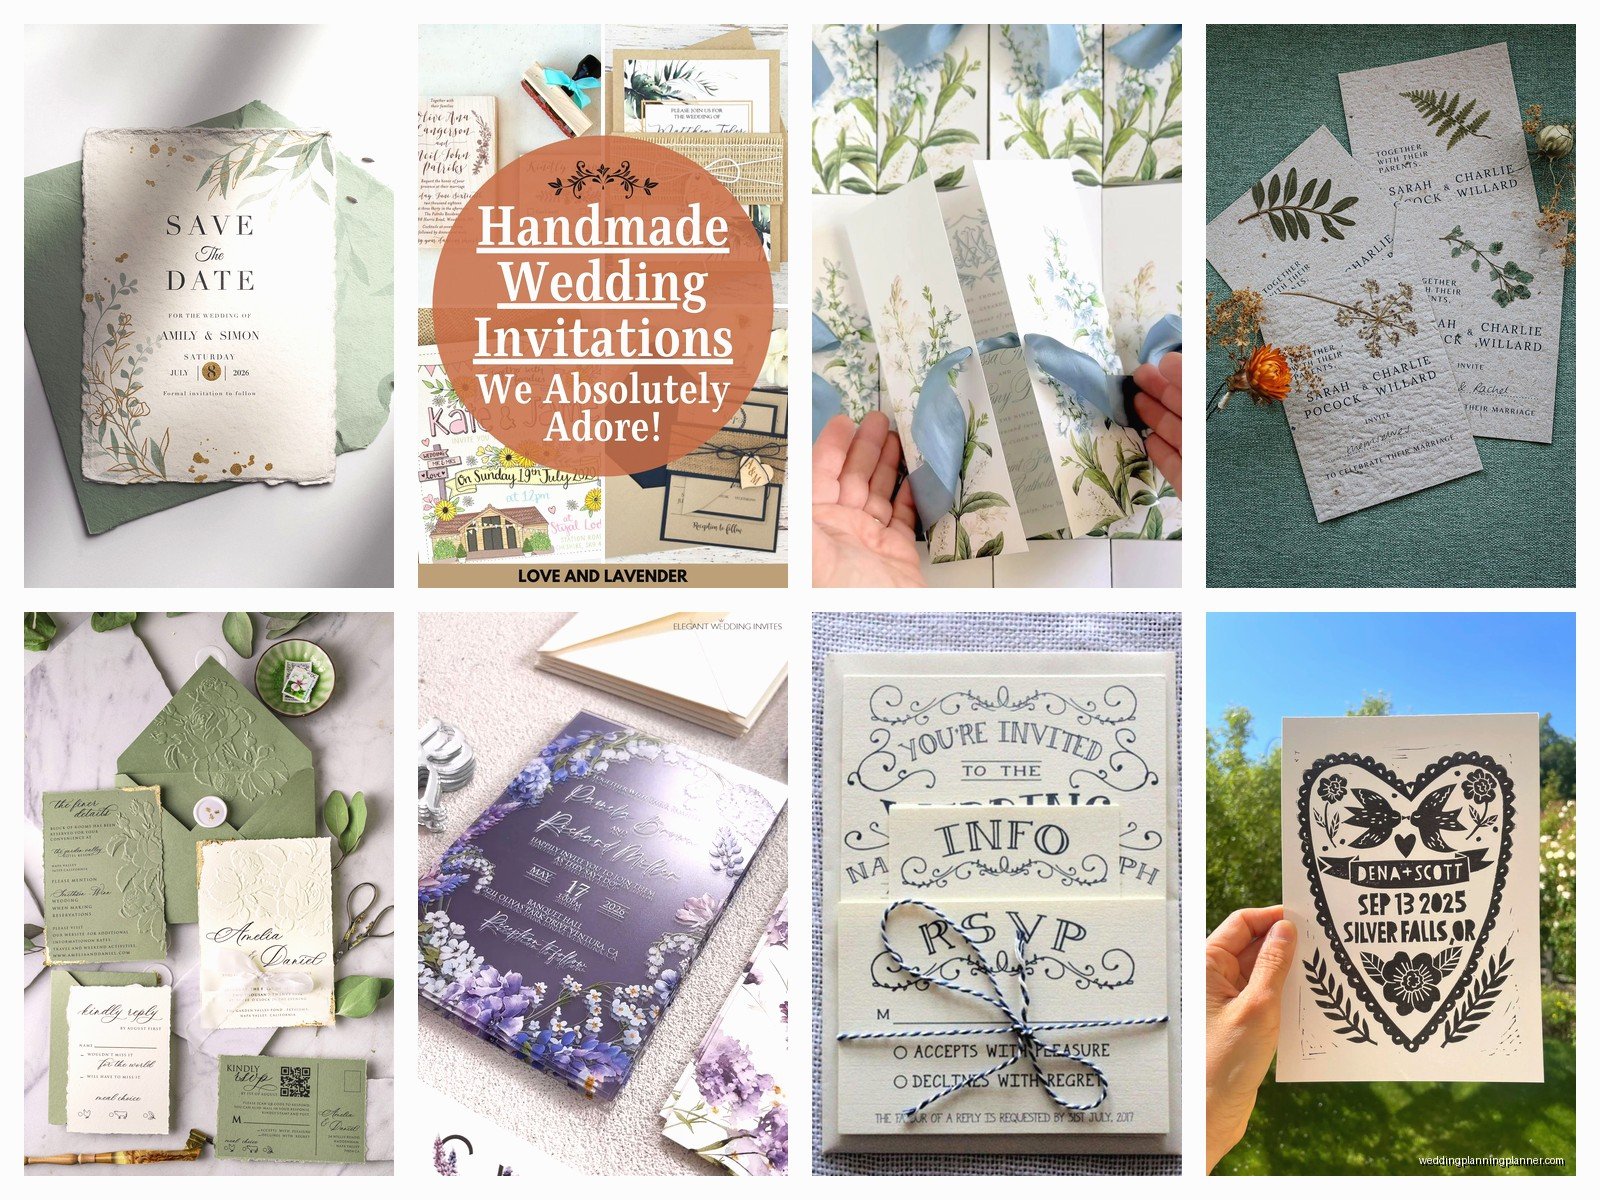
Wax Seals Are Cool But Also Annoying
Everyone wants wax seals right now because they look amazing on Instagram. In reality, they’re kinda messy and if you’re doing a lot of them, you’re gonna burn yourself at least once. Get a wax seal kit with a melting spoon, pick your color, and practice on scrap paper first.
The trick is getting the temperature right—too hot and it splatters, too cool and it doesn’t stick properly. I do about three seals, let the spoon reheat, do three more. Don’t rush it or you’ll end up with weird bubbly seals that look wonky.
Also heads up: wax seals can break in the mail and they add thickness which means extra postage. Bring a finished invitation to the post office and have them weigh it before you buy stamps for all of them.
Dried Flowers and Pressed Botanicals
These look gorgeous but you need to plan ahead because drying flowers takes time. You can buy pre-dried flowers online or press them yourself between book pages with parchment paper for like 2-3 weeks.
Attach them with tiny glue dots or a glue pen—don’t use too much adhesive or it’ll show through the petals. I usually place these as a final decorative touch on the top layer or tucked under a ribbon.
Envelope Addressing
You can hand-write these if your handwriting is decent, print labels, or hire a calligrapher. There’s also this middle ground where you print directly on envelopes if your printer can handle it—test this extensively because envelope feeding is where printers go to die.
If you’re hand-writing, get a good gel pen or calligraphy pen and practice your addressing style. Use a pencil ruler to draw light guidelines that you’ll erase later, or buy an envelope addressing template.
For return addresses, you can get a custom stamp made which is way faster than writing it 150 times. I got one made on Etsy for like $25 and used it for years.
Timing and Sanity Management
Start early. Like, way earlier than you think. If you need invitations ready to mail 8 weeks before your wedding, start the DIY process at least 12 weeks out. Maybe more if you’re doing something complicated or if you have a full-time job and can only craft on weekends.
Break it into stages:
- Week 1-2: Design and order supplies
- Week 3-4: Test prints and cutting all pieces
- Week 5-6: Assembly
- Week 7-8: Addressing and quality check
- Week 9: Mail them
Get friends to help with assembly if you can. Make it a crafting party—supply snacks and people will usually pitch in for a few hours. Just make sure you do a demo first so everyone’s doing it the same way or you’ll have inconsistent invitations.
Cost Reality Check
DIY doesn’t always mean cheaper, just so you know. Once you factor in cardstock, envelopes, printing costs, decorative elements, postage, and the supplies you’ll mess up or buy wrong… it can actually cost about the same as ordering semi-custom invitations online. The benefit is they’re truly unique and personal, but don’t go into this thinking you’re gonna save hundreds of dollars unless you’re doing a really simple design.
I price out both options for my clients and sometimes the DIY route is actually more expensive, especially when you factor in your time. But if you genuinely enjoy crafting and want that personal touch, it’s worth it.
Common Mistakes I See All The Time
Not ordering extra supplies—you will mess up some pieces, I promise. Order at least 10-20% more than you need.
Choosing white text on light backgrounds or vice versa—the contrast needs to be strong enough to read easily. Print a test and look at it from across the room.
Forgetting about postage—those embellishments add up weight-wise. Square envelopes also cost more to mail than rectangular ones because they can’t go through automated sorting.
Using regular printer paper for any part of the invitation—it looks cheap and feels cheap. Just don’t.
Not accounting for drying time if you’re using liquid glue or paint—you can’t stack wet invitations, so you need space to lay them out flat.
The Assembly Line Method
This is gonna save your sanity. Set up stations and do one task across all invitations before moving to the next task. So like:
Station 1: Cut all cardstock
Station 2: Apply adhesive to bottom layers
Station 3: Attach middle layers
Station 4: Add ribbons or belly bands
Station 5: Add final decorative elements
Station 6: Quality check and stuff envelopes
I learned this from watching a documentary about factory production or something, I can’t remember exactly, but it works so much better than doing one invitation start to finish.
Quality Control
Before you mail anything, lay out like 10 finished invitations and look at them together. They should look consistent—same alignment, same ribbon placement, same everything. If you notice you were doing the ribbon differently halfway through, you might need to fix some.
Check every envelope for the right invitation matching the right guest names. I had a couple send the wrong invitations to the wrong people once and it was a whole mess because some guests got plus-ones who shouldn’t have and others didn’t get plus-ones they should have had.
Make sure you’ve included all the pieces—the invitation, RSVP card, details card, whatever else you’re sending. Put together one complete set and use that as your template.
Postage Tips
Take a complete, finished invitation to the post office and have them weigh it and tell you exact postage. Don’t guess. Those pretty vintage stamps might not be enough postage and your invitations will get returned or delivered with postage due, which is embarrassing.
You can request hand-canceling at the post office for an extra fee—this means they won’t run your invitations through the sorting machine which can damage wax seals or other embellishments. You have to ask for this specifically and not all post offices will do it, so call ahead.
Consider buying custom or pretty stamps that match your theme—the post office has some nice options and you can also order vintage stamps online, just make sure they add up to the right postage amount.
When to Throw in the Towel
Real talk: if you’re three weeks in and you hate your life and you’ve only finished 20 invitations out of 150, it’s okay to pivot. You can simplify your design, get help, or just order the rest from a print shop. Your mental health is more important than handmade invitations, I promise.
I’ve had brides cry over invitation crafting and it’s just not worth it. If it’s not fun anymore—or if it was never fun and you just thought you should do it—give yourself permission to change the plan. Nobody at your wedding is gonna judge you for having printed invitations instead of handmade ones.