
Planning Guides, Style Guide
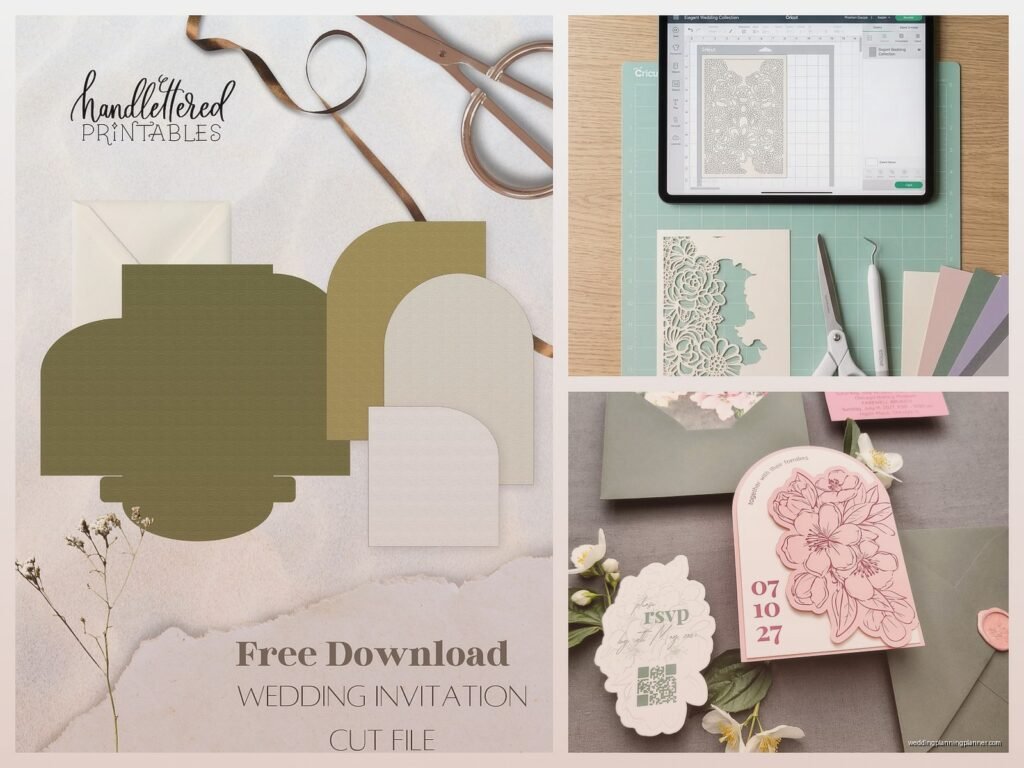
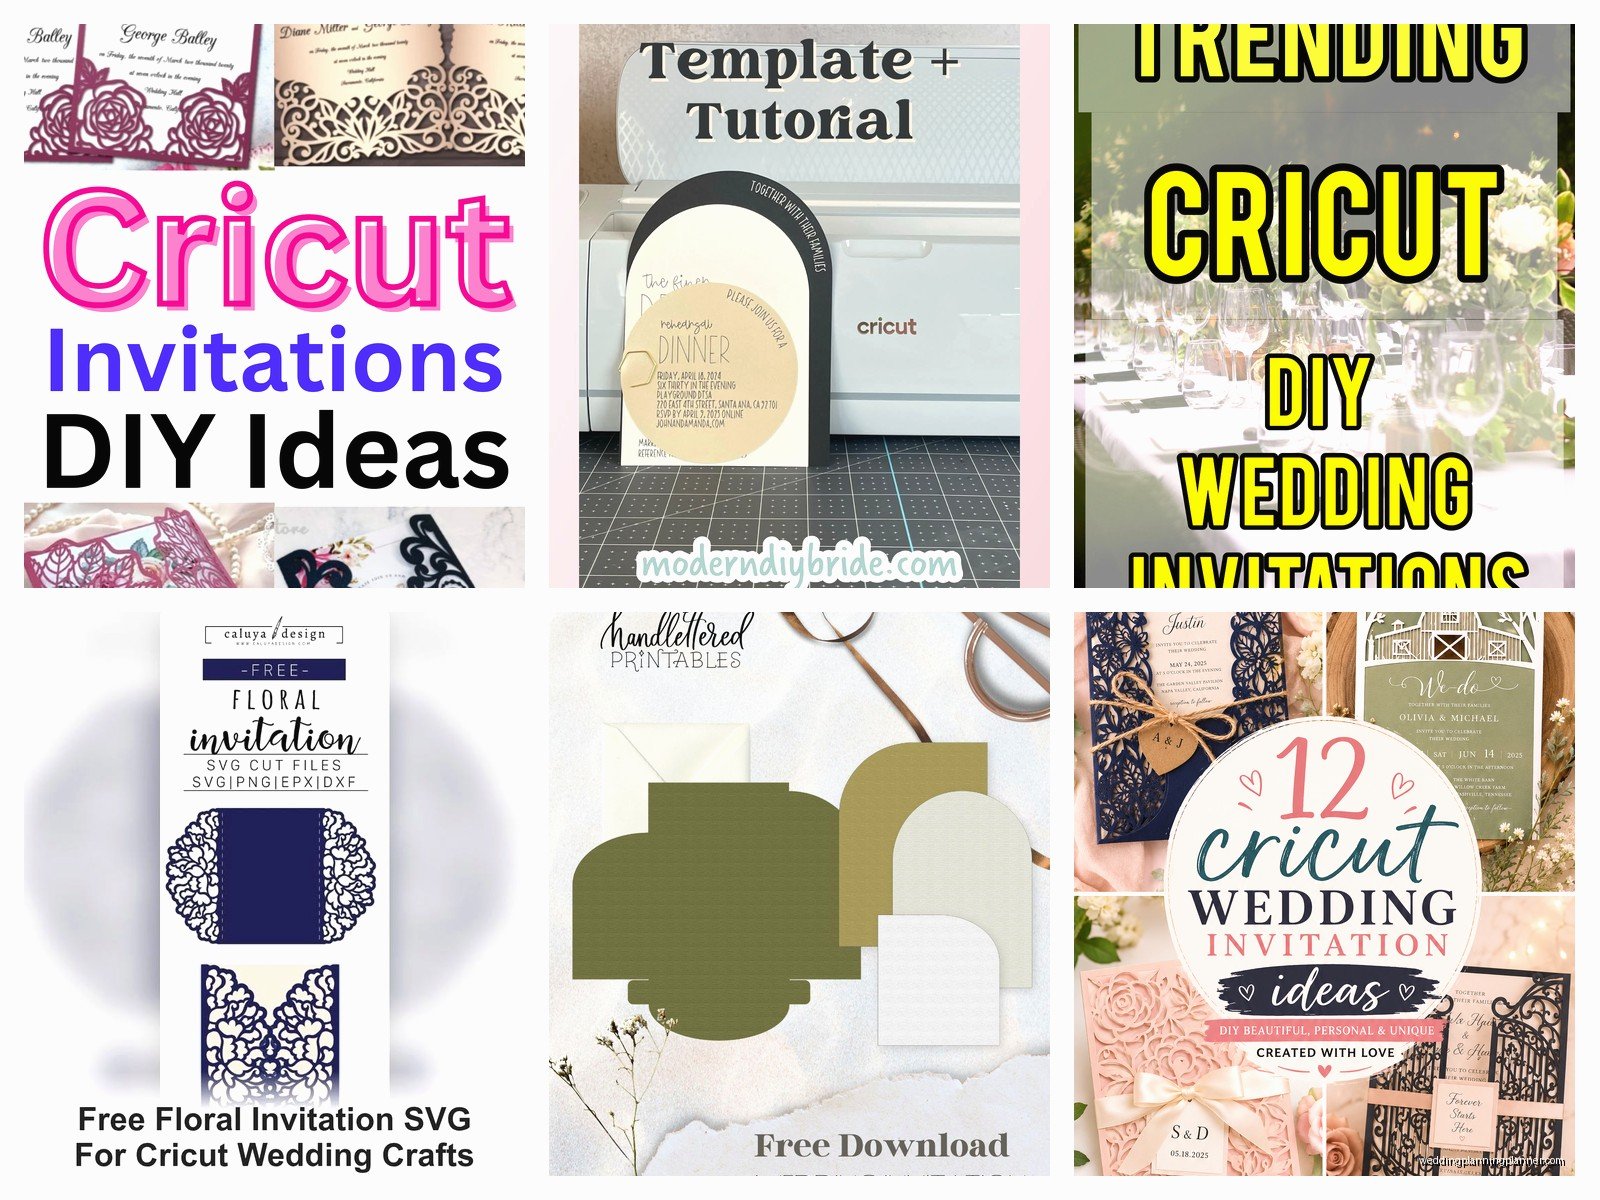
Cricut Wedding Invitation Templates: Free Download Files
Aug
Finding Free Cricut Wedding Invitation Templates That Actually Work
Okay so you wanna use your Cricut to make wedding invitations and you’re looking for free templates because honestly wedding budgets are insane and I totally get it. I had this bride back in spring 2023 who showed up with like seventeen Pinterest boards and zero budget for paper goods, and that’s when I really dove deep into the whole Cricut template situation because sometimes you just gotta make things work.
First thing – Cricut Design Space has a bunch of free templates but they’re kinda hit or miss. You’ll find them under the “wedding” category in the image library. Some are gorgeous, some look like they were designed in 2012 and nobody bothered updating them. The search function is honestly terrible, like you’ll type “wedding invitation” and get results for birthday cards somehow, but just keep scrolling.
Where to Actually Find Good Free Templates
Design Space library is your starting point but not your ending point. I always tell people to check out sites like Creative Fabrica, which has free files every week if you sign up for their newsletter. FontBundles does the same thing. You’re not gonna find a complete wedding suite for free usually, but you can grab individual elements – borders, frames, flourishes – and build your own template.
Etsy has free files too but you gotta search specifically for “free SVG wedding” and even then, some sellers mark things as free but they’re actually just samples. Read the descriptions carefully because I’ve watched brides download what they thought was a full invitation set and it was literally just the envelope liner design.
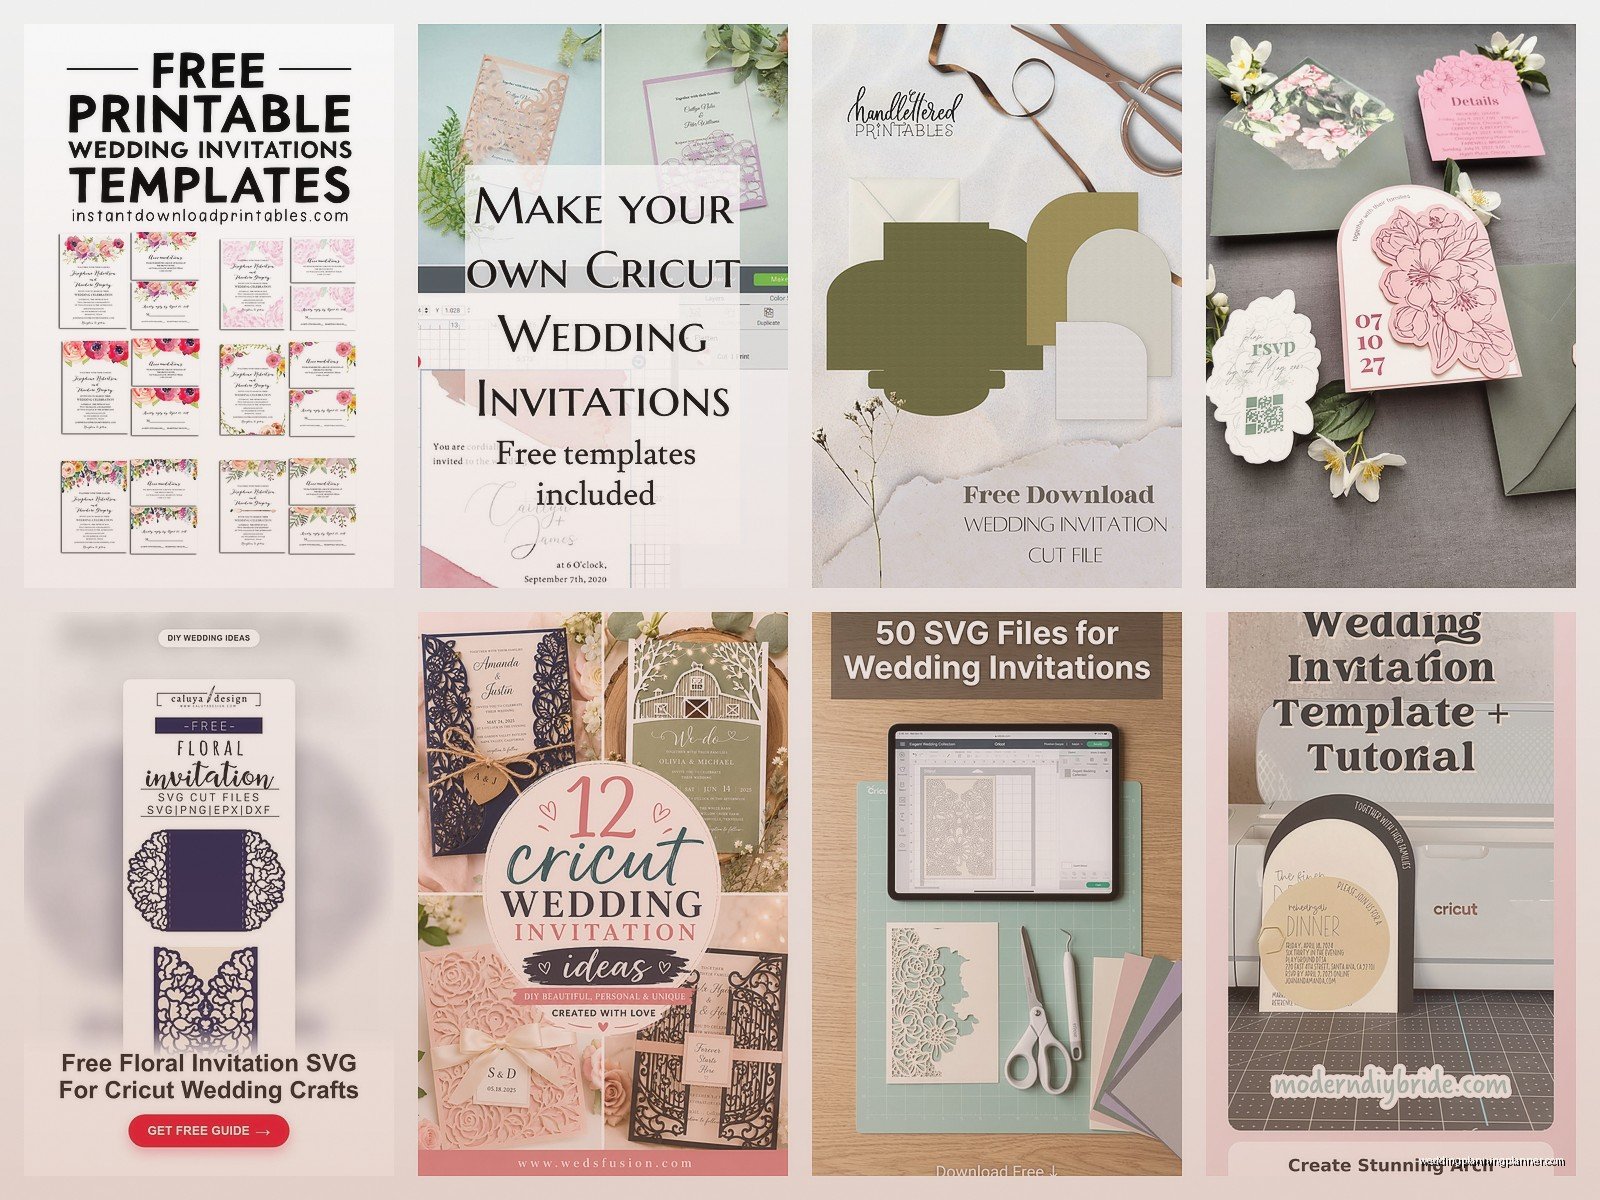
Pinterest links to a lot of blogs that offer free Cricut files. The annoying part here is that half these blogs make you sign up for their email list, then send you through like four different pages of ads before you can download anything. And sometimes the file format isn’t even compatible with Design Space, which is just… anyway.
File Formats You Need to Know About
SVG files are what you want for Cricut. That’s the main one. Design Space can also handle PNG and JPG files but those are raster images, so they won’t cut as cleanly and you can’t resize them without losing quality. I learned this the hard way when a client brought me a JPEG she found online and wanted it blown up to 8×10 – it looked pixelated and awful.
DXF files work too but honestly SVG is cleaner. Some people swear by PDF files but you’ll need to convert those, and that’s a whole other thing that involves either using an online converter (sketchy) or buying software (expensive).
When you download a free template, check what’s actually included in the file. Sometimes it’s just the outline. Sometimes it’s scored lines but no cut lines. Sometimes – and this is what annoyed me SO much last summer – the template comes with everything except the actual text layer, so you have to add all the wording yourself from scratch.
How to Use Templates in Design Space
Upload your SVG file to Design Space using the upload button (looks like an arrow pointing up). Select “Upload Image” then choose your file. Design Space will ask you what type of image it is – for most invitation templates, you want “Complex” or “Moderately Complex” so it picks up all the little details.
Once it’s uploaded, you can insert it onto your canvas. Here’s where it gets tricky – the template might come in at a weird size. You’ll need to resize it to match your card stock dimensions. Standard invitation sizes are 5×7 inches or 4×6 inches, but I’ve seen everything from square 6×6 to long skinny 4×9 invitations.
Click on the template layer and look at the dimensions shown in the top toolbar. You can manually adjust width and height, but make sure that little lock icon is clicked so your proportions stay correct. Otherwise you’ll end up with a stretched-out design that looks ridiculous.
Customizing Your Template
The text is usually the first thing you’ll wanna change. If the template comes with text already, you can click on it and edit it directly. But most free templates don’t include text because of licensing issues with fonts – the designer doesn’t know what fonts you have access to.
So you’ll add your own text boxes. Click the text tool, type your info, then choose a font. Design Space has some free fonts but they’re pretty basic. For wedding invitations, you want something elegant, and that usually means buying fonts or downloading free ones from sites like DaFont or Google Fonts.
My cat just knocked over my coffee cup while I’m writing this, cool cool cool… okay where was I
Fonts and Licensing Issues
This is important – just because a font is free to download doesn’t mean you can use it commercially. If you’re making invitations for a client or selling them, you need to check the license. Personal use only means exactly that. Commercial licenses usually cost money.
For your own wedding though? Use whatever free font you want. Nobody’s gonna sue you for using a pretty script on your own invitations. I mean technically you should follow the rules but realistically, for personal projects, you’re fine.
Some good free wedding fonts: Allura, Great Vibes, Alex Brush, Parisienne. They’re all on Google Fonts which means they’re free for any use. Load them into Design Space by installing them on your computer first, then they’ll show up in your font menu.
Layers and How Not to Mess Them Up
Templates usually come with multiple layers – a background layer, detail layers, maybe score lines for folding. The layers panel on the right side of Design Space shows everything. You can hide layers by clicking the eye icon, which is helpful when you’re trying to figure out what’s what.
Cut lines and score lines are different operations. Cut lines will actually cut through your paper. Score lines just make an indentation so you can fold cleanly. Make sure you’ve got these set correctly or you’ll end up cutting lines where you meant to score, and then your invitation falls apart. Been there, done that, had to recut everything at 11pm the night before a wedding.
You can change line types by clicking on a layer and selecting either “Cut” or “Score” from the dropdown menu in the layers panel. Draw lines (if you’re adding your own) can be set to score by selecting the line, clicking the line type dropdown at the top, and choosing “Score”.
Paper and Material Settings
Free templates don’t usually tell you what paper to use, which is sorta annoying because paper choice matters a LOT. I always use cardstock that’s at least 80lb weight for invitations. Anything lighter feels cheap and flimsy. 110lb cardstock is even better but harder to cut – you might need to do multiple passes.
In Design Space, when you go to cut, you’ll select your material. For most invitation cardstock, choose “Medium Cardstock” as your setting. If you’re using something thicker or textured, you might need “Heavy Cardstock” or even “Poster Board”.
Textured cardstock looks beautiful but can be harder to cut cleanly. The blade might catch on the texture. I usually do a test cut first – Design Space has a test cut option that cuts a small square so you can check if your settings are right before you waste a whole sheet of expensive paper.
Cutting and Assembly
Put your cardstock on the mat. Use a brayer or your hand to really press it down firmly. If the paper lifts while cutting, your design will be ruined. I keep a brayer at my desk specifically for this – it’s just a little roller tool, costs like eight dollars, totally worth it.
Load the mat into your Cricut. Make sure it’s aligned straight. The machine will do its thing – this can take a while for detailed designs. Don’t rush it. Don’t try to unload the mat before the machine is completely done or you’ll mess up the cut.
When it’s finished, carefully remove the mat. Peel the mat away from the paper, not the paper away from the mat. This prevents curling and tearing, especially on detailed cuts.
Your invitation pieces should pop out cleanly. If they don’t, your blade might be dull or your settings were wrong. For intricate designs, use a weeding tool or tweezers to remove small pieces.
Templates That Include Envelopes
Some free template sets include envelope liners or envelope addressing templates. Envelope liners are those decorative paper inserts that go inside your envelope – they’re not necessary but they look really nice and fancy.
You’ll need to measure your envelopes carefully. Standard A7 envelopes (for 5×7 invitations) have specific interior dimensions, and your liner needs to fit without bunching up. Most liner templates are designed to be slightly smaller than the envelope interior so they slide in easily.
For cutting liners, use lighter weight paper – like 60lb or 70lb text weight. Cardstock is too thick and won’t fit properly inside the envelope. I learned this during that stressful spring 2023 situation I mentioned – made all the liners in heavy cardstock and they literally wouldn’t fit, had to redo everything in regular paper.
What About Printing and Cutting
Some templates are print-then-cut designs, which means you print the design on your home printer first, then the Cricut cuts around it. These are trickier than cut-only templates because you need good printer alignment.
Design Space has a print-then-cut feature but there’s a size limit – nothing larger than 9.25 x 6.75 inches. For most invitations this is fine, but if you’re doing something bigger, you’re outta luck with print-then-cut.
You’ll need a printer that can handle cardstock if you’re going this route. Not all home printers can. Check your printer specs – most basic inkjets can handle up to 80lb cardstock but anything heavier and you’ll jam the printer. My old HP printer absolutely refused to print on anything thicker than regular paper and I finally just bought a new one that could handle it.
When you print, use high quality settings. Draft mode will look terrible on wedding invitations. Also make sure you’re using the right paper orientation – portrait vs landscape – or your design will print sideways and you’ll waste paper and ink.
Combining Multiple Free Templates
Sometimes you won’t find one perfect free template, but you can combine elements from different templates to create what you want. Take a border from one file, a frame from another, add your own text, boom – custom invitation.
To do this, upload all your elements into Design Space. Insert them onto the same canvas. You can resize, rotate, and position them however you want. Group elements together by selecting them all and clicking “Group” so they move as one unit.
Make sure you’re not violating any licensing terms when you combine templates though. Most free-for-personal-use files don’t allow you to redistribute or resell the designs, even if you’ve modified them. For your own wedding you’re totally fine, but if you’re thinking of selling the combined design… nah, don’t do that without checking licenses.
Troubleshooting Common Issues
Design Space crashes sometimes, especially with complex files. Save your project frequently. Like, obsessively. I’ve lost hours of work because I didn’t save and the program froze.
If your cuts are coming out rough or not cutting all the way through, your blade is probably dull. Replace it. Blades are cheap compared to wasted cardstock. I replace mine every few big projects or whenever I notice the cuts aren’t clean anymore.
Templates not uploading? Check the file size – Design Space has limits. Really complex SVGs might be too large. You can try simplifying the design in a program like Inkscape (free) before uploading.
Colors looking weird? Design Space sometimes changes colors when you upload. You can fix this by clicking on the layer and selecting a different color from the color panel. The color only matters if you’re doing print-then-cut anyway – for regular cutting, it’s just for visualization.
Making Your Free Templates Look Expensive
Okay so here’s the thing – free templates can absolutely look as good as paid ones if you do them right. The secret is in the details: good paper, clean cuts, proper assembly, and maybe some embellishments.
Embellishments like ribbon, wax seals, or belly bands (those paper or ribbon wraps that go around the invitation) make everything look more polished. You can find tutorials for making belly band templates yourself – they’re literally just rectangles with score lines, super easy.
Layering also makes invitations look fancier. Cut your template in one color cardstock, then back it with a slightly larger piece in a complementary color. Or do multiple layers in different colors. This adds dimension and looks way more expensive than it actually is.
Vellum overlays are another trick – print your text on vellum paper, then layer it over a cut cardstock design. The vellum is translucent so you can see both layers, and it looks really elegant. You can wrap the vellum around the cardstock and secure it on the back with a small piece of tape or a sticker.
I usually tell people to spend the money they save on templates on better paper and embellishments instead. Good quality cardstock makes such a difference, and you can find it at craft stores or online – Neenah, Bazzill, and Recollections are all good brands.
Oh and one more thing – if you’re doing a lot of invitations, like over 50, consider doing a few test runs first to work out any issues before you cut all your good paper. Because there’s always gonna be something that doesn’t work quite right the first time, and better to figure that out on scrap paper than on your expensive stuff
