
Planning Guides, Style Guide
Cricut Wedding Sign Templates: Free Download Files
Sep
So You Want Free Cricut Wedding Sign Templates
Okay so the free Cricut wedding sign files are everywhere but also kind of nowhere if that makes sense? Like you’ll find a million “free” downloads that require you to sign up for seventeen email lists or they’re actually just tutorials to make your own which… isn’t what you asked for.
I learned this the hard way back in spring 2023 when I had a bride who wanted like eight different signs for her garden wedding and her budget was basically nonexistent. She kept sending me Pinterest screenshots and I’m just sitting there thinking how am I gonna pull this off without charging her a fortune for custom designs. That’s when I really dove into the free template world and honestly it was more annoying than helpful at first.
Where to Actually Find the Good Free Files
Alright so here’s the actual places I use and recommend. Design Bundles has a free section that rotates weekly and sometimes they have wedding stuff. You gotta check back regularly though because the free files change. I’ve snagged some really decent “Mr. and Mrs.” templates and directional arrow signs from there.
Then there’s Creative Fabrica which does this thing where if you have their subscription (I know I know, not technically free) but they offer a free trial month and you can download like… everything during that month. Just set a reminder to cancel if you don’t want to keep it. I may or may not have done this twice with different email addresses, not that I’m suggesting you do that.
Cricut Design Space itself has some templates in their image library. They’re kinda basic honestly but if you need a simple “Welcome to our wedding” sign they’ll work. The search function in Design Space is terrible though which drives me absolutely crazy – you have to use super specific keywords or you get random clip art of like, cartoon brides instead of actual usable templates.
My cat just knocked over my coffee while I’m writing this which is perfect timing because now I’m annoyed at two things instead of one.
The Facebook Groups You Need
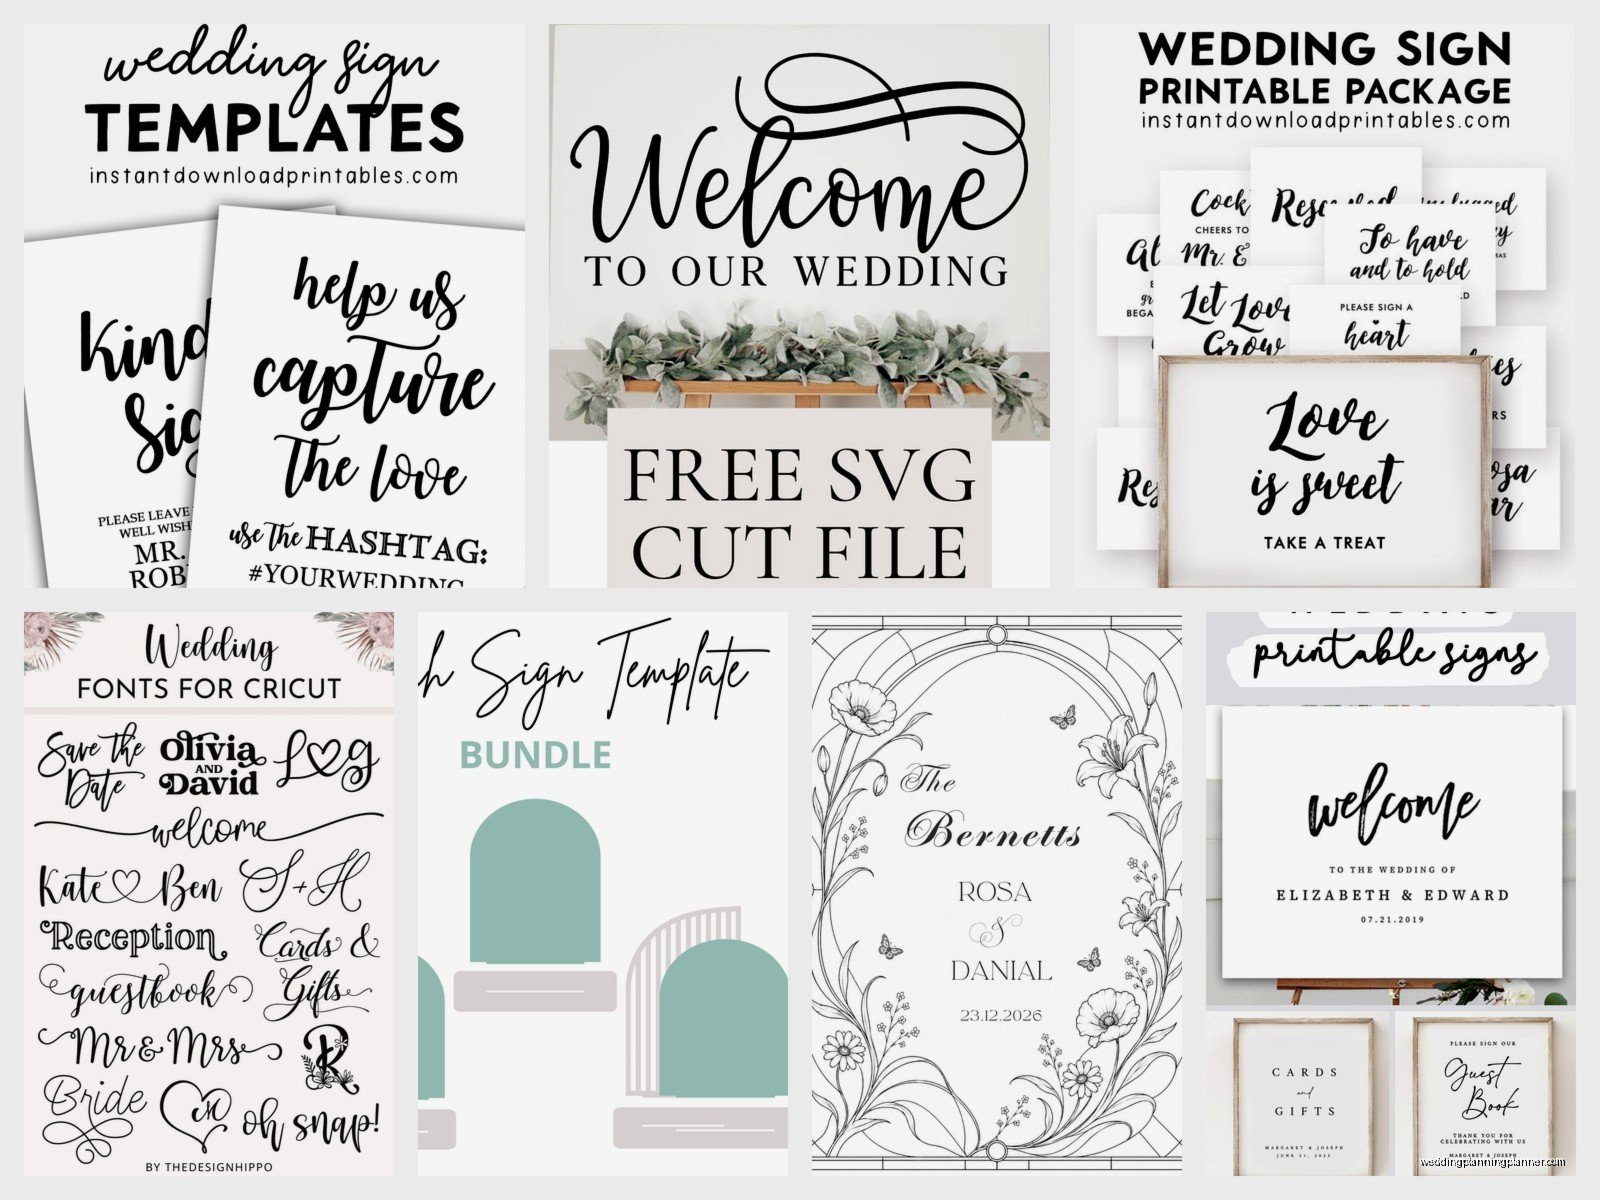
There are these Facebook groups for Cricut users and people share free files ALL THE TIME. “Cricut Explore/Maker/Joy Crafts” is huge and pretty active. Also “Free Cricut Designs” which is exactly what it sounds like. People will literally just post their designs for free because they’re nice or want feedback or whatever. I’ve found some gorgeous calligraphy wedding templates in these groups that would cost like $15 elsewhere.
You do have to wade through a lot of “help my mat won’t stick” posts and people asking the same beginner questions over and over but it’s worth it for the free files.
File Formats You’ll Actually Need
This is important because not all “free” files work with Cricut. You need SVG files primarily. That’s what cuts cleanly and imports into Design Space without issues. Some people offer PNG files which… I mean you CAN use them but they’re gonna be images not cut files so unless you want to print-then-cut (which is fine for some signs) they’re not as useful.
Sometimes you’ll find DXF files which also work with Cricut. And occasionally there are Cricut Design Space links which are the easiest because they just open directly in the app and you’re ready to go.
What really gets me annoyed is when a blog post advertises “free Cricut wedding templates” and then you download it and it’s a PDF. Like what am I supposed to do with a PDF on my Cricut? I mean yes technically you can convert it but that’s extra steps and defeats the purpose of a template.
Converting Files If You Have To
Speaking of converting – if you find a beautiful wedding sign template that’s NOT an SVG, you can use a converter. I use Convertio online or sometimes Inkscape if I’m feeling ambitious. But honestly this gets complicated fast and if you’re not comfortable with design software it might not be worth the headache. You might end up with weird artifacts or the text gets all wonky.
For simple designs it’s usually fine. For intricate calligraphy or detailed florals… ehh, maybe look for an actual SVG instead of trying to convert.
What Templates Are Actually Worth Downloading
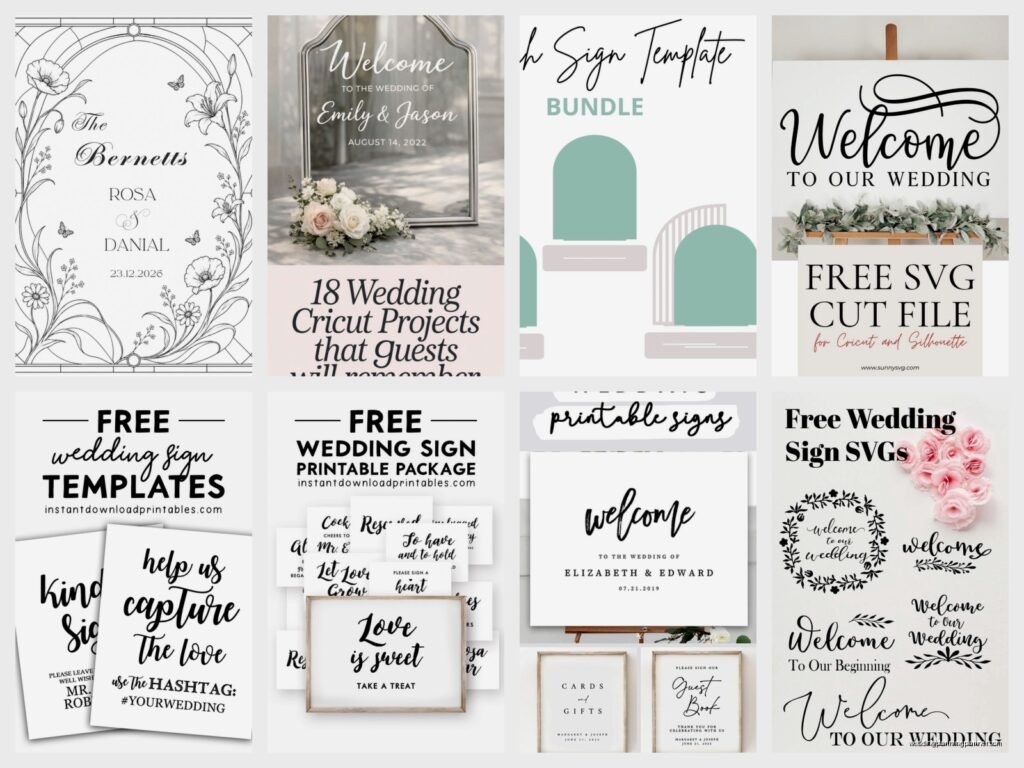
From doing this for years now I can tell you that some wedding sign templates get used way more than others. Welcome signs are the number one request I get. Couples want them at the ceremony entrance or reception entrance or both. The good news is there are tons of free welcome sign SVGs out there.
Directional signs are super popular too – you know the ones that point to “Ceremony” one way and “Cocktails” the other way. These are practical and they photograph well which brides love.
Table number templates are everywhere for free. Like I have probably fifty different styles saved on my computer at this point. From rustic wood style numbers to elegant script to modern minimalist. You can find free table number SVGs in every imaginable style.
Hashtag signs are still a thing even though I kinda thought they’d be over by now? But couples still want cute signs with their wedding hashtag and Instagram handle. These are easy to customize in Design Space once you have a basic frame or banner template.
The Signs That Are Harder to Find Free
Now if you want something super specific like “In loving memory” memorial signs or detailed seating chart templates or bar menu signs with lots of text formatting… those are harder to find for free. People charge for those because they take more design work.
Same with monogram designs – you’ll find some free ones but they’re usually pretty basic. If you want an intricate floral monogram with the couple’s initials you’re probably gonna have to pay for that or make it yourself.
How to Customize the Templates You Download
So you found a free template, downloaded the SVG, now what? Import it into Design Space and this is where it gets fun or frustrating depending on your comfort level with the software.
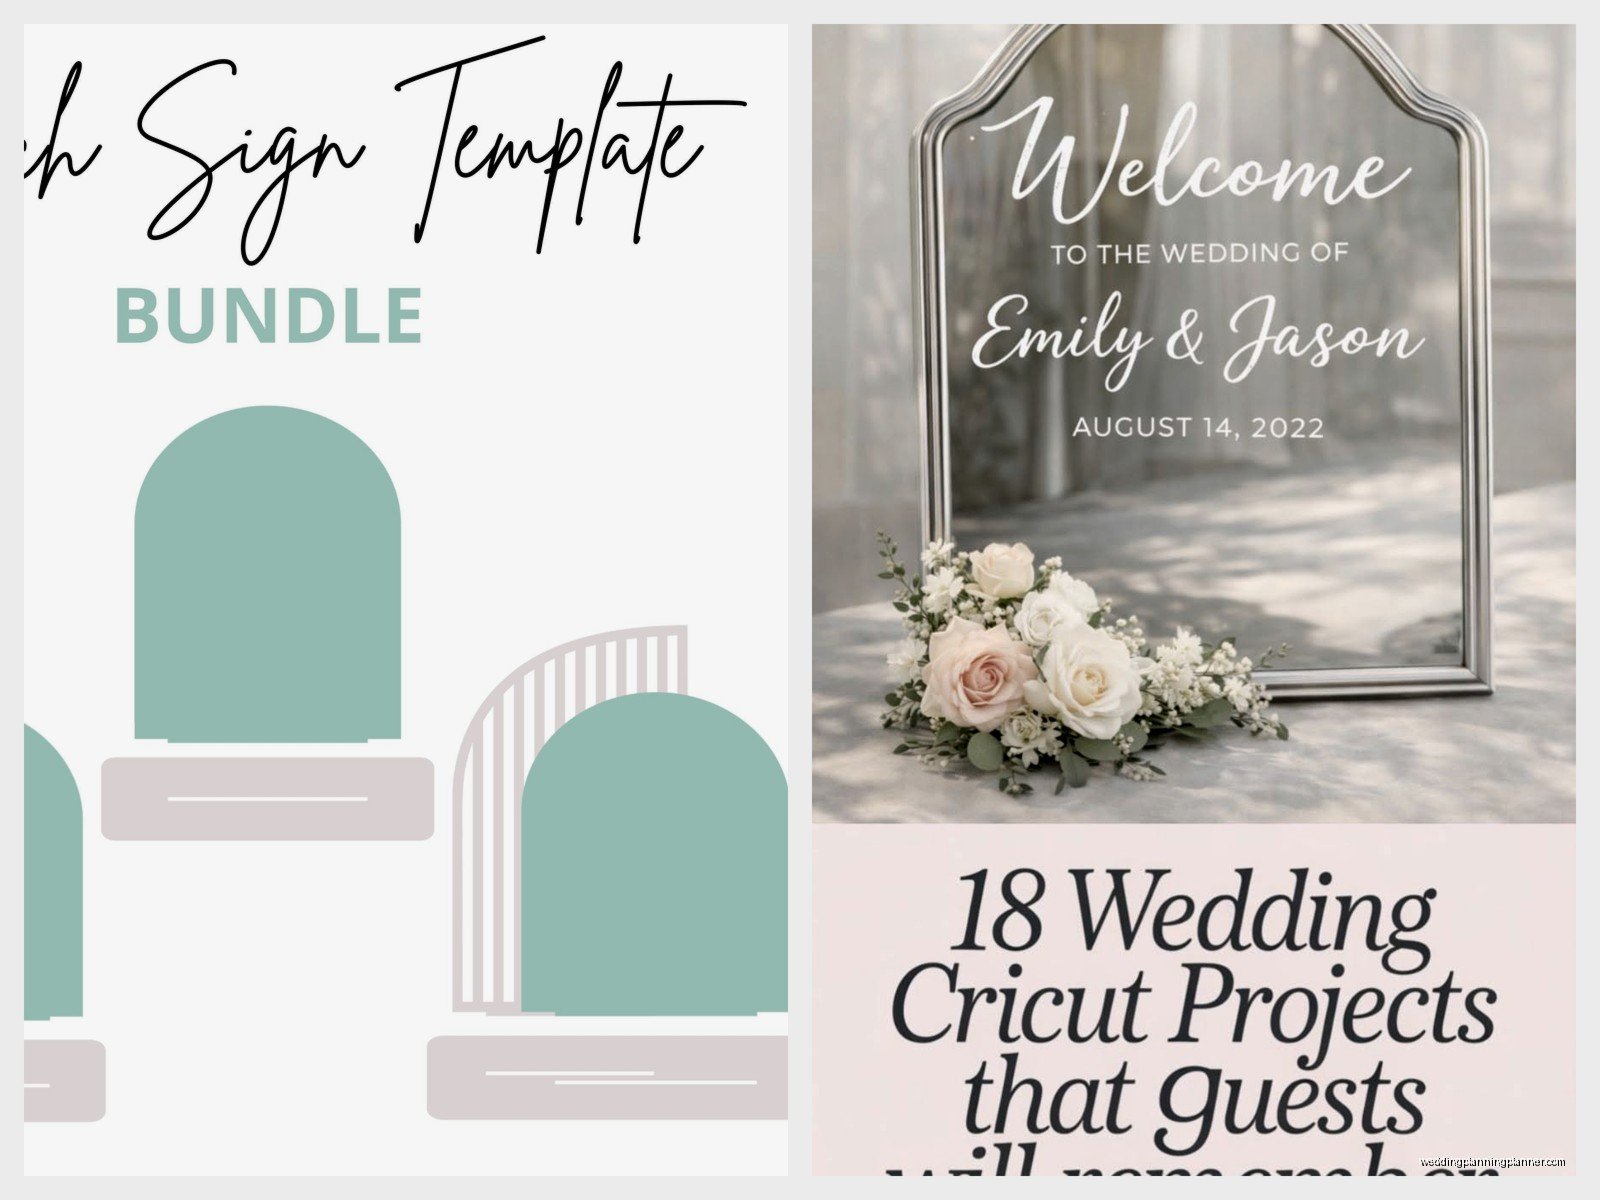
Most templates come with the design elements separated so you can change colors. Like the text will be one layer, the decorative elements another layer, any background shapes another layer. This is good because you can match your wedding colors exactly.
To change text in a template you just select the text element and click “ungroup” if it’s grouped, then you can edit each letter or word. Sometimes the font won’t be one you have installed and Design Space will substitute it with a default font which looks terrible, so you’ll need to either download the original font (if it’s free) or choose a different one from your library.
I remember this one time I was customizing a welcome sign template at like 11pm the night before a wedding setup (don’t do this, learn from my mistakes) and I couldn’t figure out why the text kept overlapping weird and it turns out the template designer had used some complicated layering technique that I accidentally messed up. I ended up just recreating the whole thing from scratch which took way longer than if I’d just… been more careful or started earlier.
Sizing Your Signs for Actual Use
This is something people don’t think about until they’re cutting. That cute template you downloaded might be sized for a 5×7 card but you need a 16×20 sign for the easel at your venue entrance. You CAN scale up in Design Space but really large designs sometimes get weird – the spacing gets off or fine details disappear.
For big signs I usually cut elements separately and assemble them on the board. Like cut the text in one batch, the decorative flourishes in another, then arrange them on a painted wood board or foam board. This gives you more control over sizing anyway.
Also remember that Cricut mats are maximum 12×24 inches so if you need bigger than that you’re doing multiple cuts and piecing together. Which is totally doable just plan for it.
Materials That Work Best for Wedding Signs
For most wedding signs you’re cutting vinyl and applying it to something. Oracal 651 is my go-to permanent vinyl – it’s affordable and comes in tons of colors. For outdoor weddings or anything that might get damp I always use permanent not removable vinyl.
White vinyl on stained wood looks gorgeous and is super popular right now. Or gold vinyl on navy blue boards. Black on white is classic and photographs really well.
Some people do print-then-cut for full color signs but honestly I think vinyl looks more professional for wedding signage. Print-then-cut can look homemade if you’re not careful with your printer settings and paper quality… not that there’s anything wrong with homemade but brides usually want that elevated look.
Transfer tape is essential and this is not the place to cheap out. Good transfer tape makes applying your vinyl design SO much easier. I use the medium tack stuff for most projects.
What to Put Your Vinyl On
Wood boards from the craft store work great. You can paint them or stain them or leave them natural. I usually grab basswood plaques or those unfinished wood rounds in whatever size I need.
Foam board is cheaper and lighter weight which matters if you’re making a bunch of signs. You can cover it with fabric or paper first then apply vinyl, or just put vinyl directly on the foam board if it’s a nice color.
Acrylic sheets are trendy right now – clear acrylic with white or gold vinyl looks really modern and elegant. It’s more expensive though and you need special stands or easels to display them.
The Actual Download and Import Process
When you download a free SVG it usually goes to your Downloads folder as a zip file. Unzip it first – don’t try to upload a zipped file to Design Space because it won’t work and you’ll just confuse yourself.
In Design Space click “Upload” then “Upload Image” then browse to find your SVG file. It should import as a cut file automatically. If it imports as a print-then-cut image instead, something went wrong – either it’s not actually an SVG or there’s a setting issue.
Once it’s uploaded you can save it to your library with tags so you can find it later. I tag everything like crazy – “wedding,” “signs,” “script font,” “floral,” whatever applies. Because trying to scroll through hundreds of uploaded images to find that one template you used six months ago is actual torture.
Organizing Your Downloaded Files
Create folders on your computer. I have a whole “Cricut Files” folder with subfolders for “Wedding – Signs,” “Wedding – Invitations,” “Wedding – Decor,” etc. When you download free templates just save them directly into the right folder so you’re not searching through a messy Downloads folder later.
Also rename the files to something useful. That template that downloads as “freebie_0847_v2_final.svg” should be renamed to “Welcome Sign Script Floral.svg” or whatever describes it. Future you will appreciate this so much.
Common Problems You’ll Run Into
Sometimes a “free” template requires a specific font that’s not free. This is super annoying and honestly feels like false advertising. The template itself is free but then you need to buy a $20 font to use it properly? Nah. In those cases I just substitute a similar free font from Google Fonts or DaFont.
Intricate designs might not cut cleanly depending on your material and blade. If you’re cutting something super detailed with thin script letters, do a test cut first on scrap material. I can’t tell you how many times I’ve wasted expensive vinyl because I didn’t test first.
File corruption is rare but it happens. You download an SVG and it won’t import or it imports all black or missing pieces. Usually this means the file was saved wrong by whoever created it. Not much you can do except find a different template.
The other thing that drives me crazy is when free templates have weird hidden elements that you don’t see until you’re cutting and suddenly there’s a random line or shape that wasn’t visible in the preview. Always zoom in and check all the layers before you cut.
Making Templates Work for Different Wedding Styles
A rustic wedding needs different sign styles than a modern minimalist wedding or a garden party wedding. The good thing about free templates is you can download a bunch in different styles and see what works.
For rustic weddings look for templates with wood grain textures, antler or leaf motifs, distressed fonts. Lots of free templates in this category because rustic has been popular for like a decade now.
Modern weddings need clean lines, sans-serif fonts, geometric shapes. These templates are actually harder to find free because modern design looks simple but requires skill to create. But they exist if you search specifically for “modern minimalist wedding sign SVG.”
Romantic garden weddings are all about florals, script fonts, soft colors. Tons of free templates with flower borders and calligraphy text. Sometimes almost too many options which becomes its own problem – decision paralysis is real.
Color Matching Your Vinyl
If the wedding colors are dusty blue and mauve you need vinyl in those colors or as close as possible. Most vinyl brands have color charts online so you can see actual photos of the colors not just names. “Blush” from one brand might be totally different than “blush” from another.
I usually order vinyl samples if it’s for a big project or picky client. Spending $3 on a sample is better than buying a whole roll in the wrong shade. Or if you already have a bunch of vinyl, bring your collection when meeting with couples so they can see actual colors not just pictures on a screen.
Making Your Own Templates from Free Elements
If you can’t find exactly what you want as a complete template, you can combine free elements to create something custom. Design Space has free shapes, frames, and flourishes in their image library. Download some free fonts from Google Fonts. Put it all together and boom, custom sign design.
This takes more time and some design sense but it’s not that hard once you get the hang of it. I probably do this more than using actual templates now because you can make something unique instead of the same welcome sign everyone else has.
Just arrange your elements, group them together, save it as a project, and you’ve essentially created your own template that you can reuse or modify for future weddings.
My advice is start simple – a frame shape with text in the middle and maybe a small flourish at the top or bottom. Don’t try to create an elaborate multi-layer masterpiece your first time because you’ll get frustrated and give up. Ask me how I know this.
Legal Stuff You Should Probably Know
Most free templates come with a license that says personal use only or personal and commercial use. If you’re making signs for your own wedding, personal use is fine. If you’re a planner or crafter making signs to sell, you need commercial use rights.
Read the license terms when you download. I know it’s boring and no one does it but technically you should. Some designers get really upset if you use their free personal-use files for commercial projects. Others don’t care or specifically allow it.
When in doubt, assume personal use only unless it specifically says commercial use is allowed. Or just search for templates that clearly state they’re free for commercial use – plenty of those exist too.
