
Planning Guides, Style Guide
Editable Wedding Invitation: Customizable Template Files
Jul
Okay So Editable Wedding Invitation Templates
Right so editable wedding invitation templates are basically those digital files you can customize yourself without hiring a designer for every single change. They come in different formats – mostly PDF, Word, PowerPoint, or Canva templates – and you just plug in your own text, maybe swap some colors, and boom you’ve got invitations.
I had this bride back in spring 2023 who was SO stressed about her budget and she kept asking me if she really needed to spend $800 on custom invitations when she found these gorgeous templates on Etsy for like $15. Honestly? She didn’t. She bought the template, we spent an afternoon customizing it together at a coffee shop, and they turned out beautiful. Saved her a ton of money that went toward her photographer instead.
File Formats You’ll Actually Encounter
The format matters way more than people think. Here’s what you’re gonna see:
- PDF templates – These usually work with Adobe Acrobat Reader (the free version) or sometimes you need the paid Adobe Acrobat. The editable fields are already set up so you just click and type. Super straightforward but kinda limited if you want to move things around.
- Word or PowerPoint templates – These are what I actually recommend for people who aren’t super tech-savvy. Everyone knows how to use Word. You can change fonts, move text boxes, add stuff. The downside is they can look a bit… basic? Unless the designer really knew what they were doing.
- Canva templates – Oh my god Canva has changed everything. You need a Canva account (free works fine usually) and the designer shares a link. You click, it opens in your browser, you edit. So easy. My cat literally walked across my keyboard once while I was editing a Canva invite and somehow made it better, I swear.
- Photoshop or Illustrator files – Nah. Unless you already know these programs, don’t bother. Too complicated. These are for people who know design software.
What To Look For When You’re Shopping
So you’re on Etsy or Creative Market or wherever browsing templates. Here’s what I check:
Read the file format description carefully. Like really carefully. Some sellers say “editable” but they mean you have to email them your info and they’ll edit it for you. That’s not the same thing. You want instant download, editable template that YOU can change yourself.
Check what fonts are included. This annoyed me SO much when I first started recommending templates to clients – you download this beautiful template and then realize the font isn’t included and you have to buy it separately for $40. Good sellers either use free fonts or include the font files. Always check the listing.
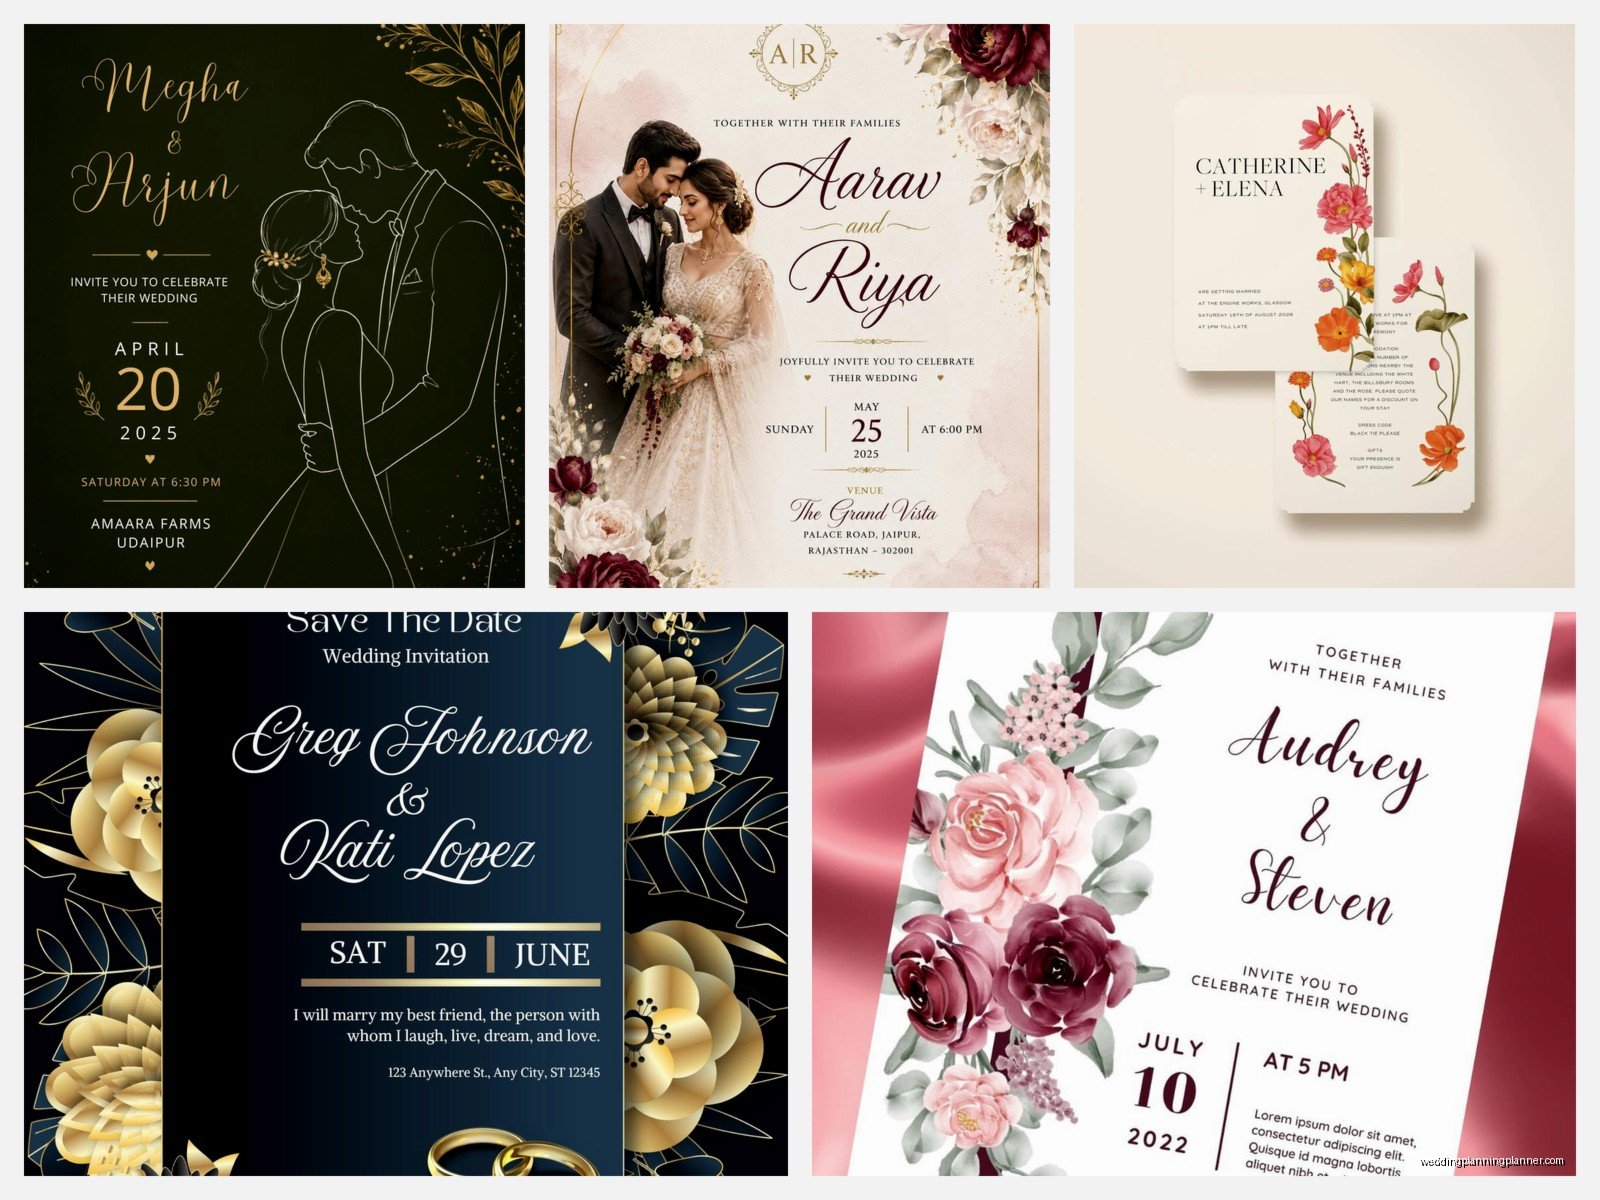
Look at what’s actually included in the package. Some templates give you just the invitation. Others give you the whole suite – invitation, RSVP card, details card, envelope addressing template, thank you cards, menus, programs, everything. Obviously the full suites cost more but they’re worth it if you want everything to match.
Size specifications matter. Most invitations are 5×7 inches but some are 4×6 or those fancy square ones. Make sure you know what size you’re getting because that affects your envelope situation later.
Actually Using The Template (The Part Where People Get Stuck)
Alright so you bought it, you downloaded it, now what?
For PDF templates: Open the file in Adobe Acrobat Reader. You should see text fields that are clickable. Click in them and type your info. The font and size are usually locked so it stays looking good. If you can’t click in the fields, you might need to update your Adobe Reader or… honestly sometimes the template just sucks. That’s happened to me.
Change the text carefully – if you write too much, it’ll either get cut off or look squished. Keep your wording concise. I tell brides to type it out in a separate document first, count characters, and make sure it fits before putting it in the actual template.
For Word/PowerPoint: Open the file in Microsoft Word or PowerPoint (or the free alternatives like Google Docs sometimes work but formatting can get weird). You’ll see text boxes. Click on them to edit. You can usually change fonts and colors through the normal menus.
Here’s the thing with these though – the formatting can shift around when you print, especially if you’re using a different version of Word than the designer used. Always do a test print on regular paper first. Always.
For Canva templates: Click the link the seller gives you. It opens in Canva. Click on any text to edit it. You can change colors by clicking on elements and using the color picker. Super intuitive. The templates are usually set up so you can’t accidentally mess up the layout too badly which is nice.
One thing – make sure you’re editing YOUR copy of the template, not the original. Canva usually duplicates it automatically but double-check.
Customization Tips That Actually Help
So beyond just plugging in your names and date, here’s how to make it feel more personal:
Colors: Most templates let you change colors. Stick to your wedding colors obviously. But like… don’t go crazy. If the template has a nice sage green and your wedding color is sage green but slightly different, maybe just keep the template color? I’ve seen people spend hours trying to match the exact shade and honestly nobody notices.
Fonts: If you can change fonts, be careful. The designer chose those fonts because they work together. If you swap in some random font, it might look off. If you do change fonts, use max two or three different fonts total. One fancy script, one clean readable font, maybe one accent font.
Adding photos: Some templates have spots for photos (engagement pics usually). These can be tricky. You need to make sure your photo is high resolution – at least 300 DPI for printing. And it needs to fit the space properly. I usually edit photos in a separate program first to get them the right size and shape.
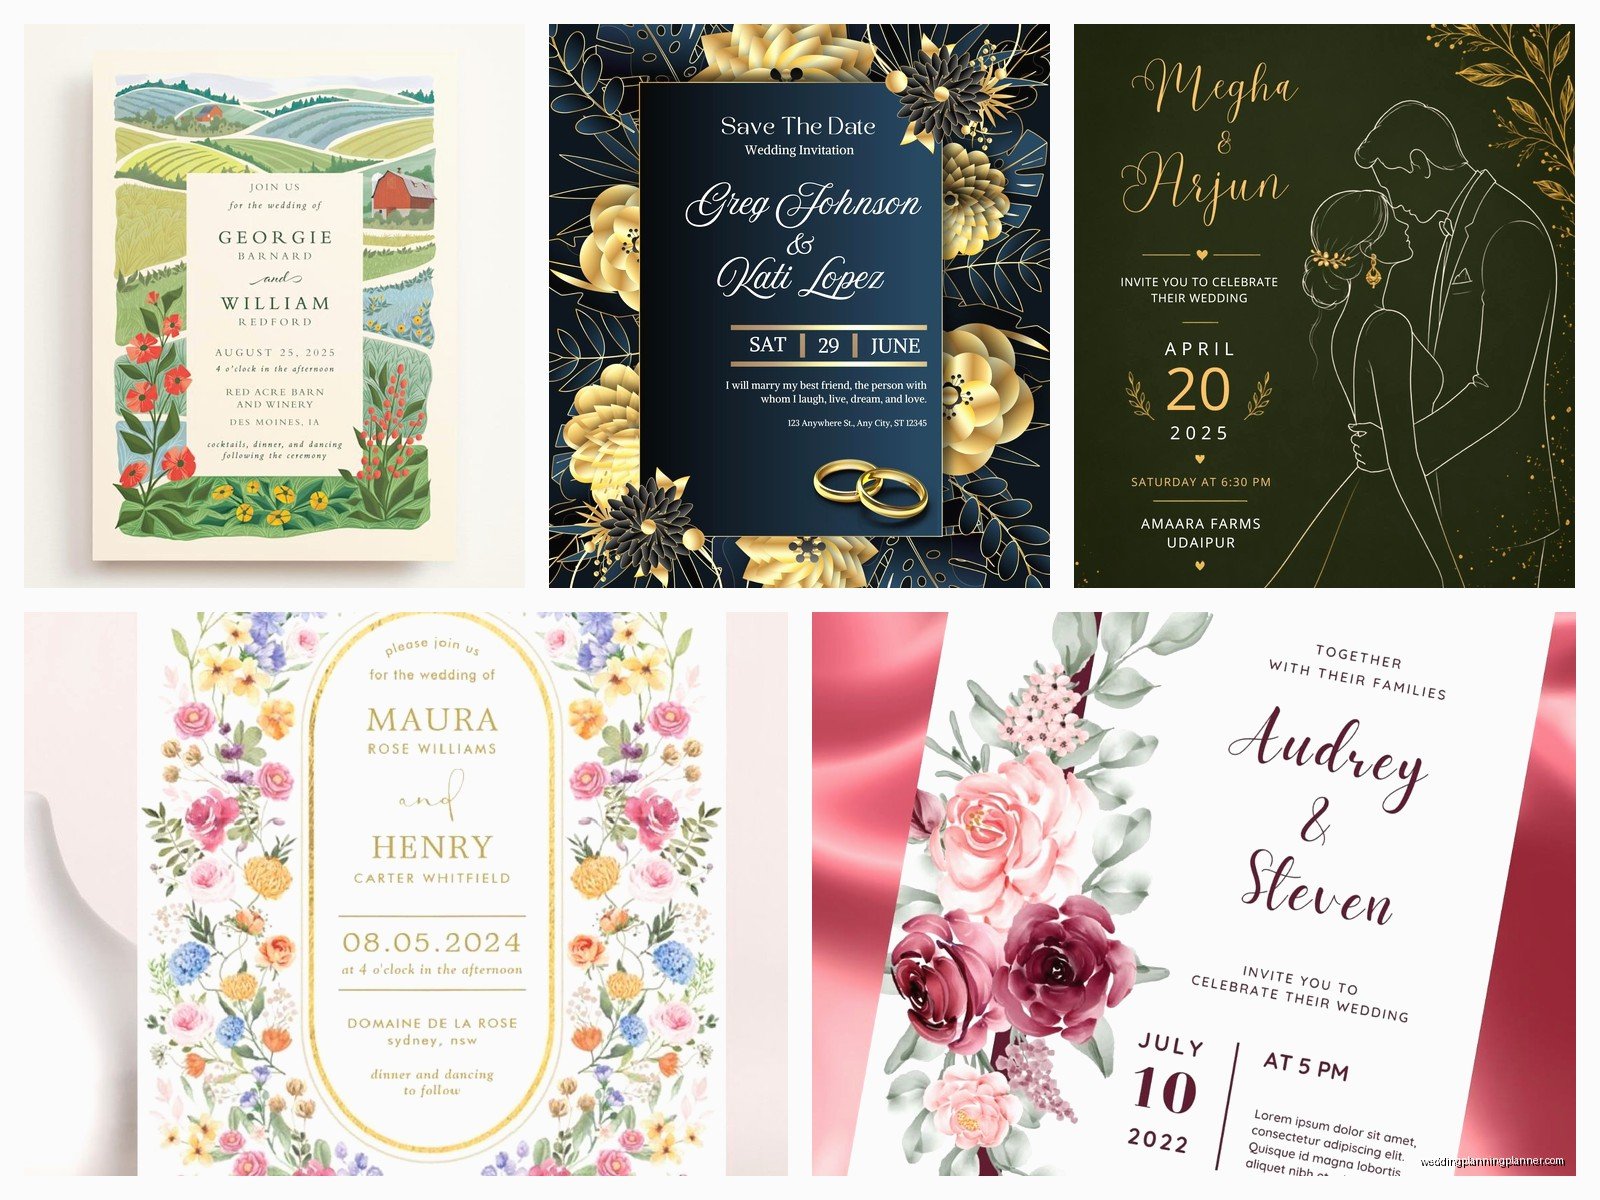
Wording: You don’t have to use the exact wording the template shows. That’s just placeholder text. Use formal wording, casual wording, whatever matches your vibe. Just keep it clear – people need to know who’s getting married, when, where, and how to RSVP.
The Printing Situation
Okay so you’ve customized everything and it looks perfect on your screen. Now you gotta print it.
Home printing: Only do this if you have a good quality printer and you’re comfortable with it. You’ll need cardstock paper – usually 80lb or heavier. Regular printer paper looks cheap and flimsy. Office supply stores sell cardstock in tons of colors.
Print one test copy first. Check that everything’s aligned, nothing’s cut off, colors look right. Then print like 3-5 more tests before you commit to printing all 100 invitations. Printers are weird and sometimes the first one looks fine but then the rest are slightly off.
Professional printing: This is what I usually recommend. Places like Catprint, Vistaprint, Minted, or your local print shop. You upload your finished file and they print it on nice paper with professional equipment. Costs more than home printing but way less than custom design.
Here’s what you need to know for professional printing – they’ll want your file in a specific format, usually PDF. Some want CMYK color mode instead of RGB (don’t worry too much about this, just ask them). They might need “bleed” which means the design extends past the edge… okay actually if the template wasn’t set up with bleed from the start, this gets complicated. Just ask the print shop what they need.
Order samples first. Like always. Don’t print 150 invitations without seeing a physical sample. Colors on screen look different than printed colors.
Common Problems And How To Fix Them
The text doesn’t fit: You wrote out this beautiful ceremony wording and it’s way too long for the space. Options – make the font smaller (but not so small people can’t read it), edit your text to be shorter, or use a details card for extra info instead of cramming it on the invitation.
The colors look wrong when printed: Screen colors and print colors are different. Blues especially tend to look different. This is why test prints exist. You might need to adjust the colors in your template to compensate.
Can’t figure out how to edit something: Check if the seller included instructions – most good sellers include a PDF or video tutorial. If not, message them. Most Etsy sellers are super helpful. Or YouTube it honestly, there are tutorials for everything.
The file won’t open: Make sure you have the right software installed. PDF needs Adobe Reader. Canva needs a Canva account. If it’s a ZIP file, you gotta unzip it first (right click, extract all).
Envelope Addressing
Some template packages include envelope addressing templates which is amazing. You can either print directly on envelopes (if your printer can handle that – many can’t) or print on labels.
For printing on envelopes you need to figure out the feed setting on your printer. Every printer is different. Do like 10 test runs with junk envelopes before using your real ones because they WILL jam and it’s gonna be frustrating.
Labels are easier. You buy Avery labels or whatever brand, the template is usually set up for a specific label size, you print on label sheets, stick them on envelopes. Done.
Or you can hand-write addresses which honestly looks nice and personal. I did this for my own wedding invitations while binge-watching The Great British Bake Off and it was kinda meditative actually.
Timing And Quantity
Order or print your invitations at least 3 months before your wedding. You need time to address them, stuff them, stamp them, and mail them. And mail them 6-8 weeks before the wedding.
Print extras. Always. You’ll mess some up. You’ll forget someone. Your mom will suddenly remember a cousin who absolutely must be invited. I usually tell people to print 10-15% more than they think they need.
The Cost Breakdown
Let’s talk money because that’s why you’re doing templates instead of custom design anyway.
Template file: $10-50 depending on how elaborate it is and what’s included
Professional printing: $100-300 for 100 invitations depending on paper quality and add-ons
Envelopes: $20-50 for 100
Postage: depends on weight but probably $0.66-$1.00 per invitation
Extra stuff like envelope liners, belly bands, wax seals: this is where costs add up fast if you want them
Total: Maybe $200-500 for nice printed invitations for 100 guests. Compare that to $500-1500+ for custom designed invitations from a stationer.
Things That Are Worth The Extra Money
Even with templates, some upgrades are worth it. Thicker paper stock feels more substantial. Colored envelopes instead of white look more intentional. Envelope liners add a pop of surprise when people open them.
What’s not worth it in my opinion – fancy envelope seals that people just rip through, super thick cardstock that makes your invitations weigh more so you pay extra postage, printing on both sides of cards when one side is fine.
The RSVP Situation
Your template package probably includes RSVP cards. These need to be smaller than the invitation – usually 4×6 or 4.25×5.5. You also need response envelopes which should be pre-addressed to whoever’s collecting RSVPs (you, your mom, whoever) and pre-stamped. Yes you pay for their postage. That’s how it works.
Or honestly? Do online RSVPs through your wedding website. So much easier. People can respond from their phone. You can track who’s responded. No dealing with lost RSVP cards in the mail. The only downside is older relatives sometimes struggle with it but… they can call you.
Details Cards And Extras
If you have a lot of info – hotel blocks, website URL, dress code, parking info – put it on a separate details card. Don’t cram everything on the invitation. It looks cluttered and people miss important stuff.
Most template suites include a details card template that matches. Same deal – customize it with your info, print it, include it in the envelope.
Some people also do maps, weekend itinerary cards for destination weddings, or those “what to expect” cards. Only include these if they’re actually necessary. Don’t add paper just to add paper.
Assembly
Once everything’s printed you gotta put it together. Standard order from bottom to top: invitation (biggest piece), reception card if you have one, details card, RSVP card with envelope tucked under it. Stack them all together, put in the envelope with the text facing up so when they pull it out they see the invitation first.
Have an assembly party. Invite your bridesmaids over, order pizza, put on a movie, and assembly-line that stuff. Goes way faster with help and it’s actually kinda fun.
Don’t seal the envelopes until you’ve weighed one complete invitation at the post office. You might need extra postage if it’s heavy or thick or weirdly shaped. Paying extra postage is better than having invitations returned to you.
Digital Invitations
Oh yeah, some templates are specifically for digital invitations – you customize them and then email them or text them or post them. These are usually cheaper, like $5-20. You customize the same way but then you export as a JPG or PDF and send it digitally.
Honestly for casual weddings or elopements or if you’re super eco-conscious, digital invites work fine. They’re not appropriate for really formal weddings though. Just being real with you.
What I Wish More People Knew
The template is a starting point. You can change things. If you don’t like how something looks, change it (as long as the file format lets you). The design police aren’t gonna come after you.
But also – the designer probably knows what they’re doing. If something looks a certain way, there’s usually a reason. Don’t change stuff just to change it.
Test everything before committing. Test print, test colors, test assembly. Cannot stress this enough.
Ask for help if you need it. The seller, your planner (hi), your tech-savvy friend, whoever. Don’t struggle alone for hours when someone could help you fix it in five minutes.
And remember these are invitations, not your entire wedding. They’re important but they’re not everything. I’ve seen people stress themselves out for weeks over invitation details that literally nobody else will notice or remember. Do your best, make them pretty, get them mailed, move on to the next thing.
