
Planning Guides, Style Guide
Free Wedding Invitation Templates Word Document: Editable Downloads
Jul
Okay So Word Document Templates Are Actually Pretty Great
Look, I know everyone’s obsessed with Canva and fancy design software, but Word templates for wedding invitations are honestly underrated. I’ve been planning weddings since 2004 and I still recommend these to couples who have zero design experience or just want something simple they can edit themselves without calling me at 11pm because they can’t figure out how to change a font color.
The biggest thing with free Word templates is knowing where to find the good ones versus the ones that look like they were made in 1997. Microsoft actually has a decent built-in template library right in Word itself. You open Word, click on “New” and then search “wedding invitation” in that search bar. You’ll get maybe 20-30 options that are already formatted and ready to go. Some are kinda boring but some are actually really nice—especially the minimalist ones with simple borders and clean typography.
Where I Actually Find Templates That Don’t Look Terrible
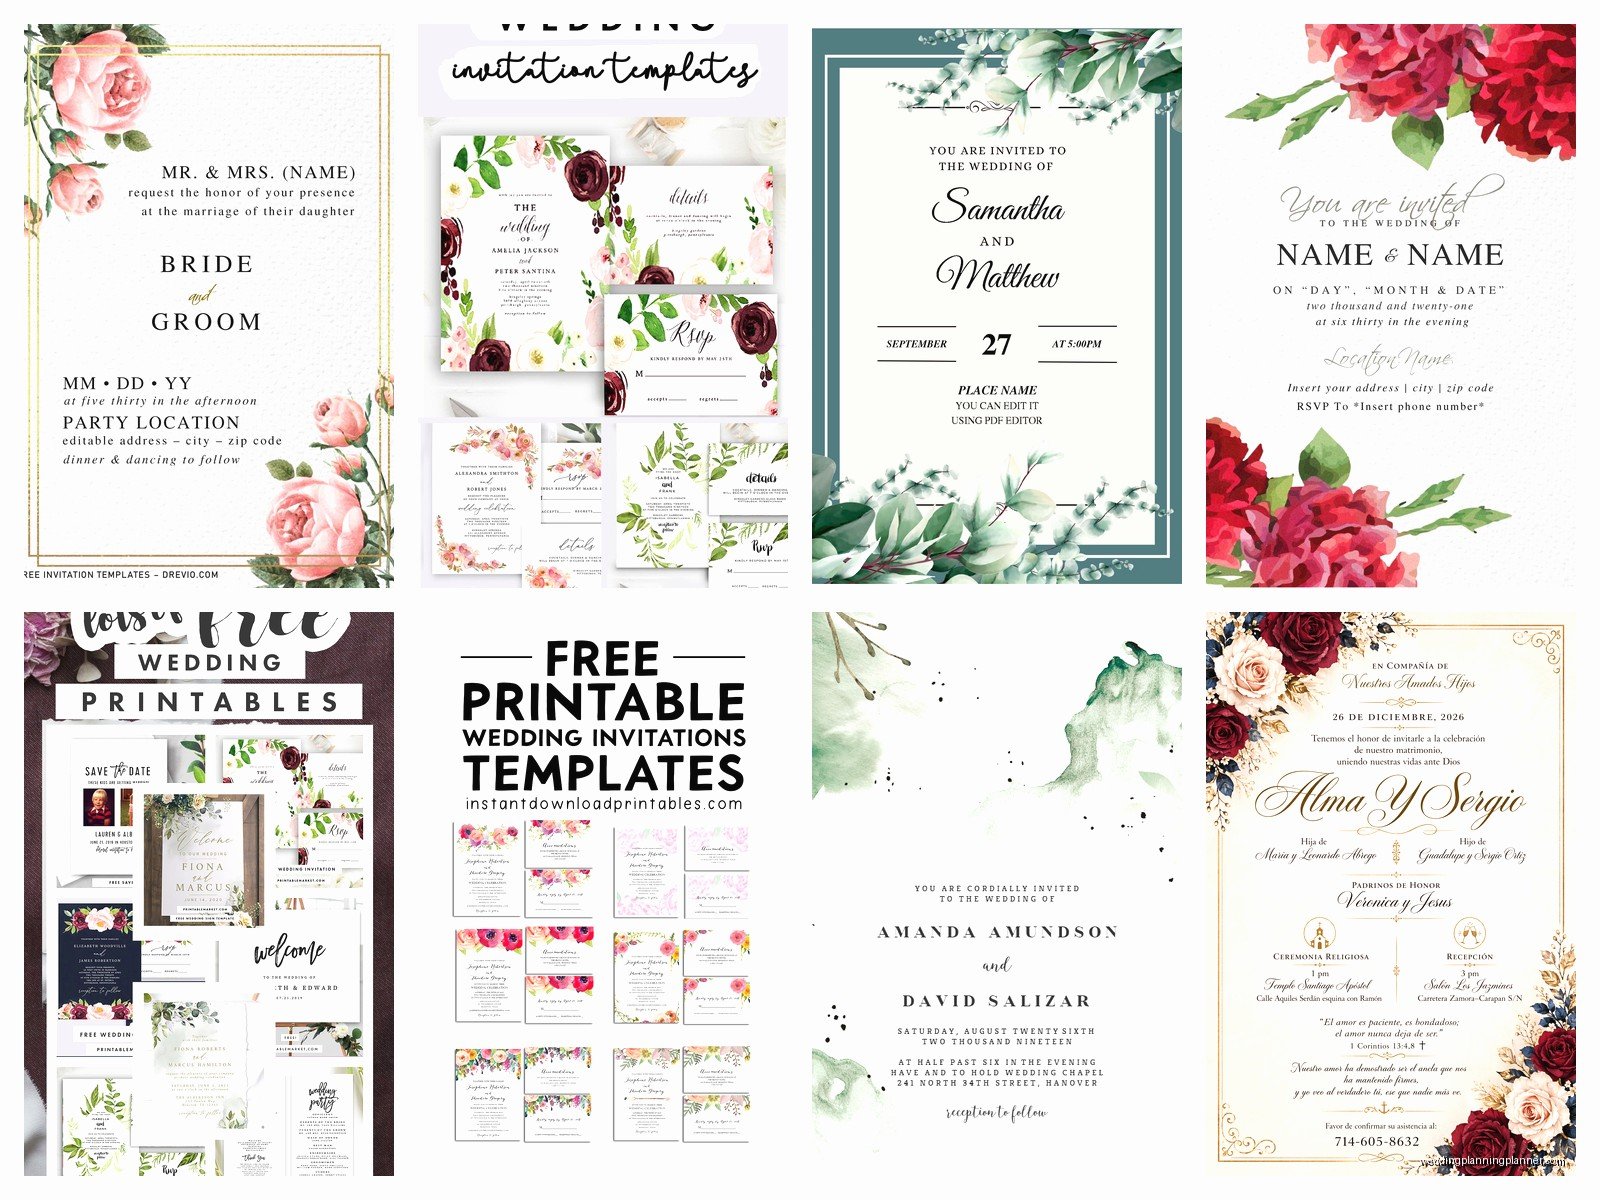
Template.net has a bunch of free Word invitation templates, though you gotta watch out because some require you to sign up for their premium thing. Just scroll past those. The free ones usually have a little “Free” badge on them. I used one from there for a client back in spring 2023 who had literally two weeks before her wedding because her original designer ghosted her (don’t even get me started on that whole situation). We downloaded a floral border template, changed the names and details, printed them at FedEx, and honestly? They looked fine. Not magazine-worthy but totally acceptable.
Greetings Island is another solid option—they have Word templates you can download after customizing them a bit on their site first. It’s kind of a hybrid approach where you do some editing online and then download the Word file to finish it. Saves you some time on the initial setup.
Microsoft Office’s official template site (templates.office.com) has more options than what shows up in Word directly. You can browse by category and download straight to your computer. I’ve found some surprisingly elegant options there, especially for more formal weddings.
The Actual Editing Process Because It’s Not Always Obvious
Alright so you’ve downloaded your template. Now what? First thing—and I cannot stress this enough—save it with a new name immediately. Like “OurWedding_Invitation_DRAFT” or whatever. You do NOT want to accidentally save over the original template file because if you mess something up, you’ll have to re-download it and that’s just annoying.
Most templates have text boxes or tables set up where the invitation wording goes. You just click inside those areas and start typing. The tricky part is when you want to change fonts or sizes. In Word, you gotta select the text first (highlight it), then go up to the Home tab and use the font dropdown. Seems simple but you’d be surprised how many people try to change the font by… I don’t know, just hoping it’ll change on its own?
Here’s something that annoyed me for YEARS until I figured it out: when you change a font in a Word template, sometimes it doesn’t actually change because the template has a style applied. You need to right-click on the text, select “Style,” and then modify the style itself. Or just select “Clear Formatting” and start fresh. This drove me absolutely crazy during a July 2021 wedding when I was trying to help a bride remotely over Zoom and we spent like 30 minutes just trying to change one word to italic.
Customizing Colors Without Losing Your Mind
Colors in Word templates can be weird. If there’s a colored border or background, you usually need to click on it first to select it. Then you’ll see “Drawing Tools” or “Shape Format” appear in the ribbon at the top. That’s where you can change the fill color or outline color.
For text color, it’s easier—just highlight the text and click that little font color button (looks like an A with a colored line under it). Word has theme colors and standard colors. Theme colors will shift if you change the overall document theme, which can be helpful or annoying depending on what you’re trying to do.
Pro tip I learned the hard way: if you’re printing these yourself, colors on screen look different than colors on paper. Like, way different. Always print a test page first. I usually tell couples to print on regular paper before wasting their expensive cardstock. My cat actually knocked over my coffee onto a whole stack of test prints once and I was kinda relieved because they were the wrong shade of blue anyway and I needed an excuse to reprint.
Image Stuff Because Templates Usually Have Placeholder Graphics
Some templates come with little graphics—flowers, rings, borders, whatever. You can usually click on these to select them and then just hit Delete if you don’t want them. If you DO want to add your own image, go to Insert > Pictures and choose your file.
The thing about adding images to Word documents is they can move around in weird ways when you edit other parts. You’ll want to right-click on your image, select “Wrap Text,” and choose “In Front of Text” or “Behind Text” depending on what you’re doing. This locks it in place better. Or sort of. Word is gonna do what Word wants sometimes, honestly.
Formatting The Actual Invitation Wording
Okay so you’ve got your template open and you’re ready to add your details. Traditional invitation wording has that formal structure—hosts’ names, request line, couple’s names, date, time, location, reception info. But you can obviously do whatever you want. I’ve seen everything from super casual “We’re getting hitched!” invitations to full formal wording with every parent and grandparent listed.
One thing about Word templates—they’re usually set up for standard wording, so if you have a lot of text, you might need to make the font smaller or adjust spacing. To adjust spacing between lines, you select your text and then go to Layout > Spacing and change the “Before” and “After” numbers. Or use the line spacing button in the Home tab (looks like little lines with arrows).
I usually tell couples to keep invitation wording concise anyway because people’s attention spans are… well, you know. The essential info is who, what, when, where. Everything else can go on a details card or your wedding website.
Print Settings That Actually Matter
This is where people mess up constantly. You’ve designed this beautiful invitation on your computer and then you print it and it’s like, tiny in the corner of the page. That’s because Word’s default margins are usually 1 inch on all sides, which is fine for a letter but not great for an invitation.
Go to Layout > Margins and either choose “Narrow” or do custom margins. For a 5×7 invitation, you’ll probably want to set your page size first (Layout > Size > More Paper Sizes) and enter your actual invitation dimensions. Then your margins can be like 0.3 or 0.5 inches.
Some printers can’t print all the way to the edge—they need at least a quarter inch margin. Check your printer specs before you design something with text or images right at the edge, or you’ll be reprinting. Ask me how I know this. Actually don’t, it’s a painful memory involving 150 invitations and a bride crying in my office.
Paper Choice Because It Matters More Than You Think
You can print Word template invitations on regular printer paper but please don’t actually mail those to your guests. Cardstock is pretty cheap—you can get it at any office supply store or Amazon. For invitations, I usually recommend 80lb or 110lb cardstock. The higher the number, the thicker the paper.
White and ivory are classic but colored cardstock can look really nice too. Just make sure your text color has enough contrast. Black text on dark navy paper sounds elegant in theory but it’s gonna be hard to read.
Textured cardstock (linen finish, felt, etc.) adds a nice touch and doesn’t cost much more than smooth cardstock. Some templates look way better on textured paper because it hides the fact that it’s just a printed Word document, if that makes sense.
Things That Can Go Wrong And How To Fix Them
Text boxes moving around when you don’t want them to: Right-click the text box, select “More Layout Options,” go to the Position tab, and check “Lock anchor.” This helps but Word is still gonna Word sometimes.
Fonts looking different when you open the file on another computer: This happens when the other computer doesn’t have the same fonts installed. If you’re using a fancy font, you might need to embed fonts in the document (File > Options > Save > Embed fonts) or just stick with standard fonts that everyone has like Times New Roman, Arial, Georgia, or Calibri.
Colors printing differently than they appear on screen: This is just how it is. Screens use RGB color (light-based) and printers use CMYK (ink-based). There’s no perfect fix but printing a test page helps you adjust before wasting expensive paper.
The template looking pixelated or blurry when printed: This usually means there are low-resolution images in the template. Not much you can do except find a different template or replace the images with higher quality ones.
Stuff To Include Beyond Just The Main Invitation
Most couples need more than just the main invitation. You’ll probably want RSVP cards, details cards, maybe direction cards or accommodation info. The cool thing about Word templates is you can create a whole suite using the same design elements.
For RSVP cards, I usually set the page size to 4×6 or whatever size you want, then copy design elements (borders, fonts, colors) from the main invitation. Keep the RSVP wording simple: “Please respond by [date]” and spaces for names, number of guests, and meal choices if needed. You can add a line for dietary restrictions too.
Details cards are for all the extra info that doesn’t fit on the main invitation—your wedding website, hotel blocks, dress code, whatever. Same design aesthetic as the invitation but smaller, like 4×5 or 5×7.
Envelopes Because You Gotta Mail These Things
Word can print envelope addresses too which is super helpful. You go to Mailings > Envelopes, enter the recipient address and your return address, and Word will format it for a standard envelope. If you want to get fancy with calligraphy fonts or colors, you can do that in the envelope setup options.
Some people do a mail merge for multiple envelopes which is smart if you have a huge guest list. I’m not gonna explain mail merge here because honestly it’s kinda complicated and there are entire tutorials just about that. But it exists if you wanna look into it.
You can also print address labels using Word templates—Avery has templates built right into Word for all their label products. Not as elegant as printed envelopes but way faster.
When Word Templates Don’t Make Sense
Real talk—Word templates aren’t ideal for everyone. If you want something really custom with lots of graphics, unusual shapes, or a super specific design aesthetic, you’re better off with Canva, Adobe, or hiring a designer. Word is great for simple, text-based designs with minimal graphics.
Also if you’re not comfortable with computers at all, Word might frustrate you. The learning curve isn’t terrible but it exists. I’ve had clients who just cannot figure out how to… I don’t know, click on things? And that’s fine, but then maybe printed templates you fill in by hand or Canva’s more visual interface would work better.
Saving Money With DIY Printing
The whole point of using free Word templates is usually to save money, right? Printing at home on a decent inkjet or laser printer can work for small weddings. For larger weddings, I actually recommend going to a print shop. FedEx Office, Staples, local print shops—they all do invitation printing and it’s not that expensive. Maybe 50 cents to a dollar per invitation depending on paper quality.
The advantage of print shops is their printers are way better than your home printer, the colors are more consistent, and you don’t have to babysit the printing process for three hours while watching… I don’t know, whatever show you’re currently binging. Though I did get through half a season of something while printing programs for a wedding once so there’s that.
Random Tips From Years Of Doing This
Always order extra cardstock. You will mess up some prints. It happens to everyone. Get like 10-20% more than you need.
Print a few extra finished invitations too for your own keepsakes, your parents, the wedding album, whatever.
If you’re using a template with lots of dark ink coverage, it might smudge before it dries completely. Let them sit for a few minutes before stacking.
Test your printer with the actual cardstock before printing everything. Some printers don’t handle thick cardstock well and you’ll need to adjust settings or use the manual feed tray.
Save your Word file in multiple places—computer, cloud storage, USB drive. I’ve seen people lose their invitation files right before printing and it’s just a whole stressful mess nobody needs.
Proofread everything like five times. Then have someone else proofread it. Typos on printed invitations are permanent and you can’t just edit them after you’ve mailed them to 150 people. I once caught a misspelled venue name literally as the bride was about to hit print on the final batch and I felt like a hero, not gonna lie.
