
Planning Guides, Style Guide
Free Wedding Planning Spreadsheet: Excel Organizer
Jul
Okay So About Wedding Planning Spreadsheets
The absolute best thing I ever did for my sanity back in spring 2023 was creating a master wedding planning spreadsheet template that I could just… duplicate for every client. Before that I was literally rebuilding everything from scratch each time and it was honestly ridiculous. Like why was I doing that to myself.
You can totally use Excel or Google Sheets for this, doesn’t really matter. I personally prefer Google Sheets now because you can share it with your partner or your mom or whoever’s helping, and everyone sees the updates in real time. But Excel works great too if you’re more comfortable with that.
What You Actually Need in Your Spreadsheet
So here’s the thing – you don’t need some fancy 47-tab monstrosity. I see brides download these massive templates with like color-coded everything and seventeen different dashboards and then they never actually use them because it’s too overwhelming. Keep it simple.
Budget Tracker Tab
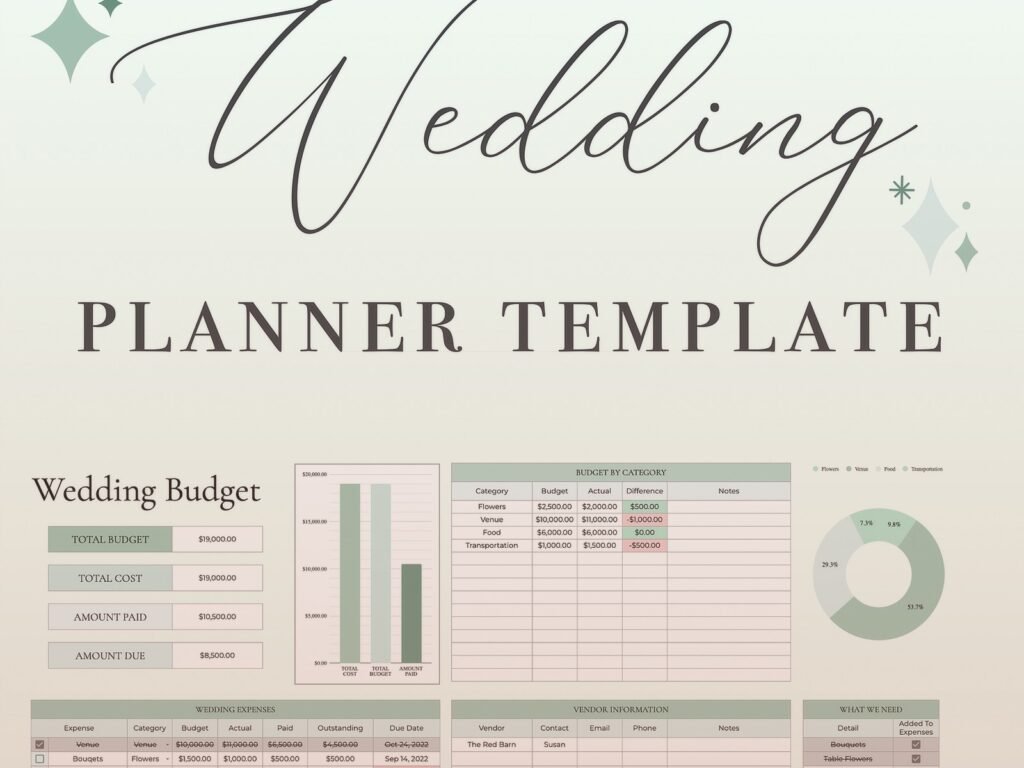
This is gonna be your first tab and honestly the most important one. Set up columns for: Category, Vendor Name, Estimated Cost, Actual Cost, Deposit Paid, Balance Due, and Payment Due Date. Then you’ll want a running total at the bottom.
The categories I usually include are: venue, catering, photography, videography, flowers, dress, suit/tux, hair and makeup, DJ or band, invitations, favors, transportation, accommodations, rings, officiant, and miscellaneous because there’s ALWAYS miscellaneous stuff.
One thing that really annoyed me when I first started using budget spreadsheets was that none of them accounted for tips and taxes properly. You gotta add a column for that. Service fees, gratuities, sales tax – it adds up to like 20-30% extra on top of your quoted prices and if you don’t plan for it, you’re screwed.
Guest List Tab
This one gets messy fast so stay organized from the beginning. Your columns should be: Guest Name, Address, Phone, Email, Invited to Ceremony, Invited to Reception, Save the Date Sent, Invitation Sent, RSVP Response, Number of Guests, Meal Choice (if applicable), Dietary Restrictions, Thank You Note Sent.
I also like to add a column for “Group” or “Category” so you can sort by like… his family, her family, college friends, work friends, etc. Makes it easier when you’re trying to figure out where to seat people later.
Pro tip: add a column for plus-ones and be VERY clear about whether someone gets one or not. This causes so much drama if you’re not organized about it from the start.
Vendor Contact Sheet
Just a simple list with: Vendor Type, Company Name, Contact Person, Phone, Email, Website, Contract Signed (yes/no), Deposit Amount, Balance Due, Final Payment Date, and Notes.
I cannot tell you how many times I’ve needed to quickly find a vendor’s phone number at like 9pm when something goes wrong. Having everything in one place is clutch.
Timeline and Checklist Tab
Okay so this is where you track what needs to happen when. I break it down by months until the wedding: 12+ months out, 9-11 months, 6-8 months, 4-5 months, 2-3 months, 1 month, 2 weeks, 1 week, day before, wedding day, and after the wedding.
Under each timeframe, list out the tasks. Like for 12+ months out you’ve got: set a date, determine budget, choose wedding party, start venue hunting, etc. For 1 month out: final guest count to caterer, pick up dress, break in your shoes (seriously do this), confirm all vendors, etc.
Add a checkbox column so you can mark things as done. Very satisfying, trust me.
The Day-Of Timeline
This deserves its own section in your spreadsheet honestly. I usually create this closer to the wedding date once all the vendor contracts are finalized and you know actual timing.
Start from when hair and makeup begins and go minute-by-minute through the whole day: when the photographer arrives, when the ceremony starts, cocktail hour, reception entrance, first dance, toasts, dinner service, cake cutting, bouquet toss (if you’re doing that), last dance, sparkler exit or whatever send-off you planned.
Include vendor arrival times and breakdown times too. Your DJ needs to know when they can start packing up, your photographer needs to know when they’re officially done.
Seating Chart Tab
Don’t even bother with this until like 2 weeks before when you have your final guest count. But when you do it, set up a grid that shows: Table Number, Guest Names at That Table, and any special notes (like “keep Uncle Bob away from Cousin Steve because they had that weird argument about politics”).
I had this one bride in summer 2021 who waited until literally the day before to finalize her seating chart and we were moving people around at 11pm in her parents’ kitchen and my cat kept walking across the printed table lists and I just… anyway start this earlier than she did.
Invitations and Stationery Tracker
Since I do stationery consulting this is kinda my jam. You’ll want to track: Save the Dates (ordered date, quantity, mailed date), Invitations (same info), Programs, Menus, Place Cards, Table Numbers, Thank You Cards.
Also track quantities carefully. You always need more than you think. I order 10-15% extra of everything because things get damaged or lost or you realize you forgot to invite your mom’s hairdresser who apparently HAS to be there.
What About Extra Tabs?
Some people like to add tabs for: gift registry tracker, honeymoon planning, rehearsal dinner details, bridal shower info, bachelor/bachelorette party planning. That’s all fine but don’t overwhelm yourself. The core tabs I mentioned above are really all you NEED.
You can always add more later if you want them.
Setting Up the Actual Spreadsheet
Alright so practical steps. Open Excel or Google Sheets. Create your first tab and name it “Budget” or whatever. Set up your column headers in Row 1. Make them bold so they stand out.
Use the freeze panes feature (in Excel it’s under View > Freeze Panes, in Google Sheets it’s View > Freeze > 1 row) so your headers stay visible when you scroll down. Super helpful when your vendor list gets long.
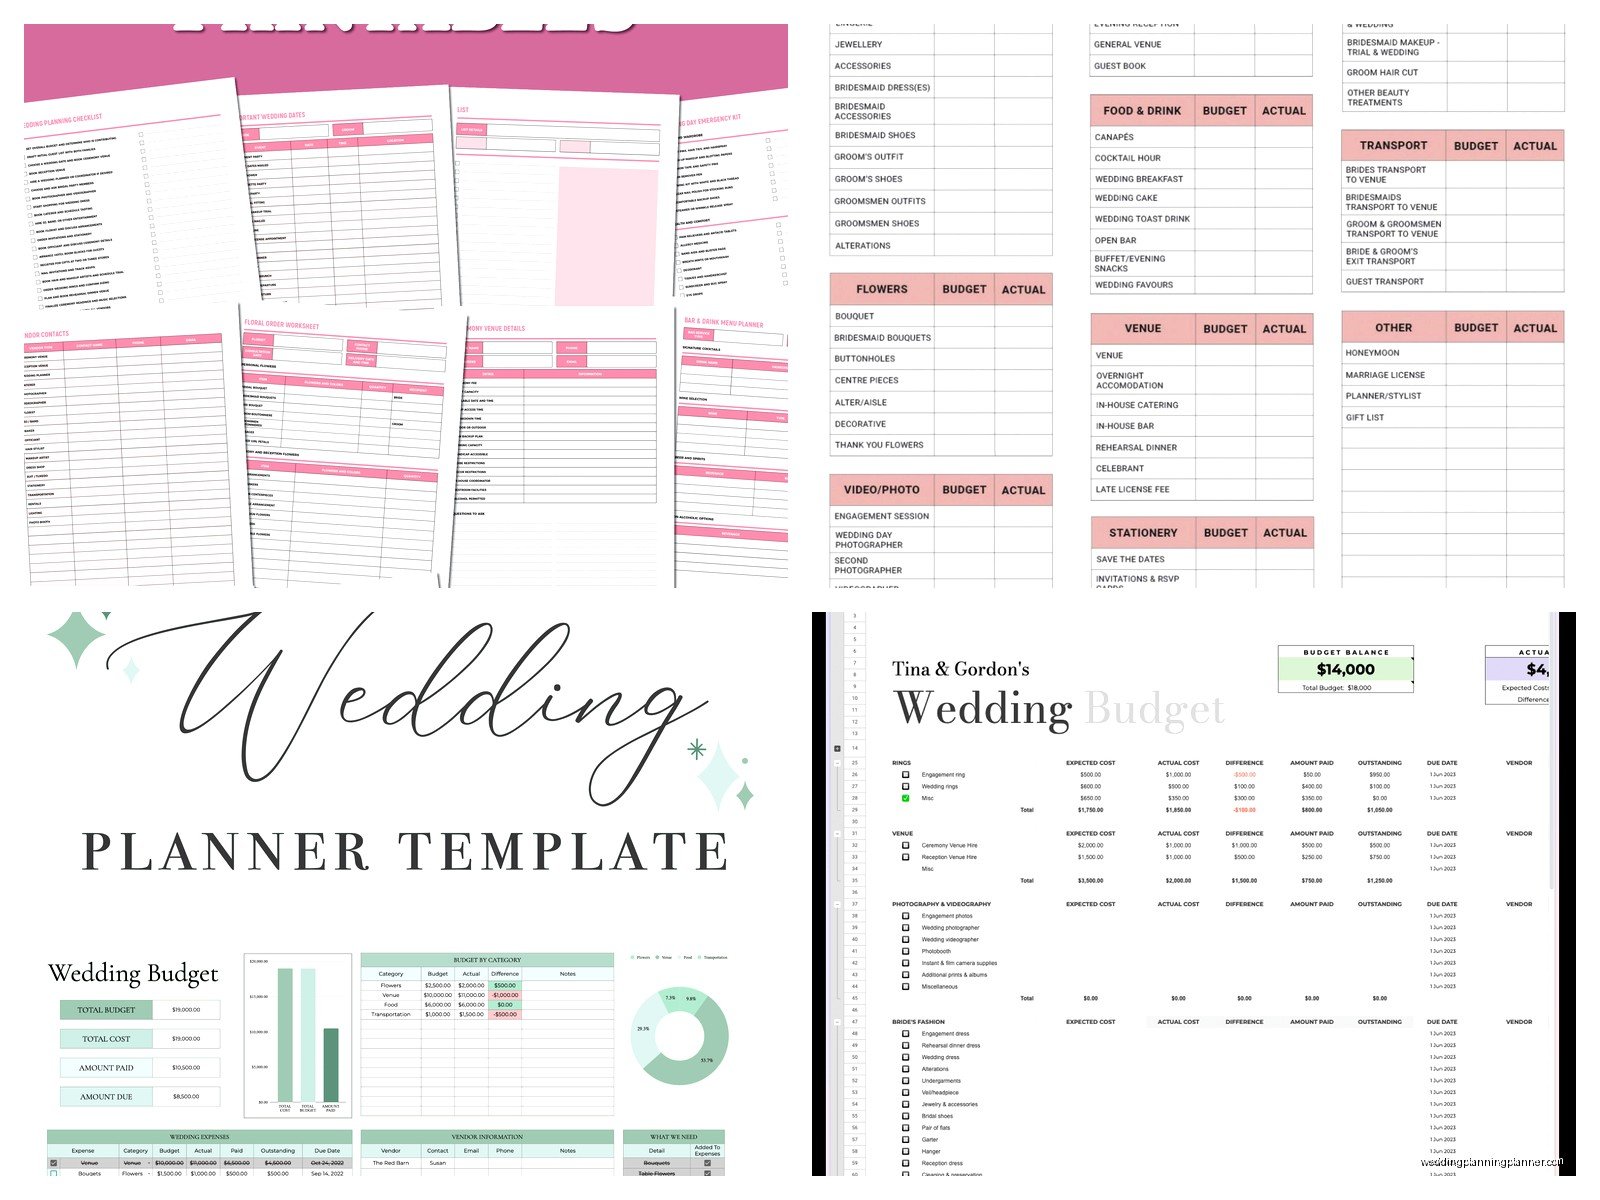
For your budget tab specifically, you’ll want formulas. In the “Total Estimated” cell at the bottom, use =SUM(C2:C100) or however many rows you have. Same for Actual Cost column, Deposits Paid, etc. Then create a cell that shows Estimated Budget minus Actual Spending so you know where you stand.
Conditional Formatting is Your Friend
This sounds fancy but it’s easy. You can set up rules so that like… if a payment is due within 7 days, that cell turns red. Or if you’ve gone over budget in a category, it highlights in yellow.
In Excel: Home > Conditional Formatting > New Rule. In Google Sheets: Format > Conditional Formatting.
I like to set up a rule where any balance due over $500 shows in red just so it catches my eye and I don’t forget about it.
Sharing and Permissions
If you’re using Google Sheets and want to share with your fiancé or whoever, click the Share button in the top right. You can set it so they can edit, comment, or just view. I usually give my couples edit access but their parents get view-only because otherwise everyone’s in there changing stuff and it gets chaotic.
For Excel, you can share it through OneDrive if you have that set up, or just email it back and forth though that gets messy with version control. Like which version is the most current? Who knows.
Actually Using the Thing
The spreadsheet only works if you actually update it regularly. Set a reminder to review it once a week. Go through your checklist, update any new expenses, add vendor info as you book people, adjust your guest list as RSVPs come in.
I know it seems tedious but I promise it’s better than trying to keep everything in your head or scattered across random notebooks and your phone notes app and… wherever else you’re storing information.
Mobile Access
Both Excel and Google Sheets have mobile apps. Download them. You’ll want to be able to check your budget while you’re meeting with a florist or look up a guest’s address when you’re at the post office buying stamps.
The mobile interface isn’t as smooth as desktop but it works fine for quick reference.
Common Mistakes People Make
Not backing up their spreadsheet. Please. Save it to the cloud, email yourself a copy, whatever. I had a client whose laptop died three months before her wedding and she lost EVERYTHING because she only had it saved locally. Nightmare.
Making it too complicated. You don’t need fancy graphics and color schemes and merged cells everywhere. Function over form here.
Forgetting to update it. If you book a vendor and don’t add them to the spreadsheet right away, you’ll forget details. Write it down immediately.
Not including tax and fees in the budget. I mentioned this before but seriously, this is huge. Your $5000 catering quote becomes $6500 with service charges and tax.
Free Templates vs Making Your Own
There are tons of free wedding planning spreadsheet templates online. TheKnot has one, WeddingWire has one, there are random bloggers who share theirs. Those are fine starting points but you’ll probably want to customize them.
I actually think making your own from scratch is better because then you understand how everything works and you only include what YOU need. But if you want a template to start with and then modify, go for it.
Just don’t download like five different templates and try to use them all. Pick one system and stick with it.
When Spreadsheets Aren’t Enough
Some people hate spreadsheets and that’s okay. There are apps like Zola, Joy, and WeddingWire that have built-in planning tools. They’re more visual and user-friendly but less customizable.
I still think a spreadsheet is the most flexible option especially for budget tracking but like… use what works for your brain.
My Current Template Setup
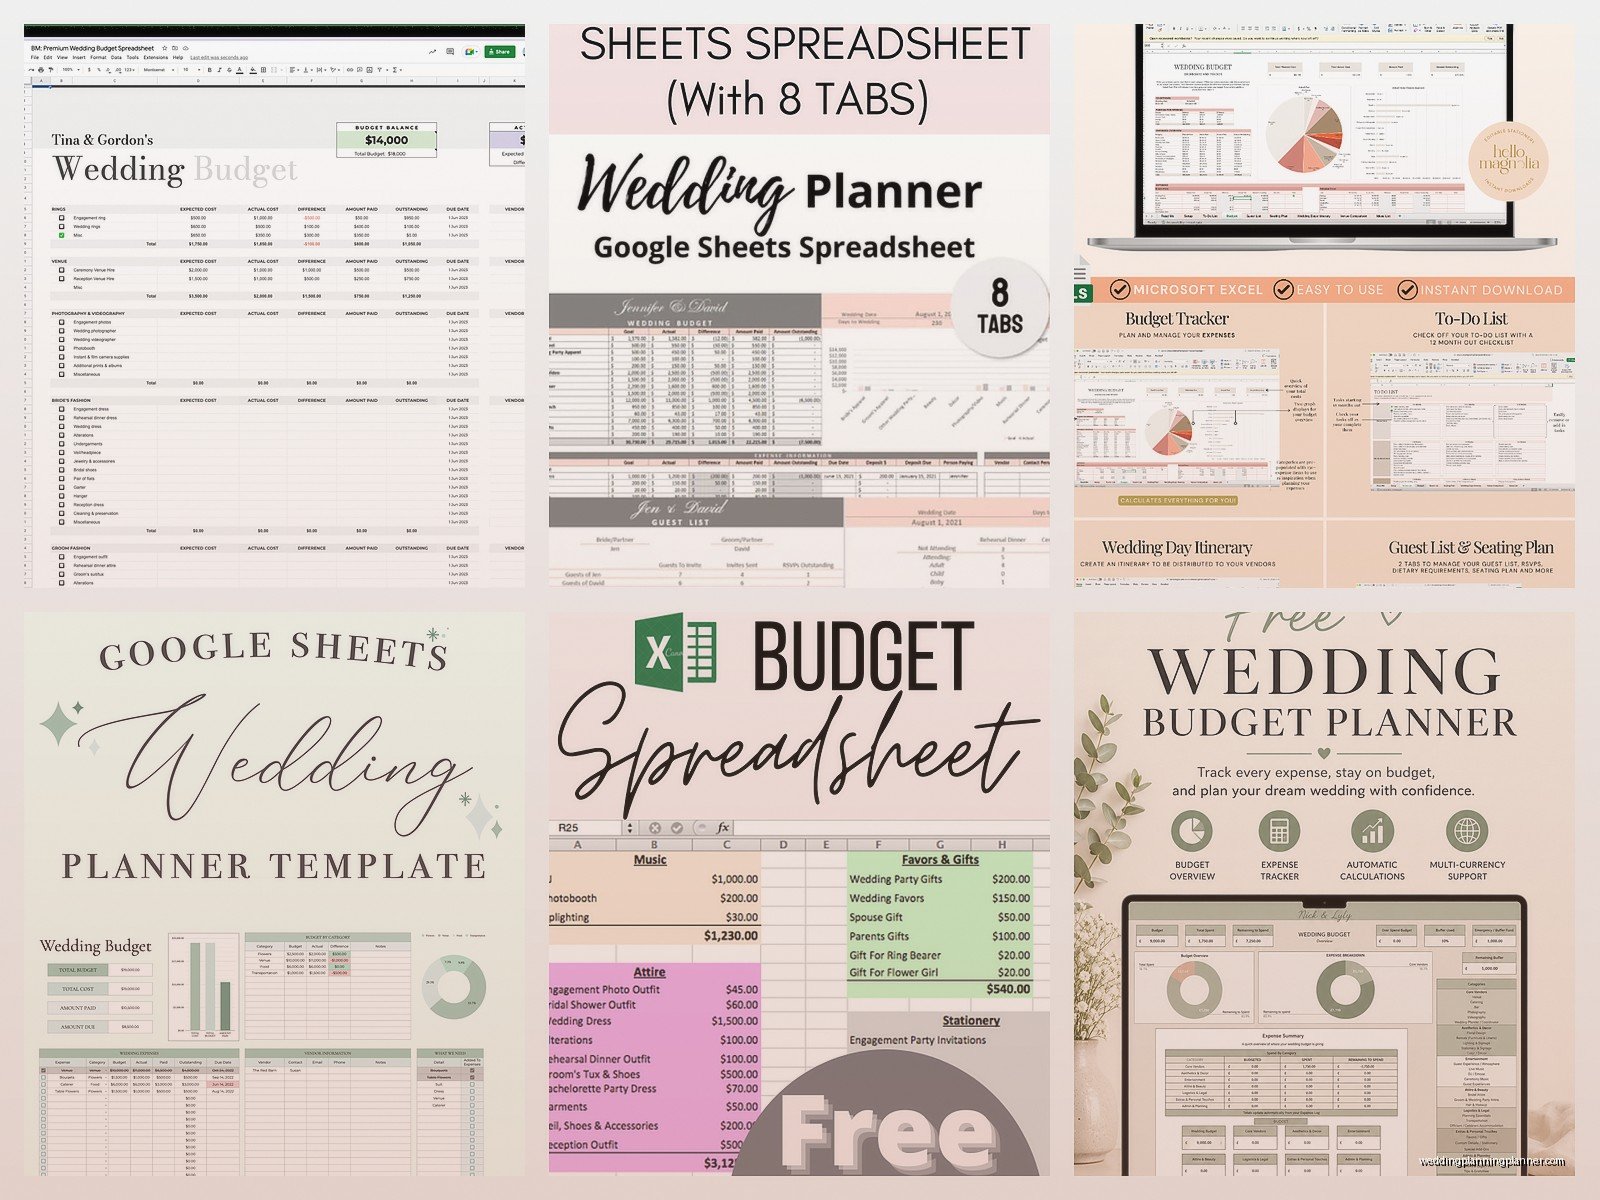
Since I’ve been doing this for a while now I’ve got my template pretty dialed in. It’s got 8 tabs: Budget, Guest List, Vendors, Master Timeline, Day-Of Schedule, Seating Chart, Stationery Tracker, and Notes.
The Notes tab is just a catch-all for random stuff that doesn’t fit elsewhere. Inspiration photos, color codes, rental company inventory lists, whatever.
I also include a “Dashboard” tab at the front that pulls key numbers from the other tabs – total budget, amount spent so far, number of guests, RSVPs received, tasks completed. It’s nice to see everything at a glance without clicking through multiple tabs.
To create those summary numbers you use formulas that reference other sheets. Like =SUM(Budget!D2:D50) pulls the sum from column D in your Budget tab. Once you get the hang of it it’s pretty straightforward.
Updating as You Go
The week after you book each vendor, go in and update everything. Add them to the vendor tab, add their costs to the budget tab, add their arrival time to your day-of timeline if you know it.
When save the dates go out, mark that date in your stationery tracker and check off everyone who got one in your guest list tab.
As RSVPs come in – and this is gonna be a daily thing for like 3 weeks straight during RSVP season – update your guest list immediately. Mark yes or no, record their meal choice, note any dietary restrictions they mentioned.
It takes 2 minutes per RSVP but if you let them pile up you’ll be entering 100 responses at once and you WILL make mistakes.
Password Protection Maybe?
If your spreadsheet has sensitive info like guest addresses or your entire wedding budget, you might want to password protect it. In Excel you can do this under File > Info > Protect Workbook. In Google Sheets it’s a bit different – you’d control access through the sharing settings.
Honestly unless you’re like sharing a computer with roommates or something it’s probably fine without a password but just mentioning it as an option.
The main thing is just… don’t post screenshots of your detailed budget on social media or whatever. People are weird about money and you don’t need everyone knowing exactly what you spent on everything or that your parents contributed X amount or whatever your situation is.
