
Planning Guides, Style Guide
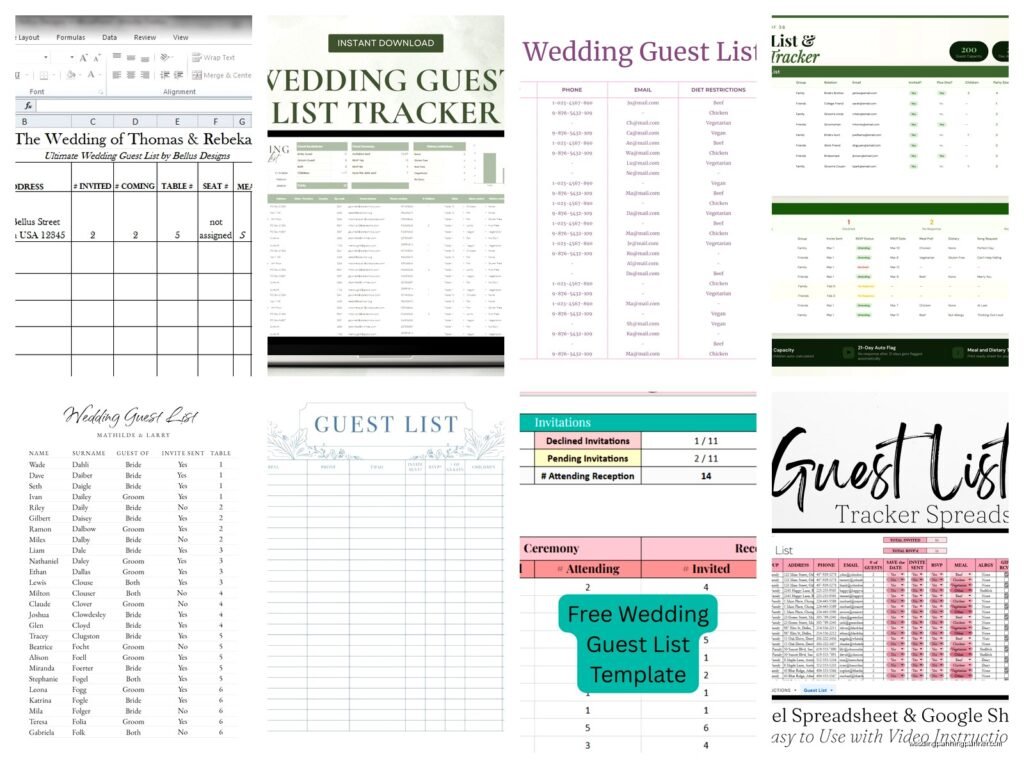
Guest List Excel Template: Wedding Tracking Spreadsheet
Jul
Setting Up Your Guest List Spreadsheet (Because You Actually Need This)
Okay so first thing – open Excel or Google Sheets, whatever you have. I’m gonna walk you through this because honestly a good guest list template saved my sanity during spring 2023 when I had THREE brides all getting married within the same month and their guest lists were… well, let’s just say chaotic doesn’t even cover it.
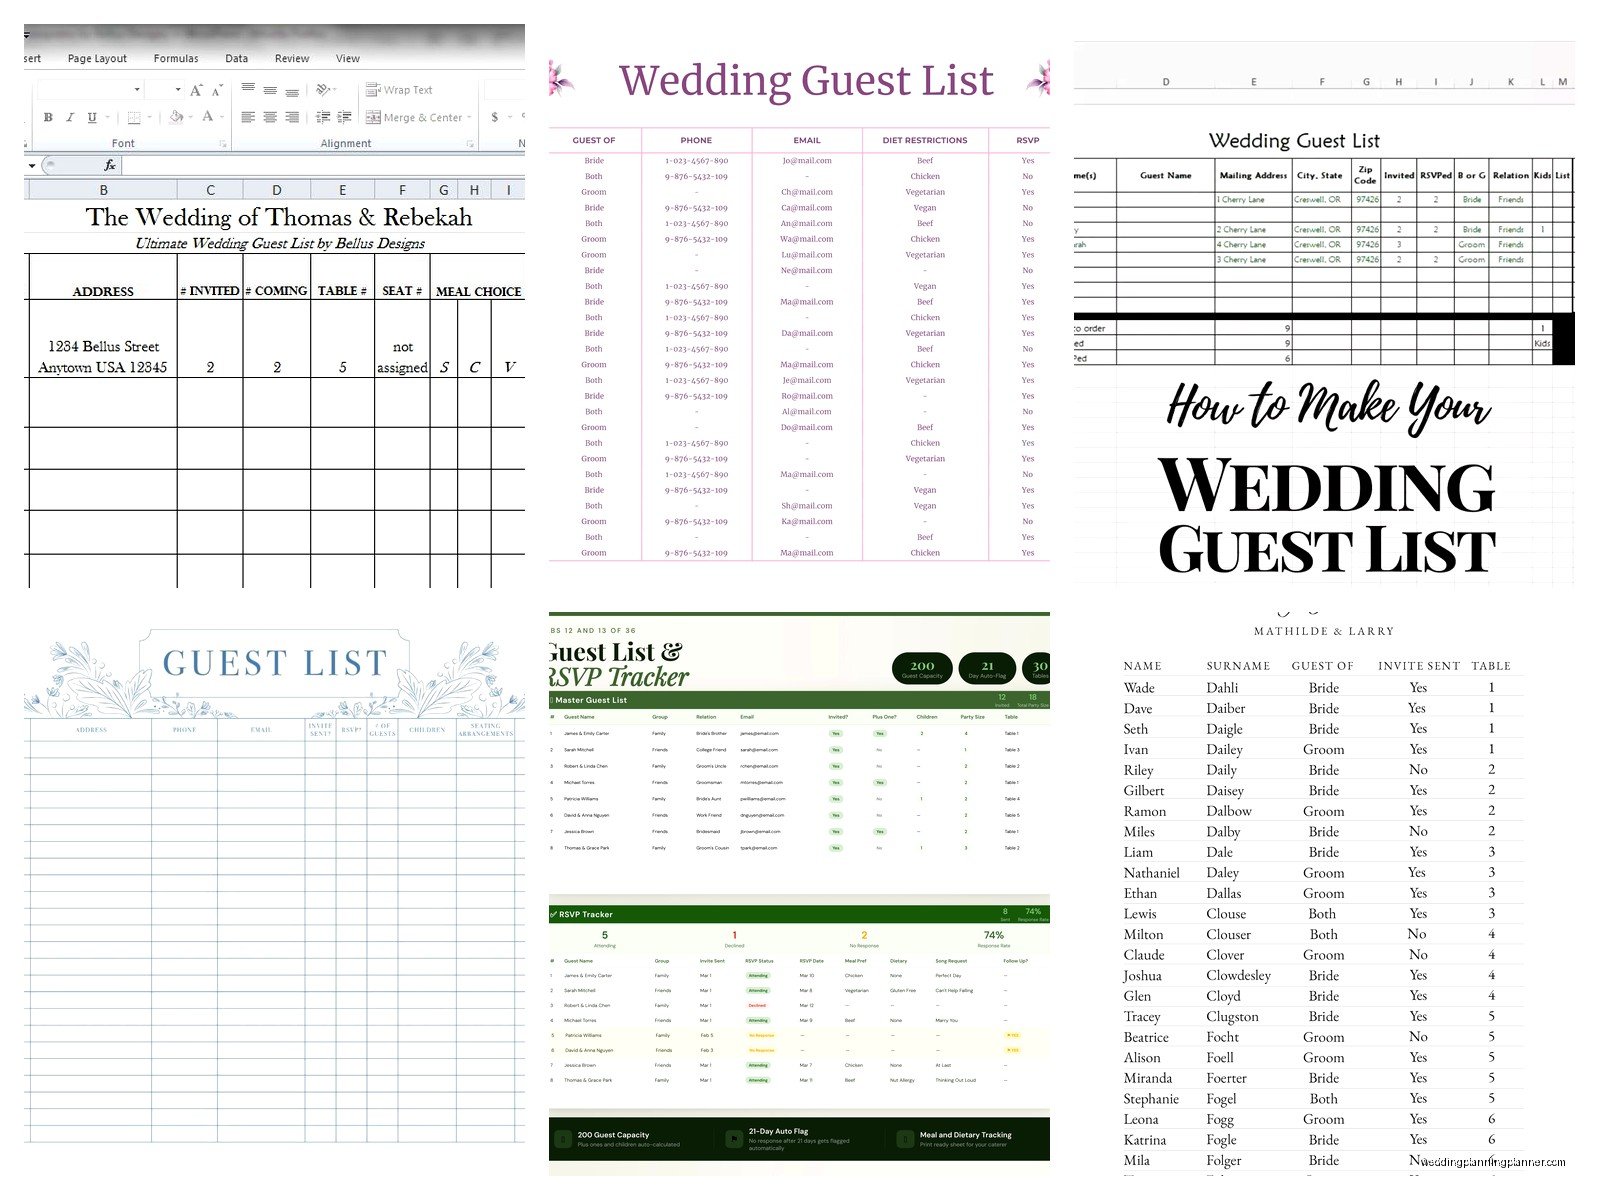
Start with your columns across the top. You need way more than just names, trust me. Here’s what I always set up:
- Guest Name (full name, not just “Aunt Susan”)
- Guest Type (his side, her side, mutual friend, coworker, etc.)
- Address Line 1
- Address Line 2
- City
- State
- Zip Code
- Phone Number
- Number in Party
- Save the Date Sent (yes/no or date)
- Invitation Sent (date)
- RSVP Status (pending, yes, no, maybe – though maybe drives me insane)
- Number Attending
- Meal Choice (if applicable)
- Dietary Restrictions
- Plus One Allowed (yes/no)
- Plus One Name
- Table Assignment
- Gift Received (yes/no)
- Thank You Sent (date)
- Notes
That seems like a lot but you’re gonna thank me later when you’re not scrambling to figure out who actually RSVPed yes but then their plus one can’t come so now you have an odd number at table 7.
Color Coding Because Your Brain Needs Visual Help
I color code EVERYTHING in my templates. Like, his family gets one color, her family gets another, friends get a third color. You can do this by highlighting entire rows or just the “Guest Type” column. My cat literally walked across my keyboard once and messed up an entire color coding system I’d spent an hour on, and I just… sat there staring at the screen because I couldn’t even figure out what she’d done.
But seriously – pick like 4-5 colors max:
- Light blue for his side
- Light pink for her side
- Yellow for mutual friends
- Green for coworkers
- Purple for vendors or special guests (like your officiant who you’re inviting to the reception)
You can also use conditional formatting to automatically highlight rows based on RSVP status. Like, everyone who said “yes” turns light green, everyone who said “no” turns light red. Excel can do this automatically which is kinda magical honestly.
The Address Section Is More Important Than You Think
Don’t skip the detailed address columns because when you’re ready to print envelopes or merge addresses into your stationery template, you need this broken out. I learned this the hard way – one of my early couples just had one “address” column and it was a MESS. Some people wrote “Apt 4B” on the same line as the street, some wrote it separately, some abbreviated, some didn’t…
Keep it clean from the start. Address Line 1 is the street address. Address Line 2 is apartment numbers, suite numbers, whatever. Leave it blank if they don’t have one. City, State, Zip each get their own column. This makes mail merging so much easier and you won’t have envelopes that look wonky.
Tracking RSVPs Without Losing Your Mind
The RSVP Status column is where things get real. You need a dropdown menu here – don’t just type in responses because you’ll end up with “Yes”, “YES”, “yes”, “Accepted”, “Coming” and then your formulas won’t work. Right-click the column, go to Data Validation, and create a list with exactly these options: Pending, Yes, No.
That “maybe” thing that some guests do? That annoyed me SO MUCH during one wedding where this couple had like 15 people who were “maybe” three weeks before the wedding. Like… I need actual numbers for the caterer, Karen, not your philosophical uncertainty about whether you’ll be in town. I just put those as “Pending” and followed up aggressively.
Next to RSVP Status, you need “Number Attending” because someone might RSVP yes but their plus one can’t make it, or they were invited with kids but the kids aren’t coming, or whatever. This number is what actually matters for your final headcount.
The Formula Section That Makes You Look Smart
Okay so at the bottom of your spreadsheet, you’re gonna add some summary calculations. This is where Excel actually earns its keep:
Total Invited: Use =COUNTA(A2:A200) or whatever your range is. This counts everyone on your list.
Total RSVPs Received: =COUNTIF(M2:M200,”Yes”)+COUNTIF(M2:M200,”No”) – this counts anyone who responded either way.
Total Yes: =COUNTIF(M2:M200,”Yes”)
Total No: =COUNTIF(M2:M200,”No”)
Still Waiting: =COUNTIF(M2:M200,”Pending”)
Actual Headcount: =SUM(N2:N200) – this adds up the “Number Attending” column which is your real number.
These formulas update automatically as you fill in responses and it’s honestly so satisfying to watch that “Still Waiting” number go down. Well, until you get to RSVP deadline day and there’s still like 20 people who haven’t responded and you have to start texting people which is… not fun but necessary.
Meal Choices and Dietary Restrictions
If your venue is doing plated dinner with choices, you need to track this meticulously. I use dropdown menus here too – like “Chicken”, “Beef”, “Fish”, “Vegetarian”. The dietary restrictions column is freeform text because people have all sorts of things – allergies, religious restrictions, preferences, that one guy who’s keto and won’t shut up about it.
Create a summary count for meals too:
=COUNTIF(O2:O200,”Chicken”) and so on for each option. Your caterer will need these exact numbers and they’ll need them like a week before the wedding, so having this tracked from the start saves you from a panic scramble.
Table Assignments Deserve Their Own Strategy
Don’t fill in the Table Assignment column until way later – like after your RSVP deadline when you know who’s actually coming. But having the column there from the start means you’re ready when it’s time.
I usually create a separate tab in the same spreadsheet for table planning where I list out Table 1, Table 2, etc. with how many seats each table has, then copy and paste names over as I figure out who sits where. Then I transfer the final table numbers back to the main guest list. It’s kinda tedious but it works.
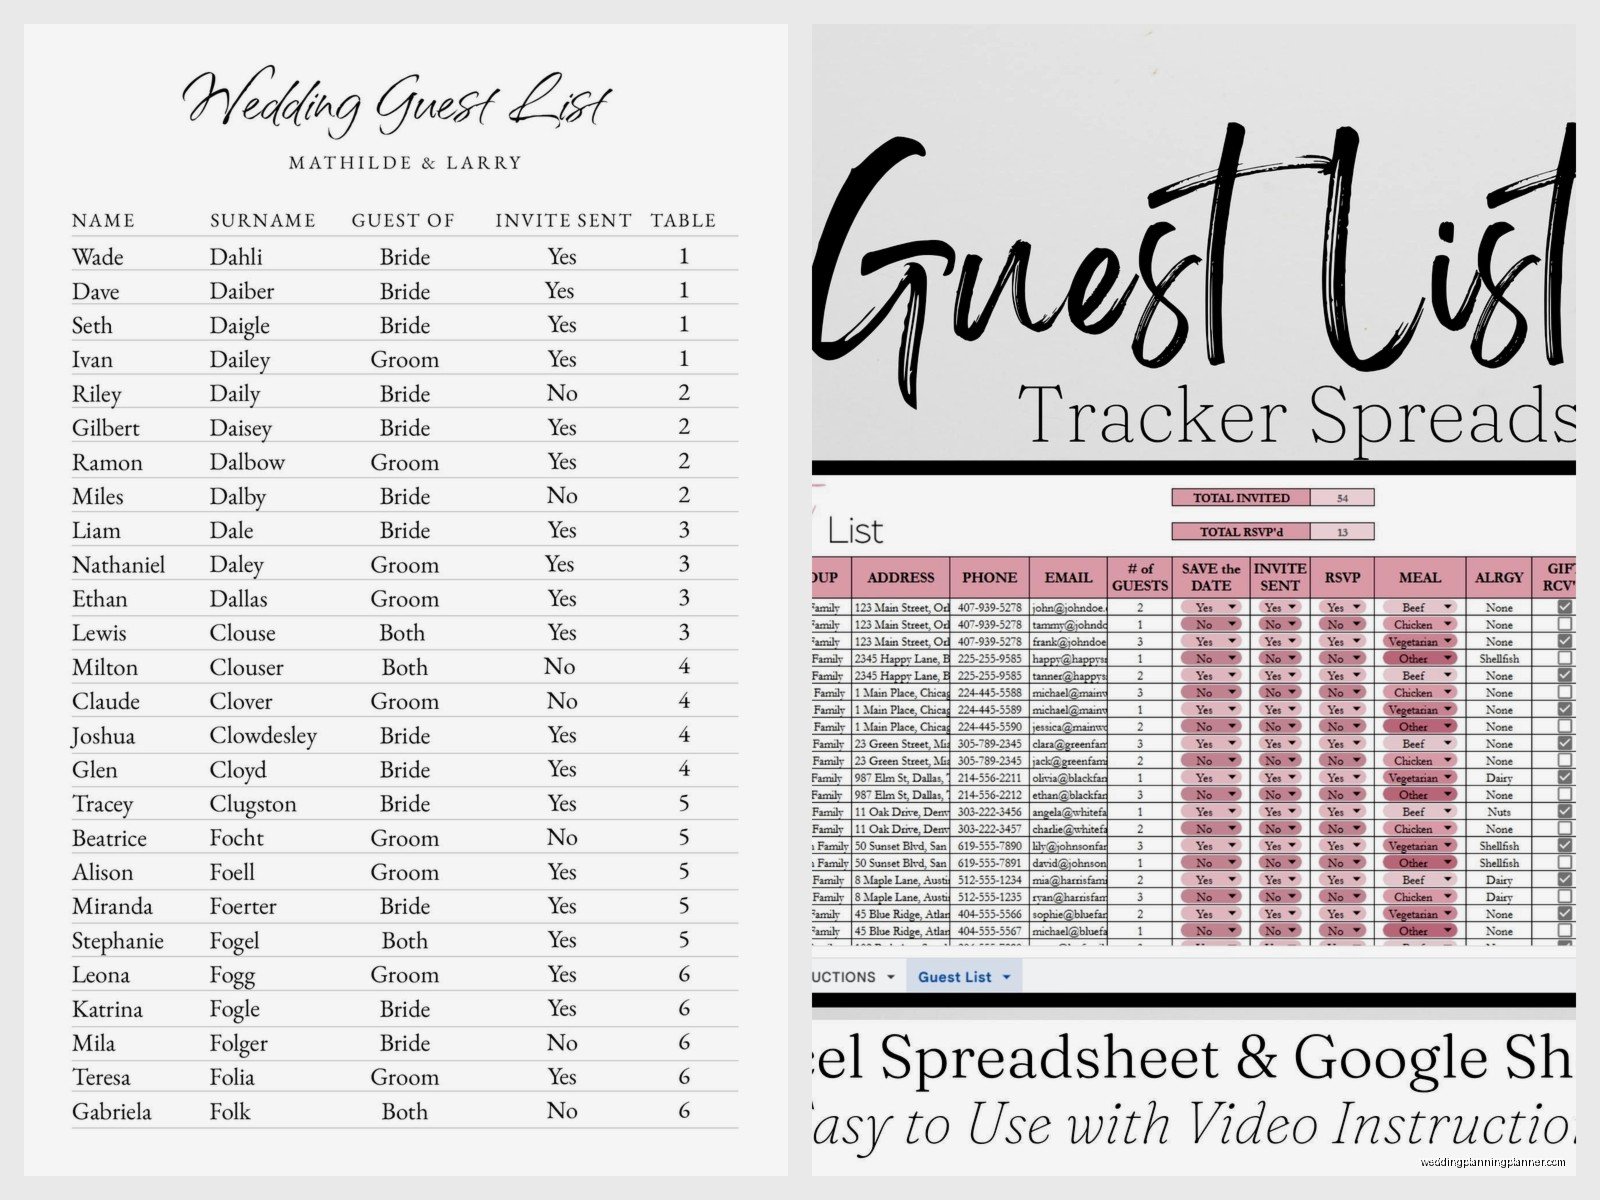
You can also add a column for “Relationship to Couple” which helps when you’re doing seating – like you probably want all the college friends together, or the work people at their own table, or… you know what, seating charts are their own nightmare and I could write a whole separate thing about that.
The Plus One Situation
Okay so “Plus One Allowed” needs to be YES or NO from the start. Don’t be wishy-washy about this because guests WILL assume they can bring someone if you’re not crystal clear. If someone gets a plus one, you need the “Plus One Name” column to track who they’re actually bringing.
Here’s what drives me nuts – when people RSVP with a plus one but don’t tell you the person’s name. Like, I need a name for the place card, Susan. “And guest” looks tacky. I always follow up and get the actual name, even if it means texting the guest directly.
Gift and Thank You Tracking
These last two columns are for after the wedding but set them up now. When gifts start arriving – and they will, starting like right after you send save the dates – you need to track what you received and from who. The “Thank You Sent” column keeps you organized so you’re not wondering three months later if you ever thanked Aunt Margaret for that serving platter.
I usually add a “Gift Description” column too but that’s optional. Some couples just keep a separate gift log, but I like having everything in one place.
The Notes Column Is Your Catch-All
This is where you put literally anything else – “needs wheelchair accessible seating”, “can’t sit near the Johnsons”, “vegetarian but also allergic to nuts”, “bringing service dog”, whatever. During one wedding I had a note that said “DO NOT SEAT NEAR BAR – recovering alcoholic” which was super important information that needed to be somewhere.
Random notes like “owes us an RSVP card from 2019” or “this is the cousin who never showed up to the engagement party” can go here too. It’s your spreadsheet, put whatever you need.
Version Control and Backup
Save this spreadsheet with the date in the filename – like “Wedding_Guest_List_2024_01_15.xlsx” – and update the date every time you make major changes. Or use Google Sheets which auto-saves and keeps version history. I cannot tell you how many times I’ve needed to go back to a previous version because someone accidentally deleted a bunch of rows or messed up the formulas.
Also share it with your partner and maybe your wedding planner (hi, that’s me) but be careful about who has edit access versus view-only access. You don’t want your well-meaning mom going in and adding her entire book club without asking.
The Reality Check Numbers
Here’s something nobody tells you – your actual attendance will be roughly 80% of who you invite. Maybe 85% for a local wedding, maybe 70% if it’s a destination thing. So when you’re building your initial list and you invite 200 people, you’re probably looking at 160 actually showing up. Plan accordingly with your venue capacity and budget.
I always tell couples to make an A-list and a B-list. Controversial, I know, but it works. Your A-list gets save the dates and invitations right away. If you get a bunch of nos and have room, you send invitations to the B-list. Just make sure the B-list invitations go out early enough that people don’t feel like afterthoughts (at least 6-8 weeks before the wedding).
Updates and Maintenance
Set aside time every week to update this spreadsheet. Sunday evenings work well – you go through any RSVPs that came in, update addresses if people moved, add notes about conversations you had. It takes like 15 minutes and keeps everything current.
The worst thing you can do is ignore it for three weeks and then have a pile of RSVP cards and emails and texts to sort through. Ask me how I know… actually don’t, it was a disaster involving a bride who went on vacation right before her RSVP deadline and came back to chaos.
Oh and one more thing – print a copy and keep it in your wedding binder or folder or wherever you keep physical stuff, because technology fails at the worst moments and having a paper backup of at least your current version is smart
