
Planning Guides, Style Guide
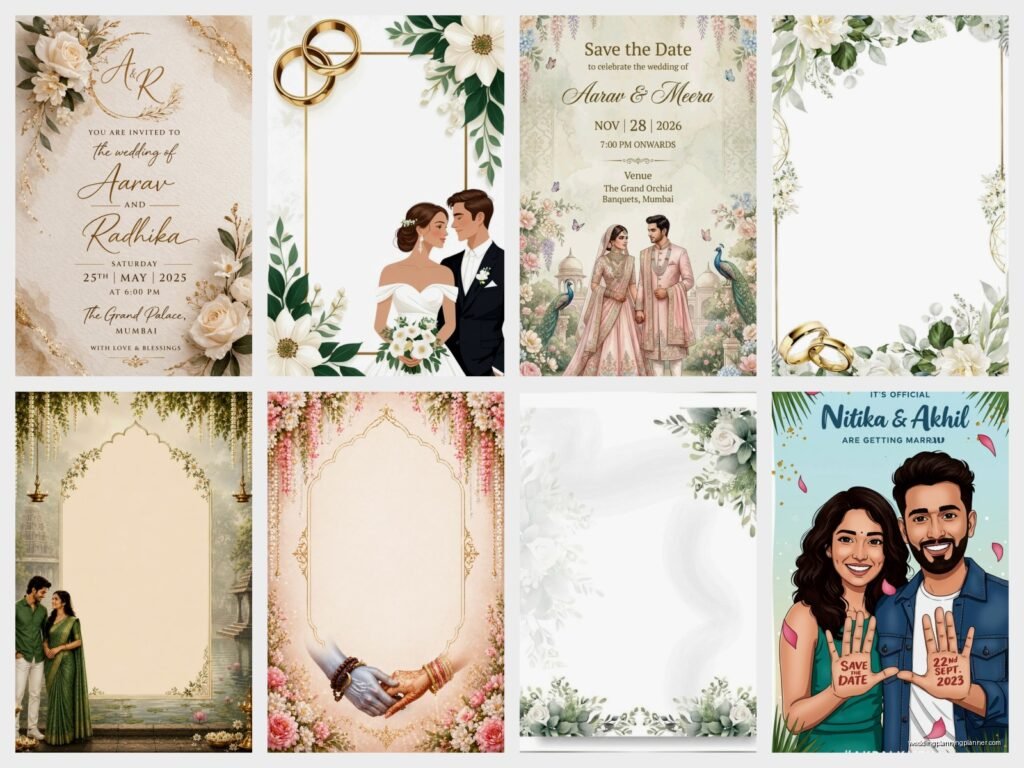
Marriage Invitation Template: Traditional Design Downloads
Jul
Finding Traditional Marriage Invitation Templates That Actually Work
Okay so traditional invitation templates are everywhere but most of them are honestly kinda terrible when you actually try to download and use them. I learned this the hard way back in spring 2023 when a bride came to me absolutely panicking because she’d downloaded what looked like a gorgeous Victorian-style template from some random site and it turned out to be like 72 dpi and completely unusable for printing. We basically had to start from scratch two weeks before her invitations needed to go out.
What Even Counts as Traditional Design
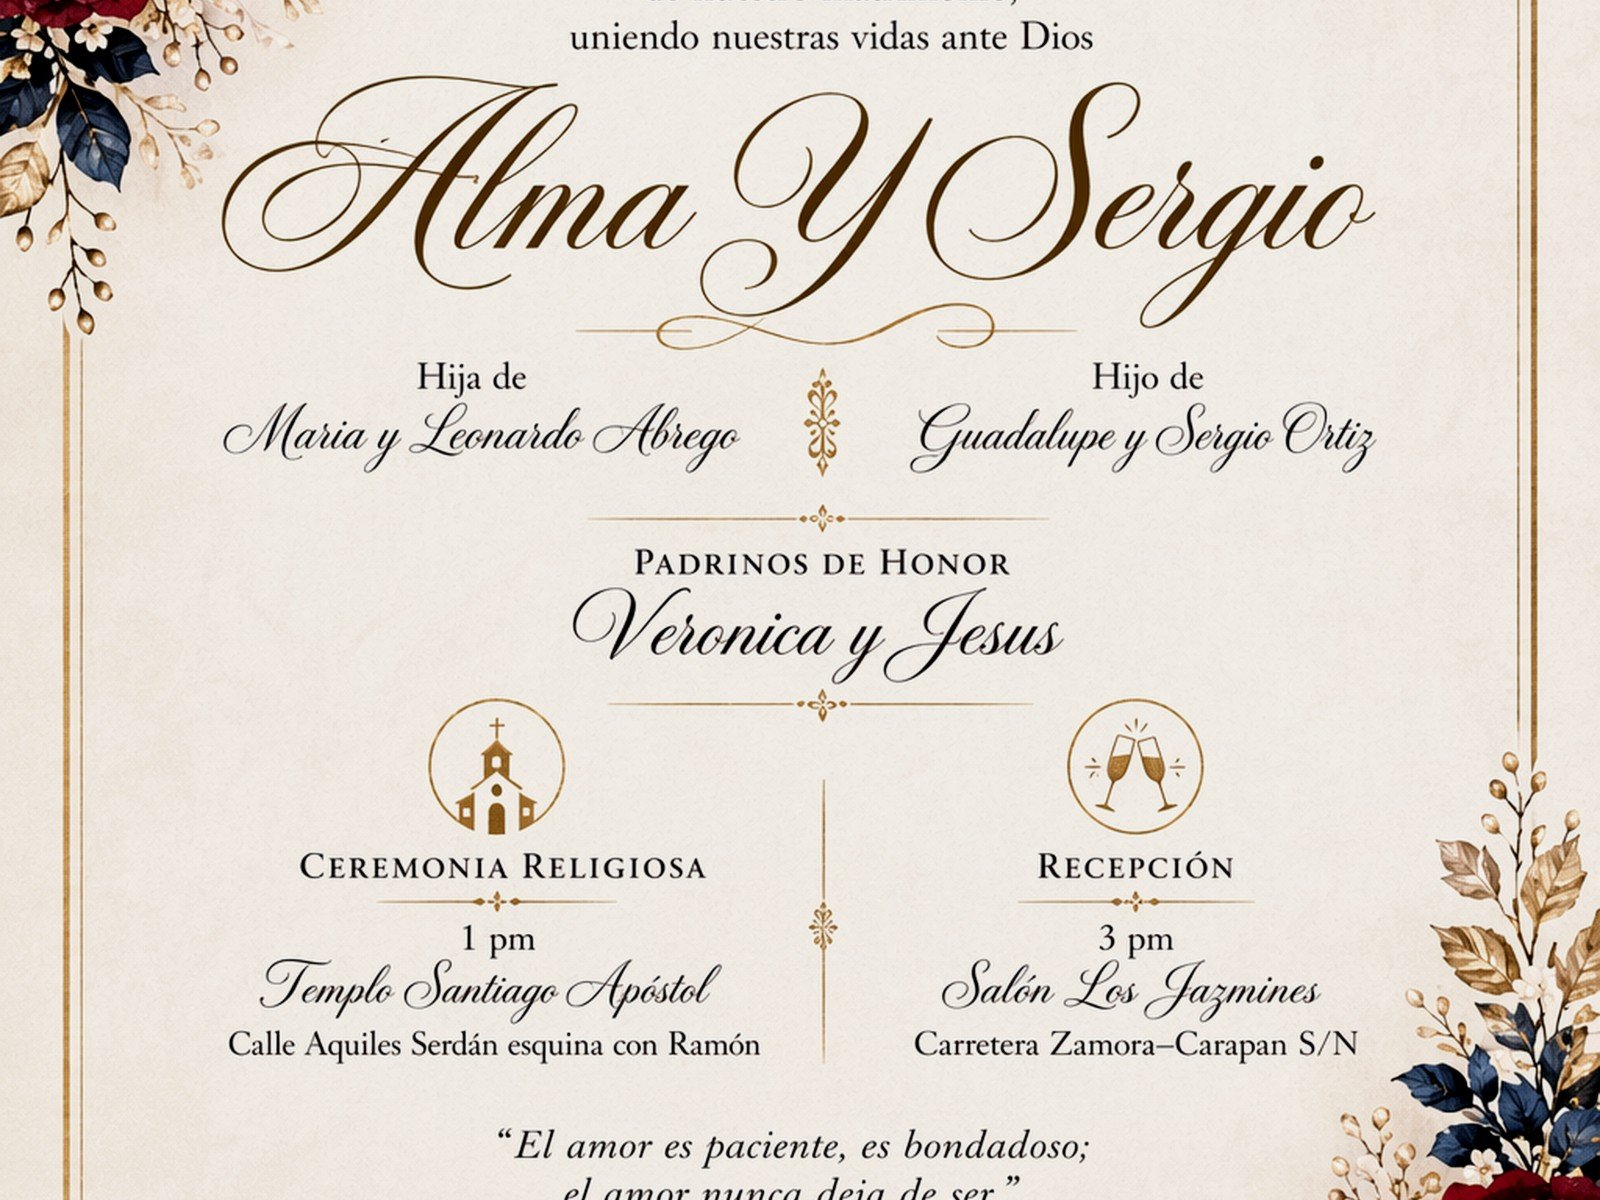
Traditional wedding invitations usually mean formal typography, classic layouts, and timeless elements. Think engraved-looking fonts, bordered designs, maybe some flourishes or monograms. You’re looking at styles that could’ve been used 50 years ago and still look appropriate today. The color palette is typically ivory, cream, white, black, gold, or navy. Nothing neon or geometric or super modern.
The layout follows specific etiquette rules too—hosts listed first, then the invitation wording, then reception details. There’s a formality to how names appear and how information flows down the page. Traditional doesn’t mean boring though, it just means you’re working within established guidelines that signal “formal event” to your guests.
Where to Actually Download Templates
I’m gonna be straight with you—free templates are hit or miss. Canva has some decent traditional options and they’re editable right in the browser, which is honestly pretty convenient. You can filter by “classic” or “elegant” and find some solid starting points. The free versions work fine if you’re okay with standard dimensions and don’t need crazy customization.
Etsy is where I send a lot of my clients now. You’re paying anywhere from $8 to $40 usually, but you’re getting templates that were designed by actual designers who understand print specifications. Look for sellers who include multiple file formats—PDF, Word, and maybe Photoshop or Illustrator files if you or someone you know can work with those.
Creative Market and Design Bundles have professional-grade templates too. These tend to be more expensive but the quality is consistently better. You’re getting proper resolution, CMYK color modes for printing, and usually better font pairings.
One thing that really annoyed me is when template sites don’t tell you upfront what fonts are included or if you need to download them separately. I’ve had clients buy a template and then realize they need to purchase a $200 font license separately, which is just… ugh.
Technical Stuff You Gotta Check Before Downloading
Resolution matters so much. You need at least 300 dpi for printing. Anything less will look blurry or pixelated when you get the physical invitations back. I cannot stress this enough because—actually my cat just knocked over my coffee mug but it was empty thank god—because this is the number one issue I see with downloaded templates.
File format is the next thing. PDFs are easiest for most people to edit if they’re form-fillable. Word documents work but formatting can get wonky depending on your version of Word. PSD files (Photoshop) or AI files (Illustrator) give you the most control but you need the software and knowledge to use them.
Bleed and trim marks—okay this sounds technical but it’s simple. Bleed means the design extends past where the paper will be cut. You want at least 0.125 inches of bleed on all sides. Trim marks show the printer where to cut. Professional templates include these. Basic templates often don’t, which means you might end up with weird white borders or cut-off text.
Color mode should be CMYK for printing, not RGB. RGB is for screens. If your template is in RGB and you send it to a printer, the colors might look totally different than what you see on your computer. Most professional templates come in CMYK but double-check.
Editing Your Template Without Losing Your Mind
So you’ve downloaded your template, now what? First thing I tell people is make a copy before you start editing. Just duplicate the file and work on the copy. That way if you mess something up or accidentally delete something important, you’ve still got the original.
If you’re working with a Word template, be really careful with text boxes and formatting. Word likes to do its own thing and move stuff around when you don’t want it to. Lock the position of text boxes if you can, and use the “format” options to make sure things stay put.
For Canva templates, the editing is pretty straightforward. Click on text to change it, click on colors to adjust the palette. The tricky part is knowing when to stop tweaking because you can literally spend hours adjusting spacing by 1mm increments and it doesn’t matter that much in the end.
Font substitutions are where people get tripped up. If the template uses a specific font and you don’t have it installed, your computer will substitute something else and it’ll look wrong. The template description should list required fonts. Download and install them before you start editing, or you’re gonna have problems.
Traditional Design Elements That Actually Print Well
Borders and frames are classic traditional elements. Simple line borders work great, ornate borders can be gorgeous but make sure they’re not too thin—anything less than 0.5pt might not print clearly. I learned this during a particularly stressful client situation in summer 2021 where these beautiful delicate borders basically disappeared when printed because they were too fine.
Monograms are very traditional and most templates include space for them. You can create a simple monogram with just initials in a nice serif font, or you can get fancy with intertwined letters. Just keep it readable—some monogram styles are so elaborate that guests can’t actually tell what letters they are.
Classic fonts for traditional invitations include Garamond, Baskerville, Didot, Caslon, and Bodoni. For more decorative elements, Copperplate, Edwardian Script, or Snell Roundhand work well. Avoid using more than two or three different fonts on one invitation though, it starts looking chaotic.
Paper texture matters even with templates. If you’re printing at home, textured cardstock can add a traditional feel. If you’re using a print service, ask about paper options—cotton, linen, or laid finishes give that classic look. The template itself should account for how text will look on textured paper (high contrast is better).
Printing Your Template Invitations
Home printing is an option if you’ve got a good printer and you’re comfortable with the process. You’ll need cardstock—I recommend 80lb to 110lb weight for invitation cards. Make sure your printer can handle that thickness. Do test prints on regular paper first to check alignment and colors.
Print services are honestly less stressful for most people. Places like Minted, Vistaprint, or your local print shop can work with your template files. You’ll upload the file, choose your paper and finish options, and they’ll handle the rest. It costs more than DIY but the quality is usually better and you don’t have to worry about… actually you don’t have to worry about your printer jamming at midnight when you’re trying to finish 150 invitations, which definitely happens.
When sending files to a printer, ask what format they prefer. Most want PDF files with fonts embedded and images at full resolution. Some can work with other formats but PDF is safest. Also ask about color profiles and whether they need CMYK or can convert from RGB.
Customizing Traditional Templates for Your Wedding
The whole point of a template is that it’s a starting point, not a finished product. You can adjust colors to match your wedding palette while keeping the traditional structure. Swapping navy for burgundy or gold for rose gold doesn’t make it less traditional if the overall design stays classic.
You can add or remove design elements too. If the template has a flourish you don’t like, delete it. If you want to add a venue illustration or a small symbol that’s meaningful to you, most templates have space where you can incorporate that. Just keep it balanced—traditional design is about symmetry and clean lines.
Wording adjustments are totally normal. Templates usually have standard formal wording but you can adapt it to your situation. Hosting details might be different if both sets of parents are hosting versus just the couple hosting themselves. There are etiquette guides for this but honestly, as long as the information is clear and the tone is formal, you’re probably fine.
Common Template Problems and Quick Fixes
Text overflow is when your names or venue details are longer than the space the template designed for. Don’t just shrink the font way down—it’ll look weird. Instead, adjust line spacing, use a slightly narrower font, or rework the layout a bit to create more space. Sometimes you gotta make the template work for your specific information rather than trying to force your information into the template.
Color printing issues usually happen because what you see on screen doesn’t match what prints. Do a test print before you commit to printing 200 invitations. If colors look off, you might need to adjust them in the file. Printers also have calibration settings that can affect output, so ask your print service about color matching.
Alignment problems drive me crazy. If elements look slightly off-center or uneven, use the alignment tools in your editing software. Most programs have options to align to center, distribute evenly, or align to margins. Taking five minutes to properly align everything makes such a difference in the final look.
Matching Your Template to Other Wedding Stationery
If you’re using a template for your invitation, you’ll probably want matching pieces for RSVP cards, details cards, programs, menus, etc. Some template packages include all of these, which is super convenient. If yours doesn’t, you can sorta reverse-engineer the design by using the same fonts, colors, and border styles on other pieces you create.
Consistency matters more than you’d think. Guests notice when your invitation looks formal and traditional but then your program is in a completely different style. It doesn’t have to be identical but there should be a clear visual connection between all your wedding stationery.
Budget Considerations for Template vs. Custom
Templates are obviously cheaper than hiring a designer to create custom invitations. You’re looking at maybe $15 to $50 for a good template versus $500 to $2000+ for custom design work. That’s a huge difference, especially when you factor in printing costs on top of design costs.
The tradeoff is uniqueness and perfect customization. A template might be used by other couples, and it might not fit your needs exactly. But honestly? For most weddings, a well-chosen template that you’ve personalized works perfectly fine. Guests aren’t comparing your invitation to others—they’re just looking for the date, time, and location.
Think about where you want to spend your wedding budget. If stationery is a priority and you want something completely unique, custom design might be worth it. If you’d rather put that money toward flowers or photography or literally anything else, templates are a smart choice that still look professional and traditional.
